
Streak Free Glass Cleaner: Are you tired of looking at smudged, streaky windows that seem to defy every cleaning product you’ve tried? I know I was! There’s nothing more frustrating than spending time cleaning, only to be left with a less-than-sparkling result. But don’t worry, I’ve got you covered! This DIY guide will reveal the secrets to creating your own powerful, streak free glass cleaner using simple ingredients you probably already have in your home.
The quest for perfectly clean glass has been around for ages. Think about the grand windows of historical castles and cathedrals – keeping those sparkling was a serious undertaking! While we might not be cleaning stained glass masterpieces, we still appreciate the clarity and brightness that clean windows bring to our homes.
Why is this DIY trick so essential? Store-bought glass cleaners can be expensive and often contain harsh chemicals that aren’t great for the environment or your health. Plus, let’s be honest, they don’t always deliver on their promise of a streak-free shine. This homemade solution is not only cost-effective and eco-friendly, but it’s also incredibly effective. I’m going to show you how to achieve professional-level results without breaking the bank or exposing yourself to harmful chemicals. Get ready to say goodbye to streaks and hello to sparkling, crystal-clear windows!
DIY Streak-Free Glass Cleaner: My Secret Recipe!
Hey everyone! I’m so excited to share my go-to recipe for a streak-free glass cleaner. I’ve tried countless store-bought options, and honestly, nothing beats this homemade concoction. It’s cheap, effective, and uses ingredients you probably already have in your pantry! Say goodbye to those annoying streaks and hello to sparkling clean windows and mirrors.
Gathering Your Supplies
Before we dive in, let’s make sure you have everything you need. This is a super simple recipe, so the supply list is short and sweet.
* **Spray Bottle:** A clean, empty spray bottle is essential. I prefer a 16-ounce bottle, but any size will work as long as you adjust the ingredient amounts accordingly.
* **Distilled Water:** This is key for avoiding streaks! Tap water contains minerals that can leave residue behind.
* **White Vinegar:** The star of the show! Vinegar is a natural cleaner and disinfectant.
* **Rubbing Alcohol (Isopropyl Alcohol):** This helps the cleaner evaporate quickly, preventing streaks.
* **Essential Oil (Optional):** This is purely for fragrance. I love using lemon, lavender, or tea tree oil.
* **Measuring Cups and Spoons:** For accurate measurements.
* **Funnel (Optional):** Makes pouring liquids into the spray bottle easier.
* **Microfiber Cloths:** These are the best for cleaning glass without leaving lint or streaks.
The Magic Formula: My Recipe
Okay, here’s the recipe I swear by. It’s a perfect balance of cleaning power and streak-free shine.
* 2 cups distilled water
* 1/4 cup white vinegar
* 1/4 cup rubbing alcohol (70% or higher)
* 5-10 drops essential oil (optional)
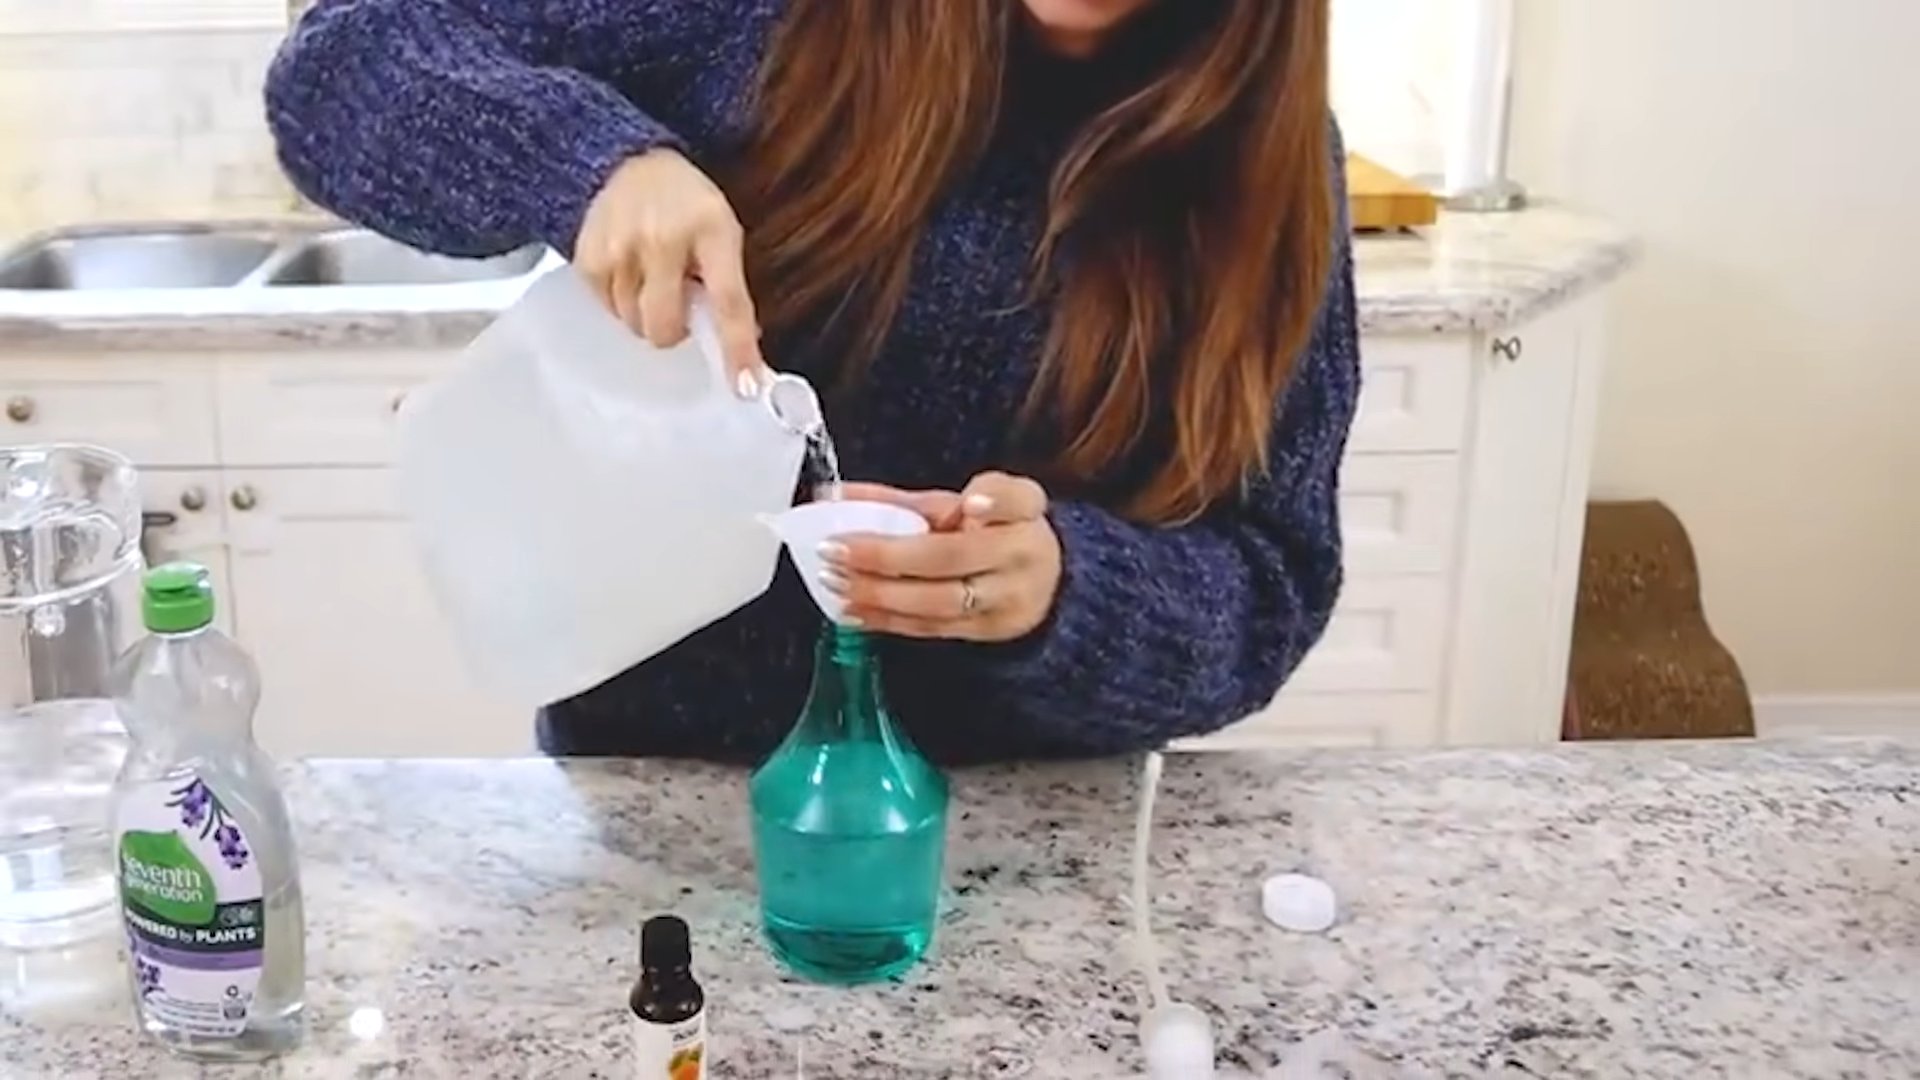
Mixing It Up: Step-by-Step Instructions
Now for the fun part! Let’s get mixing.
1. **Prepare Your Spray Bottle:** Make sure your spray bottle is clean and dry. Any residue inside could affect the performance of your cleaner.
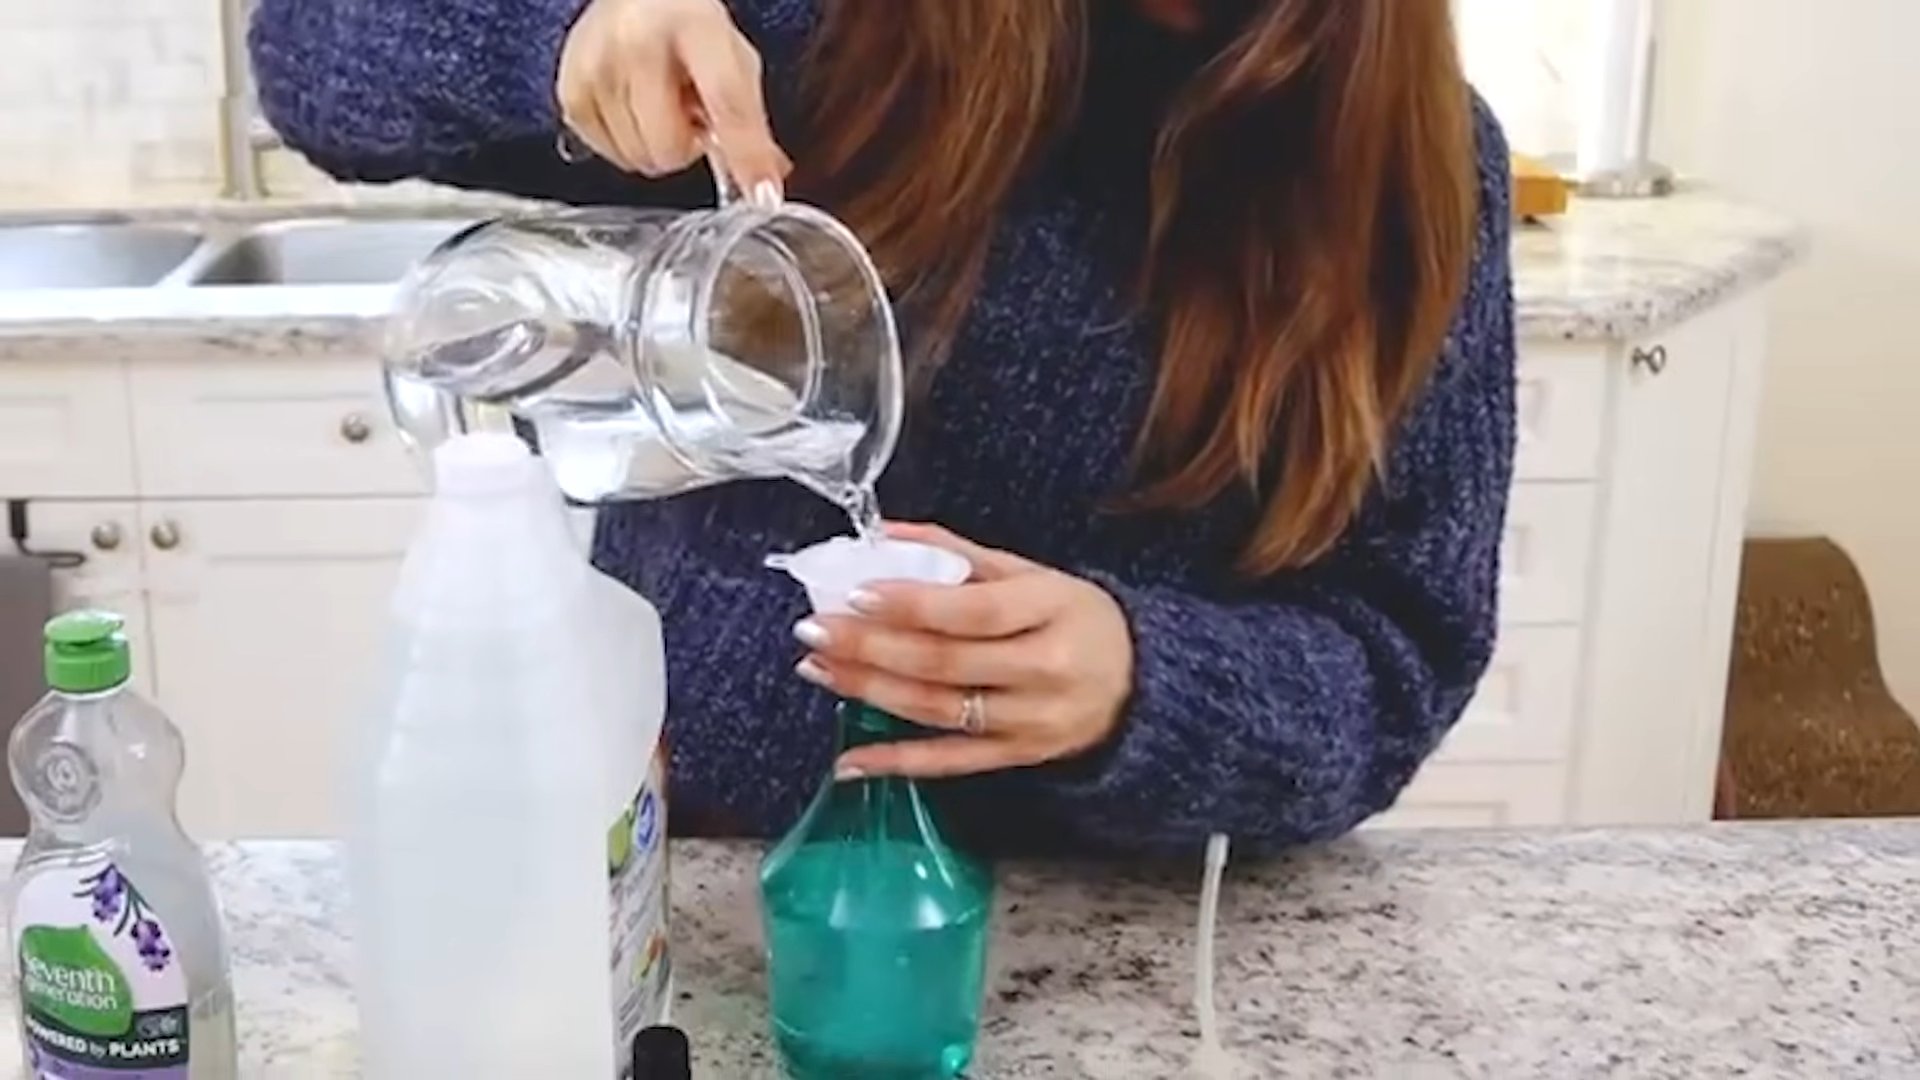
2. **Add Distilled Water:** Pour 2 cups of distilled water into the spray bottle. A funnel can be helpful here to avoid spills.
3. **Pour in the White Vinegar:** Add 1/4 cup of white vinegar to the spray bottle. Don’t worry about the smell; it will dissipate quickly.
4. **Incorporate the Rubbing Alcohol:** Pour in 1/4 cup of rubbing alcohol. This is what helps the cleaner dry quickly and prevents streaks.
5. **Add Essential Oil (Optional):** If you’re using essential oil, add 5-10 drops to the mixture. Be careful not to add too much, as it can leave a residue.
6. **Secure the Lid and Shake Well:** Tightly screw the lid onto the spray bottle and shake well to combine all the ingredients.
7. **Label Your Bottle:** It’s always a good idea to label your spray bottle so you know what’s inside. I usually write “Glass Cleaner” and the date I made it.
Cleaning Like a Pro: Application Tips
Now that you have your amazing streak-free glass cleaner, let’s talk about how to use it effectively.
1. **Prepare the Surface:** Before you start spraying, remove any loose dirt or debris from the glass surface. You can use a dry cloth or brush for this.
2. **Spray Sparingly:** A little goes a long way! Spray the glass cleaner lightly onto the surface. Avoid oversaturating the glass, as this can actually cause streaks.
3. **Wipe with a Microfiber Cloth:** Immediately wipe the surface with a clean, dry microfiber cloth. Use a circular motion to spread the cleaner evenly, then switch to a straight up-and-down motion to remove any remaining residue.
4. **Flip and Buff:** Flip the microfiber cloth to a clean, dry section and buff the glass to a sparkling shine. This step is crucial for removing any lingering streaks.
5. **Repeat if Necessary:** For heavily soiled surfaces, you may need to repeat the process.
Tackling Different Surfaces: Specific Tips
This glass cleaner works wonders on a variety of surfaces, but here are a few specific tips for different applications.
Windows
* **Choose the Right Time:** Avoid cleaning windows on a hot, sunny day, as the cleaner will dry too quickly and leave streaks. Overcast days are ideal.
* **Start from the Top:** When cleaning windows, start from the top and work your way down to prevent drips from streaking the lower sections.
* **Clean the Frames:** Don’t forget to clean the window frames as well! You can use the same glass cleaner or a separate all-purpose cleaner.
Mirrors
* **Spray Directly onto the Cloth:** To prevent overspray and potential damage to the mirror’s backing, spray the cleaner directly onto the microfiber cloth instead of the mirror itself.
* **Be Gentle:** Avoid applying too much pressure when wiping mirrors, as this can scratch the surface.
Shower Doors
* **Combat Soap Scum:** For shower doors with stubborn soap scum, you may need to pre-treat the area with a vinegar solution. Let it sit for a few minutes before wiping clean.
* **Regular Cleaning:** To prevent soap scum buildup, clean your shower doors regularly with this glass cleaner.
Car Windows
* **Interior Cleaning:** This cleaner is safe to use on the interior of your car windows. Be sure to use a clean microfiber cloth to avoid transferring any dirt or grime from the exterior.
* **Exterior Cleaning:** For the exterior of your car windows, you may want to use a dedicated car window cleaner, as it’s formulated to remove road grime and bug splatters.
Troubleshooting: Common Issues and Solutions
Even with the best recipe, you might encounter a few issues. Here are some common problems and how to fix them.
* **Streaks:** If you’re still seeing streaks, make sure you’re using distilled water and a clean microfiber cloth. You may also be using too much cleaner. Try spraying less and buffing more.
* **Smeary Residue:** This could be caused by using too much essential oil or by not shaking the bottle well enough. Make sure the ingredients are thoroughly mixed.
* **Cloudy Glass:** This could be a sign of hard water deposits. Try adding a little more vinegar to the mixture.
* **Lingering Vinegar Smell:** The vinegar smell should dissipate quickly. If it’s lingering, try adding a few more drops of essential oil or opening a window to ventilate the area.
Why This Recipe Works: The Science Behind It
So, what makes this recipe so effective? Let’s break down the science behind each ingredient.
* **Distilled Water:** As mentioned earlier, distilled water is free of minerals that can leave streaks behind. It’s the purest form of water and the best choice for cleaning glass.
* **White Vinegar:** Vinegar is a mild acid that helps to dissolve dirt, grime, and hard water deposits. It’s also a natural disinfectant.
* **Rubbing Alcohol:** Rubbing alcohol is a solvent that helps to dissolve grease and oil. It also evaporates quickly, preventing streaks.
* **Essential Oil:** While essential oil is primarily for fragrance, some oils, like lemon and tea tree, have antibacterial properties.
Safety First: Precautions to Take
While this glass cleaner is relatively safe, it’s always a good idea to take a few precautions.
* **Keep Out of Reach of Children and Pets:** Store the spray bottle in a safe place where children and pets cannot access it.
* **Avoid Contact with Eyes:** If the cleaner gets in your eyes, rinse immediately with plenty of water.
* **Test on a Small Area First:** Before cleaning a large surface, test the cleaner on a small, inconspicuous area to make sure it doesn’t damage the material.
* **Don’t Mix with Other Cleaners:** Never mix this glass cleaner with other cleaning products, as this could create harmful fumes.
Storage Tips: Keeping Your Cleaner Fresh
This glass cleaner will last for several months if stored properly. Here are a few tips for keeping it fresh.
* **Store in a Cool, Dark Place:** Avoid storing the spray bottle in direct sunlight or in a hot environment, as this can degrade the ingredients.
* **Keep the Lid Tightly Closed:** Make sure the lid is tightly closed to prevent evaporation.
* **Shake Before Each Use:** Shake the bottle well before each use to ensure the ingredients are properly mixed.
Cost-Effective Cleaning: Saving Money and the Environment
One of the best things about this DIY glass cleaner is that it’s incredibly cost-effective. You can make a large batch of cleaner for just a few dollars, which is significantly cheaper than buying store-bought options. Plus, you’re reducing your environmental impact by using fewer plastic bottles and harsh chemicals. It’s a win-win!
I hope you love this recipe as much as I do! Happy cleaning! Let me know in the comments if you have any questions or tips of your own.
Conclusion
So, there you have it! Ditching those expensive, chemical-laden glass cleaners and embracing this simple, effective, and incredibly affordable DIY streak-free glass cleaner is a game-changer for your home. We’ve walked you through the easy steps, highlighted the cost savings, and emphasized the environmental benefits. But the real magic lies in the results: sparkling, crystal-clear windows and mirrors that reflect the true beauty of your home, all achieved without harsh chemicals or lingering fumes.
This isn’t just about cleaning; it’s about making a conscious choice for a healthier home and a more sustainable lifestyle. Think about the cumulative impact of switching from store-bought cleaners to this homemade solution. You’re reducing plastic waste, minimizing your exposure to potentially harmful chemicals, and saving money in the process. It’s a win-win-win!
Why is this DIY trick a must-try? Because it delivers professional-quality results without the professional price tag or the environmental baggage. It’s a simple swap that makes a significant difference. You’ll be amazed at how easily you can achieve a streak-free shine with just a few common household ingredients.
But don’t just take our word for it. We encourage you to experiment and find what works best for you.
Variations and Suggestions:
* Essential Oil Boost: Add a few drops of your favorite essential oil, like lemon, lavender, or tea tree, for a pleasant scent and added antibacterial properties. Be mindful of the concentration, as too much oil can leave a residue. Start with just 5-10 drops per batch.
* Vinegar Infusion: For extra cleaning power, especially on stubborn grime, infuse your vinegar with citrus peels (lemon, orange, grapefruit) for a week or two before using it in the recipe. This adds a natural fragrance and boosts the cleaning properties.
* Hard Water Helper: If you have hard water, consider using distilled water in your recipe to prevent mineral deposits and streaks.
* Microfiber Magic: The type of cloth you use is just as important as the cleaner itself. Opt for high-quality microfiber cloths specifically designed for glass cleaning. These cloths have a tight weave that effectively lifts dirt and grime without leaving lint or streaks.
* Spray Bottle Selection: Choose a spray bottle that produces a fine mist for even distribution of the cleaner. Avoid bottles that squirt or stream, as these can lead to uneven cleaning and streaks.
* Pre-Cleaning Power: For heavily soiled windows, pre-clean with a damp cloth to remove loose dirt and debris before applying the DIY cleaner. This will prevent the cleaner from simply spreading the grime around.
We are confident that once you try this DIY streak-free glass cleaner, you’ll never go back to store-bought alternatives. It’s effective, economical, and eco-friendly – the perfect combination for a sparkling clean home.
So, grab your ingredients, mix up a batch, and prepare to be amazed. We can’t wait to hear about your experiences! Share your results, tips, and variations in the comments below. Let’s create a community of sparkling clean homes, one DIY glass cleaner at a time!
Frequently Asked Questions (FAQ)
Q: Will this DIY glass cleaner work on all types of glass surfaces?
A: Yes, this DIY cleaner is generally safe and effective for most glass surfaces, including windows, mirrors, glass shower doors, and even car windows. However, it’s always a good idea to test a small, inconspicuous area first, especially if you’re unsure about the surface’s compatibility. Avoid using it on delicate or antique mirrors without testing, as some older mirrors may have sensitive coatings.
Q: How long will the DIY glass cleaner last?
A: This DIY glass cleaner doesn’t contain any preservatives, so it’s best to use it within a few weeks for optimal effectiveness. Store it in a cool, dark place to prevent the vinegar from degrading. You’ll likely use it up quickly anyway, given how effective it is! If you notice any changes in color or odor, it’s best to discard it and make a fresh batch.
Q: Can I use a different type of vinegar?
A: While white vinegar is the most commonly recommended type for cleaning due to its acidity and lack of color, you can experiment with other types of vinegar, such as apple cider vinegar. However, be aware that apple cider vinegar may have a slight color that could potentially leave a residue on lighter surfaces. If you choose to use apple cider vinegar, dilute it slightly more than the white vinegar.
Q: My glass is still streaky after using the cleaner. What am I doing wrong?
A: Streaks can be caused by several factors. First, ensure you’re using a clean, high-quality microfiber cloth. Dirty or linty cloths can leave streaks behind. Second, make sure you’re not using too much cleaner. A light mist is all you need. Over-saturating the glass can lead to streaks. Third, consider your water quality. Hard water can leave mineral deposits that cause streaks. Using distilled water in your recipe can help. Finally, ensure you’re wiping the glass in a consistent direction, overlapping each stroke slightly.
Q: Can I add more soap to the recipe for extra cleaning power?
A: While it might seem tempting to add more soap, resist the urge! Too much soap can actually leave a residue that attracts dirt and creates streaks. A small amount of dish soap is all that’s needed to help cut through grease and grime. If you’re dealing with particularly dirty glass, pre-cleaning with a damp cloth is a better solution than adding more soap.
Q: Is this DIY glass cleaner safe for pets and children?
A: Yes, this DIY glass cleaner is generally considered safe for pets and children, as it doesn’t contain harsh chemicals or toxic ingredients. However, it’s still important to keep it out of reach of children and pets to prevent accidental ingestion. While the ingredients are non-toxic in small amounts, consuming a large quantity could cause stomach upset. As with any cleaning product, use caution and store it responsibly.
Q: Can I use this cleaner on tinted windows?
A: It’s generally safe to use this DIY cleaner on tinted windows, but it’s always best to err on the side of caution. Test a small, inconspicuous area first to ensure it doesn’t damage the tint. Avoid using abrasive cloths or scrub brushes, as these can scratch the tint. If you’re unsure about the type of tint on your windows, consult with a professional window tinting company.
Q: What are the benefits of using a DIY streak-free glass cleaner compared to commercial products?
A: The benefits are numerous! DIY cleaners are typically much more affordable than commercial products. You’re also reducing your exposure to potentially harmful chemicals found in many commercial cleaners. Plus, you’re contributing to a more sustainable lifestyle by reducing plastic waste and using readily available, eco-friendly ingredients. And, as we’ve emphasized, this particular recipe delivers exceptional results, leaving your glass sparkling clean and streak-free. It’s a win for your wallet, your health, and the environment!
Leave a Comment