
Baking Soda Cleaning Grime: Are you tired of battling stubborn grime that just won’t budge, no matter how hard you scrub? I know I am! It feels like some stains are practically glued on, laughing in the face of conventional cleaners. But what if I told you the secret weapon to conquering even the most persistent grime has been sitting in your pantry all along?
Baking soda, that humble white powder, isn’t just for baking delicious treats. For generations, it’s been a go-to cleaning agent, passed down through families as a natural and effective way to tackle household messes. Think of your grandmother’s sparkling clean kitchen – chances are, baking soda played a starring role! Its history as a cleaning agent stretches back centuries, with evidence of its use found in ancient civilizations.
In today’s world, where we’re all looking for eco-friendly and budget-friendly solutions, baking soda cleaning grime offers the perfect answer. Why spend a fortune on harsh chemicals when you can achieve amazing results with a simple, non-toxic ingredient? This DIY guide will unlock the power of baking soda, revealing clever tricks and hacks to banish grime from every corner of your home. From tackling greasy stovetops to revitalizing dingy grout, prepare to be amazed by the cleaning prowess of this everyday essential. Let’s get started and transform your home into a sparkling sanctuary, one baking soda scrub at a time!
DIY Baking Soda Power Cleaner: Banishing Grime Like a Pro!
Okay, let’s face it: grime happens. Whether it’s baked-on food in your oven, stubborn soap scum in your shower, or just general gunk clinging to your countertops, grime is the unwelcome guest that just won’t leave. But fear not! I’m here to share my secret weapon: the humble, yet mighty, baking soda. This isn’t just for baking anymore; it’s a powerhouse cleaner that’s cheap, effective, and eco-friendly. I’m going to walk you through how to use baking soda to tackle even the most stubborn grime, leaving your home sparkling.
What You’ll Need
Before we dive in, let’s gather our supplies. The beauty of this cleaning method is that it requires minimal ingredients and tools.
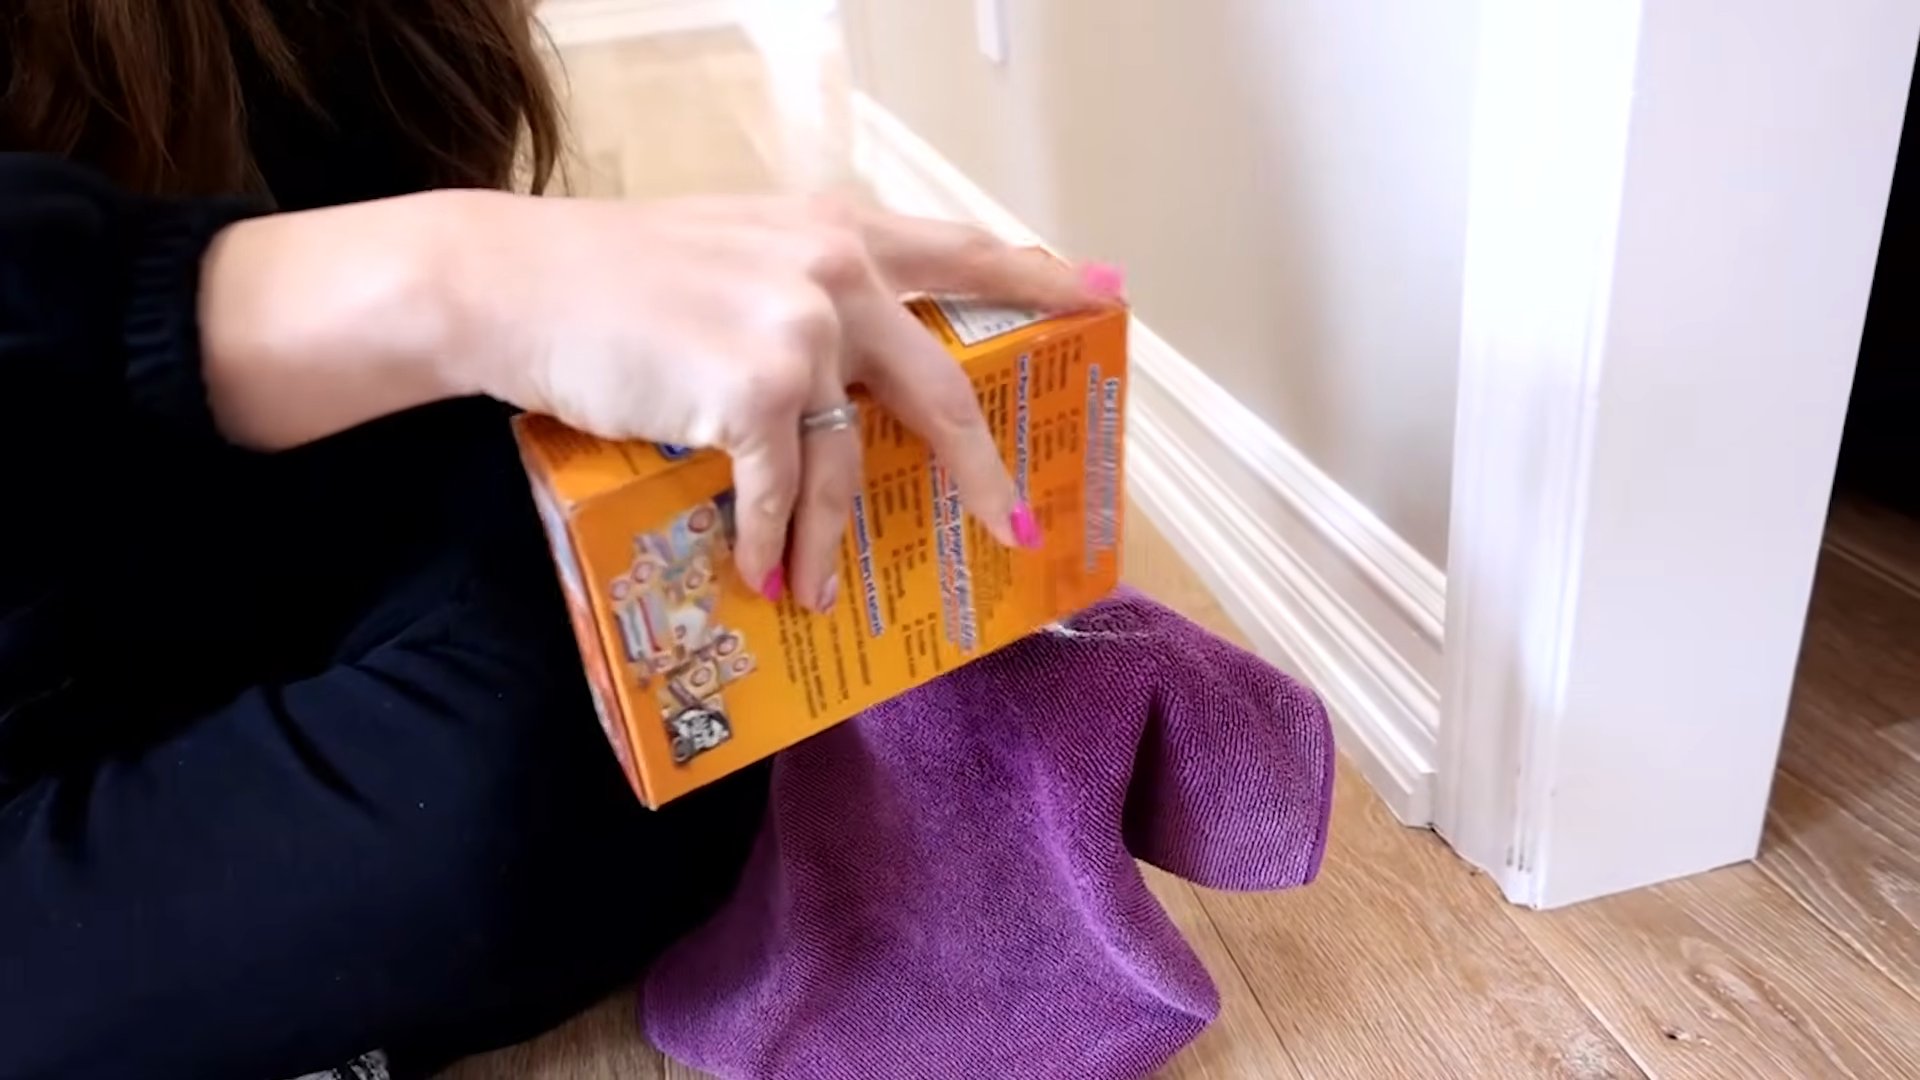
* Baking Soda: The star of the show! Grab a box (or a bulk bag if you’re serious about cleaning).
* Water: Plain old tap water will do.
* White Vinegar (Optional, but highly recommended): This adds some serious fizzing power for tough grime.
* Spray Bottle: For easy application of baking soda solutions.
* Scrub Brush or Sponge: Choose one that’s appropriate for the surface you’re cleaning. A non-scratch sponge is great for delicate surfaces.
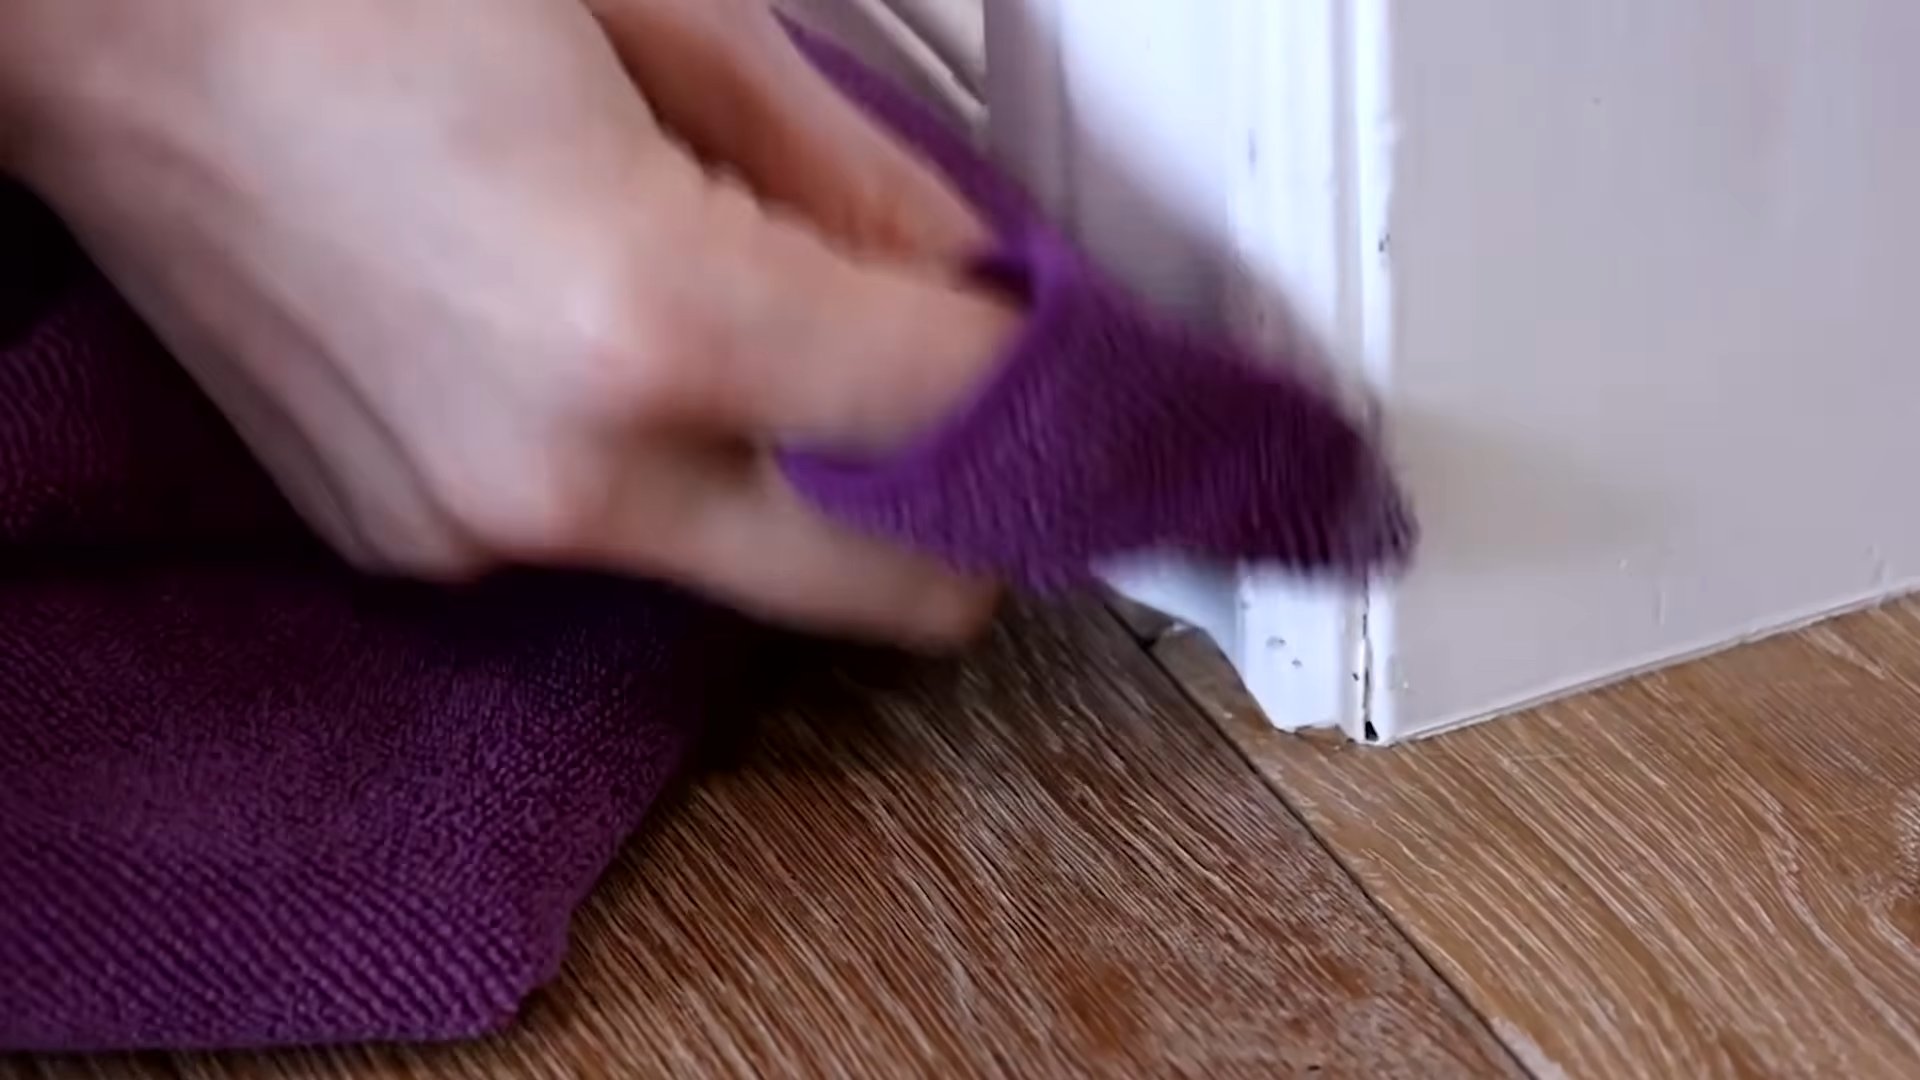
* Microfiber Cloths: For wiping and polishing.
* Old Toothbrush: Perfect for getting into those hard-to-reach nooks and crannies.
* Gloves (Optional): If you have sensitive skin, gloves are always a good idea.
* Small Bowl or Container: For mixing pastes.
* Spatula or Scraper (Optional): For loosening stubborn grime.
General Baking Soda Cleaning Tips
Before we get into specific grime-busting scenarios, here are a few general tips to keep in mind:
* Test in an Inconspicuous Area: Always test your baking soda solution on a small, hidden area first to make sure it doesn’t damage the surface. This is especially important for delicate materials like painted walls or certain types of countertops.
* Don’t Mix with Bleach: This is a big no-no! Mixing baking soda with bleach can create harmful and potentially deadly fumes.
* Be Patient: Baking soda often needs time to work its magic. Let it sit on the grime for a few minutes (or even longer for really tough messes) before scrubbing.
* Rinse Thoroughly: After scrubbing, be sure to rinse the area thoroughly with clean water to remove any baking soda residue.
* Use Elbow Grease: While baking soda is a powerful cleaner, it still requires some elbow grease. Don’t be afraid to put some muscle into your scrubbing!
Cleaning the Oven with Baking Soda
A grimy oven is a common problem, but baking soda can make it manageable. This method takes a little time, but it’s worth it for a sparkling clean oven without harsh chemicals.
Phase 1: The Baking Soda Paste
1. Empty the Oven: Remove all racks, baking sheets, and anything else that’s inside the oven.
2. Make the Paste: In a small bowl, mix 1/2 cup of baking soda with enough water to form a thick, spreadable paste. You want it to be thick enough to stick to the oven walls.
3. Apply the Paste: Using your fingers (with gloves on, if you prefer) or a spatula, spread the baking soda paste all over the inside of the oven, avoiding the heating elements. Pay special attention to areas with heavy grime.
4. Let it Sit: This is the crucial part. Let the baking soda paste sit for at least 12 hours, or even overnight. The longer it sits, the more time it has to loosen the grime.
Phase 2: The Vinegar Power-Up and Scrubbing
1. Spray with Vinegar: After the baking soda paste has sat overnight, fill a spray bottle with white vinegar and spray it all over the baking soda paste. The vinegar will react with the baking soda, creating a fizzing action that helps to lift the grime.
2. Scrub: Using a scrub brush or sponge, scrub the oven walls and floor. You may need to use some elbow grease, especially in areas with stubborn grime.
3. Wipe Clean: Use a damp microfiber cloth to wipe away the baking soda paste and loosened grime. You may need to rinse the cloth frequently.
4. Replace the Racks: Once the oven is clean and dry, replace the racks and you’re good to go!
Tackling Soap Scum in the Bathroom
Soap scum is another common bathroom nemesis. Baking soda can help you conquer it without harsh chemicals.
1. Make a Baking Soda Paste: In a small bowl, mix baking soda with a little water to form a paste. The consistency should be similar to toothpaste.
2. Apply the Paste: Apply the baking soda paste to the soap scum-covered areas, such as shower walls, doors, and faucets.
3. Let it Sit: Allow the paste to sit for about 15-20 minutes to soften the soap scum.
4. Scrub: Use a scrub brush or sponge to scrub the affected areas. For stubborn soap scum, you can sprinkle some dry baking soda onto the sponge for extra scrubbing power.
5. Rinse Thoroughly: Rinse the area thoroughly with clean water to remove all traces of baking soda and soap scum.
6. Dry and Polish: Use a clean, dry microfiber cloth to dry and polish the surfaces. This will help prevent water spots and leave your bathroom sparkling.
Cleaning Grout with Baking Soda
Dirty grout can make even the cleanest tiles look dingy. Baking soda can help you restore your grout to its former glory.
1. Make a Baking Soda Paste: Mix baking soda with a little water to form a thick paste.
2. Apply the Paste: Apply the paste to the grout lines. You can use your fingers (with gloves on) or a small brush to apply it.
3. Let it Sit: Allow the paste to sit for about 30 minutes to loosen the dirt and grime.
4. Scrub: Use an old toothbrush or a grout brush to scrub the grout lines.
5. Spray with Vinegar (Optional): For extra cleaning power, spray the grout lines with white vinegar after scrubbing. The vinegar will react with the baking soda, creating a fizzing action that helps to lift the dirt.
6. Rinse Thoroughly: Rinse the area thoroughly with clean water to remove all traces of baking soda and dirt.
7. Dry: Use a clean cloth to dry the grout lines.
Cleaning Burnt Food from Pots and Pans
Burnt food stuck to the bottom of your pots and pans? Don’t despair! Baking soda can help you salvage your cookware.
1. Sprinkle with Baking Soda: Sprinkle a generous amount of baking soda over the burnt food in the pot or pan.
2. Add Water: Add enough water to cover the burnt food.
3. Bring to a Boil: Bring the water to a boil and let it simmer for about 15-20 minutes.
4. Let it Cool: Remove the pot or pan from the heat and let it cool completely.
5. Scrub: Use a sponge or scrub brush to scrub away the loosened burnt food. For stubborn spots, you can add a little more baking soda to the sponge.
6. Wash as Usual: Wash the pot or pan as usual with soap and water.
Freshening Up Your Mattress
Did you know baking soda can also freshen up your mattress? It’s a great way to eliminate odors and absorb moisture.
1. Strip the Bed: Remove all bedding from the mattress.
2. Sprinkle with Baking Soda: Sprinkle a generous amount of baking soda over the entire surface of the mattress.
3. Let it Sit: Allow the baking soda to sit for at least 30 minutes, or even longer for heavily soiled mattresses. The longer it sits, the more odors and moisture it will absorb. I usually let it sit for a few hours.
4. Vacuum: Use a vacuum cleaner with an upholstery attachment to vacuum up all the baking soda.
5. Repeat (Optional): If your mattress is heavily soiled or has a strong odor, you may need to repeat the process.
Cleaning and Deodorizing Cutting Boards
Cutting boards can harbor bacteria and odors. Baking soda can help you keep them clean and fresh.
1. Sprinkle with Baking Soda: Sprinkle a generous amount of baking soda over the surface of the cutting board.
2. Rub with Lemon (Optional): For extra cleaning and deodorizing power, rub the baking soda into the cutting board with half a lemon.
Conclusion
So, there you have it! Unlocking the cleaning power of baking soda to tackle even the most stubborn grime is not just a cost-effective solution, it’s a game-changer for your home. We’ve explored how this humble ingredient, often relegated to the back of the pantry, can become your secret weapon against dirt, grease, and those unsightly stains that seem impossible to remove.
Why is this DIY trick a must-try? Because it’s simple, safe, and incredibly effective. Unlike harsh chemical cleaners that can irritate your skin and fill your home with unpleasant fumes, baking soda is a natural, non-toxic alternative. It’s gentle enough to use on a variety of surfaces, yet powerful enough to cut through grime and leave your home sparkling. Plus, let’s be honest, who doesn’t love saving money? Ditching expensive cleaning products in favor of baking soda is a budget-friendly way to keep your home clean and healthy.
But the beauty of this DIY approach lies in its versatility. Feel free to experiment with different variations to suit your specific needs. For tougher stains, create a paste of baking soda and water, apply it to the affected area, and let it sit for a few minutes before scrubbing. For a refreshing scent, add a few drops of your favorite essential oil to your baking soda cleaning solution. Lemon, lavender, and tea tree oil are all excellent choices that not only smell great but also offer additional cleaning and disinfecting properties.
Consider boosting the cleaning power by combining baking soda with other natural ingredients. A mixture of baking soda and vinegar can be incredibly effective for unclogging drains and removing stubborn buildup. Just be sure to use caution when mixing these two ingredients, as they can create a fizzing reaction. Always add vinegar slowly and in a well-ventilated area.
Another fantastic variation is to create a baking soda scrub for your kitchen and bathroom. Mix baking soda with a small amount of liquid dish soap to form a paste. This scrub is perfect for cleaning sinks, countertops, and even tile grout. The gentle abrasive action of the baking soda helps to lift away dirt and grime without scratching surfaces.
Don’t be afraid to get creative and customize your baking soda cleaning solutions to meet your specific needs. The possibilities are endless!
We’re confident that once you experience the cleaning power of baking soda, you’ll be hooked. It’s a simple, effective, and eco-friendly way to keep your home clean and healthy. So, ditch the harsh chemicals and embrace the natural cleaning power of baking soda.
Now, it’s your turn! We encourage you to try these DIY baking soda cleaning tricks and share your experience with us. Let us know what worked best for you, what variations you tried, and any tips or tricks you discovered along the way. Your feedback is invaluable and helps us to create even better cleaning solutions for our community. Share your before-and-after photos on social media and tag us so we can see your amazing results! We can’t wait to hear from you and see how you’re using baking soda to transform your home. Let’s all embrace the power of **baking soda cleaning**!
Frequently Asked Questions (FAQ)
Is baking soda safe to use on all surfaces?
While baking soda is generally safe for most surfaces, it’s always a good idea to test it in an inconspicuous area first, especially on delicate or easily scratched materials. Avoid using baking soda on polished or varnished wood, as it can dull the finish. Also, be cautious when using it on gold-plated items, as it can potentially damage the plating over time. For surfaces like marble or granite, use baking soda sparingly and with a gentle touch, as excessive scrubbing can cause etching. When in doubt, consult the manufacturer’s instructions for your specific surface.
How do I store leftover baking soda cleaning solutions?
Leftover baking soda cleaning solutions can be stored in an airtight container for a short period, typically up to a week. However, keep in mind that the effectiveness of the solution may decrease over time. It’s best to use freshly made solutions for optimal cleaning power. If you’re storing a baking soda and vinegar mixture, be sure to use a container with a loose-fitting lid to allow for any gas buildup to escape. Always label your containers clearly to avoid any accidental misuse.
Can I use baking soda to clean my oven?
Yes, baking soda is an excellent natural oven cleaner. To clean your oven with baking soda, start by removing any loose debris. Then, make a paste of baking soda and water and spread it evenly throughout the oven, avoiding the heating elements. Let the paste sit overnight. The next day, wipe away the paste with a damp cloth. For stubborn areas, use a scrub brush or sponge. You can also add a small amount of vinegar to the baking soda paste for extra cleaning power.
How do I get rid of baking soda residue after cleaning?
After cleaning with baking soda, it’s important to rinse the surface thoroughly with clean water to remove any residue. Use a damp cloth or sponge to wipe away any remaining baking soda. For larger areas, you can use a spray bottle filled with water to rinse the surface. If you notice any stubborn residue, try wiping it away with a cloth dampened with vinegar. The vinegar will help to dissolve the baking soda and leave the surface clean and shiny.
Is baking soda the same as baking powder?
No, baking soda and baking powder are not the same thing. Baking soda is pure sodium bicarbonate, while baking powder contains sodium bicarbonate plus an acidifying agent, such as cream of tartar, and a drying agent. Baking soda requires an acid to activate its leavening properties, while baking powder is self-activating. While they can sometimes be used interchangeably in baking, they have different chemical compositions and should not be substituted for each other in cleaning applications. Baking soda is the preferred choice for cleaning due to its mild abrasive properties and ability to neutralize odors.
Can I use baking soda to remove odors from my refrigerator?
Absolutely! Baking soda is a fantastic natural deodorizer. To remove odors from your refrigerator, simply place an open box of baking soda on a shelf. The baking soda will absorb odors and keep your refrigerator smelling fresh. Replace the box of baking soda every three months or sooner if you notice any lingering odors. You can also use baking soda to clean the inside of your refrigerator. Mix baking soda with water to create a cleaning solution and wipe down the shelves, drawers, and walls of the refrigerator.
What are some other uses for baking soda besides cleaning?
Baking soda has a wide range of uses beyond cleaning. It can be used as a natural antacid to relieve heartburn, as a toothpaste to whiten teeth, as a deodorant to neutralize body odor, and as a bath soak to soothe skin irritations. It can also be used in baking as a leavening agent, in gardening to balance soil pH, and in laundry to boost the cleaning power of your detergent. The versatility of baking soda makes it a valuable addition to any household.
How can I use baking soda to unclog a drain?
To unclog a drain with baking soda, start by pouring a cup of baking soda down the drain, followed by a cup of vinegar. Let the mixture fizz for about 30 minutes. Then, flush the drain with hot water. The baking soda and vinegar will react to create a fizzing action that helps to break down clogs. For stubborn clogs, you may need to repeat the process. You can also use a plunger to help dislodge the clog. If the clog persists, it’s best to call a professional plumber.

Leave a Comment