
Sweet potato growing for beginners can seem daunting, but trust me, it’s more rewarding than you might think! Imagine harvesting your own vibrant, nutrient-packed sweet potatoes right from your backyard. It’s a feeling of accomplishment that’s hard to beat. For centuries, sweet potatoes have been a staple in diets around the world, from their origins in Central and South America to becoming a beloved ingredient in countless cuisines. They’re not just delicious; they’re packed with vitamins and fiber, making them a healthy addition to any meal.
But why should you try growing them? Well, store-bought sweet potatoes can sometimes lack that fresh, vibrant flavor. Plus, knowing exactly where your food comes from and how it’s grown is incredibly satisfying. And let’s be honest, who doesn’t love a good DIY project? This article is your ultimate guide to sweet potato growing for beginners, filled with simple tricks and hacks that will help you achieve a bountiful harvest, even if you’ve never gardened before. We’ll break down the process step-by-step, from sprouting slips to harvesting your sweet potato treasure. Get ready to get your hands dirty and enjoy the delicious fruits (or rather, vegetables!) of your labor!
Growing Sweet Potatoes: A Beginner’s Guide to a Bountiful Harvest
Hey there, fellow gardening enthusiasts! Ever dreamt of harvesting your own sweet potatoes, those vibrant orange treasures packed with nutrients and flavor? Well, dream no more! Growing sweet potatoes might seem intimidating, but trust me, it’s totally achievable, even for beginners. I’m going to walk you through the whole process, from sprouting slips to digging up your delicious harvest. Let’s get our hands dirty!
What You’ll Need
Before we dive in, let’s gather our supplies. Having everything ready will make the process smooth and enjoyable.
* Sweet Potato(es): Organic is best to avoid any sprout inhibitors. One or two will do to start.
* Glass Jar or Container: Wide-mouthed jars work great.
* Toothpicks: To suspend the sweet potato in the water.
* Potting Mix: A well-draining mix is crucial.
* Seed Trays or Small Pots: For starting the slips.
* Gardening Gloves: To protect your hands.
* Shovel or Garden Fork: For planting and harvesting.
* Well-Draining Soil: Sweet potatoes thrive in loose, sandy loam.
* Compost or Aged Manure: To enrich the soil.
* Watering Can or Hose: For regular watering.
* Mulch (optional): Straw, hay, or wood chips to retain moisture and suppress weeds.
Sprouting Sweet Potato Slips: The Magic Begins
The first step in growing sweet potatoes is sprouting “slips.” These are the leafy shoots that grow from the sweet potato itself, and they’re what you’ll eventually plant in the ground. This is probably the most fascinating part, watching those little slips emerge!
1. Prepare the Sweet Potato: Wash your sweet potato thoroughly to remove any dirt.
2. Insert Toothpicks: Insert toothpicks around the middle of the sweet potato, spacing them evenly. These will act as supports to suspend the potato in the jar.
3. Suspend in Water: Fill your glass jar with water, leaving about an inch of space at the top. Carefully place the sweet potato in the jar, resting the toothpicks on the rim so that the bottom half of the potato is submerged in water.
4. Find a Sunny Spot: Place the jar in a warm, sunny location. A windowsill that gets plenty of sunlight is ideal.
5. Maintain Water Level: Check the water level regularly and add more water as needed to keep the bottom half of the sweet potato submerged.
6. Wait Patiently: Now comes the waiting game! It can take several weeks for slips to start sprouting. Be patient and keep an eye on your sweet potato. You should start to see small roots emerging from the bottom and leafy shoots (slips) growing from the top.
7. Encourage Growth: Once the slips are a few inches long, you can gently twist them off the sweet potato. Place the slips in a glass of water to encourage root development. Change the water every couple of days.
Planting Your Sweet Potato Slips: From Water to Soil
Once your slips have developed a good root system, it’s time to plant them in the soil. This is where the real growing begins!
1. Prepare the Soil: Sweet potatoes need well-draining soil that’s rich in organic matter. Choose a location that gets at least 6-8 hours of sunlight per day. Amend the soil with compost or aged manure to improve its fertility and drainage. I like to really work it in there to make sure the soil is nice and loose.
2. Create Ridges or Hills: Sweet potatoes grow best in raised ridges or hills. This helps with drainage and allows the tubers to develop easily. Create ridges that are about 8-10 inches high and 12 inches wide. Space the ridges about 3-4 feet apart.
3. Plant the Slips: Gently plant the slips in the ridges, spacing them about 12 inches apart. Bury the slips up to the first set of leaves.
4. Water Thoroughly: After planting, water the slips thoroughly to help them establish roots.
5. Mulch (Optional): Apply a layer of mulch around the plants to help retain moisture, suppress weeds, and regulate soil temperature. Straw, hay, or wood chips work well.
Caring for Your Sweet Potato Plants: Nurturing Your Crop
Once your sweet potato plants are in the ground, they’ll need regular care to thrive. This includes watering, weeding, and protecting them from pests and diseases.
1. Watering: Water your sweet potato plants regularly, especially during dry periods. Keep the soil consistently moist, but avoid overwatering, which can lead to root rot. I usually check the soil moisture by sticking my finger in a couple of inches. If it feels dry, it’s time to water.
2. Weeding: Keep the area around your sweet potato plants free of weeds. Weeds compete with the plants for nutrients and water, so it’s important to remove them regularly. Hand-pulling weeds is usually the best option to avoid damaging the sweet potato plants.
3. Fertilizing (Optional): Sweet potatoes don’t require a lot of fertilizer, but you can give them a boost with a side dressing of compost or a balanced organic fertilizer a few weeks after planting. Avoid using fertilizers that are high in nitrogen, as this can promote leafy growth at the expense of tuber development.
4. Pest and Disease Control: Sweet potatoes are generally resistant to pests and diseases, but they can be susceptible to certain problems, such as sweet potato weevils and fungal diseases. Inspect your plants regularly for any signs of trouble and take appropriate action if necessary. Organic pest control methods, such as insecticidal soap or neem oil, can be effective for controlling pests. Ensure good air circulation to prevent fungal diseases.
5. Vine Management: Sweet potato vines can grow quite long and sprawling. While they don’t necessarily need to be pruned, you can trim them back if they’re taking over your garden. Be careful not to damage the tubers when pruning the vines.
Harvesting Your Sweet Potatoes: The Grand Finale
After about 90-120 days, your sweet potatoes should be ready to harvest. This is the most rewarding part of the whole process!
1. Timing: The best time to harvest sweet potatoes is before the first frost. Frost can damage the tubers and affect their flavor and storage life.
2. Prepare for Harvest: A week or two before harvesting, stop watering the plants to allow the soil to dry out slightly. This will make it easier to dig up the tubers.
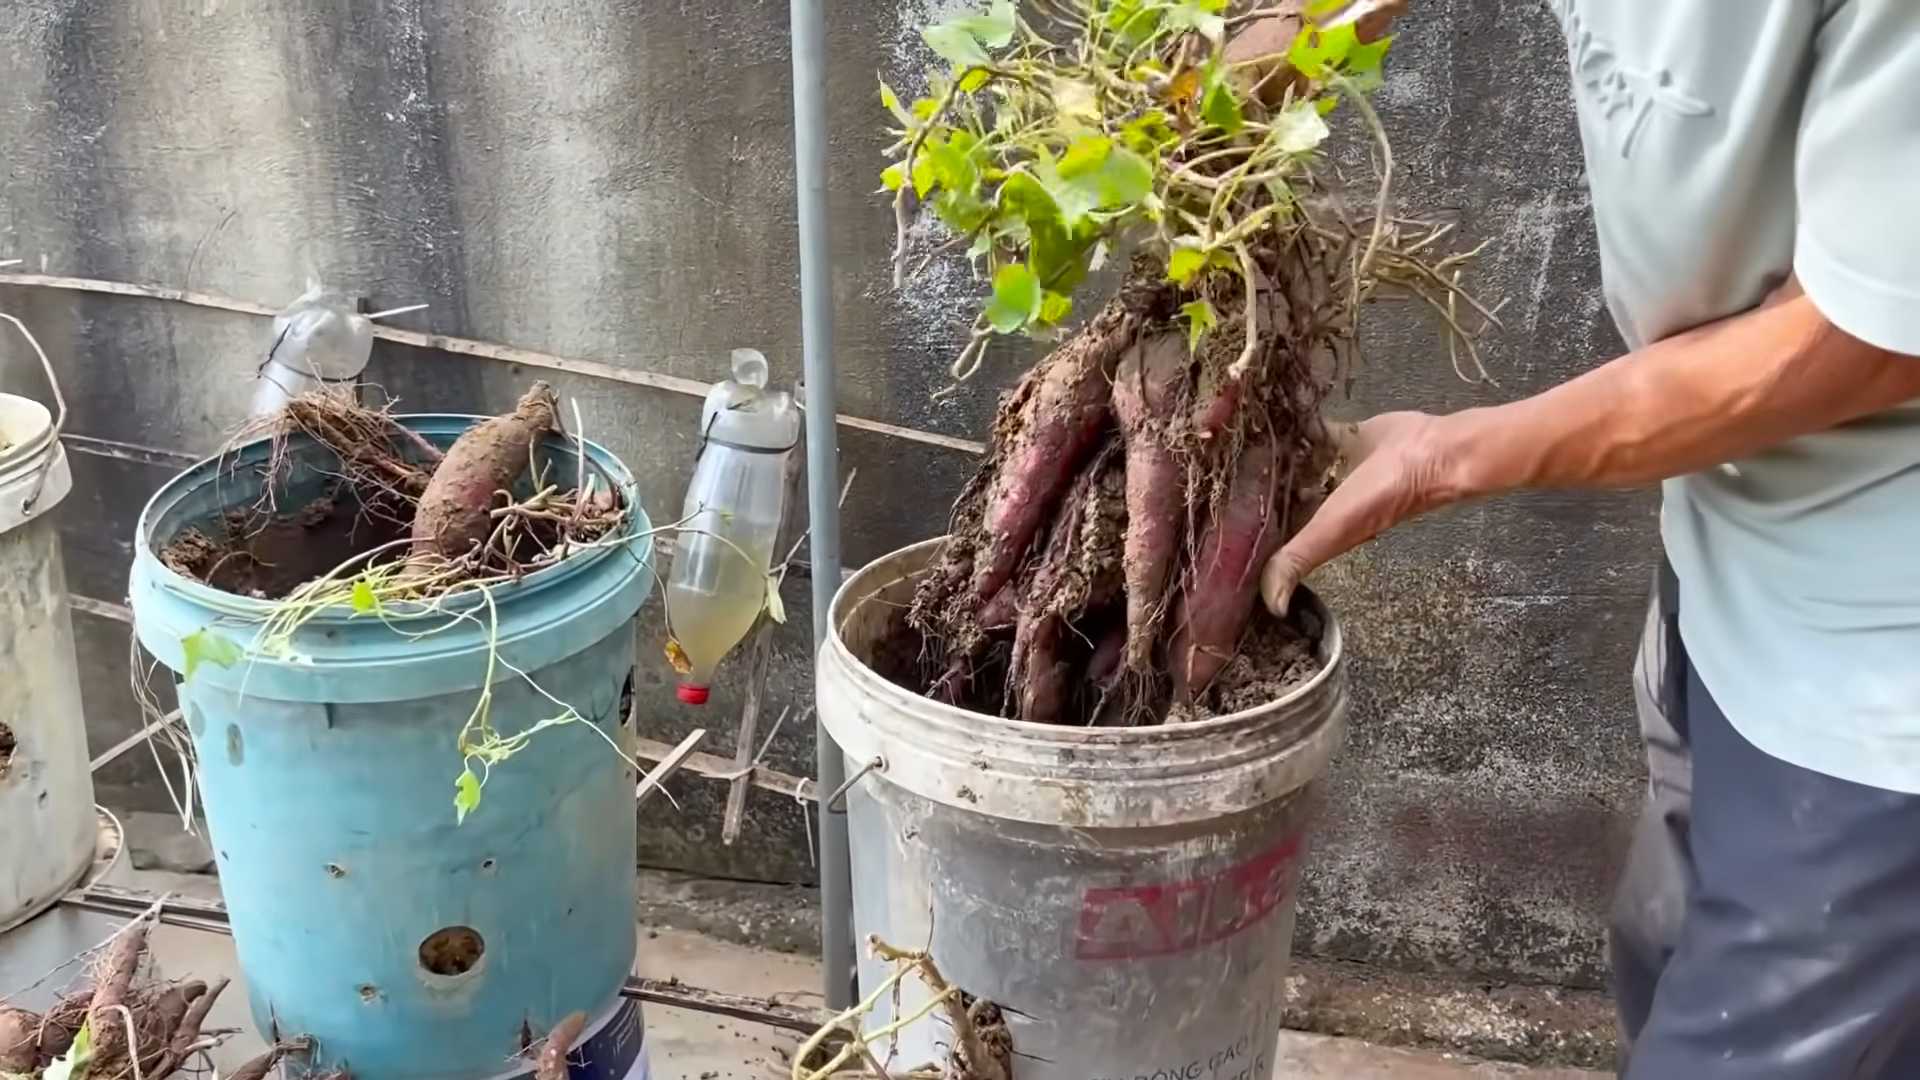
3. Dig Carefully: Use a shovel or garden fork to carefully dig around the plants, being careful not to damage the tubers. Start digging a few inches away from the base of the plant and work your way inward.
4. Lift the Tubers: Once you’ve loosened the soil around the plants, gently lift the tubers out of the ground. Be careful not to bruise or cut them.
5. Curing: Curing is an essential step in preparing sweet potatoes for storage. It allows the skins to harden and heal any minor injuries, which helps prevent rot. To cure sweet potatoes, place them in a warm, humid location (80-85°F and 85-90% humidity) for about 7-10 days. A greenhouse or a warm, sunny room with a humidifier works well.
6. Storing: After curing, store your sweet potatoes in a cool, dry, and dark place (55-60°F). A basement or root cellar is ideal. Avoid storing them in the refrigerator, as this can cause them to develop a hard core. Properly cured and stored sweet potatoes can last for several months.
Troubleshooting: Common Issues and Solutions
Even with the best care, you might encounter some challenges along the way. Here are a few common issues and how to address them:
* Slips Not Sprouting: If your slips aren’t sprouting, make sure the sweet potato is getting enough sunlight and warmth. Also, check the water level and make sure the bottom half of the potato is submerged. Sometimes, it just takes time, so be patient!
* Yellowing Leaves: Yellowing leaves can indicate a nutrient deficiency or overwatering. Check the soil moisture and adjust your watering accordingly. You can also amend the soil with compost or a balanced fertilizer.
* Pest Problems: If you notice pests on your sweet potato plants, try using organic pest control methods, such as insecticidal soap or neem oil.
* Rotting Tubers: Rotting tubers can be caused by overwatering or poor drainage. Make sure your soil is well-draining and avoid overwatering. Also, be careful not to damage the tubers during harvest.
Enjoying Your Harvest: Delicious Sweet Potato Recipes
Now that you’ve harvested your own sweet potatoes, it’s time to enjoy the
Conclusion
So, there you have it! Transforming a humble sweet potato into a thriving plant, and potentially a bountiful harvest, is far more accessible than you might think. This DIY trick isn’t just about saving money; it’s about connecting with nature, understanding the life cycle of plants, and experiencing the immense satisfaction of growing your own food. Forget those expensive seedlings and complicated gardening setups. With a single sweet potato, some water, and a little patience, you can embark on a rewarding journey of homegrown goodness.
This method is a must-try for several reasons. First, it’s incredibly budget-friendly. You’re essentially recycling a food item that might otherwise end up in the compost bin. Second, it’s a fantastic educational experience, especially for children. They can witness firsthand how roots emerge, vines grow, and a new plant comes to life. Third, it’s adaptable to various spaces. Whether you have a sprawling garden, a sunny balcony, or just a windowsill, you can adapt this technique to suit your environment.
Don’t be afraid to experiment with variations! Try using different varieties of sweet potatoes to see which ones thrive best in your area. You can also experiment with different growing mediums. While water propagation is a great starting point, you can eventually transplant your sweet potato slips into soil-filled containers or directly into your garden bed. Consider adding organic fertilizers to boost growth and yield. You can also try growing your sweet potatoes in raised beds for better drainage and soil quality.
Furthermore, consider the aesthetic appeal. Sweet potato vines are beautiful and can be trained to climb trellises or cascade from hanging baskets. They add a touch of greenery and visual interest to any space. You can even grow them indoors as ornamental plants, enjoying their lush foliage even if you don’t intend to harvest the tubers.
The key to success with this sweet potato growing method is patience and observation. Keep an eye on your sweet potato, ensuring the water is clean and the environment is conducive to growth. Don’t be discouraged if it takes a few weeks for sprouts to appear. Every sweet potato is different, and some may take longer than others.
We wholeheartedly encourage you to give this DIY trick a try. It’s a simple, rewarding, and sustainable way to grow your own food and connect with nature. Once you’ve experienced the joy of harvesting your own sweet potatoes, you’ll be hooked!
We’d love to hear about your experiences! Share your photos, tips, and stories in the comments below. Let’s create a community of sweet potato growers and learn from each other. What variety did you use? What challenges did you face? What successes did you achieve? Your insights can help others on their sweet potato growing journey. Happy growing!
Frequently Asked Questions (FAQ)
1. What kind of sweet potato should I use?
You can use any sweet potato you find at the grocery store, but organic sweet potatoes are often recommended. Non-organic sweet potatoes may be treated with growth inhibitors to prevent sprouting during storage. While these inhibitors might not completely prevent sprouting, they can slow down the process. If you’re unsure, opt for an organic sweet potato or one that has already started to sprout. Beauregard, Jewel, and Garnet are popular varieties that grow well in many regions. Experiment with different varieties to see which ones thrive best in your local climate and soil conditions.
2. How long does it take for a sweet potato to sprout?
The time it takes for a sweet potato to sprout varies depending on several factors, including the variety of sweet potato, the temperature, and the amount of light it receives. Generally, you can expect to see sprouts within 2-4 weeks. However, some sweet potatoes may take longer, so be patient. Ensure the sweet potato is kept in a warm, bright location to encourage sprouting. Change the water regularly to prevent mold and bacteria growth, which can hinder the sprouting process.
3. What are “slips,” and how do I get them?
Slips are the leafy sprouts that grow from the sweet potato. Once your sweet potato has sprouted, allow the sprouts to grow several inches long. Once they are about 6-8 inches long, gently twist or cut them off the sweet potato. Place the slips in a glass of water, ensuring that the bottom inch or two is submerged. Within a few days, roots will begin to form. Once the roots are about an inch long, the slips are ready to be planted.
4. When is the best time to plant sweet potato slips?
The best time to plant sweet potato slips is after the last frost, when the soil has warmed up to at least 60°F (15°C). Sweet potatoes are warm-weather crops and thrive in temperatures between 75°F and 85°F (24°C and 29°C). In cooler climates, you may need to start your sweet potatoes indoors and transplant them outdoors once the weather is warm enough.
5. What kind of soil is best for growing sweet potatoes?
Sweet potatoes prefer well-drained, sandy loam soil. They don’t thrive in heavy clay soil, which can become waterlogged and prevent the tubers from developing properly. If you have clay soil, amend it with organic matter, such as compost or aged manure, to improve drainage and aeration. Sweet potatoes also prefer slightly acidic soil with a pH between 5.5 and 6.5.
6. How much sun do sweet potatoes need?
Sweet potatoes need at least 6-8 hours of direct sunlight per day. Choose a sunny location in your garden or on your balcony to ensure they receive enough light. If you’re growing sweet potatoes indoors, place them near a south-facing window or use grow lights to supplement natural light.
7. How often should I water sweet potatoes?
Water sweet potatoes regularly, especially during dry periods. Keep the soil consistently moist, but avoid overwatering, which can lead to root rot. Water deeply and less frequently, rather than shallowly and more often. Mulching around the plants can help retain moisture in the soil and reduce the need for frequent watering.
8. Do sweet potatoes need fertilizer?
Sweet potatoes benefit from fertilization, but avoid using fertilizers that are high in nitrogen, as this can promote excessive vine growth at the expense of tuber development. Use a balanced fertilizer or one that is higher in phosphorus and potassium, which are essential for root growth. Apply fertilizer according to the package instructions. You can also amend the soil with compost or aged manure to provide a slow-release source of nutrients.
9. How do I know when my sweet potatoes are ready to harvest?
Sweet potatoes are typically ready to harvest about 90-120 days after planting. The leaves will start to turn yellow and the vines will begin to die back. To check if the tubers are ready, carefully dig around one plant and feel for the size of the potatoes. Harvest before the first frost, as frost can damage the tubers.
10. How do I cure sweet potatoes after harvesting?
Curing sweet potatoes is essential for improving their flavor and storage life. After harvesting, gently brush off any excess soil and allow the sweet potatoes to dry in a warm, humid place (80-85°F or 27-29°C) for 7-10 days. This process allows the skins to harden and heal any minor cuts or bruises. After curing, store the sweet potatoes in a cool, dry, and well-ventilated place (55-60°F or 13-16°C). Avoid storing them in the refrigerator, as this can cause them to develop a hard core.
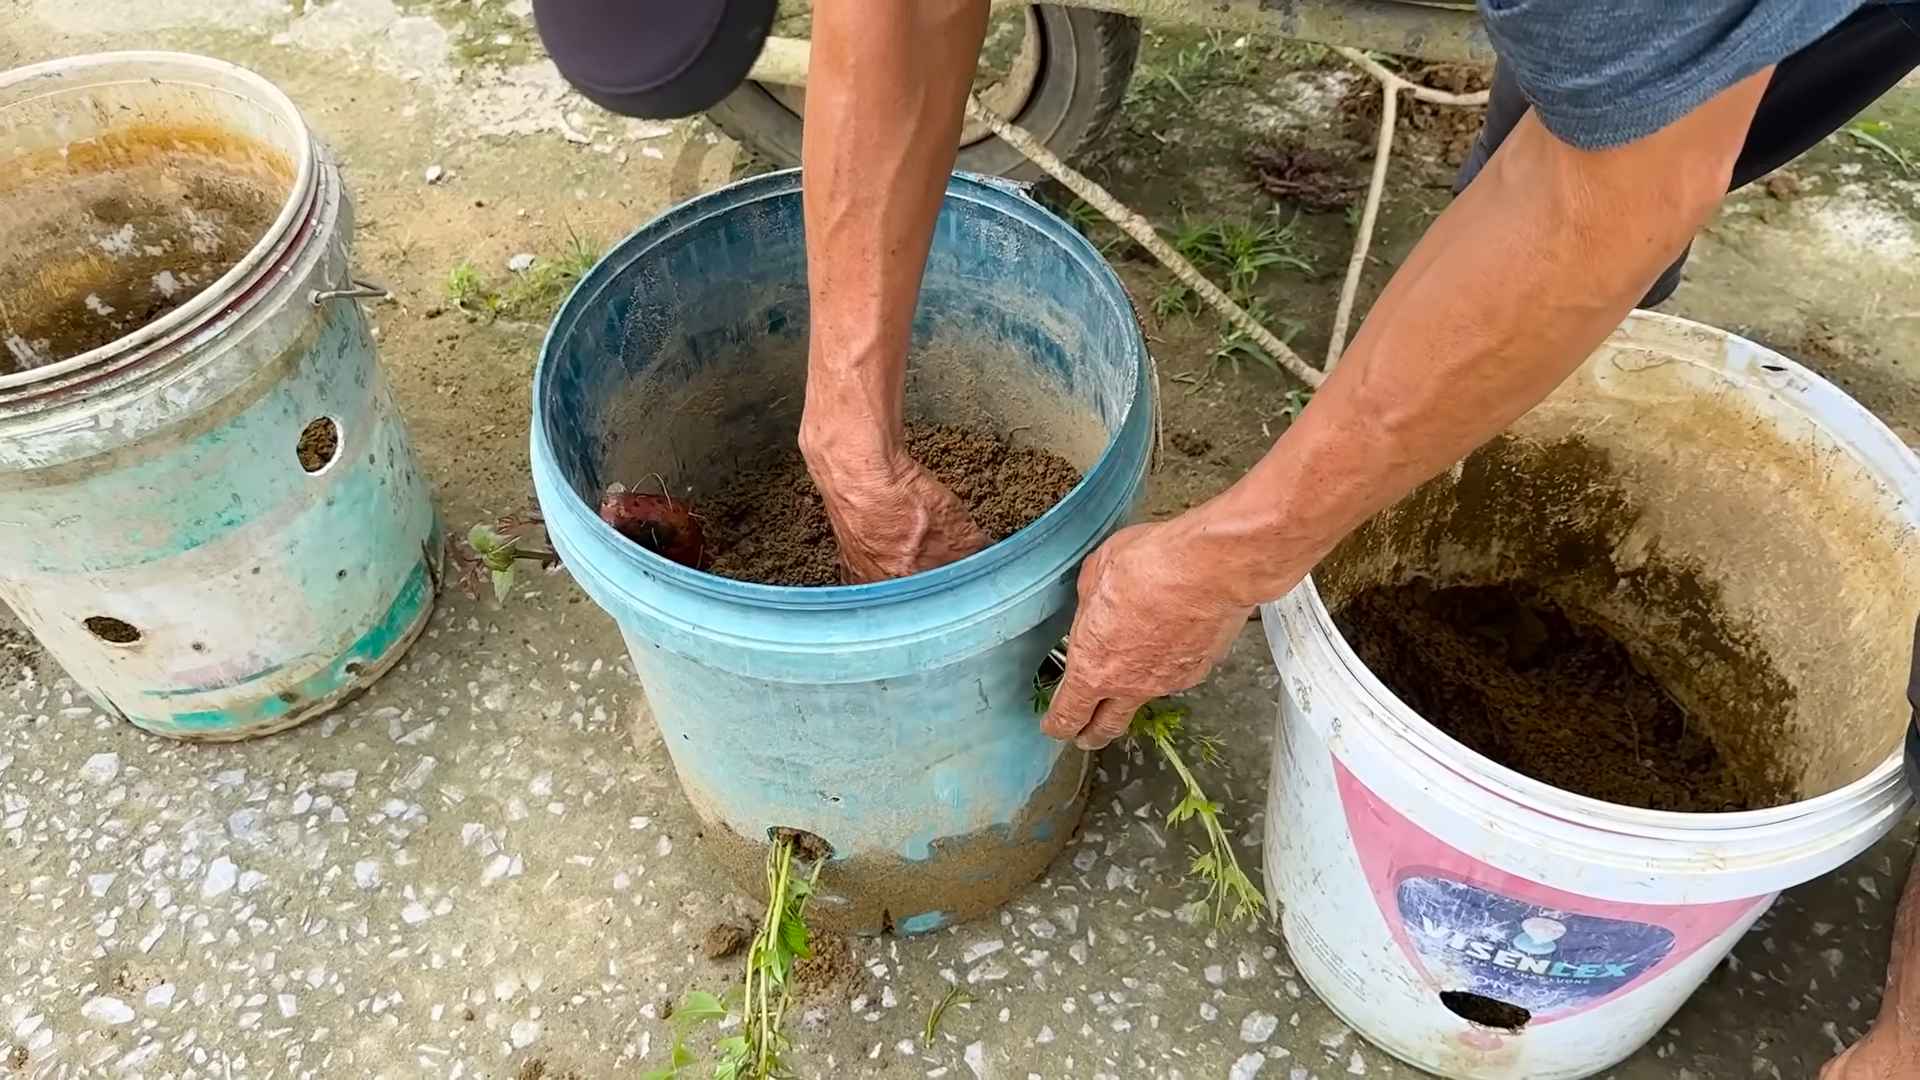
11. Can I grow sweet potatoes in containers?
Yes, you can grow sweet potatoes in containers, but you’ll need a large container (at least 20 gallons) to accommodate the tuber development. Choose a container with good drainage and fill it with well-drained potting mix. Provide plenty of sunlight and water regularly. Container-grown sweet potatoes may not produce as many tubers as those grown in the ground, but you can still enjoy a decent harvest.
12. What are some common pests and diseases that affect sweet potatoes?
Common pests that affect sweet potatoes include sweet potato weevils, flea beetles, and aphids. Diseases include stem rot, black rot, and scurf. Practice crop rotation, use disease-resistant varieties, and control weeds to minimize pest and disease problems. You can also use organic pest control methods, such as insecticidal soap or neem oil, to control pests.
13. Can I eat the sweet potato leaves?
Yes, sweet potato leaves are edible and nutritious. They can be cooked like spinach or other leafy greens. Choose young, tender leaves for the best flavor. Sweet potato leaves are a good source of vitamins A and C, as well as fiber and antioxidants.
14. My sweet potato is rotting in the water. What should I do?
If your sweet potato starts to rot in the water, it’s likely due to bacteria or fungus. Remove the sweet potato from the water and discard the water. Wash the sweet potato thoroughly with clean water and trim away any rotten parts. Place the sweet potato in a clean container with fresh water. Ensure the container is clean and the water is changed regularly to prevent further rotting. If the sweet potato continues to rot, it may be best to start with a new sweet


Leave a Comment