
Growing Figs Method: Unlock the secrets to bountiful harvests right in your backyard! Have you ever dreamt of plucking sweet, juicy figs straight from your own tree? It’s more achievable than you think, and this DIY guide will show you how. For centuries, figs have been cherished across cultures, from ancient Rome where they were a symbol of prosperity to the Mediterranean where they are a staple ingredient.
But let’s be honest, sometimes growing figs can feel a little intimidating. Maybe you’ve tried before with limited success, or perhaps you’re just not sure where to start. That’s where this article comes in! I’m going to share my tried-and-true tips and tricks for successfully growing figs method, even if you don’t have a green thumb.
Why do you need these DIY hacks? Because store-bought figs simply can’t compare to the flavor of homegrown ones. Plus, nurturing your own fig tree is incredibly rewarding. Imagine the satisfaction of sharing your delicious figs with friends and family, knowing you grew them yourself. So, let’s dive in and discover the secrets to a thriving fig tree!
DIY: Propagating Fig Trees from Cuttings – A Beginner’s Guide
Hey there, fellow plant enthusiasts! I’m so excited to share my tried-and-true method for propagating fig trees from cuttings. It’s a fantastic way to expand your fig orchard (or just get your hands on more of these delicious fruits!) without spending a fortune. Trust me, it’s easier than you think, and the satisfaction of growing a new tree from a simple cutting is incredibly rewarding.
What You’ll Need
Before we dive in, let’s gather our supplies. Having everything ready beforehand will make the process smooth and enjoyable.
* Healthy Fig Cuttings: This is the most crucial part! You’ll want dormant, hardwood cuttings from a healthy fig tree. These are typically taken in late winter or early spring, before the tree starts to leaf out. Look for cuttings that are about 6-8 inches long and roughly the thickness of a pencil. They should have at least 3-4 nodes (the little bumps where leaves will eventually emerge).
* Sharp Pruning Shears or Knife: A clean, sharp cut is essential to prevent disease and promote rooting.
* Rooting Hormone (Optional but Recommended): This will significantly increase your chances of success. I personally use a powdered rooting hormone, but liquid versions work just as well.
* Potting Mix: A well-draining potting mix is key. I like to use a mix of equal parts perlite, peat moss (or coco coir), and vermiculite. This provides good aeration and moisture retention.
* Small Pots or Containers: Choose pots that are about 4-6 inches in diameter. Make sure they have drainage holes!
* Clear Plastic Bags or Humidity Dome: These will help create a humid environment, which is crucial for rooting.
* Spray Bottle: For misting the cuttings.
* Water: Obviously!
* Labels and a Marker: To keep track of your different fig varieties. Trust me, you’ll thank yourself later.
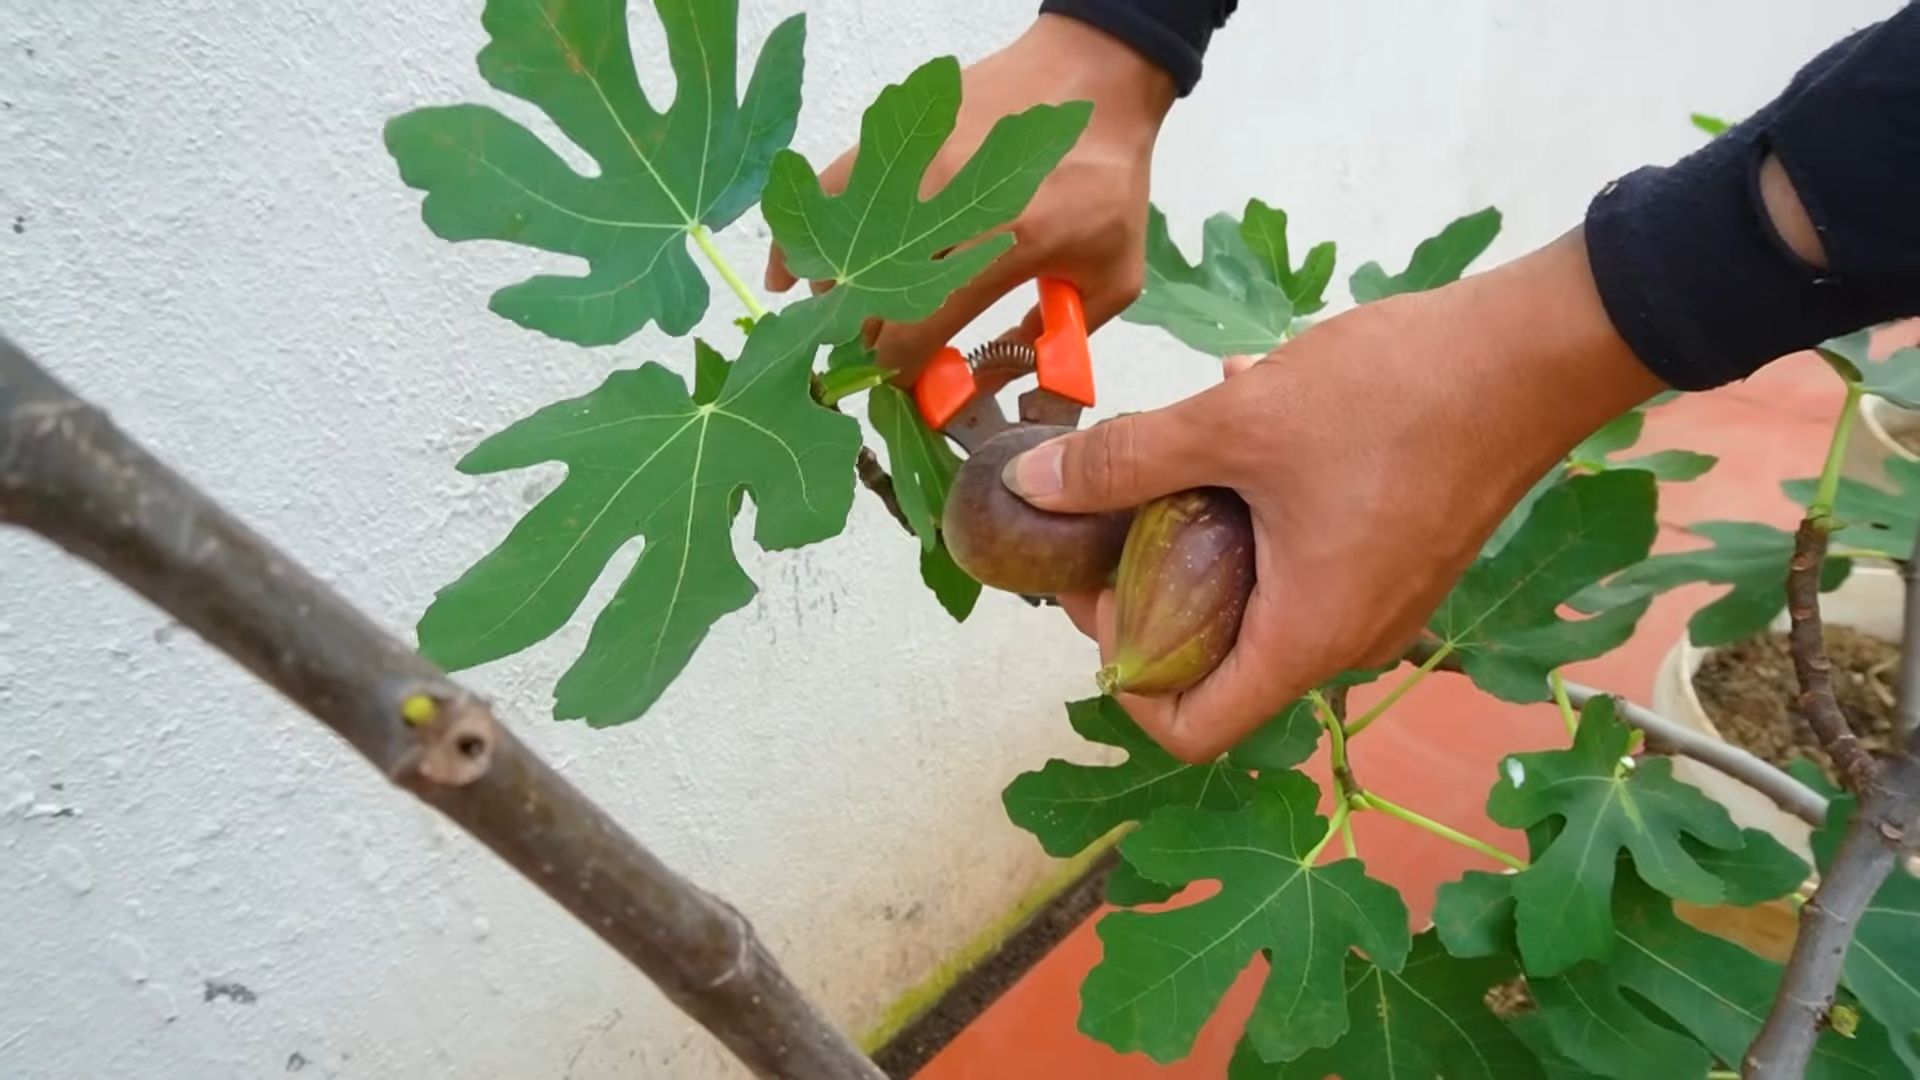
Taking the Cuttings
This is the first step in our fig propagation journey. It’s important to do this correctly to ensure the cuttings have the best chance of rooting.
1. Timing is Key: As I mentioned earlier, late winter or early spring is the ideal time to take fig cuttings. The tree should be dormant, meaning it has no leaves. This is when the cuttings have the highest concentration of rooting hormones.
2. Selecting the Right Branches: Choose healthy, one-year-old branches that are about the thickness of a pencil. Avoid branches that are too thin or too thick.
3. Making the Cut: Using your sharp pruning shears or knife, make a clean cut at a 45-degree angle just below a node. This will help the cutting absorb water and nutrients more efficiently. Make another cut straight across about 6-8 inches above the first cut, again just above a node.
4. Preparing the Cuttings: Remove any small side branches or buds from the bottom half of the cutting. This will encourage the cutting to focus its energy on root development.
5. Labeling: Immediately label each cutting with the variety of fig it came from. This is especially important if you’re propagating multiple varieties.
Preparing the Pots and Rooting Hormone
Now that we have our cuttings, let’s get the pots ready and prepare the rooting hormone.
1. Fill the Pots: Fill each pot with your well-draining potting mix. Gently tap the pot to settle the soil.
2. Water the Soil: Thoroughly water the soil until it’s evenly moist but not soggy.
3. Prepare the Rooting Hormone: If you’re using powdered rooting hormone, pour a small amount into a separate container. This will prevent contamination of the entire container.
4. Dip the Cuttings: Moisten the bottom inch of each cutting with water. Then, dip it into the rooting hormone, ensuring that the bottom node is well-coated. Tap off any excess powder.
Planting the Cuttings
This is where the magic happens! We’re finally going to plant our cuttings and give them a chance to root.
1. Make a Hole: Use a pencil or your finger to create a hole in the center of the potting mix, deep enough to accommodate the bottom half of the cutting.
2. Insert the Cutting: Gently insert the cutting into the hole, making sure the bottom node is buried in the soil.
3. Firm the Soil: Gently firm the soil around the cutting to provide support.
4. Water Lightly: Lightly water the soil around the cutting to help settle it in.
Creating a Humid Environment
Humidity is crucial for successful fig propagation. We need to create a mini-greenhouse environment to prevent the cuttings from drying out.
1. Cover with Plastic Bag or Humidity Dome: Place a clear plastic bag over each pot, or use a humidity dome if you have one. Make sure the bag doesn’t touch the cutting directly. You can use skewers or chopsticks to prop up the bag if needed.
2. Misting: Mist the inside of the bag or dome with water to increase humidity.
3. Placement: Place the pots in a warm, bright location, but out of direct sunlight. Direct sunlight can overheat the cuttings and kill them. An east-facing window is ideal.
Caring for the Cuttings
This is the most important part! Consistent care is essential for successful rooting.
1. Maintain Humidity: Check the humidity level inside the bag or dome regularly. If it seems dry, mist the cuttings with water.
2. Ventilation: Open the bag or dome for a few minutes every day to provide ventilation and prevent mold growth.
3. Watering: Keep the soil consistently moist but not soggy. Water when the top inch of soil feels dry to the touch.
4. Patience is Key: Rooting can take anywhere from 4-8 weeks, or even longer depending on the variety and environmental conditions. Be patient and don’t disturb the cuttings too much.
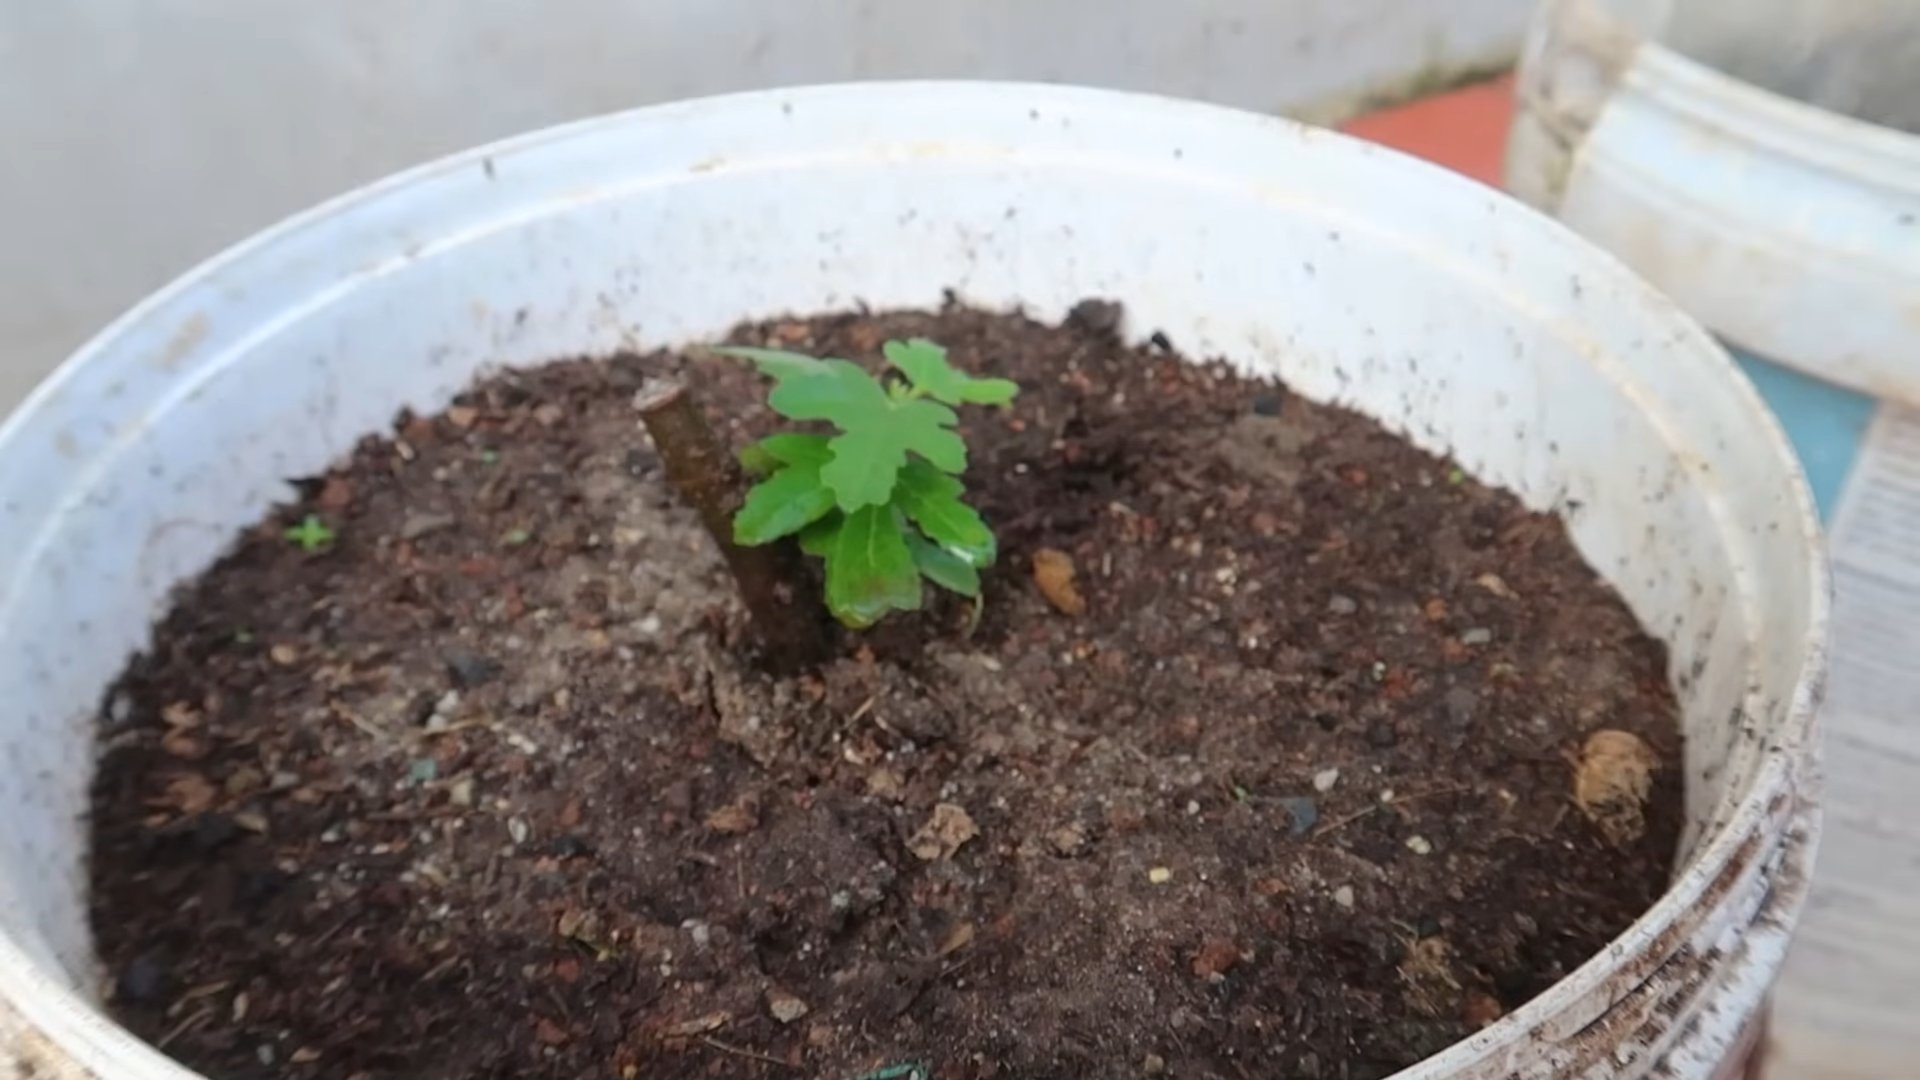
Checking for Root Development
After a few weeks, you can start checking for root development.
1. Gently Tug: Gently tug on the cutting. If it resists, it means roots have started to form.
2. Observe New Growth: Look for new leaf growth. This is a good sign that the cutting has rooted.
3. Avoid Over-Checking: Resist the urge to pull the cutting out of the pot to check the roots. This can damage the delicate roots and set back the rooting process.
Transplanting the Rooted Cuttings
Once the cuttings have developed a good root system, it’s time to transplant them into larger pots.
1. Choose a Larger Pot: Select a pot that is about 6-8 inches in diameter.
2. Prepare the Potting Mix: Use the same well-draining potting mix you used for the cuttings.
3. Gently Remove the Cutting: Carefully remove the rooted cutting from its original pot. Be gentle to avoid damaging the roots.
4. Plant the Cutting: Place the cutting in the center of the new pot and fill in around it with potting mix.
5. Water Thoroughly: Water the soil thoroughly until it’s evenly moist.
6. Acclimatize: Gradually acclimatize the newly transplanted fig tree to outdoor conditions. Start by placing it in a shady spot for a few hours each day, gradually increasing the amount of sunlight it receives.
Ongoing Care
Now that you have a successfully rooted and transplanted fig tree, it’s important to provide it with proper ongoing care.
1. Sunlight: Fig trees need at least 6-8 hours of sunlight per day.
2. Watering: Water regularly, especially during hot, dry weather. Allow the soil to dry out slightly between waterings.
3. Fertilizing: Fertilize your fig tree in the spring and summer with a balanced fertilizer.
4. Pruning: Prune your fig tree in the late winter or early spring to remove any dead or damaged branches and to shape the tree.
5. Pest and Disease Control: Monitor your fig tree for pests and diseases and take appropriate action if necessary.
Troubleshooting
Sometimes, things don’t go as planned. Here are some common problems you might encounter and how to fix them.
* Cuttings Rotting: This is usually caused by overwatering or poor drainage. Make sure your potting mix is well-draining and avoid overwatering.
* Cuttings Drying Out: This is usually caused by low humidity. Make sure to keep the cuttings covered with a plastic bag or humidity dome and mist them regularly.
* No Root Development: This can be caused by a variety of factors, including poor quality cuttings, improper rooting hormone
Conclusion
So, there you have it! Mastering the art of growing figs doesn’t require a green thumb blessed by the gardening gods. It’s about understanding the plant’s needs, providing the right environment, and employing a few clever techniques – like the ones we’ve explored. This isn’t just about having a fig tree; it’s about cultivating a thriving, fruit-bearing companion that will reward you with delicious, homegrown figs for years to come.
Why is this DIY approach a must-try? Because it empowers you to take control of your fig tree’s health and productivity. You’re not relying on expensive fertilizers or complicated procedures. You’re learning to observe your tree, understand its signals, and respond with targeted care. This hands-on approach fosters a deeper connection with your garden and a greater appreciation for the fruits of your labor. Plus, let’s be honest, there’s a certain satisfaction in knowing you nurtured those plump, juicy figs from tiny buds to delectable treats.
But the journey doesn’t end here! Feel free to experiment with variations on these techniques. For example, if you live in a particularly humid climate, consider increasing the airflow around your fig tree by pruning more aggressively. Or, if you’re growing figs in containers, try different soil mixes to find the one that best suits your tree’s needs. You could even explore different varieties of figs to discover your personal favorite flavor profile.
Don’t be afraid to get creative and adapt these methods to your specific circumstances. The beauty of gardening lies in its adaptability and the constant opportunity to learn and improve. Remember, every fig tree is unique, and what works for one may not work for another. The key is to be patient, observant, and willing to adjust your approach as needed.
We wholeheartedly encourage you to try these DIY tricks for growing figs. Whether you’re a seasoned gardener or a complete novice, we believe you’ll find them to be both effective and rewarding. And most importantly, we want to hear about your experiences! Share your successes, your challenges, and your own unique tips in the comments below. Let’s build a community of fig-loving gardeners who can learn from each other and celebrate the joy of homegrown fruit. So, grab your gardening gloves, head out to your fig tree, and get ready to experience the satisfaction of harvesting your own delicious figs!
Frequently Asked Questions (FAQ)
Q: What is the best time of year to start growing figs?
A: The best time to plant a new fig tree is typically in the early spring or late fall, when the tree is dormant. This allows the roots to establish themselves before the stresses of summer heat or winter cold. However, if you’re growing figs in containers, you can plant them at any time of year, as long as you provide adequate protection from extreme temperatures.
Q: How much sunlight do fig trees need?
A: Fig trees thrive in full sun, requiring at least 6-8 hours of direct sunlight per day. Insufficient sunlight can lead to reduced fruit production and weaker growth. If you’re growing figs indoors, place them near a south-facing window or supplement with grow lights.
Q: What type of soil is best for fig trees?
A: Fig trees prefer well-draining soil that is rich in organic matter. A slightly acidic to neutral pH (around 6.0-7.0) is ideal. Amend heavy clay soils with compost and other organic materials to improve drainage and aeration. For container-grown figs, use a high-quality potting mix specifically formulated for fruit trees.
Q: How often should I water my fig tree?
A: Water fig trees deeply and regularly, especially during the growing season. Allow the soil to dry out slightly between waterings to prevent root rot. The frequency of watering will depend on factors such as climate, soil type, and the size of the tree. Container-grown figs will typically require more frequent watering than those planted in the ground. During the dormant season, reduce watering significantly.
Q: How do I prune my fig tree?
A: Pruning is essential for maintaining the shape and productivity of your fig tree. The best time to prune is in late winter or early spring, before new growth begins. Remove any dead, damaged, or crossing branches. Thin out the canopy to improve airflow and sunlight penetration. For young trees, focus on shaping the tree and establishing a strong framework. For mature trees, prune to encourage new growth and fruit production.
Q: What are some common pests and diseases that affect fig trees?
A: Fig trees can be susceptible to a variety of pests and diseases, including fig rust, spider mites, scale, and nematodes. Regularly inspect your tree for signs of infestation or disease. Treat any problems promptly with appropriate organic or chemical controls. Good cultural practices, such as proper watering, fertilization, and pruning, can help to prevent many pest and disease problems.
Q: How do I fertilize my fig tree?
A: Fig trees benefit from regular fertilization, especially during the growing season. Use a balanced fertilizer that is specifically formulated for fruit trees. Apply fertilizer in the spring, just before new growth begins, and again in mid-summer. Avoid over-fertilizing, as this can lead to excessive vegetative growth at the expense of fruit production.
Q: How long does it take for a fig tree to produce fruit?
A: Fig trees can start producing fruit as early as their second year, but it may take several years for them to reach full production. The time it takes to bear fruit will depend on factors such as the variety of fig, the growing conditions, and the age of the tree.
Q: Can I grow figs in containers?
A: Yes, figs are well-suited to container growing, making them a great option for gardeners with limited space. Choose a large container with good drainage and use a high-quality potting mix. Container-grown figs will require more frequent watering and fertilization than those planted in the ground. Be sure to protect container-grown figs from extreme temperatures during the winter months.
Q: How do I protect my fig tree from frost?
A: Fig trees are relatively cold-hardy, but they can be damaged by severe frost. If you live in an area with cold winters, protect your fig tree by wrapping the trunk with burlap or blankets. For container-grown figs, move them to a sheltered location, such as a garage or shed. You can also apply a layer of mulch around the base of the tree to insulate the roots.


Leave a Comment