
Growing chili peppers indoors can seem like a daunting task, conjuring images of scorching sun and vast fields. But what if I told you that fiery flavor and vibrant color could be cultivated right on your windowsill, even in the dead of winter? Forget expensive grocery store prices and bland, mass-produced peppers – with a few simple tricks and a dash of DIY spirit, you can become a chili pepper pro from the comfort of your own home!
The history of chili peppers is rich and fascinating, dating back over 6,000 years to South America. They were prized by ancient civilizations for their culinary and medicinal properties, and their journey across the globe transformed cuisines worldwide. Now, you can participate in this vibrant history by bringing that fiery heritage into your own living space.
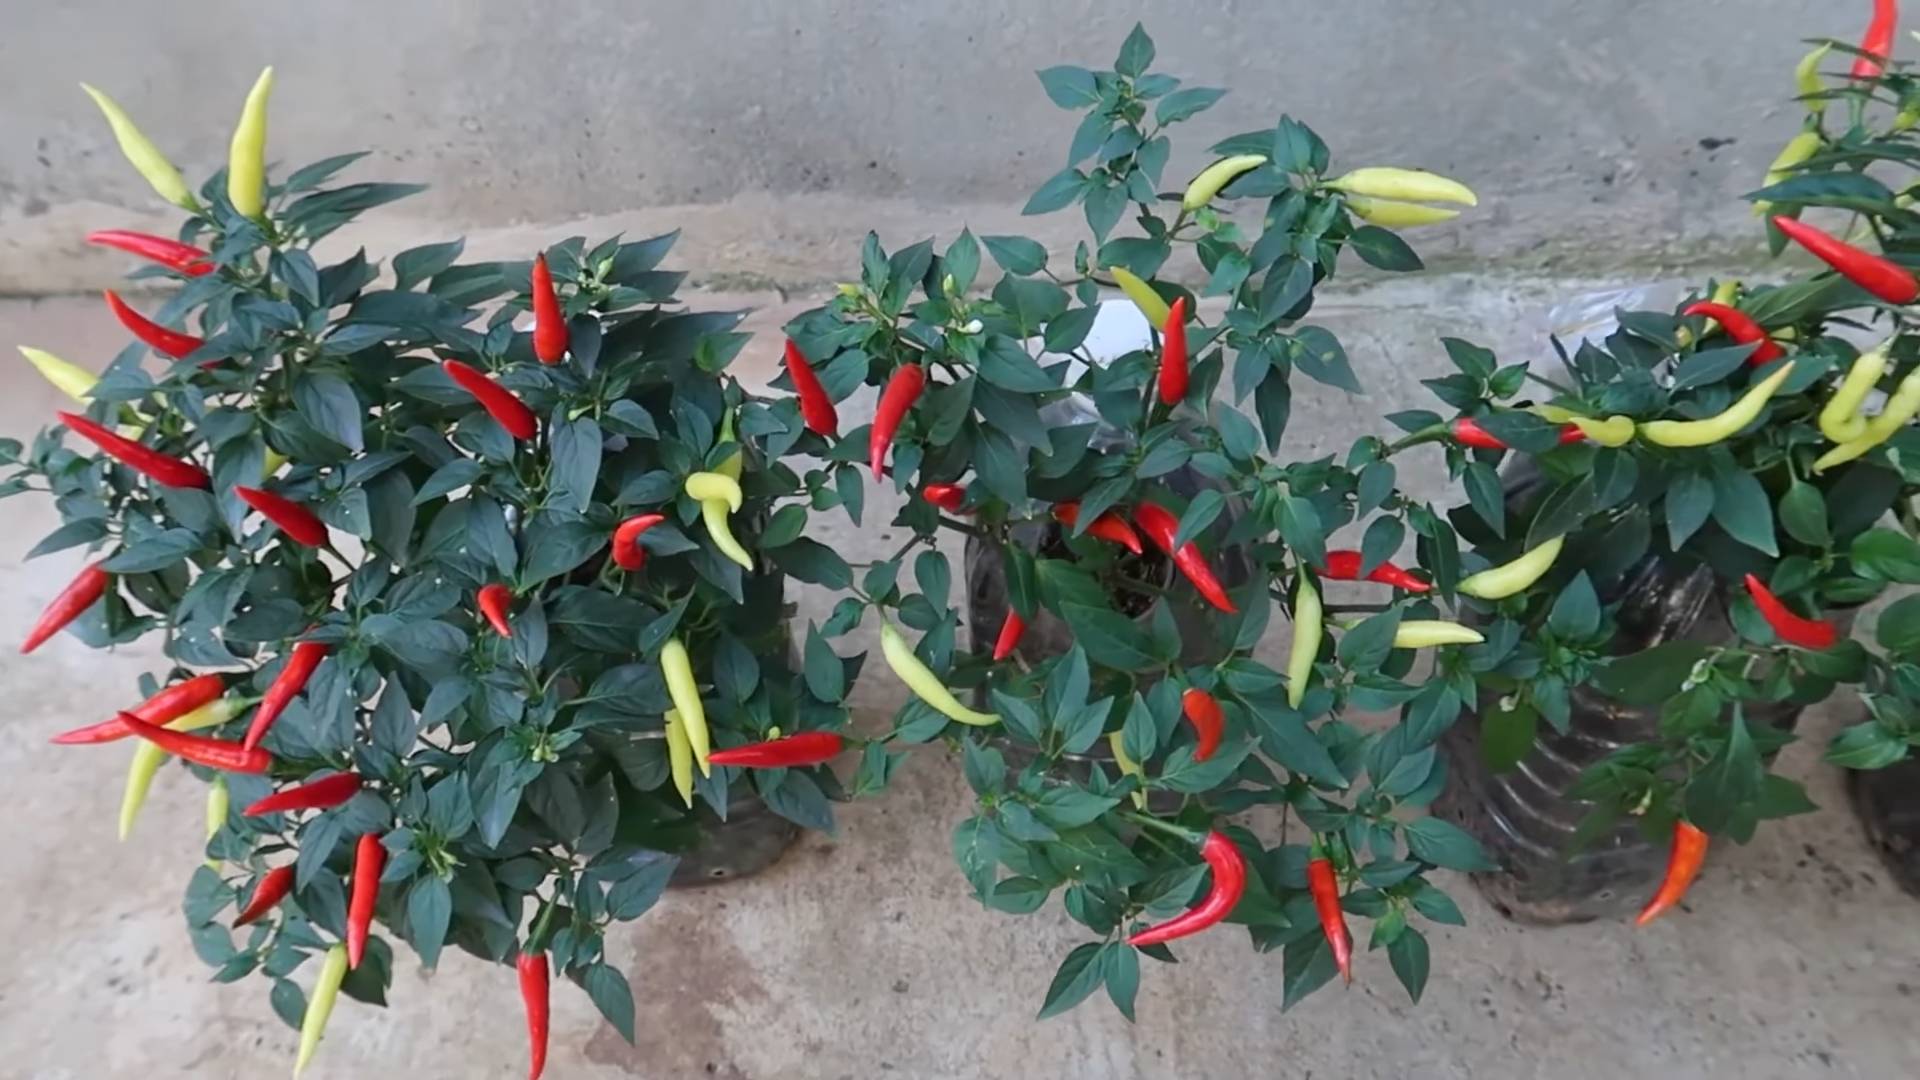
Why bother with the effort? Well, for starters, growing chili peppers indoors allows you to enjoy fresh, organic peppers year-round, regardless of your climate. Imagine adding a pinch of homegrown heat to your favorite dishes, knowing exactly where your ingredients came from. Beyond the culinary benefits, nurturing a chili pepper plant can be incredibly rewarding, offering a touch of nature and a sense of accomplishment in our increasingly urban lives. Plus, it’s a fantastic way to add a pop of color and personality to your home decor! So, let’s dive into some easy-to-follow DIY tricks that will have you harvesting a bountiful crop of chili peppers in no time!
Growing Chili Peppers Indoors: A Spicy DIY Guide
Hey there, fellow chili enthusiasts! Ever dreamt of having a constant supply of fiery peppers right in your kitchen? Well, you’re in the right place! Growing chili peppers indoors is totally achievable, and I’m here to guide you through every step. Get ready to add some serious heat to your home cooking!
Choosing Your Chili Pepper Variety
First things first, let’s talk peppers! Not all chili peppers are created equal, and some are definitely better suited for indoor growing than others. Consider these factors when making your choice:
* Size: Smaller pepper varieties tend to thrive indoors because they require less space. Think about varieties like Thai peppers, habaneros, or even some ornamental peppers.
* Light Requirements: Some peppers need intense sunlight, while others are more tolerant of lower light conditions. Research the specific light needs of your chosen variety.
* Heat Level: This is totally a personal preference! Do you want a mild kick or a scorching inferno? Scoville Heat Units (SHU) will help you gauge the heat level.
* Days to Maturity: This indicates how long it takes for the peppers to ripen after planting. Shorter maturity times are generally better for indoor growing.
Some popular indoor chili pepper choices include:
* Thai Chili Peppers: Small, prolific, and pack a punch!
* Habanero Peppers: Fruity and fiery, but require more light.
* Jalapeño Peppers: A classic choice, relatively easy to grow.
* Serrano Peppers: Similar to jalapeños, but with a bit more heat.
* Bird’s Eye Chili Peppers: Tiny but mighty, perfect for small spaces.
Gathering Your Supplies
Okay, now that we’ve picked our peppers, let’s gather the essentials. Here’s what you’ll need:
* Chili Pepper Seeds: Purchase high-quality seeds from a reputable source.
* Seed Starting Tray or Small Pots: For germinating your seeds.
* Seed Starting Mix: A light, well-draining mix specifically designed for seedlings.
* Larger Pots (5-gallon or larger): For transplanting your seedlings as they grow.
* Potting Soil: A good quality potting mix that retains moisture but also drains well.
* Grow Lights (Optional but Recommended): Especially if you don’t have a sunny windowsill.
* Watering Can or Spray Bottle: For gentle watering.
* Fertilizer: A balanced fertilizer formulated for peppers or tomatoes.
* Small Shovel or Trowel: For transplanting.
* Plant Labels: To keep track of your different pepper varieties.
* Spray Bottle with Water: For misting the plants.
* Pruning Shears or Scissors: For trimming and pruning.
Starting Your Chili Pepper Seeds
This is where the magic begins! Getting your seeds to sprout is the first step to a bountiful harvest.
1. Prepare Your Seed Starting Tray: Fill your seed starting tray or small pots with seed starting mix. Moisten the mix thoroughly, but don’t let it get soggy.
2. Sow the Seeds: Make a small indentation (about 1/4 inch deep) in the soil. Place one or two seeds in each indentation.
3. Cover the Seeds: Gently cover the seeds with more seed starting mix.
4. Water Gently: Use a spray bottle to mist the surface of the soil. Avoid overwatering, as this can cause the seeds to rot.
5. Provide Warmth: Chili pepper seeds germinate best in warm temperatures (around 75-85°F). You can use a heat mat to provide bottom heat, or simply place the tray in a warm location.
6. Maintain Moisture: Keep the soil consistently moist, but not waterlogged. You can cover the tray with a clear plastic lid or plastic wrap to help retain moisture.
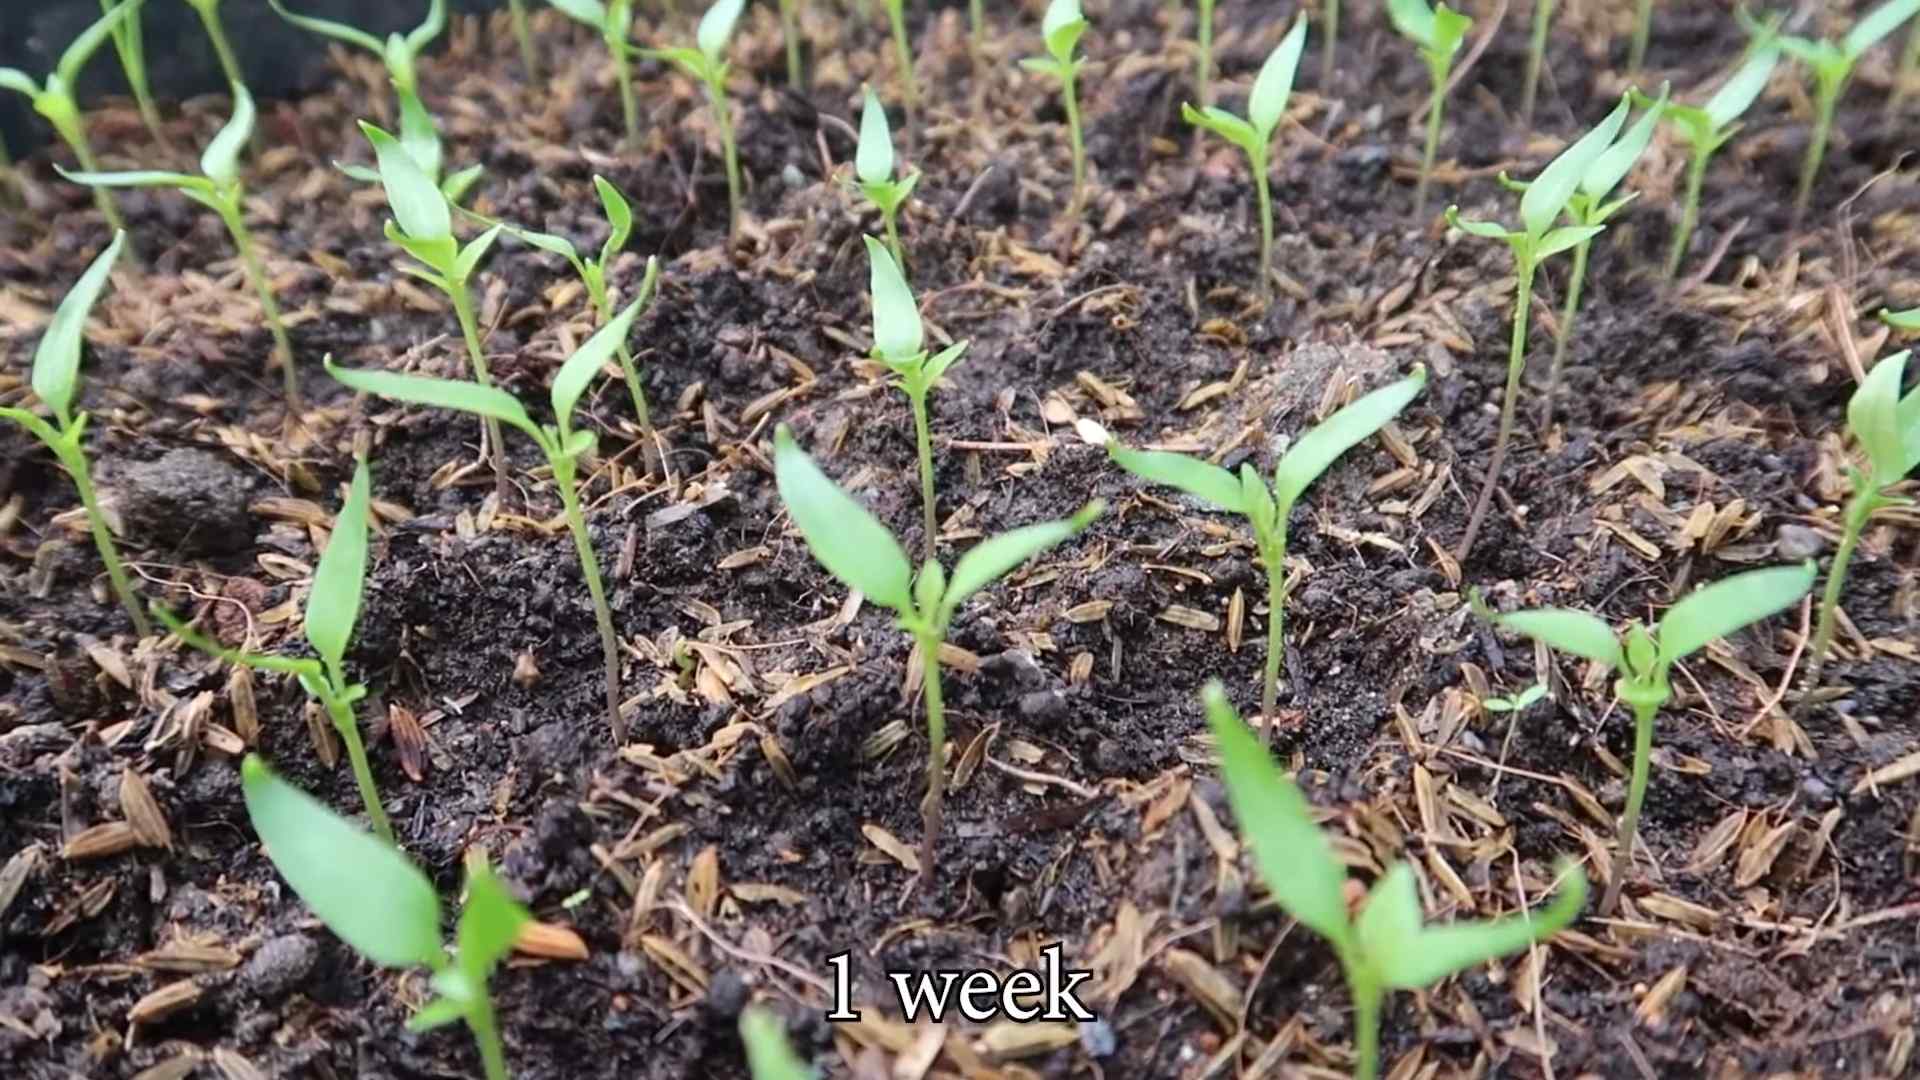
7. Wait Patiently: Germination can take anywhere from 7 to 21 days, depending on the variety and conditions.
Transplanting Your Seedlings
Once your seedlings have developed a few sets of true leaves (the leaves that look like miniature versions of the adult leaves), it’s time to transplant them into larger pots.
1. Prepare Your Larger Pots: Fill your larger pots (5-gallon or larger) with potting soil.
2. Carefully Remove the Seedlings: Gently loosen the soil around the seedlings and carefully lift them out of the seed starting tray. Be careful not to damage the roots.
3. Plant the Seedlings: Make a hole in the potting soil large enough to accommodate the root ball. Place the seedling in the hole and gently backfill with soil.
4. Water Thoroughly: Water the transplanted seedlings thoroughly.
5. Provide Support (Optional): If your pepper variety tends to get tall and leggy, you may want to provide support with a stake or tomato cage.
Providing the Right Environment
Chili peppers need the right environment to thrive indoors. Here’s what to keep in mind:
* Light: Chili peppers need at least 6-8 hours of direct sunlight per day. If you don’t have a sunny windowsill, you’ll need to supplement with grow lights. LED grow lights are a great option because they’re energy-efficient and don’t produce too much heat. Position the lights a few inches above the plants and adjust as they grow.
* Temperature: Chili peppers prefer warm temperatures (around 70-85°F during the day and 60-70°F at night). Avoid placing your plants near drafts or cold windows.
* Humidity: Chili peppers like moderate humidity. You can increase humidity by misting the plants regularly, placing a tray of water near the plants, or using a humidifier.
* Air Circulation: Good air circulation is important to prevent fungal diseases. You can use a small fan to circulate the air around your plants.
Watering and Fertilizing
Proper watering and fertilizing are crucial for healthy pepper plants and a bountiful harvest.
* Watering: Water your chili pepper plants when the top inch of soil feels dry to the touch. Water thoroughly, until water drains out of the bottom of the pot. Avoid overwatering, as this can lead to root rot.
* Fertilizing: Feed your chili pepper plants with a balanced fertilizer every 2-3 weeks. Look for a fertilizer that’s specifically formulated for peppers or tomatoes. Follow the instructions on the fertilizer label. During flowering and fruiting, you can switch to a fertilizer that’s higher in phosphorus and potassium.
Pruning and Training
Pruning and training can help your chili pepper plants grow bushier and produce more peppers.
* Pruning: Remove any yellowing or dead leaves. You can also prune the tips of the branches to encourage bushier growth.
* Training: If your pepper variety tends to get tall and leggy, you can train it to grow up a stake or tomato cage. This will help support the plant and prevent it from falling over.
Dealing with Pests and Diseases
Even indoors, your chili pepper plants can be susceptible to pests and diseases. Here’s how to deal with them:
* Common Pests: Aphids, spider mites, whiteflies, and thrips are common pests that can infest chili pepper plants. You can control these pests by spraying the plants with insecticidal soap or neem oil.
* Common Diseases: Fungal diseases like powdery mildew and leaf spot can also affect chili pepper plants. You can prevent these diseases by providing good air circulation and avoiding overwatering. If your plants do develop a fungal disease, you can treat them with a fungicide.
* Prevention is Key: Regularly inspect your plants for signs of pests or diseases. Early detection and treatment are crucial for preventing serious problems.
Harvesting Your Chili Peppers
The moment you’ve been waiting for! Harvesting your chili peppers is the most rewarding part of the process.
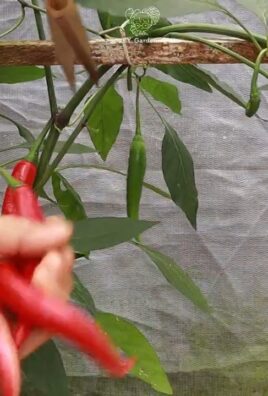
* When to Harvest: Chili peppers are typically ready to harvest when they’ve reached their mature color and size. The color will depend on the variety (e.g., red for ripe jalapeños, orange for ripe habaneros).
* How to Harvest: Use pruning shears or scissors to cut the peppers from the plant. Be careful not to damage the plant.
* Enjoy Your Harvest: Use your fresh chili peppers in your favorite recipes, or dry them for later use.
Troubleshooting
Sometimes, things don’t go exactly as planned. Here are some common problems you might encounter and how to fix them:
* Yellowing Leaves: Could be caused by overwatering, underwatering, nutrient deficiency, or pests. Check the soil moisture, fertilize if necessary, and inspect for pests.
* Lack of Flowers or Fruit: Could be caused by insufficient light
Conclusion
So, there you have it! Growing chili peppers indoors might seem daunting at first, but with a little patience, the right setup, and these simple DIY tricks, you can enjoy a vibrant harvest of spicy goodness right in your own home. Forget those bland, store-bought peppers – imagine the satisfaction of plucking a fiery red chili from your own plant, knowing you nurtured it from seed to spice.
This isn’t just about saving money (though that’s a definite perk!). It’s about connecting with your food, understanding the growing process, and adding a touch of green to your indoor space. Plus, fresh, homegrown chili peppers offer a flavor intensity that’s simply unmatched.
Why is this DIY trick a must-try? Because it empowers you to control the entire growing environment, maximizing your chances of success, even if you don’t have a sprawling garden. We’ve covered everything from seed starting to pollination, ensuring you have the knowledge to overcome common challenges.
But don’t stop there! Experiment with different varieties of chili peppers. Try growing jalapeños for a mild kick, habaneros for intense heat, or even some ornamental varieties for a splash of color. You can also explore different growing mediums, like coco coir or hydroponics, to see what works best for your setup. Consider companion planting basil or marigolds near your chili peppers to deter pests naturally.
Ready to embark on your indoor chili pepper adventure? We encourage you to give these DIY tricks a try. Start small, be patient, and don’t be afraid to experiment. The reward of fresh, homegrown chili peppers is well worth the effort.
And most importantly, share your experience! We want to hear about your successes, your challenges, and any variations you discover along the way. Post photos of your chili pepper plants, share your favorite recipes using your homegrown peppers, and let’s build a community of indoor chili pepper enthusiasts. Your insights could help other aspiring growers achieve their spicy dreams. Let’s get growing and discover the joy of cultivating your own chili peppers indoors!
Frequently Asked Questions (FAQ)
Q: What are the best chili pepper varieties to grow indoors?
A: While you can technically grow any chili pepper variety indoors, some are better suited for smaller spaces and indoor conditions. Compact varieties like Thai peppers, jalapeños, habaneros, and cayenne peppers tend to thrive indoors. Ornamental chili peppers, like the ‘Black Pearl’ or ‘Purple Flash,’ are also excellent choices for their visual appeal and manageable size. Consider the amount of space you have available and the level of heat you prefer when selecting your varieties. Research the specific needs of each variety to ensure you can provide the appropriate growing conditions.
Q: How much light do my indoor chili pepper plants need?
A: Chili peppers require a significant amount of light to produce a bountiful harvest. Ideally, they need at least 6-8 hours of direct sunlight per day. If you don’t have a south-facing window that provides sufficient sunlight, you’ll need to supplement with artificial grow lights. LED grow lights are a popular and energy-efficient option. Position the lights a few inches above the plants and adjust as they grow. Observe your plants closely for signs of insufficient light, such as leggy growth or pale leaves.
Q: What type of soil is best for growing chili peppers indoors?
A: Chili peppers prefer well-draining soil that is rich in organic matter. A good potting mix specifically formulated for vegetables is a great option. You can also create your own mix by combining equal parts of potting soil, perlite, and compost. Avoid using garden soil, as it can be too heavy and may contain pests or diseases. Ensure your pots have drainage holes to prevent waterlogging, which can lead to root rot.
Q: How often should I water my indoor chili pepper plants?
A: The frequency of watering will depend on several factors, including the size of your pots, the type of soil, and the temperature and humidity of your environment. Generally, you should water your chili pepper plants when the top inch of soil feels dry to the touch. Water thoroughly until excess water drains out of the drainage holes. Avoid overwatering, as this can lead to root rot. During the hotter months, you may need to water more frequently.
Q: How do I pollinate my chili pepper plants indoors?
A: Chili peppers are self-pollinating, but they may need a little help indoors, where there are no wind or insects to assist with pollination. You can manually pollinate your plants by gently shaking the stems or using a small paintbrush to transfer pollen from one flower to another. Do this during the warmest part of the day when the pollen is most viable. You can also use a fan to create a gentle breeze that will help distribute the pollen.
Q: What are some common pests and diseases that affect indoor chili pepper plants?
A: Common pests that can affect indoor chili pepper plants include aphids, spider mites, and whiteflies. Regularly inspect your plants for signs of infestation, such as small insects on the leaves or webbing. You can control these pests by spraying your plants with insecticidal soap or neem oil. Overwatering can lead to fungal diseases like root rot. Ensure your plants have good drainage and avoid overwatering.
Q: When can I harvest my chili peppers?
A: The time it takes for chili peppers to mature will vary depending on the variety. Generally, you can harvest your peppers when they have reached their mature color and size. The color will depend on the variety, but common colors include green, red, yellow, and orange. Gently twist or cut the peppers from the plant, being careful not to damage the stems.
Q: Can I grow chili peppers indoors year-round?
A: Yes, you can grow chili peppers indoors year-round, provided you can provide the necessary growing conditions, including sufficient light, warmth, and humidity. You may need to adjust your watering and fertilizing schedule during the winter months when the plants are not actively growing.
Q: What kind of fertilizer should I use for my indoor chili pepper plants?
A: Chili peppers benefit from regular fertilization, especially during the growing season. Use a balanced fertilizer with a higher phosphorus content to promote flowering and fruiting. Follow the instructions on the fertilizer label carefully and avoid over-fertilizing, as this can damage your plants. You can also use organic fertilizers, such as compost tea or fish emulsion.
Q: How do I deal with blossom end rot on my chili peppers?
A: Blossom end rot is a common problem that affects chili peppers and other vegetables. It is caused by a calcium deficiency in the developing fruit. To prevent blossom end rot, ensure your plants have access to sufficient calcium. You can add calcium to the soil by incorporating bone meal or crushed eggshells. Also, maintain consistent watering to prevent fluctuations in soil moisture, which can interfere with calcium uptake.
Leave a Comment