
Glass cleaning tricks are essential for maintaining a sparkling and inviting home. Let’s face it, smudged windows and streaky mirrors can dull even the most beautifully decorated spaces. But did you know that the quest for crystal-clear glass has been around for centuries? From ancient Egyptians using natron (a naturally occurring salt) to clean their mirrors to the modern-day innovations in cleaning solutions, people have always strived for a streak-free shine.
I’m here to share some simple, effective, and often overlooked glass cleaning tricks that will transform your cleaning routine. Forget expensive store-bought cleaners filled with harsh chemicals! We’re diving into the world of DIY solutions and clever hacks that will leave your windows, mirrors, and glass surfaces gleaming.
Why do you need these tricks? Because a clean home is a happy home! Not only does sparkling glass improve the aesthetic appeal of your space, but it also allows more natural light to flood in, boosting your mood and overall well-being. Plus, mastering these DIY methods will save you money and reduce your environmental impact. So, grab your supplies, and let’s get ready to achieve a streak-free shine that will make your home sparkle!
DIY Streak-Free Glass Cleaning: My Secrets Revealed!
Okay, let’s face it, cleaning glass is the bane of many people’s existence. Streaks, smudges, and that hazy film – it’s enough to drive you crazy! But fear not, my friends, because I’m about to share my tried-and-true DIY methods for achieving sparkling, streak-free glass every single time. I’ve experimented with countless techniques, and these are the ones that consistently deliver amazing results. Get ready to say goodbye to frustrating glass cleaning forever!
Choosing Your Weapon: The Right Tools for the Job
Before we dive into the cleaning solutions, let’s talk about the tools you’ll need. Using the right equipment makes a HUGE difference in the final outcome. Trust me on this one!
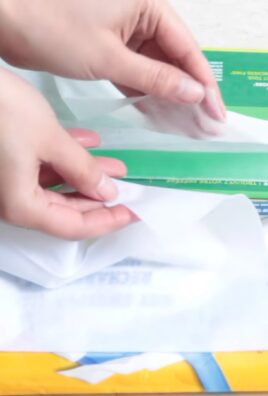
* Microfiber Cloths: These are your best friends! Ditch the paper towels, which can leave lint behind. Invest in a good set of high-quality microfiber cloths specifically designed for glass cleaning. I prefer the ones with a tighter weave for less linting.
* Spray Bottle: A simple spray bottle is essential for applying your cleaning solution. Make sure it’s clean and hasn’t been used for anything other than cleaning products.
* Squeegee (Optional, but Recommended): For large windows and mirrors, a squeegee is a game-changer. Choose one with a good rubber blade that’s in good condition. A worn or damaged blade will leave streaks.
* Bucket (Optional): If you’re using a squeegee, you’ll need a bucket to hold your cleaning solution.
* Ladder or Step Stool (If Needed): Safety first! If you’re cleaning high windows, use a sturdy ladder or step stool.
* Old Toothbrush or Cotton Swabs: These are perfect for getting into those hard-to-reach corners and crevices.
DIY Glass Cleaning Solutions: My Top Recipes
Now for the fun part: the cleaning solutions! I’m a big fan of using natural ingredients whenever possible, so these recipes are not only effective but also eco-friendly and budget-friendly.
Recipe 1: Vinegar Power
Vinegar is a natural cleaning powerhouse, and it works wonders on glass.
* Ingredients:
* 1/2 cup white vinegar
* 1 1/2 cups water
* Optional: A few drops of your favorite essential oil (lemon or lavender work well)
* Instructions:
1. Combine the vinegar and water in your spray bottle.
2. If desired, add a few drops of essential oil for a pleasant scent.
3. Shake well to mix.
Recipe 2: Ammonia Boost
Ammonia is another effective glass cleaner, but be sure to use it in a well-ventilated area.
* Ingredients:
* 1 tablespoon clear ammonia
* 3 cups water
* Instructions:
1. Combine the ammonia and water in your spray bottle.
2. Shake gently to mix.
Recipe 3: Dish Soap Magic
Believe it or not, a tiny amount of dish soap can work wonders on glass. The key is to use it sparingly!
* Ingredients:
* 1-2 drops of mild dish soap (like Dawn)
* 1 gallon of water
* Instructions:
1. Add the dish soap to the water in a bucket.
2. Mix gently to avoid creating too many bubbles.
The Cleaning Process: Step-by-Step Guide
Alright, let’s get down to business! Here’s my step-by-step guide to achieving streak-free glass.
1. Prepare the Area: Before you start spraying, protect any surrounding surfaces from overspray. You can use drop cloths or old towels.
2. Dust and Debris Removal: Use a dry microfiber cloth or a brush attachment on your vacuum cleaner to remove any loose dust, dirt, or debris from the glass surface. This is a crucial step because trying to clean dirty glass will only smear the dirt around and create streaks.
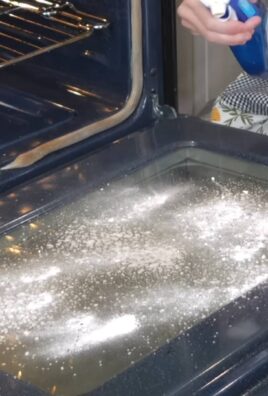
3. Apply the Cleaning Solution: Generously spray your chosen cleaning solution onto the glass surface. Make sure to cover the entire area, but avoid soaking it.
4. Wipe with a Microfiber Cloth: Using a clean, dry microfiber cloth, wipe the glass surface in a circular motion to loosen any remaining dirt and grime.
5. Squeegee (Optional): If you’re using a squeegee, overlap each stroke slightly to avoid leaving any gaps. Wipe the squeegee blade clean after each stroke with a separate microfiber cloth. Start at the top corner and work your way down.
6. Buff with a Clean Microfiber Cloth: This is the most important step for achieving a streak-free finish! Use a clean, dry microfiber cloth to buff the glass surface until it’s completely dry and sparkling. Pay close attention to the edges and corners.
7. Tackle Stubborn Spots: If you encounter any stubborn spots or streaks, re-spray the area with the cleaning solution and repeat steps 4-6. You can also use an old toothbrush or cotton swab to scrub those hard-to-reach areas.
Dealing with Specific Glass Surfaces: My Tips and Tricks
Different types of glass surfaces require slightly different approaches. Here are my tips for tackling some common challenges:
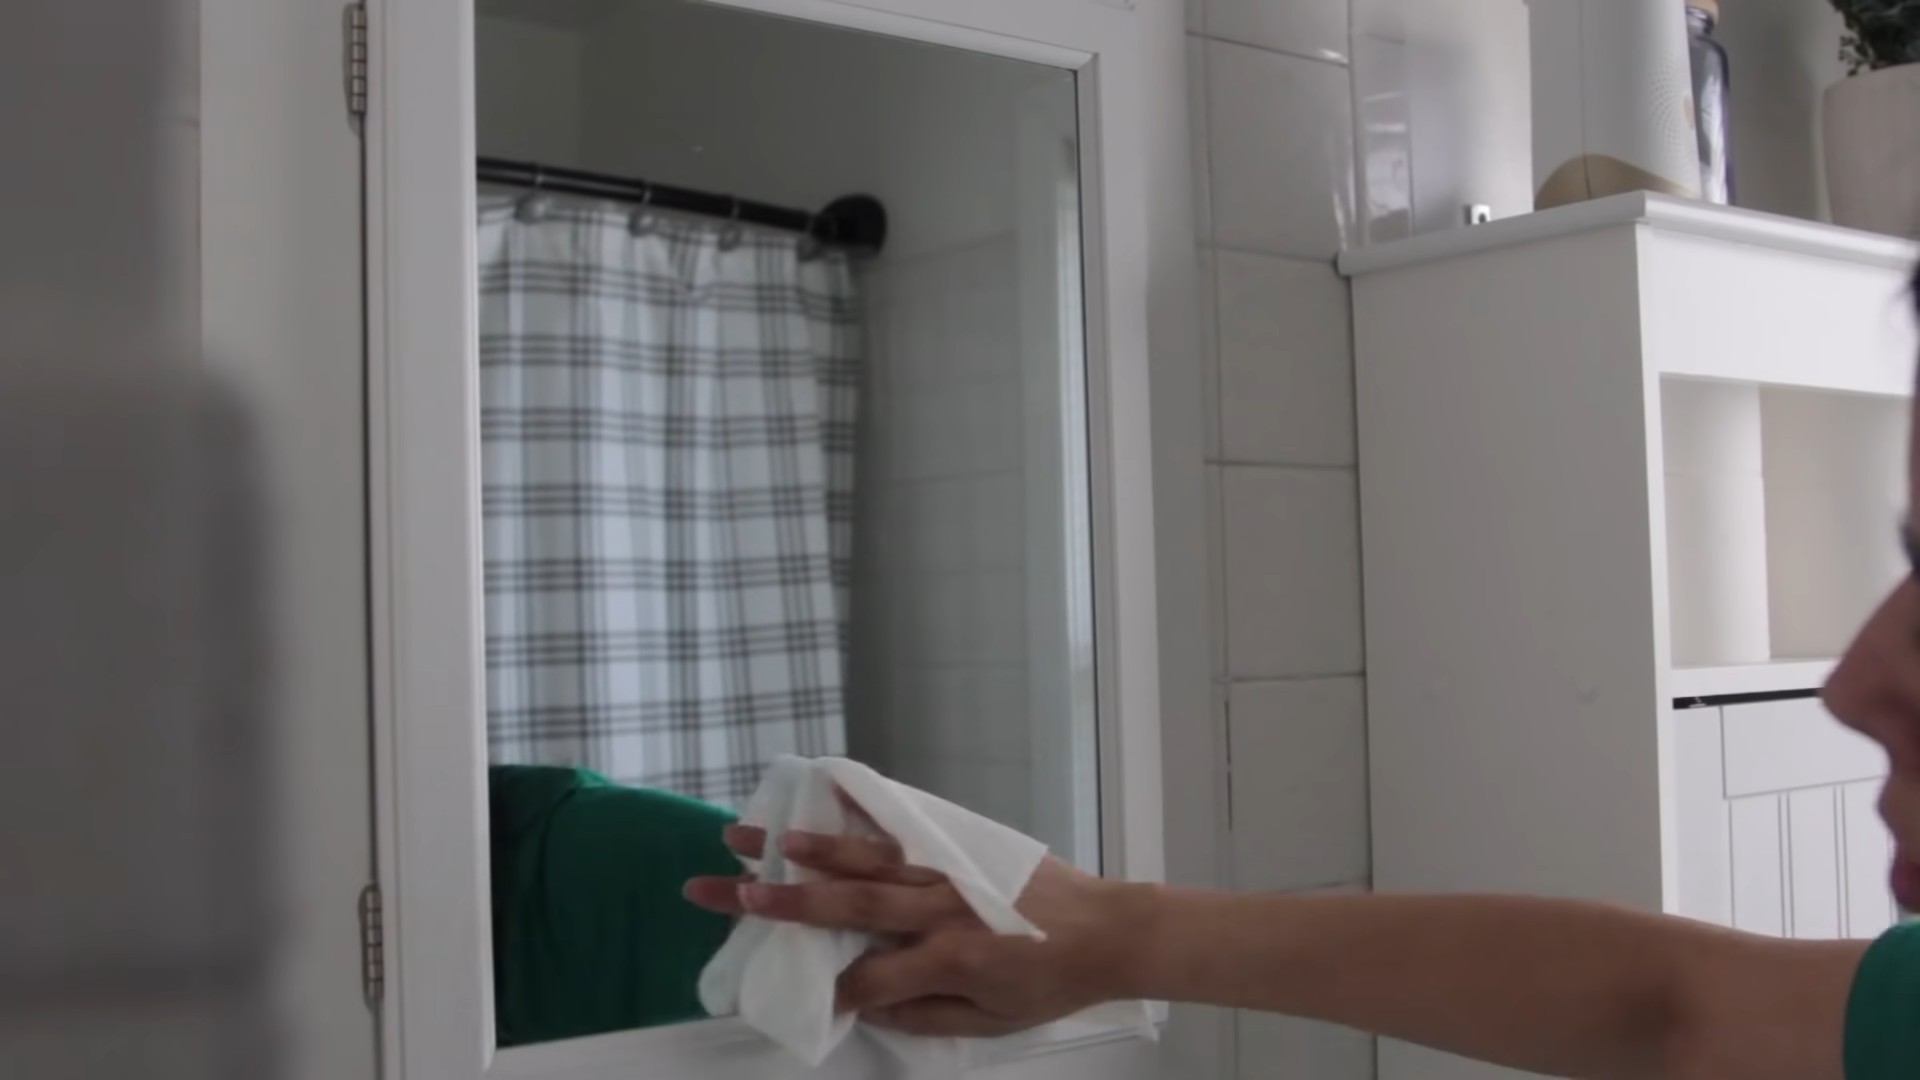
Mirrors
Mirrors are prone to streaks and smudges, so it’s important to use a gentle touch. I recommend using the vinegar solution and a high-quality microfiber cloth. Avoid using too much cleaning solution, as it can seep behind the mirror and damage the backing.
Windows
For windows, especially exterior windows, I like to use the dish soap solution. It’s effective at removing dirt and grime without leaving a residue. If you’re cleaning exterior windows, choose a cloudy day to avoid the cleaning solution drying too quickly and causing streaks.
Shower Doors
Shower doors are notorious for soap scum buildup. To combat this, I recommend using the vinegar solution and a scrub brush. You can also try using a squeegee after each shower to prevent soap scum from accumulating in the first place.
Car Windows
Car windows can be tricky to clean because they often have a film of grease and grime. I recommend using the ammonia solution and a dedicated car window cleaner. Be sure to clean both the inside and outside of the windows for optimal visibility.
Preventative Measures: Keeping Your Glass Sparkling Longer
The best way to keep your glass sparkling is to prevent it from getting dirty in the first place! Here are a few preventative measures you can take:
* Regular Dusting: Dust your glass surfaces regularly with a dry microfiber cloth to prevent dirt and grime from building up.
* Avoid Touching: Try to avoid touching glass surfaces with your hands, as this can leave fingerprints and smudges.
* Use a Squeegee After Showers: As mentioned earlier, using a squeegee after each shower can prevent soap scum from accumulating on your shower doors.
* Protect Exterior Windows: Consider applying a water-repellent coating to your exterior windows to help them stay clean longer.
Troubleshooting: What to Do When Things Go Wrong
Even with the best techniques, sometimes things don’t go as planned. Here are some common problems and how to fix them:
* Streaks: If you’re still seeing streaks after cleaning, try using a different microfiber cloth or a different cleaning solution. You may also need to buff the glass surface more thoroughly.
* Hazy Film: A hazy film can be caused by using too much cleaning solution or by using a cleaning solution that’s too harsh. Try diluting your cleaning solution or switching to a gentler formula.
* Water Spots: Water spots can be caused by hard water. Try using distilled water in your cleaning solution or adding a water softener to your water supply.
* Lint: If you’re seeing lint on your glass surface, switch to a higher-quality microfiber cloth or try using a lint roller to remove the lint.
My Final Thoughts: Practice Makes Perfect!
Cleaning glass can be a bit of a learning curve, but with practice, you’ll become a pro in no time! Don’t be afraid to experiment with different techniques and cleaning solutions to find what works best for you. And remember, the key to streak-free glass is to use the right tools, the right cleaning solution, and a little bit of elbow grease. Happy cleaning!
Conclusion
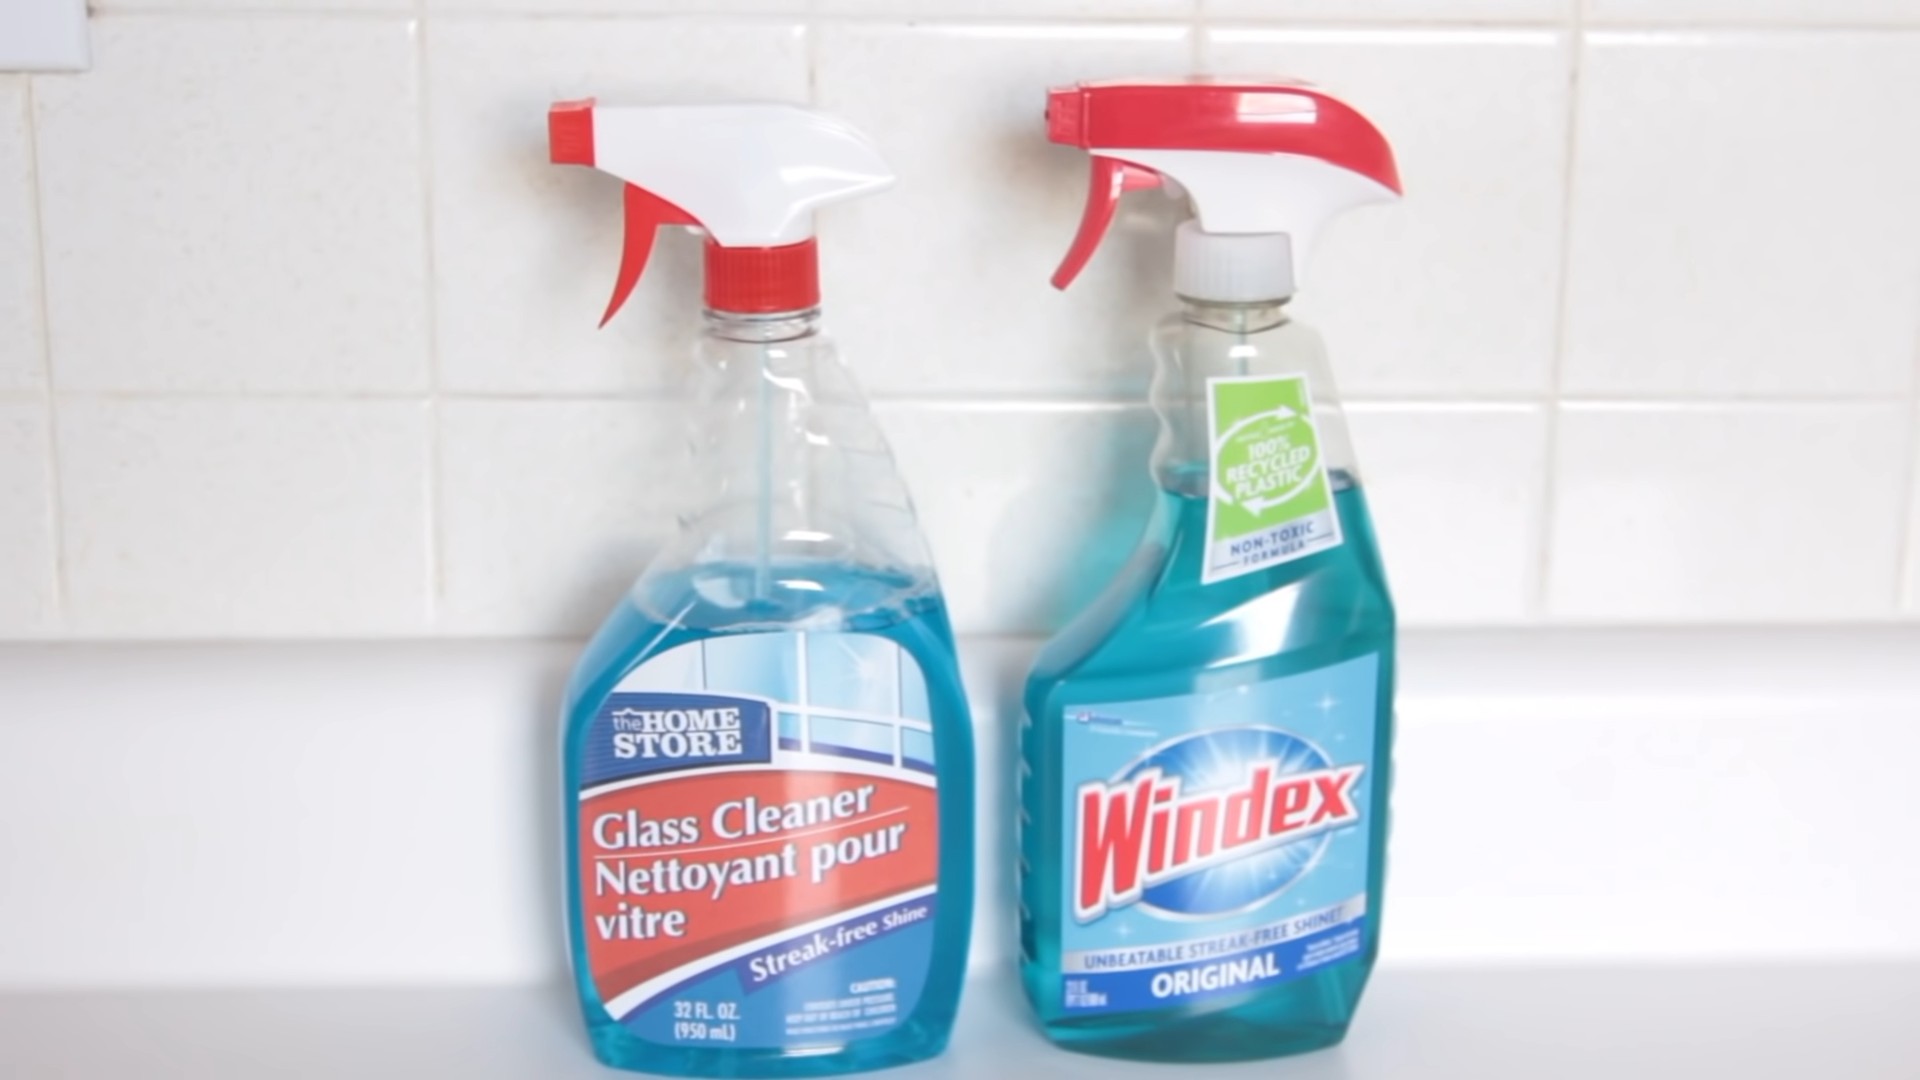
So, there you have it! This simple, yet incredibly effective, DIY glass cleaning trick is a game-changer for anyone tired of streaks, smudges, and expensive commercial cleaners. We’ve shown you how to achieve sparkling, crystal-clear glass surfaces using ingredients you likely already have in your pantry. Forget those harsh chemicals and embrace a natural, budget-friendly approach that delivers professional-quality results.
Why is this a must-try? Because it’s not just about clean glass; it’s about saving money, reducing your environmental impact, and enjoying the satisfaction of creating a powerful cleaning solution yourself. The difference between store-bought cleaners and this DIY method is striking. You’ll notice a significant reduction in streaks and a brighter, clearer finish on your windows, mirrors, and shower doors. Plus, you’ll avoid the overpowering chemical smells that often accompany commercial products.
But the beauty of this DIY glass cleaning trick lies in its versatility. Feel free to experiment with variations to suit your specific needs and preferences. For instance, if you have hard water, consider adding a tablespoon of distilled white vinegar to your solution for extra mineral-fighting power. If you prefer a scented cleaner, a few drops of your favorite essential oil, such as lemon or lavender, can add a refreshing aroma without compromising the cleaning effectiveness. For tougher stains, pre-treating the area with a paste of baking soda and water can work wonders before applying the glass cleaner.
Don’t be afraid to adjust the ratios of ingredients to find what works best for your particular glass surfaces and water quality. The key is to start with the basic recipe and then tweak it based on your observations and experiences. Remember, cleaning isn’t just a chore; it can be an opportunity to experiment and discover what works best for you and your home.
We are confident that once you try this DIY glass cleaning trick, you’ll never go back to store-bought cleaners. The results speak for themselves: sparkling, streak-free glass that enhances the beauty of your home.
So, what are you waiting for? Gather your ingredients, mix up a batch of this amazing glass cleaner, and prepare to be amazed. We encourage you to try this simple yet effective method and witness the transformation for yourself.
And most importantly, we want to hear about your experiences! Share your tips, variations, and before-and-after photos in the comments below. Let’s create a community of DIY enthusiasts who are passionate about achieving sparkling clean glass without breaking the bank or harming the environment. Your feedback will help others discover the magic of this DIY glass cleaning trick and inspire them to embrace a more sustainable and cost-effective approach to cleaning. Let us know what works best for you, any challenges you encountered, and any creative solutions you discovered along the way. Together, we can unlock the secrets to achieving perfectly clean glass and create a cleaner, healthier home for ourselves and our families.
Frequently Asked Questions (FAQ)
What type of vinegar should I use?
Distilled white vinegar is the best option for cleaning glass. It’s clear, inexpensive, and has a high acidity level, making it effective at cutting through grime and mineral deposits. Avoid using other types of vinegar, such as apple cider vinegar or balsamic vinegar, as they can leave a residue or stain on the glass.
Can I use this cleaner on tinted windows?
It’s generally safe to use this DIY glass cleaner on tinted windows, but it’s always a good idea to test it in an inconspicuous area first. Some window tints can be sensitive to certain cleaning agents, so a spot test will help you ensure that the cleaner doesn’t damage the tint. If you’re unsure, consult the window manufacturer’s recommendations.
What kind of cloth should I use to wipe the glass?
Microfiber cloths are the best choice for cleaning glass because they are lint-free and highly absorbent. They effectively remove dirt and grime without leaving streaks or scratches. Avoid using paper towels, as they can leave behind lint and streaks. You can also use a squeegee for larger surfaces like windows and shower doors.
How often should I clean my windows?
The frequency of window cleaning depends on several factors, such as your location, the weather, and the amount of dirt and dust in your environment. Generally, cleaning your windows every few months is sufficient for most homes. However, if you live in a dusty area or have pets, you may need to clean them more frequently.
Can I use this cleaner on my car windows?
Yes, this DIY glass cleaner is safe to use on your car windows. However, avoid getting the cleaner on the car’s paint, as the vinegar could potentially damage the finish over time. Rinse the windows thoroughly with water after cleaning to remove any residue.
What if I don’t have rubbing alcohol?
Rubbing alcohol helps the cleaner evaporate quickly and prevents streaks. If you don’t have rubbing alcohol, you can substitute it with vodka (yes, really!) or simply use more water in the solution. However, be aware that the cleaner may take longer to dry and may require more buffing to prevent streaks.
How do I prevent streaks when cleaning glass?
To prevent streaks, use a clean microfiber cloth and avoid using too much cleaner. Apply the cleaner sparingly and wipe the glass in overlapping strokes. After wiping, buff the glass with a dry microfiber cloth to remove any remaining moisture and streaks. Also, avoid cleaning glass in direct sunlight, as the cleaner can dry too quickly and leave streaks.
Can I add essential oils to this cleaner?
Yes, you can add a few drops of your favorite essential oil to this cleaner for a pleasant scent. Lemon, lavender, and tea tree oil are popular choices. However, be sure to use pure essential oils and avoid adding too much, as some oils can leave a residue on the glass.
Is this cleaner safe for pets and children?
Yes, this DIY glass cleaner is generally safe for pets and children because it uses natural ingredients. However, it’s still important to keep the cleaner out of reach of children and pets to prevent accidental ingestion. As with any cleaning product, it’s best to store it in a safe place.
How long does this cleaner last?
This DIY glass cleaner can last for several months if stored in an airtight container in a cool, dark place. However, it’s best to use it within a few months to ensure its effectiveness. If the cleaner starts to look cloudy or develop an odor, it’s time to make a fresh batch.
Leave a Comment