
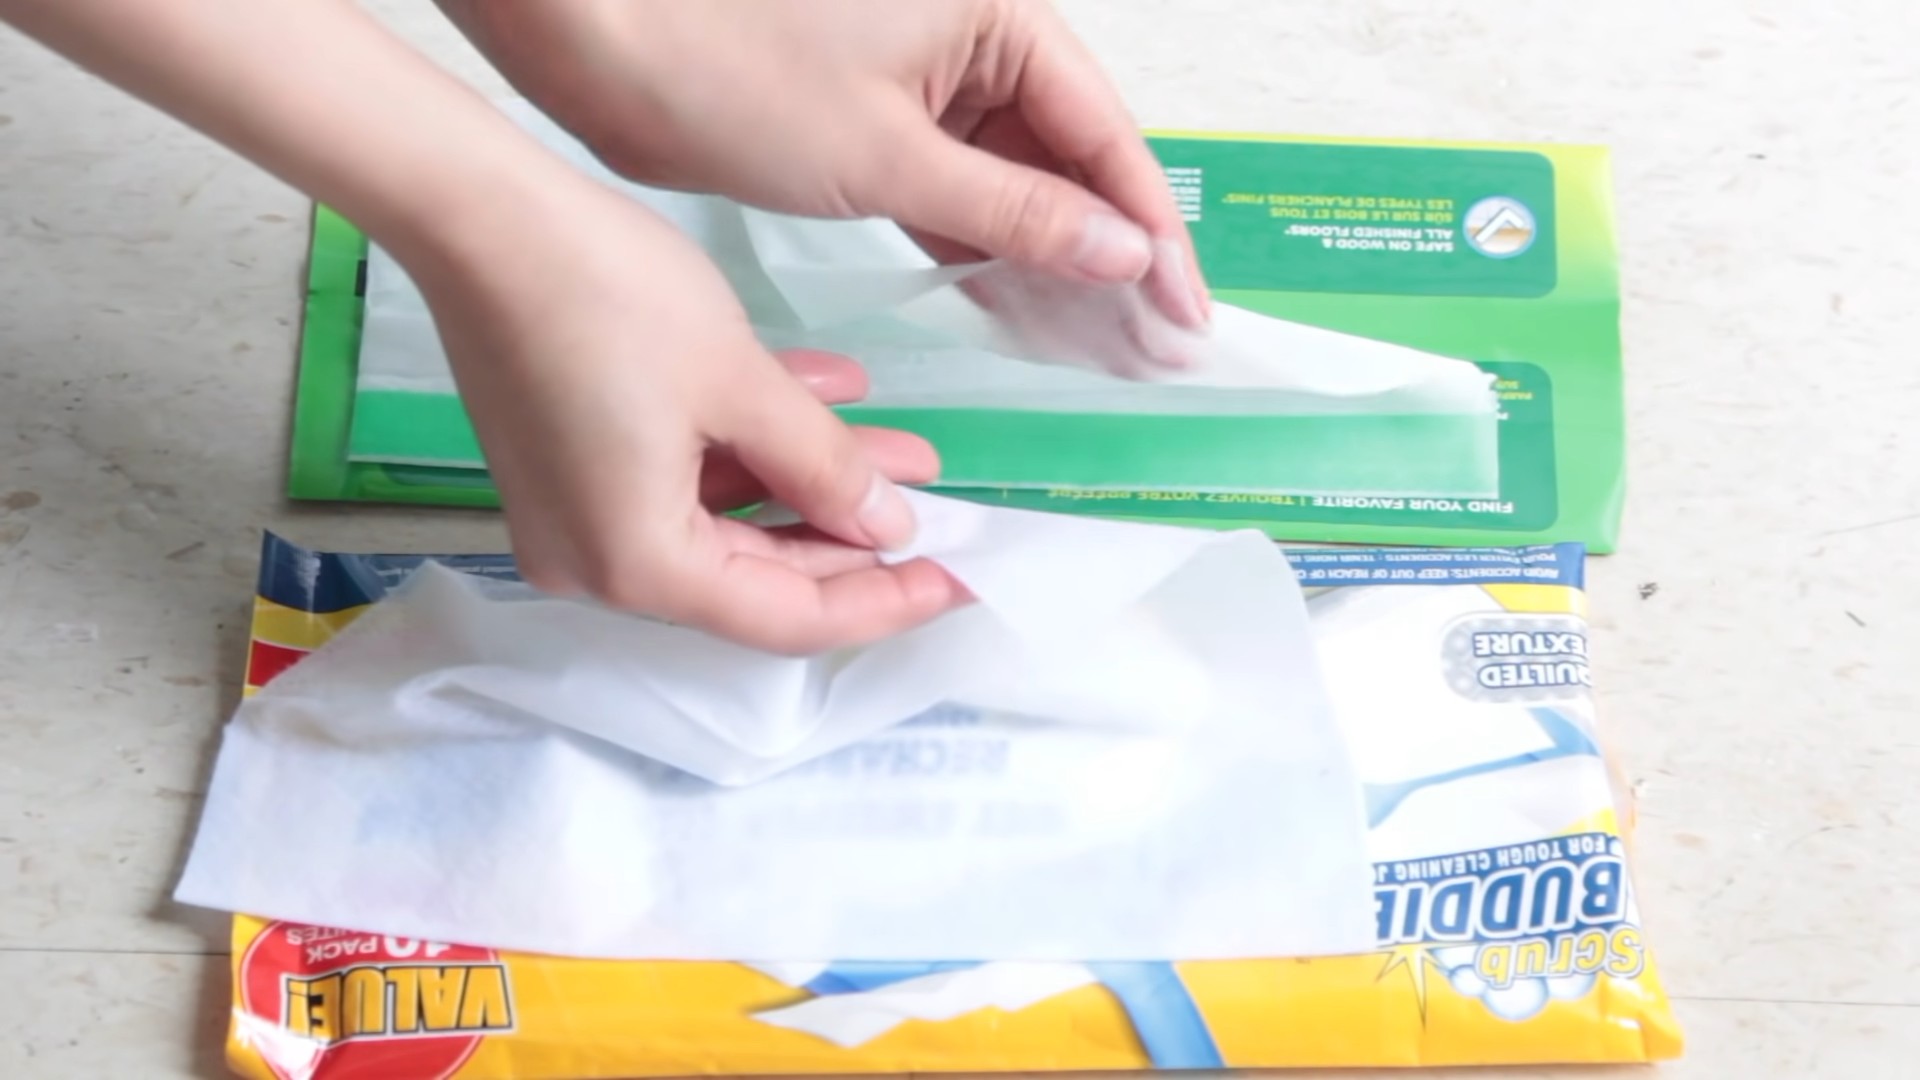
Wet mopping cloths: the unsung heroes of a sparkling clean home! But let’s be honest, keeping them fresh and effective can feel like a never-ending battle. Are you tired of your mop cloths smelling less-than-fresh, even after a wash? Do you find yourself constantly buying new ones because they just don’t seem to get the job done after a while? You’re not alone!
For generations, maintaining a clean home has been a cornerstone of health and well-being. From ancient civilizations using natural fibers to scrub floors to the modern marvels of microfiber, the quest for a spotless space has always been a priority. But what if I told you that you could extend the life of your wet mopping cloths and boost their cleaning power with a few simple DIY tricks?
This article is your ultimate guide to revitalizing your mop cloths and making your cleaning routine more efficient and eco-friendly. We’ll dive into easy-to-follow DIY solutions that will not only save you money but also ensure your floors are truly clean and hygienic. Get ready to say goodbye to musty smells and hello to sparkling floors with these game-changing hacks!
DIY Reusable Wet Mopping Cloths: Save Money and the Planet!
Hey there, fellow DIY enthusiasts! Are you tired of constantly buying disposable wet mopping cloths? I know I was! Not only is it expensive, but it’s also terrible for the environment. So, I decided to take matters into my own hands and create my own reusable wet mopping cloths. And guess what? It’s super easy and incredibly satisfying! This guide will walk you through every step, ensuring you can ditch those disposable cloths for good.
What You’ll Need
Before we dive in, let’s gather our supplies. This is a pretty straightforward project, so you probably already have most of these items lying around:
* Old Towels or Fabric Scraps: This is the heart of our project! Look for absorbent materials like old bath towels, microfiber cloths, flannel sheets, or even old t-shirts. The more absorbent, the better!
* Scissors: A good pair of sharp scissors will make cutting the fabric much easier.
* Sewing Machine (Optional): While you can hand-sew these cloths, a sewing machine will speed up the process considerably and create a more durable product.
* Thread: Choose a thread color that complements your fabric.
* Measuring Tape or Ruler: This will help you cut the fabric to the correct size.
* Pins (Optional): Pins can be helpful for holding the fabric together while sewing.
* Cleaning Solution: You’ll need a cleaning solution to wet your cloths before mopping. I’ll share my favorite recipe later!
* Spray Bottle (Optional): For pre-treating stubborn stains.
Choosing Your Fabric
The type of fabric you choose will impact the effectiveness of your reusable mopping cloths. Here’s a breakdown of some popular options:
* Microfiber: This is a fantastic choice because it’s incredibly absorbent and great at trapping dirt and grime. Old microfiber cleaning cloths work perfectly!
* Cotton: Cotton towels are another excellent option. They’re absorbent and durable, making them ideal for mopping.
* Flannel: Flannel is soft and absorbent, making it a good choice for delicate floors.
* Terry Cloth: Terry cloth is very absorbent due to its looped pile. Old bath towels are perfect for this.
* Old T-shirts: While not as absorbent as other options, old t-shirts can still work in a pinch, especially for light cleaning.
Important Note: Avoid using fabrics that are too thick or bulky, as they may not fit properly on your mop head.
Cutting and Preparing the Fabric
This is where we transform our old materials into usable mopping cloths!
1. Measure Your Mop Head: The first step is to measure the dimensions of your mop head. You’ll need to cut your fabric slightly larger than the mop head to allow for a seam allowance. I usually add about an inch on each side. For example, if your mop head is 12 inches long and 5 inches wide, you’ll want to cut your fabric to 14 inches long and 7 inches wide.
2. Cut the Fabric: Using your measuring tape or ruler and scissors, carefully cut the fabric to the desired size. If you’re using multiple layers of fabric, make sure to cut them all at the same time to ensure they’re the same size.
3. Layer the Fabric (Optional): For extra absorbency, you can layer two pieces of fabric together. This is especially helpful if you’re using thinner materials like old t-shirts.
4. Pin the Fabric (Optional): If you’re layering fabric, use pins to hold the layers together while you sew. This will prevent the fabric from shifting and ensure a neat seam.
Sewing the Cloths (Two Methods)
Now comes the sewing part! I’ll show you two methods: one for those with a sewing machine and one for those who prefer to hand-sew.
Method 1: Using a Sewing Machine
This is the faster and more durable option.
1. Set Up Your Sewing Machine: Thread your sewing machine and select a straight stitch.
2. Sew Around the Edges: Starting at one corner, sew around the entire perimeter of the fabric, about 1/2 inch from the edge. This will create a finished edge and prevent the fabric from fraying.
3. Backstitch at the Beginning and End: To secure the seam, backstitch a few stitches at the beginning and end of each seam.
4. Trim Excess Thread: Once you’ve finished sewing, trim any excess thread.
5. (Optional) Zigzag Stitch for Extra Durability: For added durability, you can go around the edges again with a zigzag stitch. This will further prevent fraying, especially if you’re using a fabric that tends to unravel easily.
Method 2: Hand-Sewing
This method is perfect if you don’t have a sewing machine or prefer to sew by hand.
1. Thread Your Needle: Thread a needle with a length of thread that’s comfortable to work with.
2. Knot the Thread: Tie a knot at the end of the thread.
3. Running Stitch or Blanket Stitch: You can use either a running stitch or a blanket stitch to sew around the edges of the fabric. A running stitch is a simple stitch that goes in and out of the fabric. A blanket stitch is a more decorative stitch that creates a finished edge.
* Running Stitch: Bring the needle up through the fabric, then down a short distance away. Continue this pattern around the entire perimeter of the fabric.
* Blanket Stitch: Bring the needle up through the fabric near the edge. Then, insert the needle back into the fabric a short distance away, but before pulling the thread all the way through, loop the thread around the needle. Pull the thread tight to create a loop along the edge. Continue this pattern around the entire perimeter of the fabric.
4. Secure the Stitch: At the end of the seam, tie a knot to secure the stitch.
5. Trim Excess Thread: Trim any excess thread.
Creating a Pocket (Optional)
If you want to make your reusable mopping cloths even more secure, you can add a pocket to the back. This will help prevent the cloth from slipping off the mop head during use.
1. Cut a Piece of Fabric: Cut a piece of fabric that’s slightly smaller than the width of your mopping cloth. The height of the pocket should be about 3-4 inches.
2. Fold Over the Top Edge: Fold over the top edge of the pocket fabric about 1/2 inch and sew it down to create a finished edge.
3. Pin the Pocket to the Back of the Cloth: Pin the pocket to the back of the mopping cloth, aligning the bottom edge of the pocket with the bottom edge of the cloth.
4. Sew the Sides of the Pocket: Sew along the sides of the pocket, attaching it to the back of the cloth. Make sure to backstitch at the beginning and end of each seam.
My Favorite DIY Cleaning Solution
Now that you have your reusable mopping cloths, you’ll need a cleaning solution to wet them with. Here’s my go-to recipe:
* 1 cup Water: The base of our cleaning solution.
* 1/4 cup White Vinegar: A natural disinfectant and deodorizer.
* 1 tablespoon Dish Soap: Helps to cut through grease and grime. I prefer using a natural dish soap.
* A Few Drops of Essential Oil (Optional): For a pleasant scent. Lavender, lemon, and tea tree oil are all great choices.
Instructions:
1. Combine all the ingredients in a spray bottle or bucket.
2. Shake well to mix.
How to Use:
1. Dampen your reusable mopping cloth with the cleaning solution. You can either spray the solution directly onto the cloth or dip the cloth into a bucket of the solution.
2. Attach the cloth to your mop head.
3. Mop your floors as usual.
Important Note: Always test the cleaning solution on a small, inconspicuous area of your floor before using it on the entire surface. This will help ensure that it doesn’t damage the finish.
Cleaning and Maintaining Your Reusable Mopping Cloths
To keep your reusable mopping cloths in good condition, it’s important to clean them properly after each use.
1. Rinse Thoroughly: After mopping, rinse the cloth thoroughly with warm water to remove any dirt and debris.
2. Wash in the Washing Machine: Wash the cloth in the washing machine with your regular laundry. Use a mild detergent and avoid using fabric softener, as it can reduce the absorbency of the fabric.
3. Dry in the Dryer or Hang to Dry: You can either dry the cloth in the dryer on
Conclusion
So, there you have it! Creating your own DIY wet mopping cloths is not just a cost-effective alternative to store-bought versions; it’s a game-changer for your cleaning routine. Think about it: no more last-minute runs to the store when you realize you’re out of your favorite cleaning pads. No more wondering about the harsh chemicals lurking in pre-packaged solutions. Instead, you have complete control over the ingredients, tailoring them to your specific needs and preferences.
This simple trick empowers you to create a cleaning solution that’s gentle on your floors, tough on grime, and kind to your wallet. Imagine the satisfaction of knowing exactly what’s going onto your surfaces, especially if you have children or pets. You can choose eco-friendly options, infuse your cloths with your favorite essential oils for a refreshing scent, or even create specialized solutions for different types of flooring.
But the benefits don’t stop there. By making your own DIY wet mopping cloths, you’re also reducing waste. Think of all the disposable pads you’re no longer throwing away! It’s a small change that can make a big difference for the environment.
Variations to Explore:
* For Hardwood Floors: Add a tablespoon of white vinegar to your solution for extra shine and to help remove streaks.
* For Tile Floors: A squirt of dish soap can help cut through grease and grime on tile surfaces.
* For a Fresh Scent: Experiment with different essential oils like lemon, lavender, or eucalyptus. Just be sure to research which oils are safe for your specific flooring type.
* For a Deeper Clean: Add a teaspoon of borax to your solution for extra cleaning power. However, always test in an inconspicuous area first and use with caution around children and pets.
* Reusable Cloth Options: Cut up old t-shirts or towels into squares to use as your cloths. This is a great way to repurpose old materials and further reduce waste. Just make sure the fabric is absorbent and lint-free.
* Pre-Soaked Storage: Store your prepared cloths in an airtight container with the cleaning solution. This way, they’re always ready to go when you need them. Just be sure to use a container that won’t react with the ingredients in your solution.
We truly believe that once you try this DIY wet mopping cloths method, you’ll never go back to store-bought versions. It’s simple, effective, and customizable to your specific needs.
So, what are you waiting for? Gather your supplies, mix up your solution, and experience the joy of a sparkling clean floor, made possible by your own ingenuity.
We’re confident that you’ll love the results. And we’d love to hear about your experience! Share your tips, variations, and before-and-after photos in the comments below. Let’s build a community of clean-floor enthusiasts! We can’t wait to see what you create. Happy mopping!
Frequently Asked Questions (FAQ)
1. What type of cloth is best for DIY wet mopping cloths?
The best type of cloth for your DIY wet mopping cloths is one that is absorbent, durable, and lint-free. Microfiber cloths are an excellent choice because they are highly absorbent and effectively trap dirt and grime. They are also reusable and washable, making them an eco-friendly option. Alternatively, you can repurpose old t-shirts or towels made from cotton. Just ensure the fabric is clean and doesn’t leave behind excessive lint on your floors. Avoid using cloths with rough textures that could scratch delicate surfaces.
2. What ingredients should I avoid when making my own wet mopping solution?
When creating your DIY wet mopping cloths solution, it’s crucial to avoid certain ingredients that could damage your floors or pose health risks. Avoid using harsh chemicals like bleach or ammonia, as these can strip the finish from hardwood floors and irritate skin and lungs. Also, avoid using abrasive cleaners that could scratch delicate surfaces like marble or tile. Be cautious with essential oils, as some can stain or damage certain types of flooring. Always test your solution in an inconspicuous area before applying it to the entire floor.
3. How often should I wash my reusable DIY wet mopping cloths?
The frequency of washing your reusable DIY wet mopping cloths depends on how often you mop and how dirty your floors are. As a general rule, you should wash them after each use to prevent the buildup of bacteria and grime. If you’re mopping a large area or your floors are particularly dirty, you may need to switch to a fresh cloth mid-way through your cleaning session. To wash your cloths, simply toss them in the washing machine with your regular laundry. Use a mild detergent and avoid using fabric softener, as it can reduce the absorbency of the cloths.
4. Can I use essential oils in my DIY wet mopping solution? Which ones are safe?
Yes, you can definitely use essential oils in your DIY wet mopping cloths solution to add a pleasant scent and potentially boost the cleaning power. However, it’s important to choose oils that are safe for your flooring type and your family, including pets. Some popular and generally safe options include lemon, lavender, eucalyptus, tea tree, and peppermint. Lemon oil is known for its degreasing properties, while lavender and eucalyptus offer a refreshing and calming aroma. Tea tree oil has antibacterial properties, and peppermint can help repel insects. Always dilute essential oils properly before adding them to your solution, and test in an inconspicuous area first. Research the specific essential oil you plan to use to ensure it’s compatible with your flooring.
5. How do I store my DIY wet mopping cloths to keep them fresh?
Proper storage is key to keeping your DIY wet mopping cloths fresh and ready to use. If you’re using pre-soaked cloths, store them in an airtight container to prevent the solution from drying out and to keep the cloths clean. A plastic container with a tight-fitting lid works well. You can also use a resealable plastic bag. If you’re storing dry cloths and plan to add the solution just before mopping, simply keep them in a clean, dry place, such as a drawer or cupboard. Avoid storing them in direct sunlight or near heat sources, as this can degrade the fabric and the cleaning solution.
6. Will this DIY solution work on all types of flooring?
While this DIY wet mopping cloths solution is generally safe and effective for most types of flooring, it’s essential to consider the specific needs of your floors. Hardwood floors, for example, require a gentle cleaning solution that won’t strip the finish or cause water damage. Tile floors are more resilient and can tolerate slightly stronger solutions. Laminate floors are similar to hardwood and should be treated with care. Always test your solution in an inconspicuous area before applying it to the entire floor to ensure it doesn’t cause any damage or discoloration. If you’re unsure about the best cleaning method for your specific flooring type, consult the manufacturer’s recommendations.
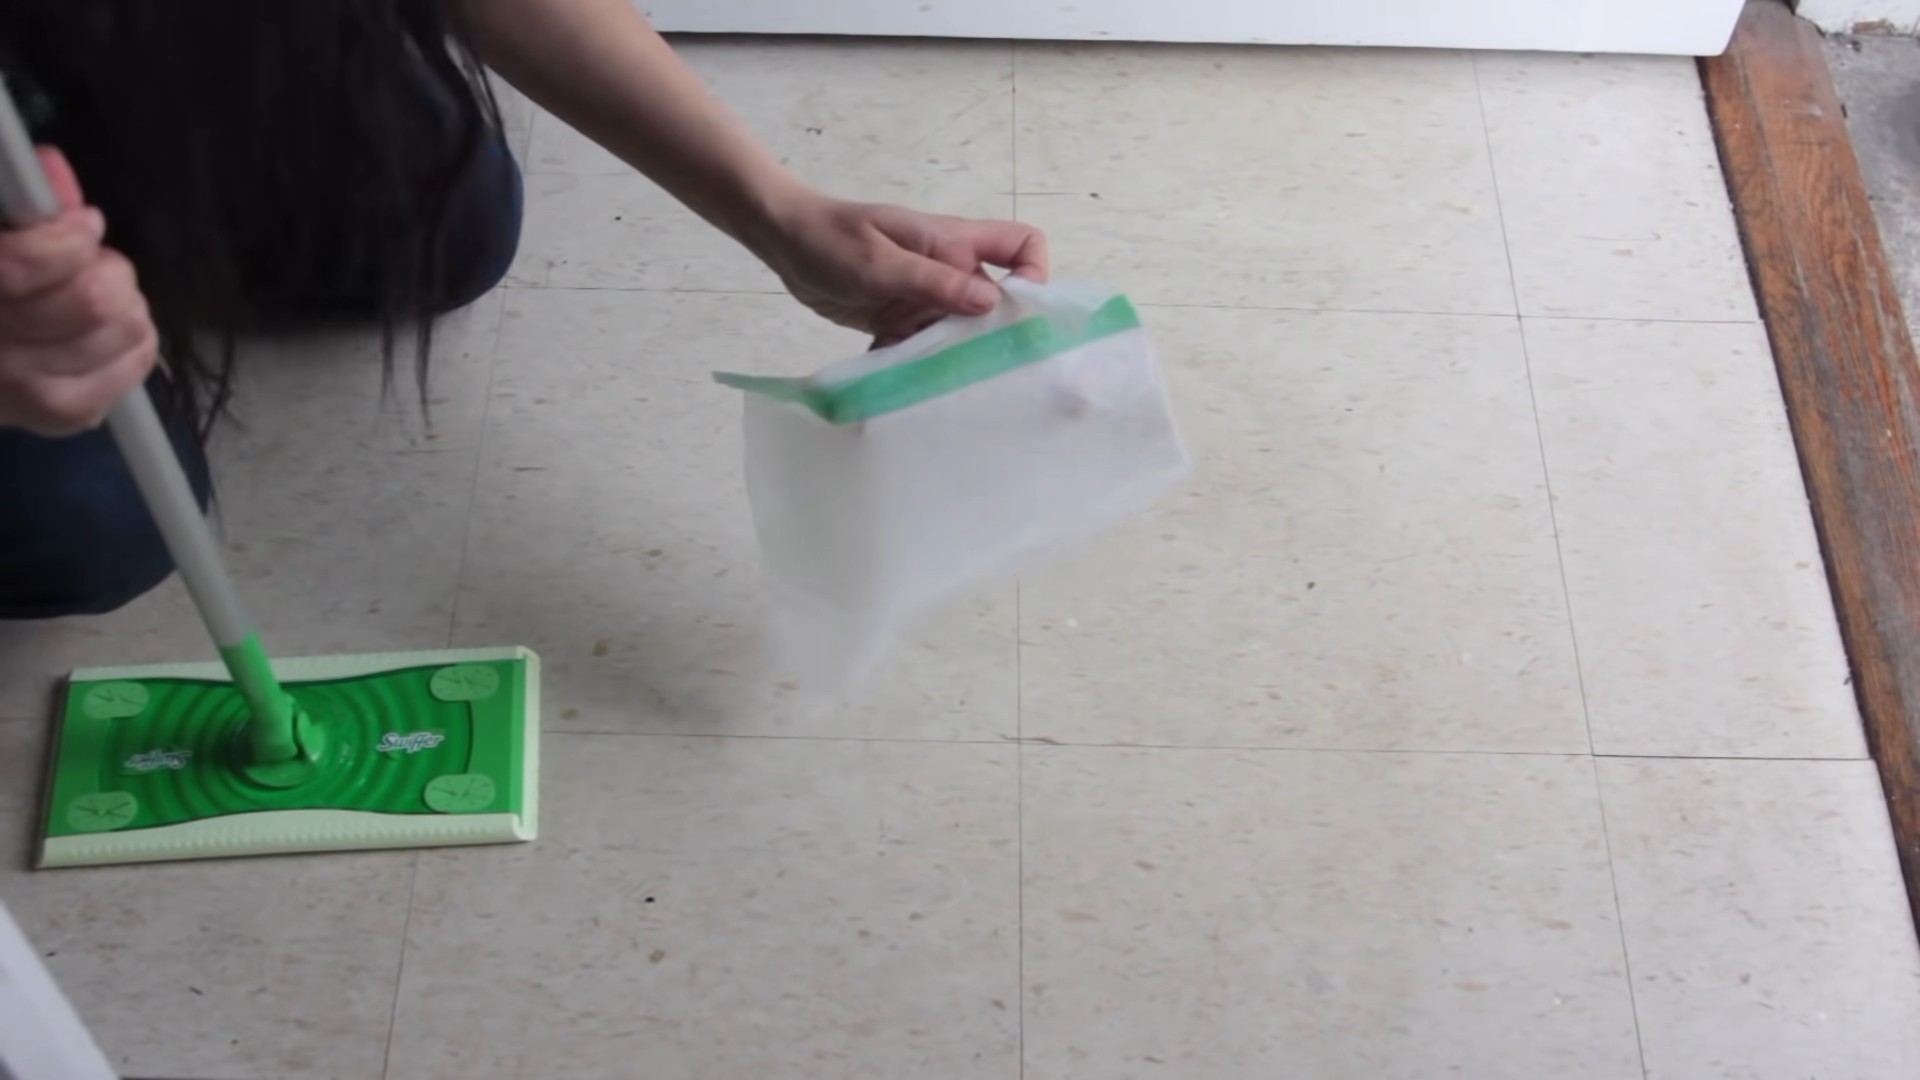
7. Can I use this DIY solution with a Swiffer or similar mopping device?
Yes, absolutely! This DIY wet mopping cloths solution is perfectly compatible with Swiffer and similar mopping devices. Simply attach your homemade cloths to the mop head as you would with store-bought pads. The beauty of this DIY method is that you can customize the size and shape of your cloths to fit your specific mopping device. You can also reuse the cloths multiple times, making it a more sustainable and cost-effective option. Just be sure to wring out any excess solution from the cloth before attaching it to the mop head to prevent dripping.
Leave a Comment