
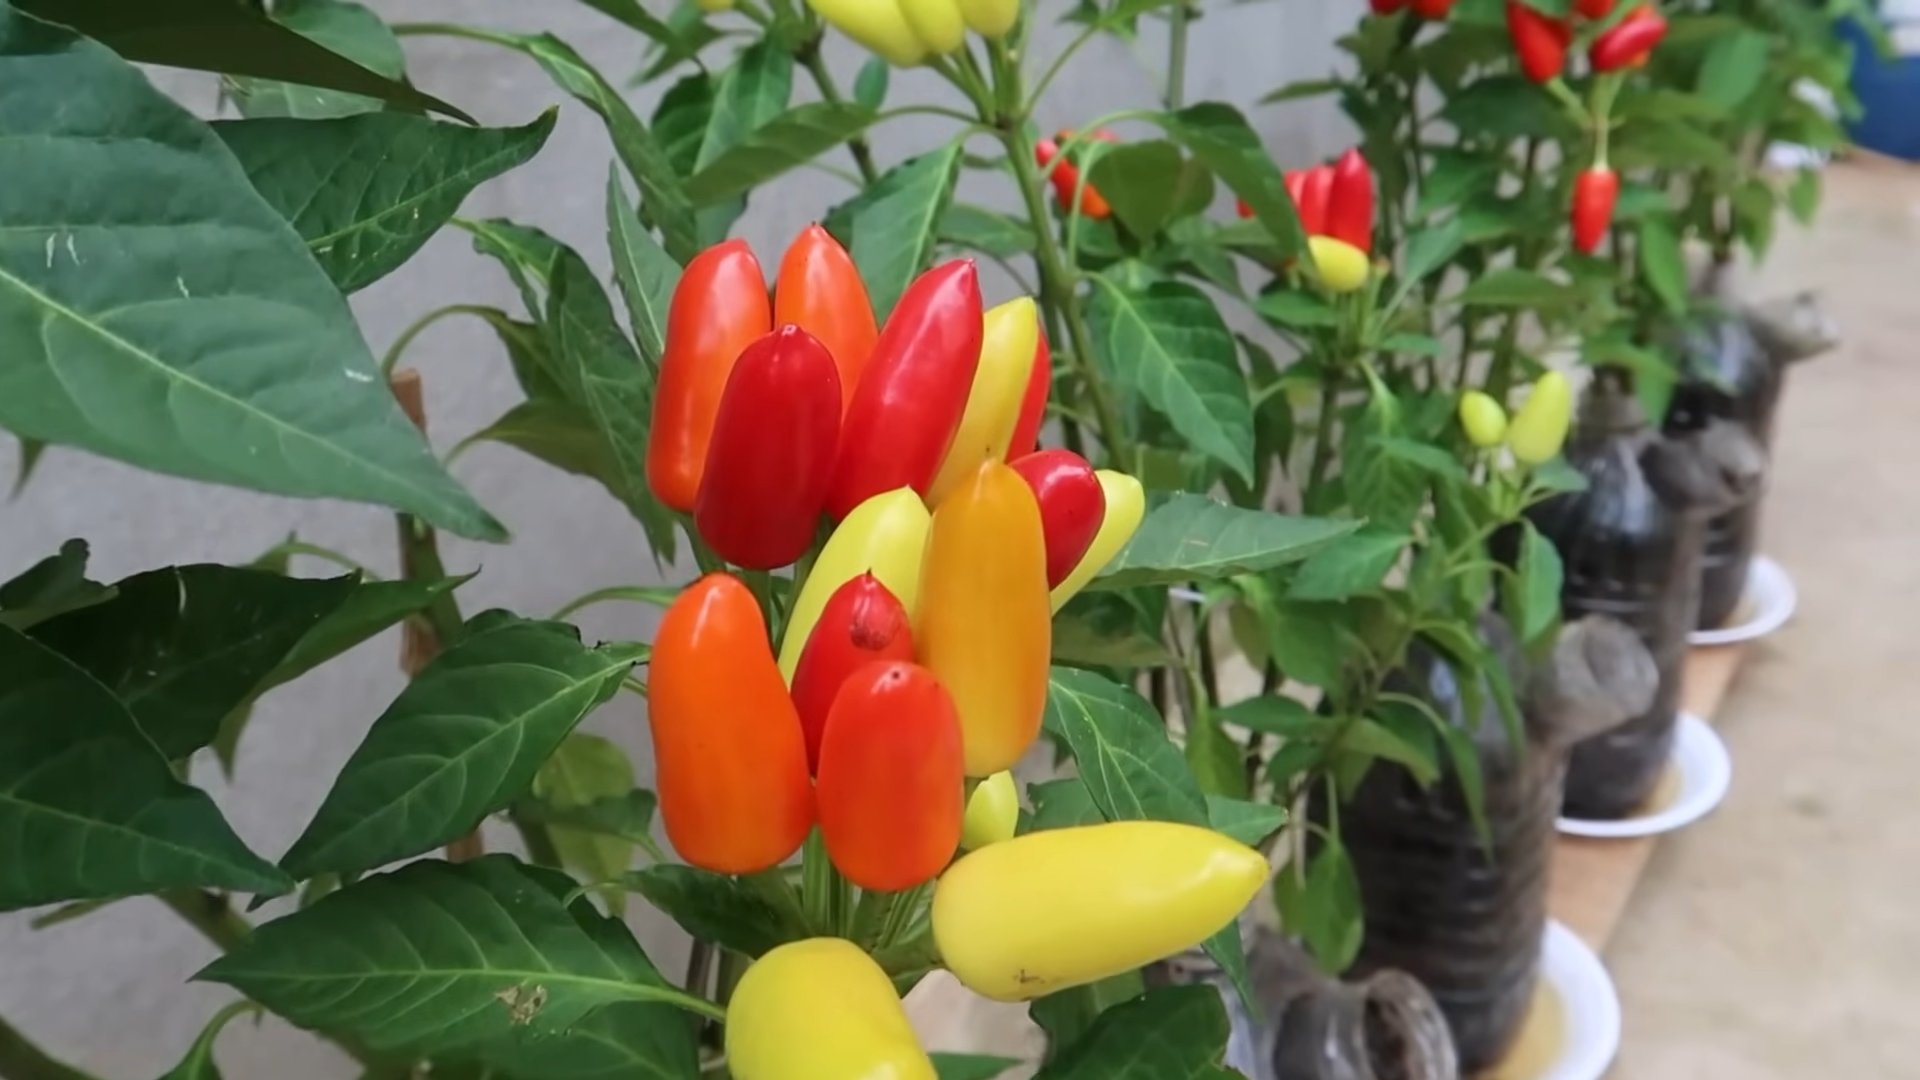
Growing Peppers in Bottles: Sounds a little crazy, right? But trust me, this isn’t your grandma’s gardening advice! I’m about to share a super cool DIY trick that will have you harvesting a bumper crop of peppers, even if you’re short on space or dealing with less-than-ideal soil.
For centuries, resourceful gardeners have been finding innovative ways to cultivate their favorite plants. From ancient terraced gardens to modern-day hydroponics, the spirit of ingenuity has always been at the heart of successful gardening. This method of growing peppers in bottles taps into that same spirit, offering a practical and sustainable solution for urban gardeners and anyone looking to maximize their yield.
Why should you try this? Well, think about it: are you tired of battling weeds in your garden bed? Do you have limited space on your balcony or patio? Or maybe you just want a fun and unique gardening project to impress your friends. This DIY method addresses all of those concerns! It’s a fantastic way to recycle plastic bottles, control the growing environment, and ensure your pepper plants get the nutrients and sunlight they need to thrive. Plus, it’s incredibly satisfying to watch those little seedlings transform into vibrant, pepper-producing powerhouses, all within the confines of a repurposed bottle. So, let’s dive in and discover how you can start growing peppers in bottles today!
Growing Peppers in Bottles: A Fun and Space-Saving DIY Project!
Hey there, fellow gardening enthusiasts! Are you short on space but still dreaming of a bountiful pepper harvest? Well, I’ve got just the project for you! I’m going to walk you through how to grow peppers in bottles – it’s a super fun, surprisingly effective, and eco-friendly way to get your pepper fix. Trust me, once you see those peppers thriving in their recycled homes, you’ll be hooked!
What You’ll Need: The Supplies List
Before we dive in, let’s gather our supplies. This is a pretty low-cost project, which is always a win in my book!
* Plastic Bottles: The stars of the show! I recommend using 2-liter soda bottles or larger water bottles. The bigger, the better, as it gives the roots more room to grow. Make sure they’re clean and dry.
* Pepper Seeds or Seedlings: Choose your favorite pepper varieties! Bell peppers, jalapenos, habaneros – the choice is yours. If you’re starting from seeds, you’ll need to start them indoors a few weeks before you plan to transplant them into the bottles.
* Potting Mix: A good quality potting mix is essential for healthy pepper growth. Avoid using garden soil, as it can compact and doesn’t drain well in containers.
* Scissors or a Utility Knife: For cutting the bottles. Be careful!
* Drill or Nail and Hammer: To create drainage holes.
* Watering Can or Hose: For watering your pepper plants.
* Fertilizer: A balanced fertilizer formulated for vegetables. I like to use a slow-release fertilizer, but you can also use a liquid fertilizer.
* Gravel or Small Rocks: For drainage at the bottom of the bottles.
* Optional:
* Gloves (to protect your hands)
* Permanent marker (for labeling)
* Spray paint (to decorate the bottles – make sure it’s safe for plants!)
* Small trellis or stakes (for supporting taller pepper varieties)
Preparing the Bottles: Getting Ready to Plant
Okay, let’s get those bottles ready for their new inhabitants! This is where the fun (and a little bit of careful cutting) begins.
1. Clean the Bottles: Make sure your bottles are clean and free of any residue. Wash them with soap and water, and then rinse them thoroughly.
2. Cut the Bottles: This is where you have a couple of options. I usually cut the bottle in half, about halfway down. You can discard the top half, or you can invert it and use it as a makeshift greenhouse cover when the seedlings are small. Another option is to cut a large rectangular opening in the side of the bottle, leaving the top intact. This is a good option if you want to hang the bottles.
3. Create Drainage Holes: Drainage is crucial for preventing root rot. Use a drill or a nail and hammer to create several drainage holes in the bottom of the bottle. I usually make about 5-6 holes.
4. Add Gravel: Place a layer of gravel or small rocks at the bottom of the bottle. This will further improve drainage and prevent the potting mix from clogging the drainage holes.
5. Optional: Decorate the Bottles: If you want to add a personal touch, you can spray paint the bottles or decorate them with markers. Just make sure the paint is safe for plants and won’t leach harmful chemicals into the soil.
Planting Your Peppers: Time to Get Growing!
Now for the exciting part – planting your peppers! This is where you’ll see your hard work start to pay off.
1. Fill with Potting Mix: Fill the bottle with potting mix, leaving about an inch or two of space at the top.
2. Plant Your Seedlings or Seeds:
* Seedlings: Gently remove the seedling from its container and loosen the roots slightly. Dig a small hole in the potting mix and place the seedling in the hole. Backfill with potting mix and gently firm the soil around the base of the plant.
* Seeds: Sow the seeds according to the instructions on the seed packet. I usually plant 2-3 seeds per bottle and then thin them out to the strongest seedling once they germinate.
3. Water Thoroughly: Water the potting mix thoroughly until water drains out of the drainage holes. This will help settle the soil and ensure that the roots are well-hydrated.
4. Label Your Bottles: Use a permanent marker to label each bottle with the pepper variety and the date of planting. This will help you keep track of your plants.
Caring for Your Pepper Plants: Keeping Them Happy and Healthy
Now that your peppers are planted, it’s important to provide them with the care they need to thrive. Here’s what you need to do:
1. Sunlight: Peppers need at least 6-8 hours of sunlight per day. Place your bottles in a sunny location, such as a windowsill, balcony, or patio. If you don’t have enough natural light, you can supplement with grow lights.
2. Watering: Water your pepper plants regularly, especially during hot weather. Check the soil moisture by sticking your finger into the soil. If the top inch of soil feels dry, it’s time to water. Avoid overwatering, as this can lead to root rot.
3. Fertilizing: Fertilize your pepper plants every 2-3 weeks with a balanced fertilizer formulated for vegetables. Follow the instructions on the fertilizer label.
4. Pruning: Pruning can help improve air circulation and encourage bushier growth. Remove any yellowing or dead leaves. You can also pinch off the growing tips to encourage branching.
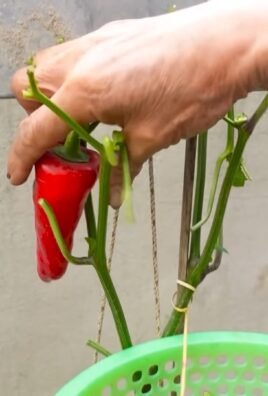
5. Support: As your pepper plants grow, they may need support. Use small trellises or stakes to support the stems and prevent them from breaking.
6. Pest Control: Keep an eye out for pests, such as aphids, whiteflies, and spider mites. If you notice any pests, treat them with an insecticidal soap or neem oil.
7. Pollination: Peppers are self-pollinating, but you can help them along by gently shaking the plants or using a small brush to transfer pollen from one flower to another. This is especially important if you’re growing peppers indoors.
Troubleshooting: Common Problems and Solutions
Even with the best care, you may encounter some problems along the way. Here are some common issues and how to fix them:
* Yellowing Leaves: This can be caused by overwatering, underwatering, nutrient deficiencies, or pests. Check the soil moisture, fertilize your plants, and inspect them for pests.
* Blossom End Rot: This is a calcium deficiency that causes the bottom of the peppers to rot. To prevent blossom end rot, make sure your soil is well-drained and that you’re providing your plants with enough calcium. You can add calcium to the soil by mixing in bone meal or crushed eggshells.
* Lack of Fruit: This can be caused by insufficient sunlight, poor pollination, or extreme temperatures. Make sure your plants are getting enough sunlight, hand-pollinate the flowers, and protect them from extreme temperatures.
* Pests: As mentioned earlier, pests can be a problem. Treat them with an insecticidal soap or neem oil.
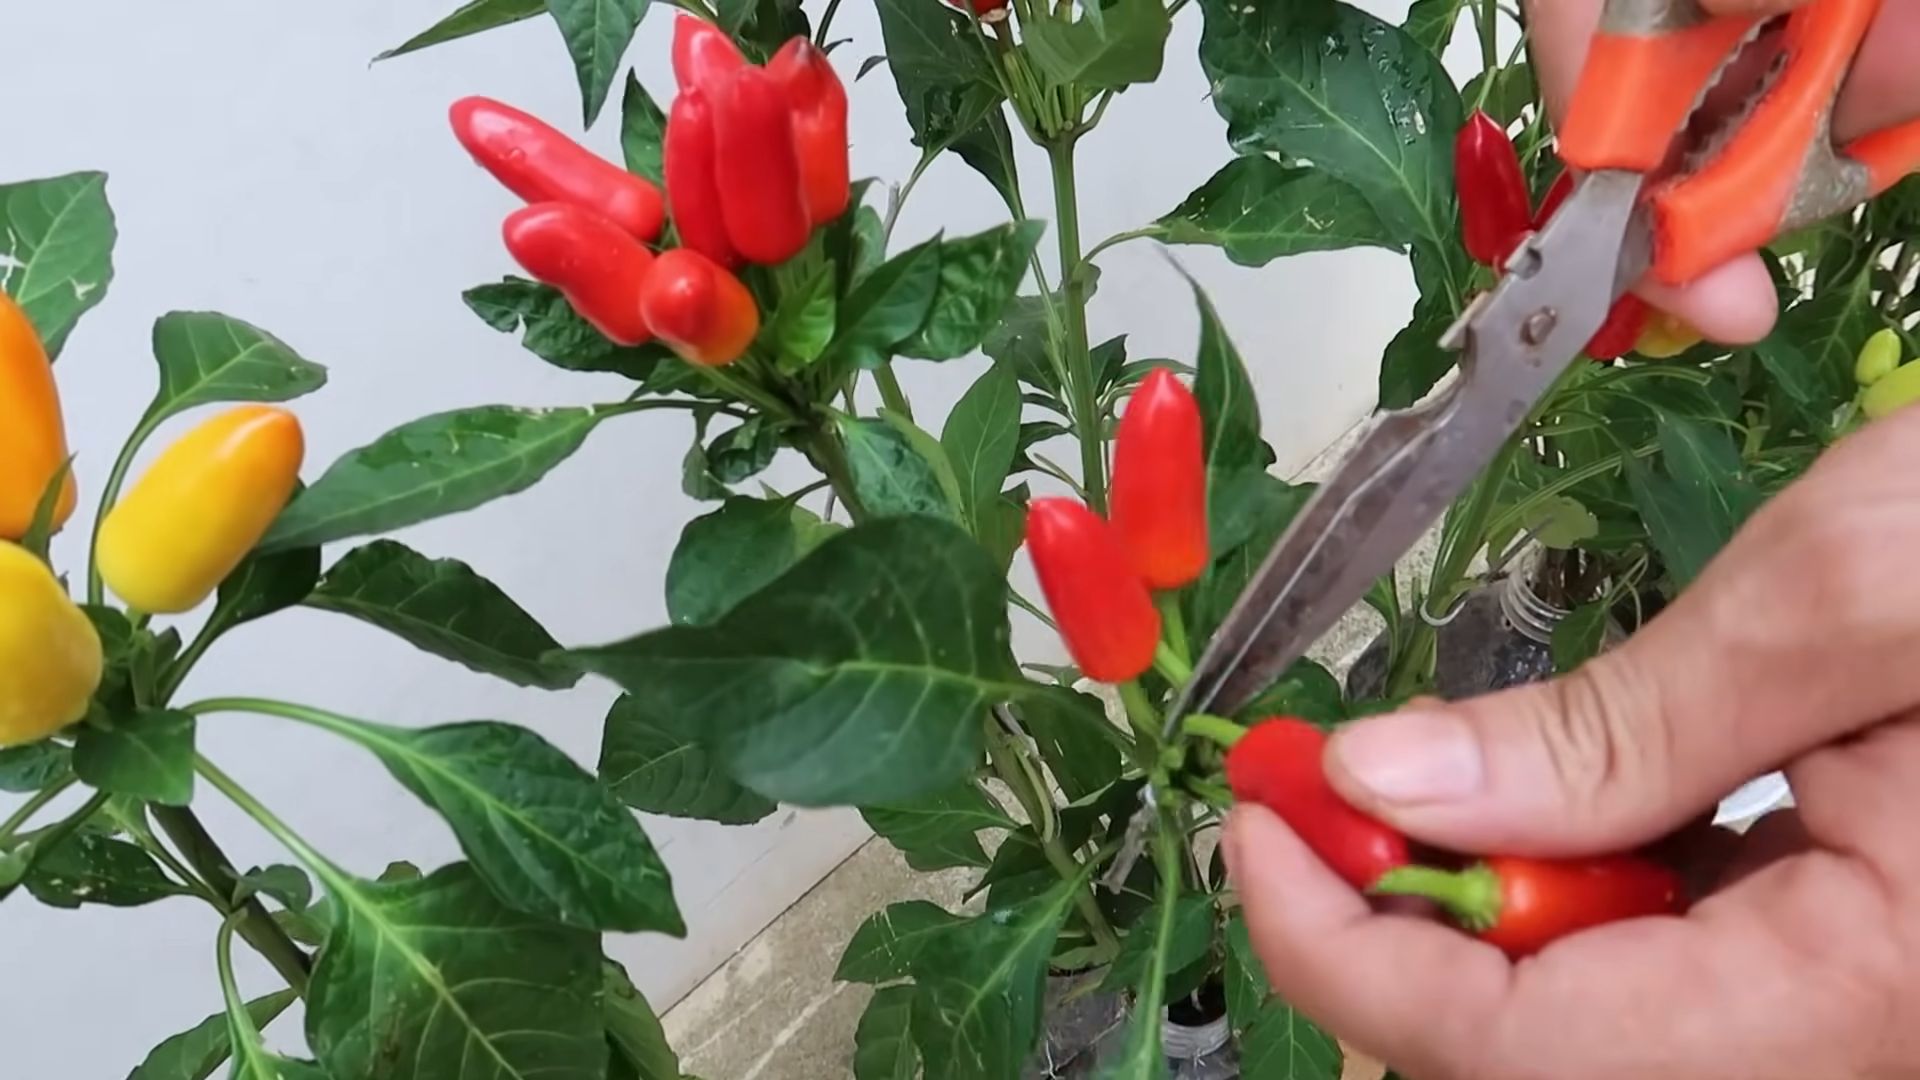
Harvesting Your Peppers: The Sweet Reward!
After all your hard work, it’s finally time to harvest your peppers! The timing of the harvest will depend on the pepper variety. Bell peppers are usually ready to harvest when they’re fully colored and firm to the touch. Jalapenos are ready to harvest when they’re green and about 2-3 inches long. Habaneros are ready to harvest when they’re fully colored and have a slightly wrinkled appearance.
To harvest your peppers, simply cut them off the plant with a sharp knife or scissors. Be careful not to damage the plant.
And that’s it! You’ve successfully grown peppers in bottles! Now you can enjoy your homegrown peppers in your favorite recipes. I love using mine in salsas, salads, and stir-fries.
Tips for Success:
* Choose the right pepper variety: Some pepper varieties are better suited for container growing than others. Look for compact varieties that don’t get too tall.
* Use a good quality potting mix: This is essential for healthy pepper growth.
* Provide adequate drainage: Drainage is crucial for preventing root rot.
* Water regularly: Peppers need consistent moisture, especially during hot weather.
* Fertilize regularly: Peppers are heavy feeders and need regular fertilization.
* Protect your plants from pests: Keep an eye out for pests and treat them promptly.
* Be patient: Growing peppers takes time and effort, but the rewards are well worth it!
I hope you enjoyed this DIY guide! Growing peppers in bottles is a fun and rewarding project
Conclusion
So, there you have it! Growing peppers in bottles isn’t just a quirky gardening experiment; it’s a surprisingly effective and space-saving method that can bring a burst of fresh, homegrown flavor right to your windowsill or balcony. We’ve walked you through the simple steps, from selecting the right bottle and preparing your growing medium to transplanting your seedlings and providing the necessary care.
Why is this DIY trick a must-try? Because it democratizes gardening. It removes the barriers of large yards, expensive equipment, and extensive gardening knowledge. Anyone, anywhere, can experience the joy of nurturing a plant from seedling to harvest. Imagine the satisfaction of snipping off a vibrant red chili pepper, grown with your own hands in a recycled bottle, and adding it to your favorite dish. That’s the power of this simple technique.
Beyond the practicality, growing peppers in bottles is also an incredibly rewarding experience. It’s a chance to connect with nature, learn about the life cycle of a plant, and appreciate the effort that goes into producing the food we eat. Plus, it’s a fantastic conversation starter! Your bottle pepper garden will undoubtedly be a unique and eye-catching addition to your home.
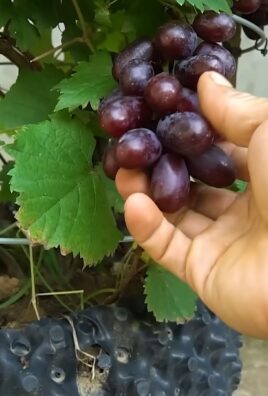
But the fun doesn’t stop there! Feel free to experiment with different varieties of peppers. Jalapeños, habaneros, bell peppers, even ornamental peppers – the possibilities are endless. You can also try different growing mediums, such as coco coir or a mix of perlite and vermiculite, to see what works best for your specific environment. Consider adding companion plants like basil or marigolds to your bottle garden to deter pests and attract pollinators.
For those looking to maximize their yield, consider using a larger bottle, such as a 2-liter soda bottle or even a gallon-sized water jug. Just be sure to adjust the drainage holes accordingly. You can also experiment with different watering techniques, such as bottom watering, to ensure that your peppers receive adequate hydration without overwatering.
Don’t be afraid to get creative and personalize your bottle pepper garden! Paint the bottles with vibrant colors, add decorative labels, or even create a vertical garden by hanging the bottles from a wall or fence. The only limit is your imagination.
We are confident that you’ll find this DIY project both enjoyable and rewarding. It’s a sustainable, space-saving, and incredibly satisfying way to grow your own fresh peppers. So, gather your bottles, grab your seedlings, and get ready to embark on a pepper-growing adventure!
Now, we want to hear from you! Have you tried growing peppers in bottles before? What tips and tricks have you learned along the way? Share your experiences, photos, and questions in the comments below. Let’s create a community of bottle pepper gardeners and learn from each other. We can’t wait to see what you grow! Remember, the key to success is patience, persistence, and a little bit of love. Happy gardening!
Frequently Asked Questions (FAQ)
What type of peppers grow best in bottles?
Almost any pepper variety can be grown in bottles, but smaller varieties tend to thrive best due to the limited space. Jalapeños, habaneros, Thai chilies, and other compact pepper plants are excellent choices. Bell peppers can also be grown, but they may require a larger bottle and more support. Experiment with different varieties to see what works best in your specific climate and growing conditions. Remember to consider the mature size of the plant when selecting your pepper variety.
How often should I water my peppers grown in bottles?
Watering frequency depends on several factors, including the size of the bottle, the type of growing medium, the temperature, and the humidity. Generally, you should water your peppers when the top inch of soil feels dry to the touch. Avoid overwatering, as this can lead to root rot. A good rule of thumb is to water deeply but infrequently, allowing the soil to dry out slightly between waterings. During hot, dry weather, you may need to water more frequently. Check the moisture level of the soil regularly and adjust your watering schedule accordingly.
What kind of soil should I use for growing peppers in bottles?
A well-draining potting mix is essential for growing healthy peppers in bottles. Avoid using garden soil, as it can be too heavy and compact, leading to poor drainage and root rot. A good potting mix should contain a blend of peat moss, perlite, and vermiculite. You can also add compost or other organic matter to improve the soil’s fertility and water retention. Ensure the potting mix is loose and airy to allow for proper root development.
How much sunlight do peppers grown in bottles need?
Peppers need at least 6-8 hours of direct sunlight per day to thrive. Place your bottle pepper garden in a sunny location, such as a south-facing window or balcony. If you don’t have access to enough natural sunlight, you can supplement with grow lights. LED grow lights are an energy-efficient option that can provide the necessary light spectrum for pepper growth. Rotate your bottles regularly to ensure that all sides of the plant receive adequate sunlight.
Do I need to fertilize my peppers grown in bottles?
Yes, peppers are heavy feeders and require regular fertilization to produce a bountiful harvest. Use a balanced fertilizer specifically formulated for vegetables. Follow the instructions on the fertilizer label for application rates and frequency. You can also use organic fertilizers, such as compost tea or fish emulsion. Fertilize your peppers every 2-3 weeks during the growing season. Avoid over-fertilizing, as this can lead to nutrient burn.
How do I prevent pests and diseases in my bottle pepper garden?
Prevention is key when it comes to pests and diseases. Start by using a clean potting mix and ensuring that your bottles have adequate drainage. Regularly inspect your plants for signs of pests or diseases. Common pepper pests include aphids, spider mites, and whiteflies. You can control these pests with insecticidal soap or neem oil. Diseases such as powdery mildew and blossom end rot can be prevented by providing good air circulation and avoiding overwatering. If you notice any signs of pests or diseases, treat them promptly to prevent them from spreading.
How do I support my pepper plants as they grow in bottles?
As your pepper plants grow, they may need support to prevent them from toppling over. You can use bamboo stakes, tomato cages, or even chopsticks to provide support. Gently tie the stems of the pepper plants to the supports using soft twine or plant ties. Be careful not to tie the stems too tightly, as this can restrict their growth. As the plants grow taller, you may need to add additional supports.
Can I overwinter my pepper plants grown in bottles?
Yes, you can overwinter your pepper plants grown in bottles, especially if you live in a colder climate. Before the first frost, bring your bottles indoors and place them in a sunny location. Reduce watering and fertilization during the winter months. The plants may go dormant and stop producing peppers, but they will resume growth in the spring. You can also prune your pepper plants back to encourage new growth.
How do I harvest my peppers grown in bottles?
Harvest your peppers when they have reached their mature size and color. Use a sharp knife or scissors to cut the peppers from the plant, leaving a small stem attached. Avoid pulling the peppers off the plant, as this can damage the stems. The timing of harvest depends on the variety of pepper you are growing. Some peppers, such as jalapeños, are typically harvested when they are green, while others, such as bell peppers, are harvested when they are red, yellow, or orange.
Is growing peppers in bottles really effective?
Yes! While it might seem unconventional, growing peppers in bottles is a surprisingly effective method, especially for those with limited space. The bottles provide a contained environment that allows you to control the soil, watering, and sunlight. It’s also a great way to recycle plastic bottles and reduce waste. While you might not get the same yield as you would from growing peppers in a large garden bed, you can still harvest a significant amount of fresh peppers from your bottle garden. The key is to provide your plants with the proper care and attention.
Leave a Comment