
Grow Celery Indoors? Absolutely! Imagine fresh, crisp celery stalks just steps away, ready to add a delightful crunch to your salads, soups, and snacks. Forget those limp, store-bought bunches that have seen better days. This isn’t just about convenience; it’s about reclaiming control over your food source and experiencing the pure joy of nurturing something from humble beginnings to a vibrant, edible plant.
Celery, with its origins tracing back to the Mediterranean, has been enjoyed for centuries, not only for its culinary uses but also for its medicinal properties. Ancient Greeks even used celery leaves to crown victors in athletic competitions! While traditionally grown outdoors, bringing this versatile vegetable inside opens up a world of possibilities, especially for those with limited outdoor space or challenging climates.
Let’s face it, buying celery can be a gamble. You often end up with more than you need, and it wilts away in the crisper drawer before you can use it all. That’s where this DIY trick comes in! Learning how to grow celery indoors is a game-changer. It’s a sustainable, cost-effective way to ensure you always have fresh celery on hand, reduce food waste, and add a touch of green to your indoor environment. Plus, it’s incredibly rewarding to watch your little celery plant thrive. So, grab your gardening gloves, and let’s get started on this exciting indoor gardening adventure!
Grow Your Own Celery Indoors: A Beginner’s Guide
Hey there, fellow plant enthusiasts! Ever thought about growing your own celery? It’s surprisingly easy to do indoors, and nothing beats the fresh, crisp taste of homegrown celery. Plus, it’s a fantastic way to reduce food waste and have a constant supply of this versatile veggie. I’m going to walk you through the whole process, step-by-step, so you can enjoy your own indoor celery garden.
What You’ll Need
Before we dive in, let’s gather our supplies. Here’s a list of everything you’ll need to successfully grow celery indoors:
* **Celery Stalk:** Of course! Choose a healthy-looking celery stalk from the grocery store. Look for one with a firm base and vibrant green leaves.
* **Shallow Dish or Bowl:** This will be our initial rooting station.
* **Water:** Tap water is fine, but filtered water is even better.
* **Potting Mix:** A good quality potting mix is essential for healthy growth.
* **Pot:** Choose a pot that’s at least 8 inches in diameter and 8 inches deep. Celery needs room for its roots to grow.
* **Grow Lights (Optional but Recommended):** While celery can grow indoors with natural light, grow lights will significantly improve its growth and yield, especially during the darker months.
* **Spray Bottle:** For misting the celery leaves.
* **Fertilizer (Optional):** A balanced liquid fertilizer can help boost growth, but it’s not strictly necessary.
Section 1: Rooting Your Celery Stalk
This is where the magic begins! We’re going to coax our celery stalk into growing new roots.
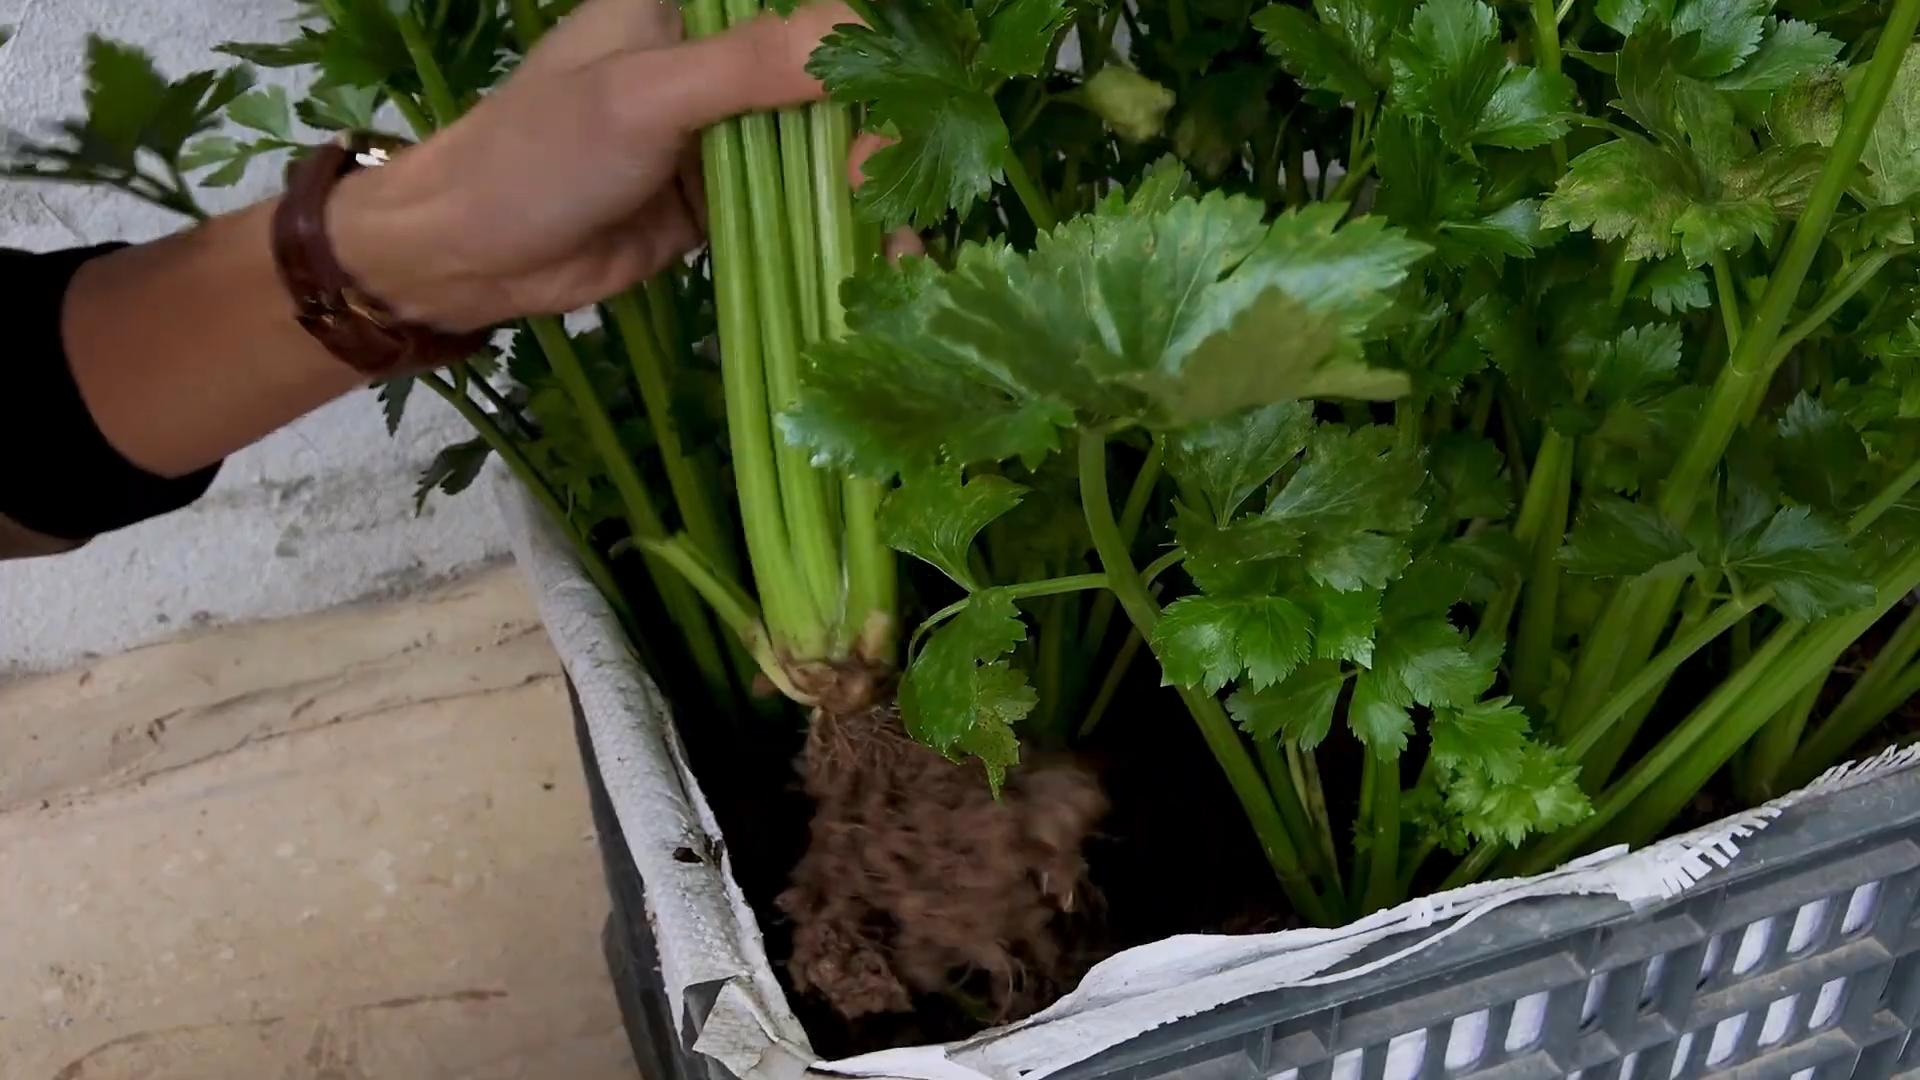
1. **Prepare the Celery Stalk:** Using a sharp knife, carefully cut off the celery stalks about 2 inches from the base. Don’t throw away the stalks you cut off! You can use them in your cooking. We’re only interested in the base for now.
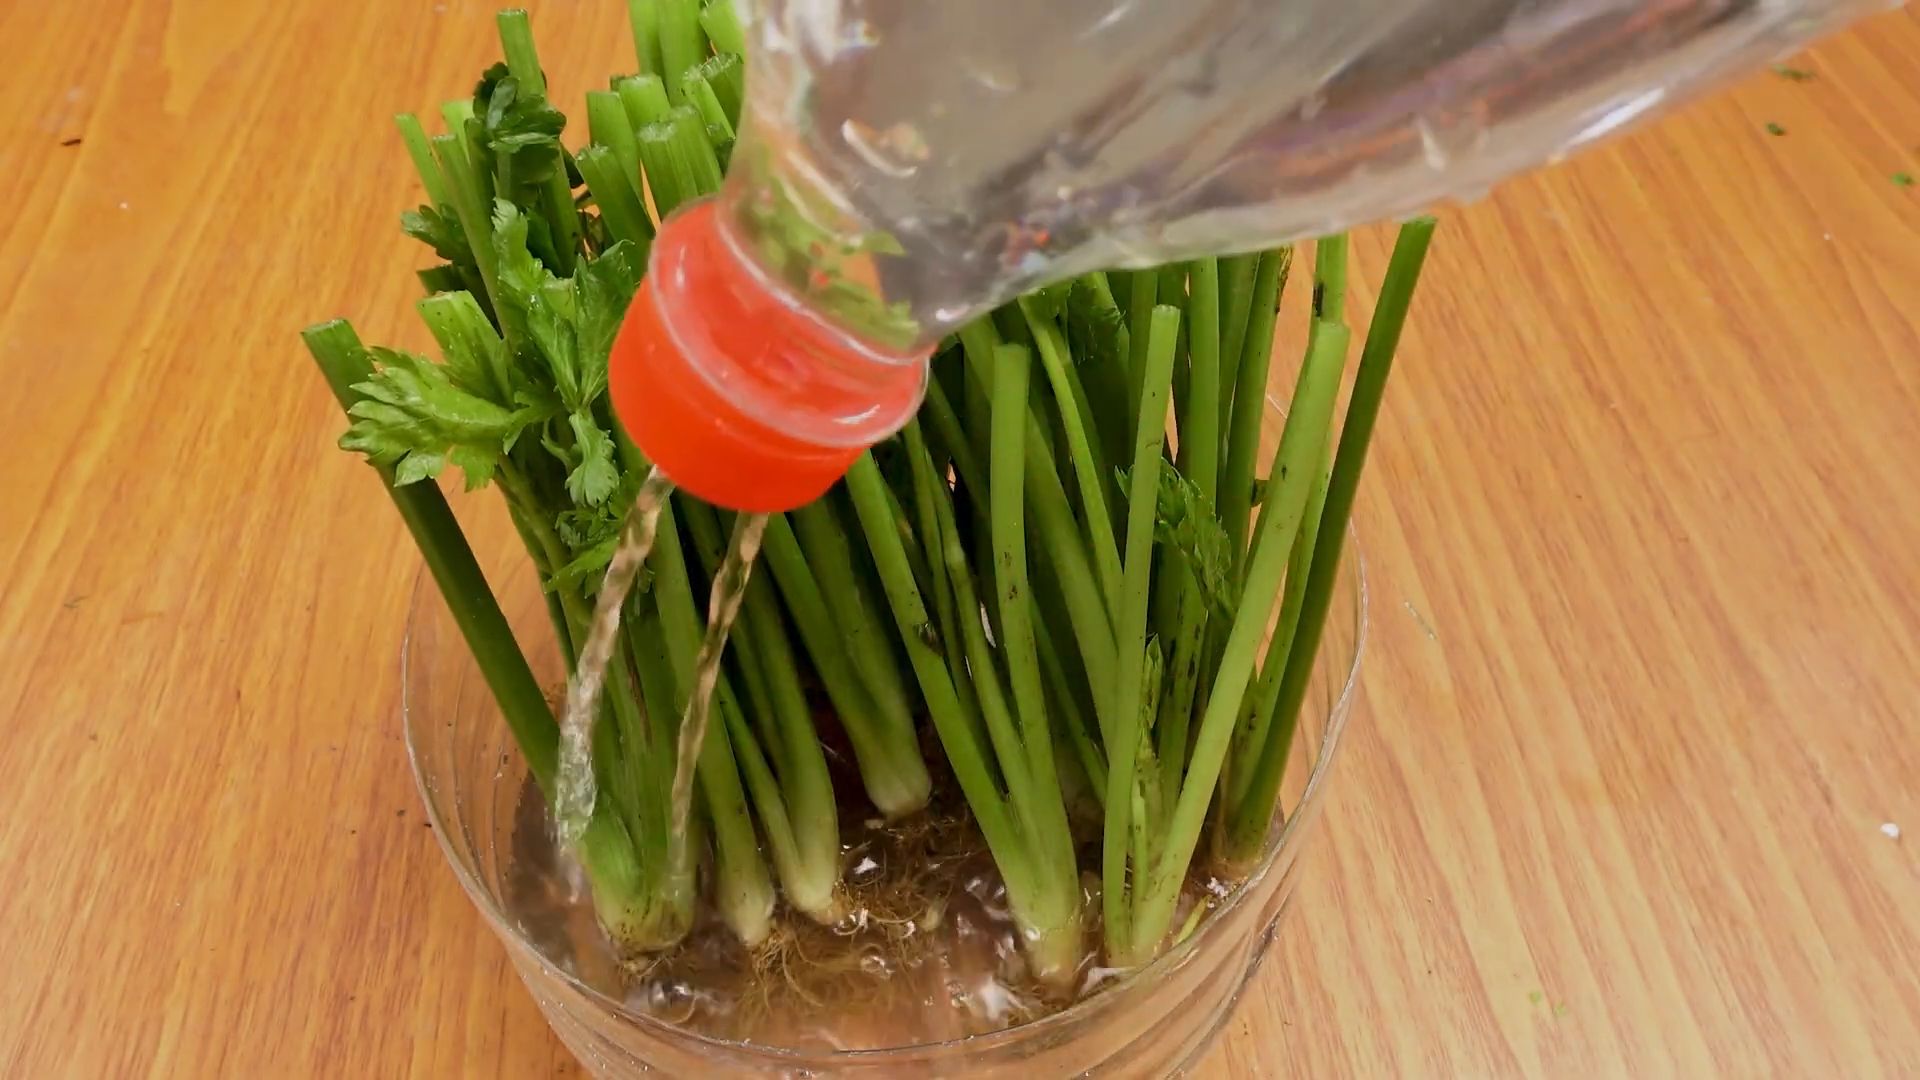
2. **Place the Base in Water:** Put the celery base in your shallow dish or bowl. Add enough water to cover the bottom inch or so of the base. Make sure the cut end is submerged, but the top of the base is exposed to air.
3. **Find a Sunny Spot:** Place the dish in a bright, sunny location. A windowsill that gets plenty of sunlight is ideal. If you don’t have a sunny windowsill, you can use grow lights.
4. **Change the Water Regularly:** Change the water every day or two to prevent bacteria growth and keep the water fresh. This will encourage root development.
5. **Observe and Wait:** Over the next few days, you should start to see small roots emerging from the bottom of the celery base. You might also notice new green shoots sprouting from the top. This is a great sign!
6. **Patience is Key:** It usually takes about 5-7 days for the roots to develop enough for transplanting. Don’t rush the process. The more roots, the better the chances of success.
Section 2: Transplanting Your Celery
Once your celery has developed a good root system, it’s time to move it to a pot with soil.
1. **Prepare the Pot:** Fill your pot with potting mix, leaving about an inch of space at the top. Gently pat down the soil to remove any air pockets.
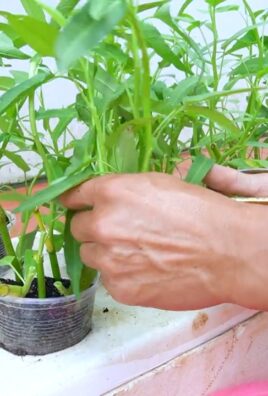
2. **Create a Hole:** Use your finger or a small trowel to create a hole in the center of the pot, large enough to accommodate the celery base and its roots.
3. **Carefully Remove the Celery:** Gently lift the celery base from the water, being careful not to damage the delicate roots.
4. **Place the Celery in the Hole:** Position the celery base in the hole, making sure the roots are spread out.
5. **Cover the Roots with Soil:** Gently fill the hole with potting mix, covering the roots completely. Leave the top of the celery base exposed.
6. **Water Thoroughly:** Water the soil thoroughly until water drains out of the bottom of the pot. This will help settle the soil and ensure the roots are well-hydrated.
Section 3: Caring for Your Indoor Celery Plant
Now that your celery is planted, it’s time to provide it with the care it needs to thrive.
1. **Light:** Celery needs plenty of light to grow well. Place your pot in a bright, sunny location, or use grow lights to supplement natural light. Aim for at least 6-8 hours of light per day. If you’re using grow lights, position them about 6-12 inches above the plant.
2. **Watering:** Celery needs consistent moisture, but it doesn’t like to be waterlogged. Water your plant when the top inch of soil feels dry to the touch. Water thoroughly, allowing excess water to drain out of the bottom of the pot. Avoid letting the pot sit in standing water, as this can lead to root rot.
3. **Humidity:** Celery prefers a humid environment. If your indoor air is dry, you can increase humidity by misting the leaves with a spray bottle regularly. You can also place the pot on a tray filled with pebbles and water. Make sure the bottom of the pot isn’t touching the water, as this can also lead to root rot.
4. **Temperature:** Celery grows best in temperatures between 60-70°F (15-21°C). Avoid exposing your plant to extreme temperatures or drafts.
5. **Fertilizing (Optional):** If you want to give your celery a boost, you can fertilize it every few weeks with a balanced liquid fertilizer. Follow the instructions on the fertilizer label. Be careful not to over-fertilize, as this can damage the plant.
6. **Pest Control:** Keep an eye out for pests like aphids or spider mites. If you notice any pests, you can try spraying the plant with insecticidal soap or neem oil.
Section 4: Harvesting Your Celery
The best part! After a few months of care, your celery will be ready to harvest.
1. **When to Harvest:** You can start harvesting celery stalks when they are about 6-8 inches long.
2. **How to Harvest:** Use a sharp knife to cut off the outer stalks near the base of the plant. Leave the inner stalks to continue growing.
3. **Enjoy Your Harvest:** Wash the celery stalks thoroughly and enjoy them in salads, soups, or as a healthy snack.
Troubleshooting Tips
Even with the best care, you might encounter some challenges along the way. Here are a few common problems and how to solve them:
* **Yellowing Leaves:** This could be a sign of overwatering, underwatering, or nutrient deficiency. Check the soil moisture and adjust your watering accordingly. If the soil is consistently wet, allow it to dry out slightly before watering again. If the soil is dry, water thoroughly. You can also try fertilizing the plant with a balanced liquid fertilizer.
* **Stunted Growth:** This could be due to insufficient light, poor soil, or pests. Make sure your plant is getting enough light. If you’re using grow lights, adjust their position to ensure they are providing adequate light. Repot the plant in fresh potting mix if the soil is compacted or nutrient-poor. Check for pests and treat them accordingly.
* **Root Rot:** This is caused by overwatering and poor drainage. Make sure your pot has drainage holes and avoid letting the pot sit in standing water. If you suspect root rot, you can try repotting the plant in fresh potting mix and removing any affected roots.
Extra Tips for Success
* Rotate Your Plant: Rotate your celery plant regularly to ensure all sides get equal exposure to light. This will help prevent it from leaning towards the light source.
* Pinch Off Flowers: If your celery plant starts to produce flowers, pinch them off. This will encourage the plant to focus its energy on growing stalks rather than producing seeds.
* Successive Planting: To have a continuous supply of celery, start new celery stalks every few weeks. This way, you’ll always have fresh celery on hand.
* Experiment with Varieties: There are many different varieties of celery, each with its own unique flavor and texture. Experiment with different varieties to find your favorite.
* Don’t Give Up! Growing celery indoors can be a rewarding experience, but it can also be challenging. Don’t be discouraged if you encounter some setbacks. Just keep learning and experimenting, and you’ll eventually get the hang of it.
Growing celery indoors is a fun and rewarding project that anyone can do. With a little patience and care, you can enjoy fresh, homegrown celery all year round. Happy gardening!
Conclusion
So, there you have it! Growing celery indoors from scraps isn’t just a fun experiment; it’s a sustainable way to reduce food waste, enjoy fresh celery, and add a touch of green to your home, even during the colder months. It’s a surprisingly simple process that yields rewarding results, and it’s a fantastic project for both seasoned gardeners and curious beginners alike.
Why is this DIY trick a must-try? Because it’s economical, eco-friendly, and educational. You’re essentially getting “free” celery from something you would normally discard. You’re reducing your carbon footprint by minimizing food waste and potentially reducing trips to the grocery store. And you’re learning about plant propagation and the resilience of nature firsthand. Plus, imagine the satisfaction of snipping off a stalk of celery that you grew yourself for your next soup, salad, or snack!
But the fun doesn’t stop there! Feel free to experiment with different varieties of celery. While standard green celery is the most common, you might be able to find red or golden celery at your local grocery store. Try regrowing those scraps and see if you can cultivate a colorful indoor celery garden.
You can also explore different growing mediums. While water propagation is a great starting point, you can eventually transplant your celery into a pot filled with nutrient-rich potting soil. Consider adding some organic fertilizer to give your celery an extra boost.
Another variation is to focus on growing celery leaves rather than full stalks. Celery leaves are packed with flavor and can be used in a variety of dishes, from soups and stews to salads and stir-fries. If you’re primarily interested in the leaves, you can harvest them regularly without waiting for the stalks to fully develop.
Don’t be afraid to get creative and adapt this method to your own preferences and resources. The most important thing is to have fun and learn along the way.
We wholeheartedly encourage you to try this DIY trick for growing celery indoors. It’s a simple, rewarding, and sustainable way to enjoy fresh produce and connect with nature. Once you’ve given it a try, we’d love to hear about your experience! Share your photos, tips, and challenges in the comments below. Let’s build a community of indoor celery growers and inspire others to embrace this eco-friendly practice. Happy growing!
Frequently Asked Questions (FAQ)
How long does it take to regrow celery from a base?
The initial regrowth phase, where you see new leaves sprouting from the celery base in water, typically takes about 1-2 weeks. After transplanting to soil, it can take several months (2-4 months) to grow a full-sized celery stalk, depending on the growing conditions, variety, and your care. Be patient, and remember that even if you don’t get a massive stalk, you can still harvest the flavorful leaves.
What kind of water should I use to regrow celery?
Tap water is generally fine, but it’s best to let it sit out for a few hours to allow chlorine to dissipate. Filtered water or rainwater is even better. Avoid using distilled water, as it lacks the minerals that plants need. Change the water every 1-2 days to prevent bacterial growth and keep the celery base healthy.
How much sunlight does regrowing celery need?
Celery needs plenty of sunlight to thrive. Aim for at least 6-8 hours of direct sunlight per day. If you don’t have a sunny windowsill, you can supplement with a grow light. Place the grow light a few inches above the celery and keep it on for 12-14 hours per day.
What kind of soil is best for growing celery indoors?
Use a well-draining potting mix that is rich in organic matter. A mix of peat moss, perlite, and vermiculite is a good option. You can also add some compost or aged manure to the soil to provide extra nutrients. Ensure the pot has drainage holes to prevent waterlogging.
How often should I water my regrown celery?
Keep the soil consistently moist, but not soggy. Water when the top inch of soil feels dry to the touch. Avoid overwatering, as this can lead to root rot. Check the soil moisture regularly, especially during hot or dry weather.
Can I use fertilizer to help my celery grow?
Yes, fertilizing can help your celery grow faster and produce larger stalks. Use a balanced liquid fertilizer diluted to half strength. Fertilize every 2-3 weeks during the growing season (spring and summer). Avoid fertilizing during the winter months when growth slows down.
Why is my celery turning yellow or brown?
Yellowing or browning leaves can be caused by several factors, including overwatering, underwatering, nutrient deficiencies, or pests. Check the soil moisture and adjust your watering accordingly. If you suspect a nutrient deficiency, try fertilizing with a balanced liquid fertilizer. Inspect the plant for pests, such as aphids or spider mites, and treat them with an appropriate insecticide or insecticidal soap.
How do I harvest celery leaves and stalks?
You can harvest celery leaves at any time. Simply snip off the outer leaves with scissors or a knife. To harvest the entire stalk, cut it off at the base of the plant. You can harvest individual stalks as needed, or harvest the entire plant at once.
Can I grow celery indoors year-round?
Yes, you can grow celery indoors year-round, provided you provide it with enough light, water, and nutrients. During the winter months, you may need to supplement with a grow light to ensure that the plant receives enough sunlight.
What pests and diseases affect indoor celery?
Common pests that can affect indoor celery include aphids, spider mites, and whiteflies. These pests can be controlled with insecticidal soap or neem oil. Diseases that can affect indoor celery include root rot and fungal leaf spots. Root rot can be prevented by avoiding overwatering and ensuring good drainage. Fungal leaf spots can be treated with a fungicide.
Is it possible to grow celery from seed indoors?
Yes, it is possible to grow celery from seed indoors, although it is a more time-consuming process than regrowing from a base. Start the seeds indoors 8-10 weeks before the last frost. Sow the seeds in a seed-starting mix and keep them moist. Once the seedlings are large enough to handle, transplant them into individual pots.
My celery is bolting (going to seed). What should I do?
Bolting is often triggered by stress, such as temperature fluctuations or lack of water. Once celery bolts, the stalks become bitter and less palatable. While you can’t reverse bolting, you can still harvest the leaves for flavoring. To prevent bolting, try to maintain consistent growing conditions and provide adequate water and nutrients.
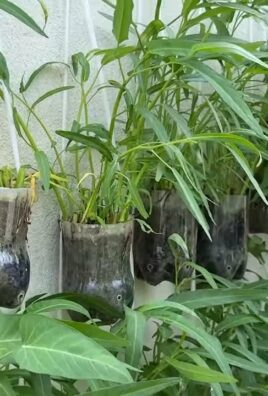
Can I grow celery in a container on my balcony or patio?
Yes, celery can be successfully grown in containers on a balcony or patio, as long as it receives enough sunlight and water. Choose a large container (at least 12 inches in diameter) with drainage holes. Use a well-draining potting mix and water regularly. Protect the plant from strong winds and extreme temperatures.
How can I encourage thicker celery stalks?
To encourage thicker celery stalks, ensure the plant receives adequate sunlight, water, and nutrients. Fertilize regularly with a balanced liquid fertilizer. You can also try blanching the stalks by wrapping them with paper or cardboard a few weeks before harvest. This will block sunlight and make the stalks more tender and less bitter.
Leave a Comment