
Hanging Watermelon Beginner Hack: Imagine plucking a juicy, sun-ripened watermelon from a vine hanging right in your own backyard! Sounds like something out of a fairytale, doesn’t it? Well, it doesn’t have to be! For centuries, gardeners have been experimenting with innovative ways to maximize space and yield, and while hanging watermelons might seem like a modern trend, the principles behind it – supporting heavy fruits and optimizing sunlight exposure – are rooted in age-old horticultural practices.
Let’s be honest, growing watermelons can be a challenge. They’re space hogs, prone to ground pests, and those heavy fruits can sometimes rot before they fully ripen. That’s where this hanging watermelon beginner hack comes in! I’m going to show you a simple, effective method to elevate your watermelon game – literally! This DIY project not only saves precious garden space but also improves air circulation around the fruit, reducing the risk of rot and creating a stunning visual display. Plus, who wouldn’t want to impress their friends with hanging watermelons?
Whether you’re a seasoned gardener or just starting out, this guide will provide you with the knowledge and confidence to try this unique and rewarding technique. Get ready to transform your garden and enjoy the sweetest, most satisfying watermelons you’ve ever tasted!
Hanging Watermelon Planter: A Sweet Summer Project!
Okay, friends, let’s get ready to create something truly unique and eye-catching for your garden or patio! I’m going to walk you through how to make a hanging watermelon planter. Yes, you read that right! It’s a fun, slightly quirky, and surprisingly easy DIY project that will have everyone asking, “How did you DO that?!”
This project is perfect for beginners because it doesn’t require any fancy tools or advanced skills. Plus, it’s a great way to upcycle a watermelon rind after you’ve enjoyed the delicious fruit inside. Let’s dive in!
Materials You’ll Need
Before we start, let’s gather all the necessary materials. This will make the process smoother and prevent any frustrating mid-project interruptions.
* A large watermelon (the bigger, the better for a more substantial planter!)
* A sharp knife (a serrated knife works best)
* A large spoon or ice cream scoop
* Drill with a drill bit suitable for plastic (size depends on your rope thickness, usually 1/4″ or 3/8″)
* Strong rope or macrame cord (at least 6 feet, depending on how low you want it to hang)
* Potting soil
* Small plants (herbs, succulents, or flowers work great!)
* Optional: Sandpaper (for smoothing rough edges)
* Optional: Waterproof sealant (to prolong the life of the planter)
* Optional: Gloves (to keep your hands clean)
Preparing the Watermelon
This is the most crucial step, so pay close attention! We want to create a sturdy and aesthetically pleasing container.
1. Cut the Watermelon: First, find the “top” of your watermelon. I usually look for the side that seems a little flatter or has a more defined stem scar. Using your sharp knife, carefully cut a large circle around the top of the watermelon. Think of it like carving a pumpkin for Halloween. You’ll want to cut deep enough to remove a lid, but not so deep that you cut through the entire rind. Aim for a depth of about 4-5 inches.
2. Remove the Lid: Gently wiggle the lid you’ve cut until it comes loose. Set it aside – you can discard it or even use it as a mini-planter for smaller succulents!
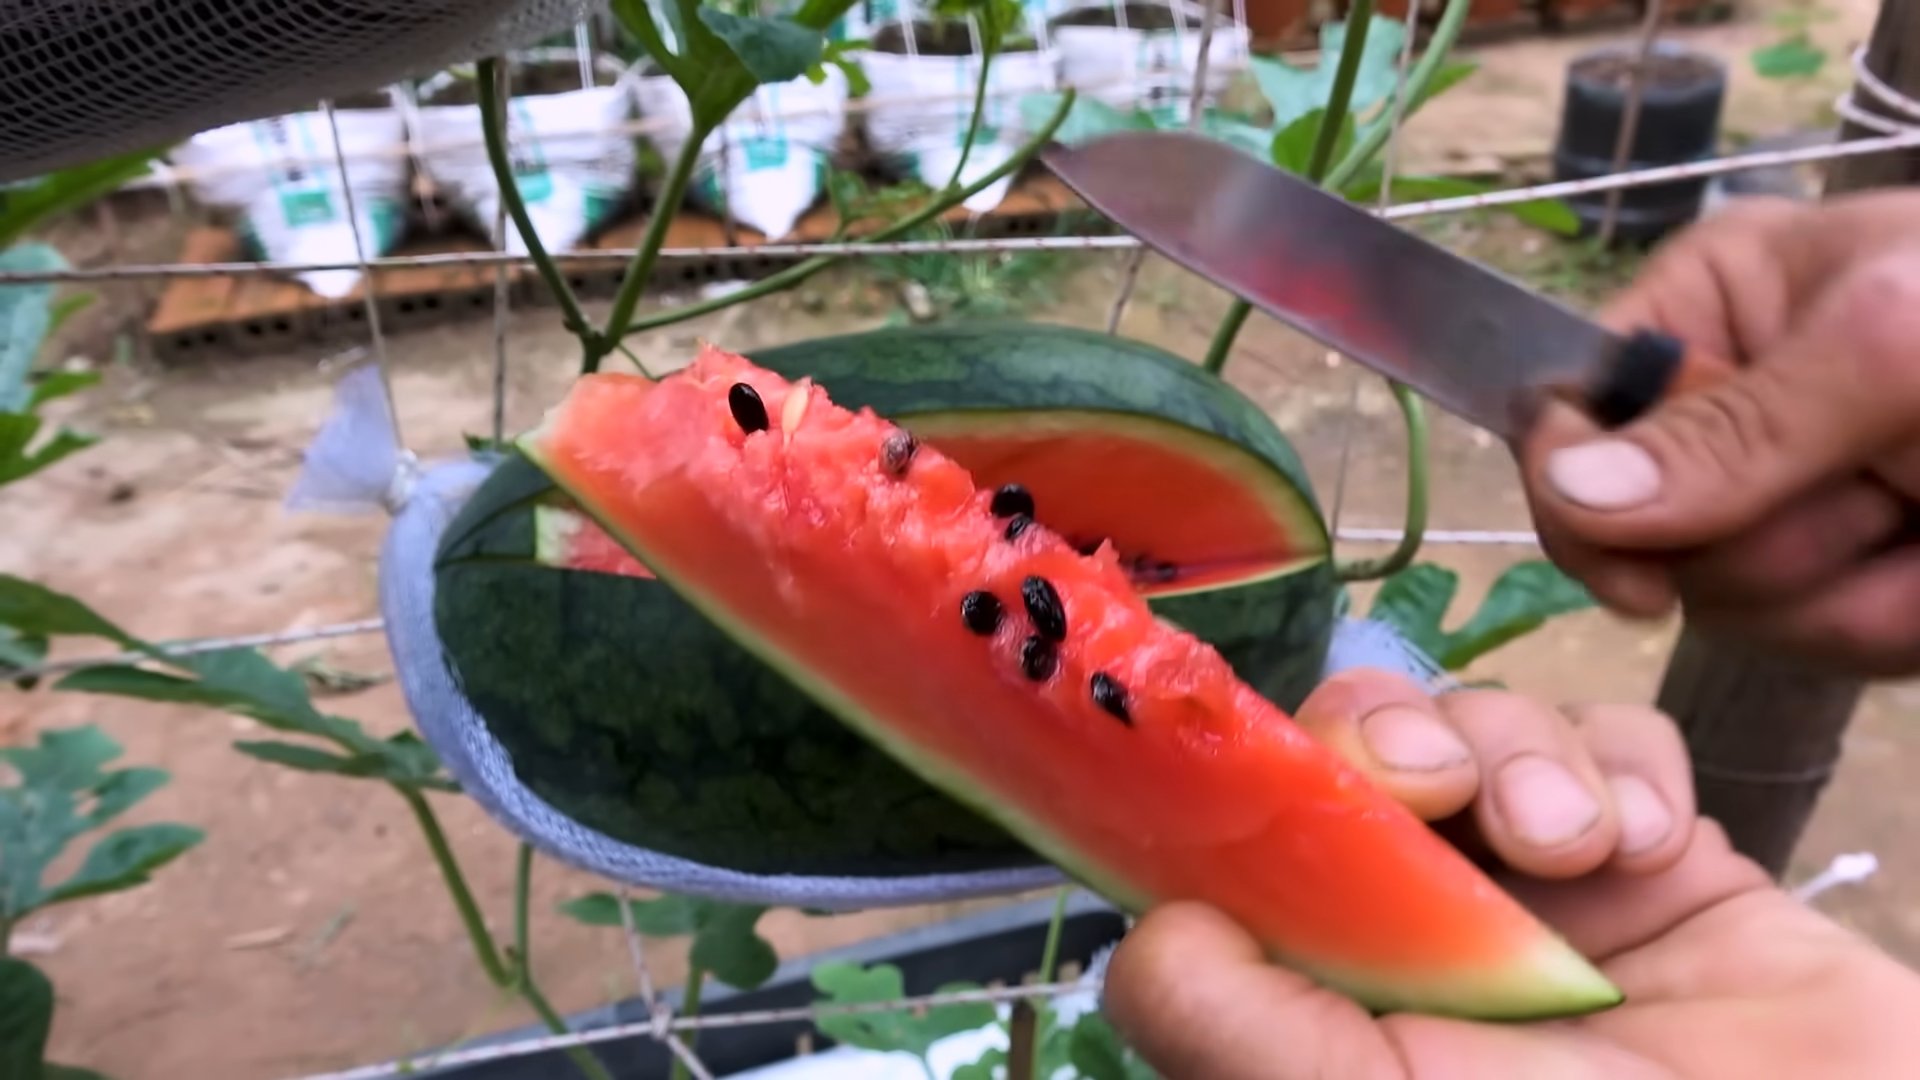
3. Scoop Out the Flesh: Now comes the fun (and messy) part! Using your large spoon or ice cream scoop, carefully scoop out all the watermelon flesh. Make sure to get as much of the red fruit out as possible, leaving only the rind. This might take some time and effort, but it’s essential for creating a clean and durable planter. I like to work in sections, scooping out a little at a time. Don’t be afraid to use your hands to help remove any stubborn pieces.
4. Smooth the Edges (Optional): Once you’ve removed all the flesh, take a look at the inside edges of your watermelon planter. If they’re rough or uneven, you can use sandpaper to smooth them out. This will not only make the planter look nicer but also prevent any sharp edges from cutting your rope later on.
5. Dry the Watermelon: Before moving on, let the watermelon rind dry out a bit. I usually leave it in a well-ventilated area for a few hours, or even overnight. This will help prevent mold and mildew from forming later on. You can also pat it dry with paper towels to speed up the process.
Creating the Hanging Mechanism
Now that our watermelon is prepped, let’s create the hanging system. This is where the drill comes in handy!
1. Mark the Drill Points: Decide where you want to place the holes for your rope. I recommend placing them evenly spaced around the top of the watermelon, about 1-2 inches below the rim. Three or four holes should be sufficient, depending on the size of your watermelon. Use a marker to mark the exact spots where you’ll be drilling.
2. Drill the Holes: Using your drill and the appropriate drill bit, carefully drill holes at the marked points. Make sure to drill all the way through the rind, but be gentle to avoid cracking it. Go slowly and apply even pressure.
3. Sand the Holes (Optional): After drilling, the edges of the holes might be a bit rough. You can use sandpaper to smooth them out, preventing the rope from fraying or getting damaged.
4. Seal the Watermelon (Optional): To prolong the life of your watermelon planter, you can apply a waterproof sealant to the inside and outside of the rind. This will help protect it from moisture and prevent it from rotting too quickly. Follow the instructions on the sealant product for best results. Let the sealant dry completely before moving on.
Planting Your Hanging Garden
This is the most rewarding part – bringing your watermelon planter to life with beautiful plants!
1. Add Potting Soil: Fill the watermelon planter with potting soil, leaving about an inch or two of space at the top. Choose a high-quality potting soil that drains well to prevent waterlogging.
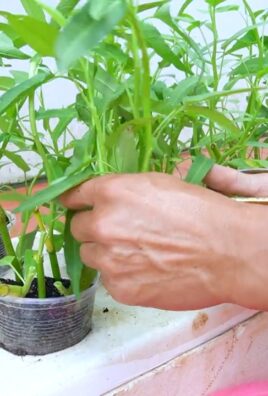
2. Select Your Plants: Choose plants that are suitable for hanging baskets and that will thrive in the amount of sunlight your planter will receive. Herbs like thyme, rosemary, and oregano are great choices, as are succulents like sedum and echeveria. Flowers like petunias, impatiens, and trailing begonias will add a pop of color.
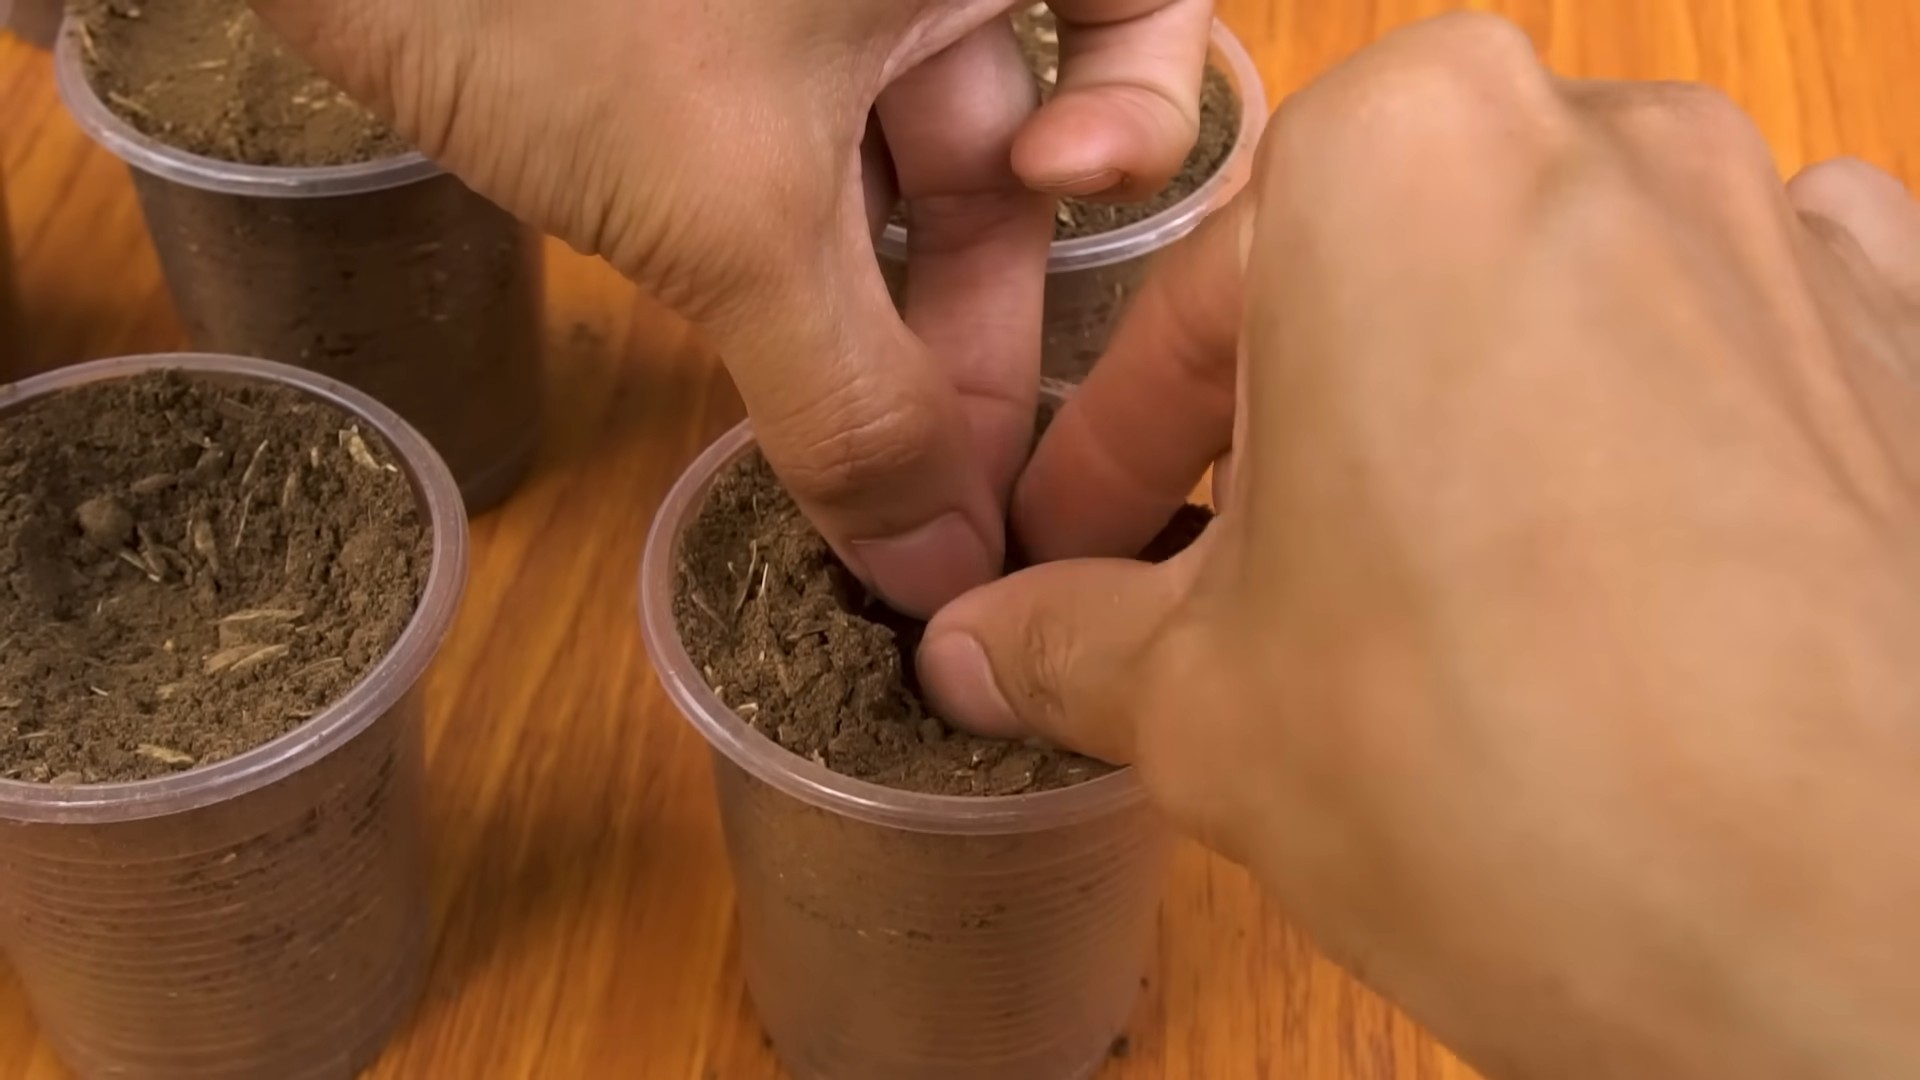
3. Plant Your Plants: Carefully remove your plants from their containers and gently loosen the roots. Plant them in the potting soil, spacing them evenly around the planter.
4. Water Your Plants: After planting, water your plants thoroughly. Make sure the water drains out of the bottom of the planter.
Hanging Your Watermelon Planter
Almost there! Now it’s time to hang your beautiful creation.
1. Thread the Rope: Cut your rope into equal lengths, depending on how many holes you drilled. Thread each piece of rope through a hole in the watermelon rind.
2. Secure the Rope: Tie a secure knot at the end of each rope, inside the watermelon planter. This will prevent the rope from slipping out. Make sure the knots are strong and tight.
3. Gather the Ropes: Gather all the ropes together at the top and tie them into a single knot. This will create the hanging loop. Make sure the knot is strong and secure.
4. Hang Your Planter: Find a suitable spot to hang your watermelon planter. Make sure the spot is strong enough to support the weight of the planter, soil, and plants. A sturdy hook or branch will work well.
5. Adjust the Height: Adjust the length of the ropes as needed to achieve the desired hanging height.
Caring for Your Hanging Watermelon Planter
Now that your hanging watermelon planter is complete, it’s important to take proper care of it to ensure your plants thrive.
* Watering: Water your plants regularly, especially during hot and dry weather. Check the soil moisture by sticking your finger into the soil. If the soil feels dry, it’s time to water.
* Fertilizing: Fertilize your plants every few weeks with a balanced liquid fertilizer. Follow the instructions on the fertilizer product for best results.
* Sunlight: Make sure your plants receive the appropriate amount of sunlight. Most herbs and flowers need at least six hours of sunlight per day.
* Pruning: Prune your plants regularly to encourage bushier growth and remove any dead or dying leaves.
* Rotation: Rotate your planter occasionally to ensure that all sides of the plants receive equal sunlight.
* Watermelon Lifespan: Remember, the watermelon rind will eventually decompose. Depending on the climate and care, it might last for a few weeks or a couple of months. Be prepared to transplant your plants into a more permanent container when the watermelon starts to break down.
Troubleshooting Tips
Even with the best instructions, sometimes things don’t go exactly as planned. Here are a few troubleshooting tips to help you overcome any challenges:
* Watermelon Cracking: If the watermelon cracks while drilling, don’t panic! You can try reinforcing the crack with strong tape or glue.
* Rope Slipping: If the rope keeps slipping out of the holes, try using a thicker rope or tying larger knots.
* Plants Wilting: If your plants are wilting, they might not be getting enough water or sunlight. Adjust your watering schedule and move the planter to a sunnier location.
* Mold Growth: If you notice mold growing on the watermelon rind, try wiping it off with a solution of water and vinegar. You can also improve ventilation by moving the planter to a more open area.
This hanging watermelon planter is a conversation starter and a fun way to add a touch of whimsy to your garden. Enjoy the process, get creative with your plant choices, and watch your unique planter flourish! Happy gardening!
Conclusion
So, there you have it! This hanging watermelon beginner hack isn’t just a fun project; it’s a game-changer for enjoying this summer fruit. Forget struggling with awkward slices, messy juice dripping everywhere, and the constant battle against gravity. This simple DIY method transforms watermelon consumption into a delightful and convenient experience.
Why is this a must-try? Because it’s efficient, visually appealing, and, most importantly, it makes eating watermelon more enjoyable for everyone, especially kids. Imagine the looks of amazement and excitement when you unveil a perfectly suspended watermelon, ready for easy access and mess-free snacking. It’s a guaranteed crowd-pleaser at picnics, barbecues, or even just a casual afternoon in the backyard.
Beyond the basic hanging method, there are countless ways to personalize this hack. Consider using different types of rope or twine to match your aesthetic. Get creative with the hanging apparatus – a decorative hook, a sturdy branch, or even a repurposed macrame plant hanger can add a unique touch. For a festive occasion, you could even decorate the rope with colorful ribbons or small watermelon-themed ornaments.
Another variation involves pre-cutting the watermelon into bite-sized cubes or fun shapes before hanging. This is especially useful for younger children or for creating a visually appealing fruit display. You could even alternate watermelon cubes with other fruits like cantaloupe, honeydew, and strawberries for a colorful and refreshing fruit kebab arrangement.
Furthermore, think about the type of watermelon you use. While this hack works well with most varieties, smaller, seedless watermelons are generally easier to manage and hang. Experiment with different sizes and shapes to find what works best for you.
But the real magic of this hanging watermelon beginner hack lies in its simplicity. It requires minimal tools, minimal effort, and delivers maximum impact. It’s a perfect project for beginners and seasoned DIY enthusiasts alike. It’s a fantastic way to get kids involved in the kitchen and teach them about healthy eating habits.
We wholeheartedly encourage you to give this DIY trick a try. It’s a fun, practical, and visually appealing way to elevate your watermelon experience. Don’t be afraid to experiment with different variations and personalize it to your liking.
Once you’ve tried it, we’d love to hear about your experience! Share your photos, tips, and variations on social media using relevant hashtags. Let’s create a community of watermelon enthusiasts who are passionate about making this summer fruit even more enjoyable. Your feedback will not only inspire others but also help us refine and improve this hack for future generations of watermelon lovers. So go ahead, grab a watermelon, some rope, and get ready to hang out with your favorite summer fruit! You won’t regret it.
Frequently Asked Questions (FAQ)
Q: What type of rope is best for hanging a watermelon?
A: The best type of rope for hanging a watermelon is a strong, durable rope made from natural fibers like jute or hemp, or a synthetic rope like nylon or polypropylene. The rope should be thick enough to support the weight of the watermelon without breaking or fraying. A diameter of at least 1/4 inch is generally recommended. Ensure the rope is food-safe if it will be in direct contact with the watermelon. Avoid using thin twine or flimsy string, as these may not be strong enough to hold the weight and could pose a safety hazard. Consider the aesthetic as well – a natural fiber rope can add a rustic touch, while a brightly colored synthetic rope can add a pop of fun.
Q: How do I ensure the watermelon is securely attached to the rope?
A: The key to securely attaching the watermelon to the rope is to create a strong and stable harness. Start by cutting three lengths of rope, each long enough to wrap around the watermelon and have enough extra length for hanging. Position the ropes evenly around the watermelon, creating a cradle-like support system. Use a sturdy knot, such as a square knot or a bowline knot, to secure the ropes together at the top. Make sure the knots are tight and secure. You can also use a metal ring or carabiner to connect the ropes at the top for added security. Before hanging the watermelon, test the harness by gently lifting it to ensure it can support the weight. If you notice any slippage or instability, reinforce the knots or adjust the rope placement.
Q: What is the best way to clean the watermelon before hanging it?
A: Before hanging the watermelon, it’s essential to clean it thoroughly to remove any dirt, debris, or bacteria. Start by rinsing the watermelon under cool, running water. Use a clean scrub brush or sponge to gently scrub the surface of the watermelon, paying particular attention to any areas with visible dirt or blemishes. You can also use a mild soap or fruit and vegetable wash to help remove any residue. Rinse the watermelon thoroughly with clean water to remove any soap residue. Pat the watermelon dry with a clean towel before attaching the rope. This will help prevent the rope from getting wet and slippery.
Q: How high should I hang the watermelon?
A: The ideal height for hanging the watermelon depends on the age and height of the people who will be eating it. For children, hang the watermelon at a height that allows them to easily reach the bottom without having to stretch or strain. For adults, hang the watermelon at a height that is comfortable for them to reach while standing. A good rule of thumb is to hang the watermelon at a height that is slightly below shoulder level. This will allow everyone to easily access the watermelon without having to bend over or reach too high. Consider the surroundings as well – make sure the watermelon is hanging in a safe location where people won’t accidentally bump into it.
Q: How long can I hang a watermelon before it goes bad?
A: The length of time you can hang a watermelon before it goes bad depends on several factors, including the ripeness of the watermelon, the temperature, and the humidity. In general, a ripe watermelon can be safely hung for up to 2-3 days at room temperature. However, if the weather is hot or humid, the watermelon may spoil more quickly. To prolong the shelf life of the hanging watermelon, consider storing it in a cool, dry place. You can also wrap the watermelon in plastic wrap or place it in a large plastic bag to help prevent it from drying out. Check the watermelon regularly for signs of spoilage, such as a soft or mushy texture, a sour smell, or mold growth. If you notice any of these signs, discard the watermelon immediately.
Q: Can I use this hanging method for other fruits?
A: Yes, you can definitely use this hanging method for other fruits! While it’s particularly well-suited for watermelons, it can also be adapted for other large, round fruits like cantaloupes, honeydew melons, and even small pumpkins or gourds. The key is to ensure that the rope is strong enough to support the weight of the fruit and that the harness is securely attached. You may need to adjust the size and placement of the ropes depending on the shape and size of the fruit. For example, for a cantaloupe, you might need to use a slightly smaller rope and adjust the placement to ensure it’s evenly supported. Experiment with different fruits and have fun creating unique and visually appealing fruit displays.
Q: What are some safety precautions I should take when hanging a watermelon?
A: Safety is paramount when hanging a watermelon. First, ensure the hanging structure (branch, hook, etc.) is sturdy and can support the weight of the watermelon. Use a strong, reliable rope and secure knots. Avoid hanging the watermelon in high-traffic areas where people might accidentally bump into it. Supervise children closely when they are near the hanging watermelon. Never allow anyone to climb or swing on the watermelon. If you’re using sharp tools to cut or prepare the watermelon, exercise caution and use appropriate safety measures. Regularly inspect the rope and knots for signs of wear and tear. If you notice any damage, replace the rope immediately. By following these safety precautions, you can enjoy your hanging watermelon without any accidents.
Q: How can I prevent insects from being attracted to the hanging watermelon?
A: To minimize insect attraction, start by thoroughly cleaning the watermelon before hanging it. Remove any sticky residue or juice that might attract bugs. Consider hanging the watermelon in a location that is not prone to insect activity. Avoid hanging it near garbage cans, compost piles, or other sources of food for insects. You can also use insect repellent sprays or citronella candles to help keep bugs away. Another option is to cover the watermelon with a mesh netting or cheesecloth to prevent insects from landing on it. Regularly inspect the watermelon for signs of insect activity and take appropriate measures to eliminate any pests.


Leave a Comment