
DIY Celery Hydroponics: Ever dreamt of having fresh, crisp celery right at your fingertips, without the hassle of traditional gardening? I know I have! Imagine skipping those trips to the grocery store, knowing exactly where your veggies come from, and enjoying the satisfaction of growing your own food. This article is your ultimate guide to achieving just that – creating your very own DIY celery hydroponics system.
Hydroponics, the art of growing plants without soil, has a rich history, dating back to ancient civilizations like the Babylonians and Aztecs. While they might not have called it “hydroponics,” their ingenuity in cultivating plants in nutrient-rich water laid the foundation for this modern technique. Today, hydroponics is experiencing a resurgence, driven by a desire for sustainable food production and the convenience of growing fresh produce in limited spaces.
Why should you dive into DIY celery hydroponics? Well, for starters, it’s incredibly space-efficient, perfect for apartment dwellers or anyone with a small backyard. Plus, hydroponically grown celery tends to be more flavorful and nutritious than store-bought varieties. But the real magic lies in the control you have over the growing environment. You can fine-tune the nutrient solution, ensuring your celery receives exactly what it needs to thrive. And let’s be honest, there’s something incredibly rewarding about nurturing a plant from a humble stalk to a vibrant, crunchy vegetable. So, let’s get started and unlock the secrets to successful DIY celery hydroponics!
DIY Celery Hydroponics: Grow Your Own Crunch!
Hey there, fellow plant enthusiasts! Ever thought about growing your own celery indoors, without all the fuss of soil? Well, get ready to dive into the wonderful world of hydroponics! I’m going to walk you through a super simple DIY method to grow celery from a store-bought stalk, right in your own home. It’s easier than you think, and the satisfaction of munching on your own homegrown celery is unbeatable.
What You’ll Need
Before we get started, let’s gather our supplies. Don’t worry, you probably have most of these lying around already!
- Celery Stalk: Choose a fresh, firm celery stalk from the grocery store. Look for one with a healthy-looking base.
- Shallow Dish or Bowl: Something that can hold water and the celery base. A pie dish, a plastic container, or even a repurposed yogurt container will work.
- Water: Tap water is fine, but letting it sit out for 24 hours to dechlorinate is even better.
- Spray Bottle: For misting the celery leaves.
- Grow Lights (Optional but Recommended): Celery needs a good amount of light. If you don’t have a sunny windowsill, grow lights will be your best friend.
- Nutrient Solution (Optional): While not strictly necessary at the beginning, adding a diluted hydroponic nutrient solution later on will give your celery a boost.
- Small Pot or Container: For transplanting the celery once it has roots.
- Potting Mix: A well-draining potting mix for transplanting.
Phase 1: Rooting Your Celery Base
This is where the magic begins! We’re going to coax those roots out of the celery base.
- Prepare the Celery Base: Carefully cut off the celery stalks about 2 inches from the base. You want to keep the base intact, as this is where the new growth will emerge. Don’t throw away the stalks! You can use them for cooking or snacking.
- Place in Water: Put the celery base in your shallow dish or bowl. Add enough water to cover the bottom inch or so of the base. You don’t want to submerge the entire base, just the bottom part where the roots will grow.
- Find a Sunny Spot: Place the dish in a bright, sunny windowsill. If you don’t have a sunny spot, use grow lights. Aim for at least 6-8 hours of light per day.
- Change the Water Regularly: This is crucial! Change the water every 1-2 days to prevent bacteria and algae growth. Fresh water is key to healthy root development.
- Mist the Leaves: Use your spray bottle to mist the celery leaves daily. This will help keep them hydrated and prevent them from drying out.
- Be Patient: It usually takes about 5-7 days for roots to start appearing. Don’t get discouraged if you don’t see anything right away. Just keep changing the water and providing light.
Phase 2: Transplanting to Potting Mix
Once you have a good set of roots (about an inch or two long), it’s time to move your celery to a pot with potting mix. This will give it the nutrients it needs to grow bigger and stronger.
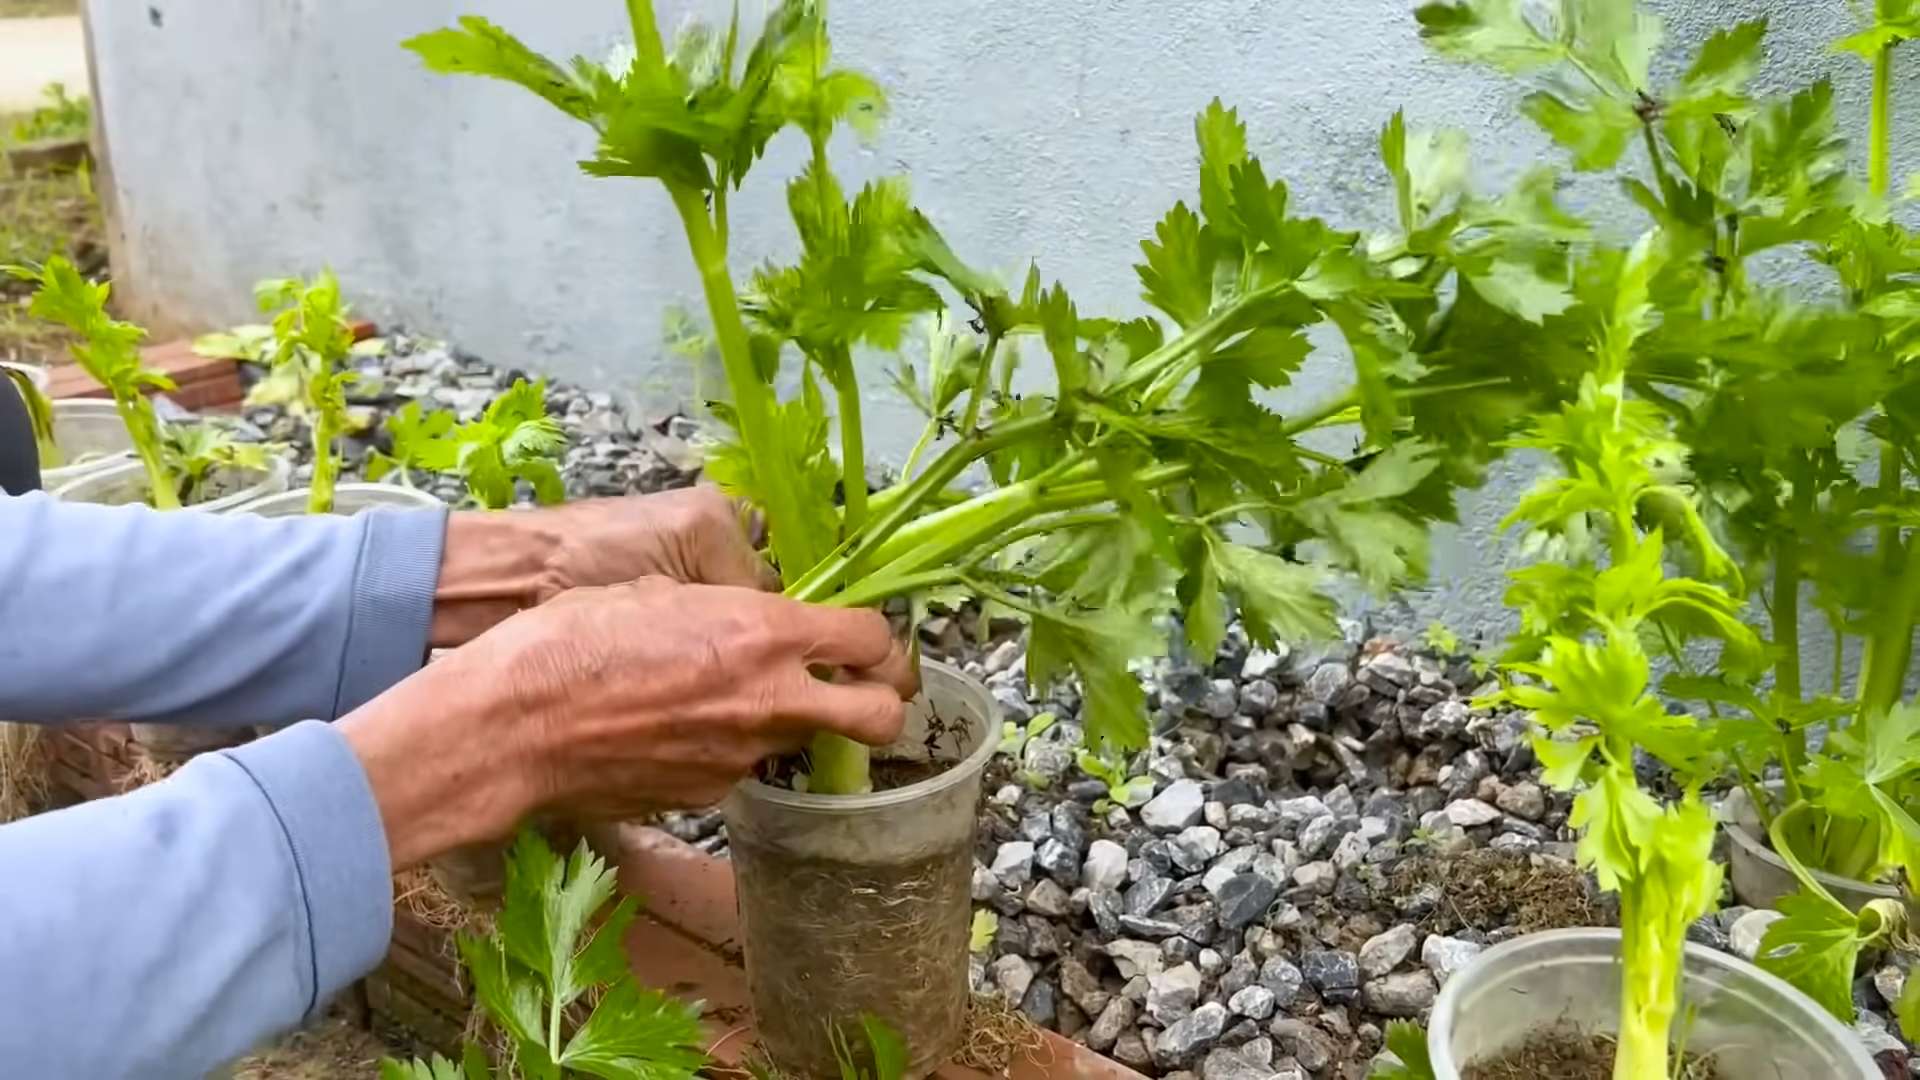
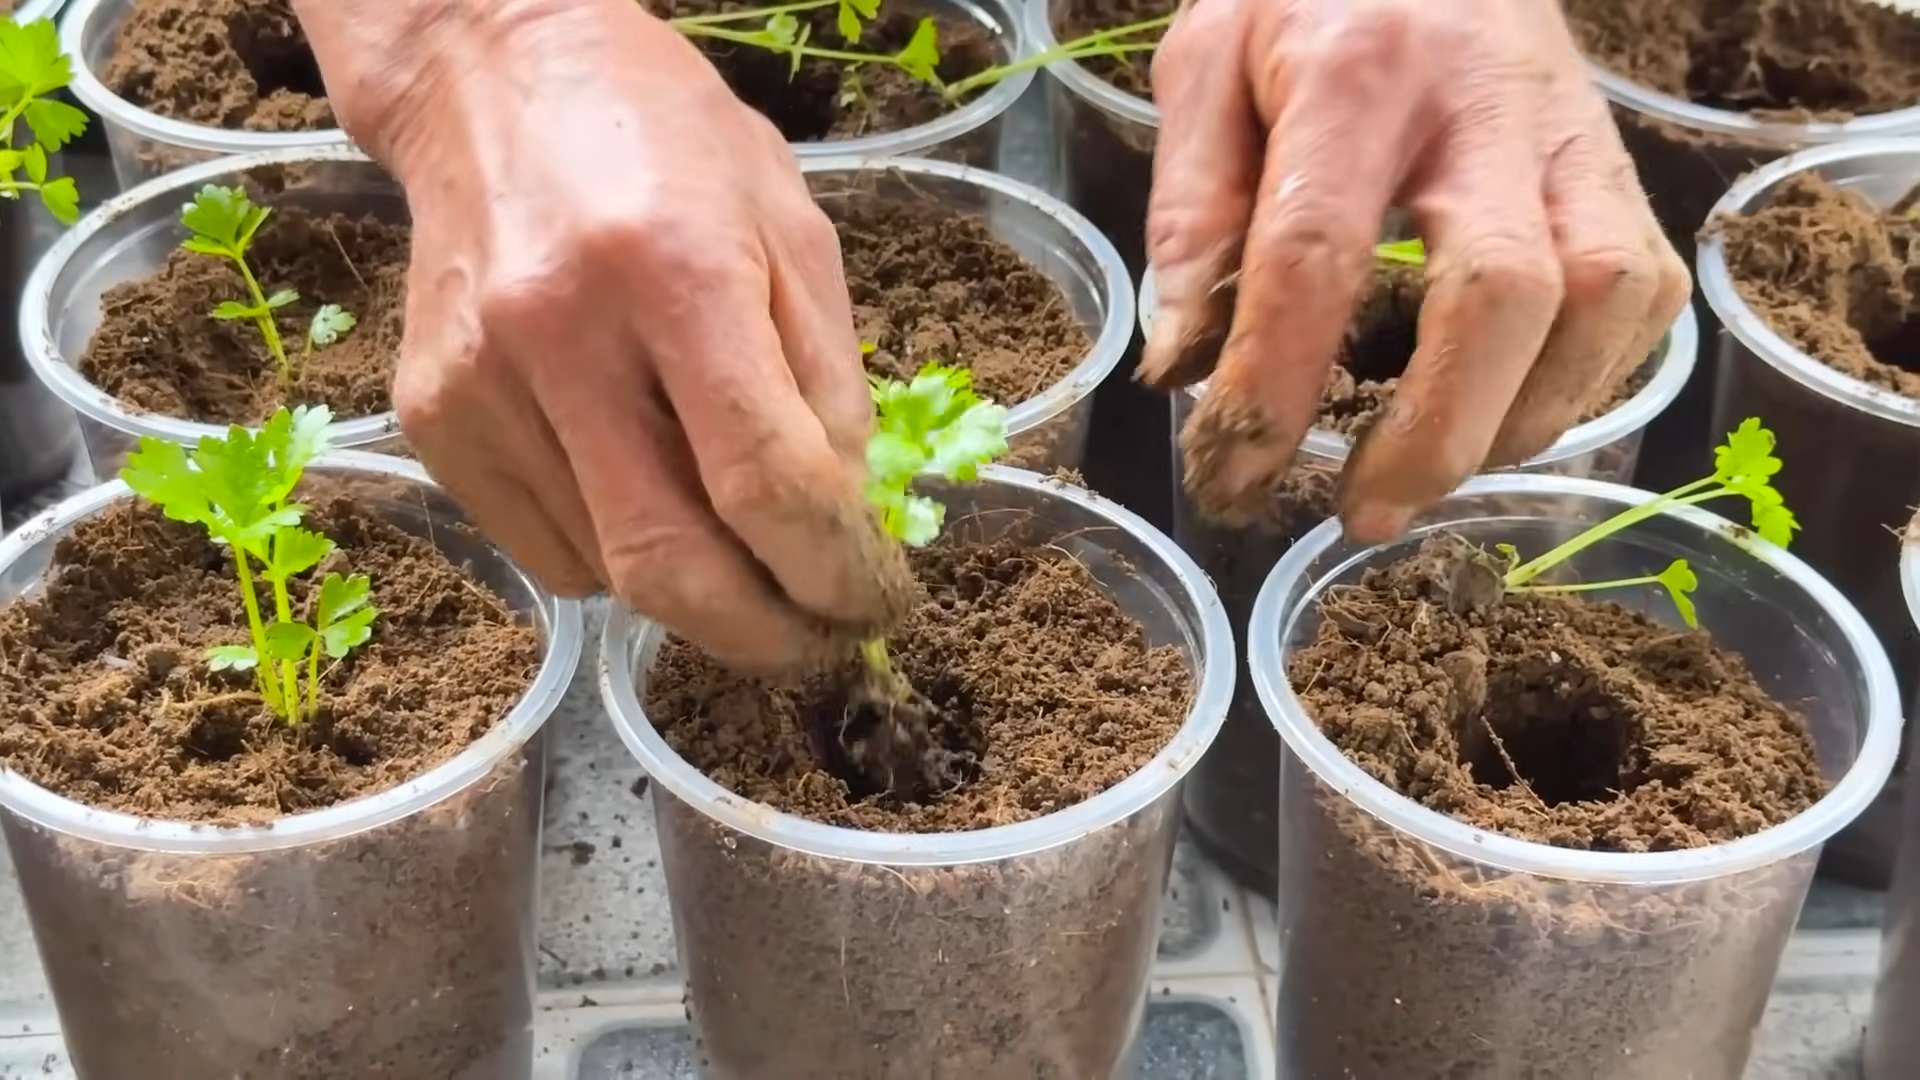
- Prepare the Pot: Fill your small pot or container with well-draining potting mix. Make a small hole in the center, large enough to accommodate the celery base and roots.
- Carefully Remove the Celery: Gently lift the celery base out of the water. Be careful not to damage the delicate roots.
- Plant the Celery: Place the celery base in the hole you made in the potting mix. Make sure the roots are spread out and covered with soil. The top of the celery base should be just above the soil level.
- Water Thoroughly: Water the potting mix thoroughly until water drains out of the bottom of the pot. This will help settle the soil around the roots.
- Return to a Sunny Spot: Place the pot back in your sunny windowsill or under grow lights.
Phase 3: Ongoing Care and Maintenance
Now that your celery is planted, it’s time to provide the ongoing care it needs to thrive.
- Watering: Keep the potting mix consistently moist, but not soggy. Water when the top inch of soil feels dry to the touch. Overwatering can lead to root rot, so be careful not to overdo it.
- Fertilizing (Optional): After a couple of weeks, you can start feeding your celery with a diluted hydroponic nutrient solution. Follow the instructions on the nutrient solution label. This will provide your celery with the extra nutrients it needs to grow big and strong. I usually dilute the solution to half strength to avoid burning the roots.
- Light: Celery needs plenty of light. If you’re using grow lights, keep them on for at least 12-14 hours per day. If you’re using natural sunlight, rotate the pot regularly to ensure even growth.
- Pest Control: Keep an eye out for pests like aphids or spider mites. If you see any, you can try spraying them with insecticidal soap or neem oil.
- Harvesting: You can start harvesting celery stalks once they reach a decent size. Simply cut off the stalks you need, leaving the rest of the plant to continue growing. The inner stalks will continue to grow and produce more celery.
Troubleshooting Tips
Sometimes things don’t go exactly as planned. Here are a few common problems you might encounter and how to fix them:
- Celery Base Rotting: This is usually caused by bacteria or algae growth in the water. Make sure you’re changing the water regularly (every 1-2 days). You can also add a drop or two of hydrogen peroxide to the water to help prevent bacterial growth.
- Leaves Turning Yellow: This could be a sign of overwatering, underwatering, or nutrient deficiency. Check the moisture level of the soil and adjust your watering accordingly. If you suspect a nutrient deficiency, try adding a diluted hydroponic nutrient solution.
- Slow Growth: This could be due to insufficient light or nutrients. Make sure your celery is getting enough light and consider adding a diluted hydroponic nutrient solution.
- No Root Growth: This could be due to poor water quality or a lack of light. Make sure you’re using fresh water and providing plenty of light.
Tips for Success
Here are a few extra tips to help you succeed with your DIY celery hydroponics project:
- Start with a Healthy Celery Stalk: The healthier the celery stalk, the better your chances of success. Choose a stalk that is firm, crisp, and has a healthy-looking base.
- Use Filtered Water: While tap water is generally fine, using filtered water can help prevent mineral buildup and improve root growth.
- Provide Good Air Circulation: Good air circulation will help prevent fungal diseases. You can use a small fan to circulate the air around your celery plant.
- Be Patient: Growing celery from a base takes time and patience. Don’t get discouraged if you don’t see results right away. Just keep providing the right conditions and your celery will eventually thrive.
- Experiment: Don’t be afraid to experiment with different nutrient solutions and growing conditions. Every environment is different, so what works for one person might not work for another.
Enjoy Your Homegrown Celery!
And there you have it! You’ve successfully grown your own celery using a simple DIY hydroponic method. Now you can enjoy fresh, crunchy celery in your salads, soups, and snacks. Plus, you’ll have the satisfaction of knowing that you grew it yourself! Happy growing!
Conclusion
So, there you have it! Transforming celery scraps into fresh, vibrant stalks through DIY celery hydroponics is not just a fun experiment; it’s a sustainable way to reduce food waste, enjoy fresh produce, and connect with the magic of nature right in your own home. Forget tossing those celery bases – they’re a treasure trove of potential!
Why is this a must-try? Because it’s incredibly rewarding to witness the resilience of plants and the power of simple techniques. It’s a fantastic project for families, a conversation starter for guests, and a constant reminder that even the smallest efforts can yield impressive results. Plus, imagine the satisfaction of adding homegrown celery to your soups, salads, and smoothies, knowing you nurtured it from a humble leftover.
But don’t stop there! Experiment with different nutrient solutions. Try adding a diluted organic fertilizer to the water every few weeks to boost growth. Consider different lighting conditions – a sunny windowsill might be perfect, but a grow light could accelerate the process, especially during the darker months. You could even explore different containers, from repurposed plastic bottles to elegant glass jars, to find what works best for your space and aesthetic.
For a fun variation, try planting multiple celery bases in a larger container to create a mini celery forest. Or, if you’re feeling adventurous, try propagating other vegetables like lettuce or bok choy using similar hydroponic techniques. The possibilities are endless!
We wholeheartedly encourage you to give this DIY celery hydroponics trick a try. It’s easy, affordable, and incredibly satisfying. Don’t be afraid to get your hands dirty (or rather, wet!). Embrace the learning process, and celebrate the small victories along the way.
Most importantly, we want to hear about your experiences! Share your photos, tips, and challenges in the comments below. Let’s create a community of celery-growing enthusiasts and inspire others to embrace sustainable practices. Did you find a particular nutrient solution that worked wonders? Did you encounter any unexpected hurdles? Your insights could be invaluable to fellow gardeners. Let’s grow together!
Frequently Asked Questions (FAQ)
What exactly is hydroponics, and is it difficult?
Hydroponics is a method of growing plants without soil, using water and nutrient solutions. It might sound complicated, but it’s surprisingly simple, especially for beginners. DIY celery hydroponics, in particular, is a great entry point because it requires minimal equipment and expertise. You’re essentially providing the celery base with the water and nutrients it needs to regrow, without the need for soil.
How long does it take to regrow celery using hydroponics?
The time it takes to see significant regrowth can vary depending on factors like temperature, light, and the health of the original celery base. Generally, you should start seeing new growth within a week or two. It might take a month or more to grow a substantial amount of celery that’s ready to harvest. Be patient and consistent with changing the water and providing adequate light.
What kind of water should I use for my DIY celery hydroponics setup?
It’s best to use filtered or dechlorinated water. Tap water often contains chlorine and other chemicals that can inhibit plant growth. If you only have access to tap water, let it sit out in an open container for 24 hours to allow the chlorine to evaporate before using it for your celery.
Do I need to add any nutrients to the water?
While celery can regrow in plain water, adding a diluted nutrient solution can significantly boost growth and produce healthier, more vibrant stalks. Look for a hydroponic nutrient solution specifically formulated for leafy greens. Follow the instructions on the packaging carefully, and avoid over-fertilizing, which can damage the plant. A very diluted solution of organic fertilizer can also work.
How often should I change the water?
It’s important to change the water regularly to prevent the buildup of bacteria and algae. Aim to change the water every one to two days, or more frequently if it starts to look cloudy or discolored. When you change the water, gently rinse the celery base to remove any debris.
What kind of lighting does my celery need?
Celery needs plenty of light to grow properly. A sunny windowsill that receives at least six hours of direct sunlight per day is ideal. If you don’t have access to a sunny windowsill, you can use a grow light to supplement the natural light. Position the grow light a few inches above the celery base and leave it on for 12-16 hours per day.
Can I grow celery hydroponically indoors year-round?
Yes, you can! One of the great advantages of hydroponics is that it allows you to grow plants indoors year-round, regardless of the weather outside. Just make sure to provide your celery with adequate light, water, and nutrients, and you can enjoy fresh, homegrown celery even in the middle of winter.
What if my celery base starts to rot?
If you notice that your celery base is starting to rot, it’s important to take action quickly to prevent the rot from spreading. Remove any rotten or discolored parts of the celery base with a clean knife. You can also try soaking the base in a diluted solution of hydrogen peroxide for a few minutes to kill any bacteria or fungi. Make sure to change the water more frequently and provide better ventilation to prevent further rot.
How do I harvest my hydroponically grown celery?
Once your celery has grown to a desired size, you can harvest it by cutting off the outer stalks with a sharp knife. Leave the inner stalks intact, and they will continue to grow. You can harvest your celery multiple times from the same base.
Is DIY celery hydroponics truly sustainable?
Yes, DIY celery hydroponics is a sustainable practice because it reduces food waste by utilizing celery bases that would otherwise be discarded. It also minimizes the need for purchasing celery from the store, which reduces transportation costs and environmental impact. By growing your own celery hydroponically, you’re contributing to a more sustainable food system.
Leave a Comment