
Grow Arugula Indoors? Absolutely! Imagine fresh, peppery arugula gracing your salads and sandwiches, even when the snow is falling outside. Forget those limp, overpriced greens from the grocery store. I’m going to show you how to cultivate your own vibrant arugula patch right in the comfort of your home.
Arugula, also known as rocket, has a rich history dating back to ancient Roman times, where it was prized for its distinctive flavor and purported aphrodisiac qualities. While I can’t promise any romantic miracles, I can guarantee a delicious and rewarding gardening experience. For centuries, people have enjoyed the benefits of this leafy green, and now it’s your turn to join the tradition, but with a modern, indoor twist!
Why should you learn to grow arugula indoors? Well, for starters, it’s incredibly easy and requires minimal space. Plus, you’ll have a constant supply of fresh, organic greens at your fingertips. In today’s world, where access to healthy, affordable food can be a challenge, this DIY project empowers you to take control of your diet and enjoy the simple pleasure of nurturing your own food. So, let’s ditch the store-bought stuff and embark on this exciting journey of indoor arugula cultivation together!
Grow Your Own Arugula Indoors: A Spicy Salad Adventure!
Hey there, fellow plant enthusiasts! Are you craving that peppery, zesty arugula flavor but don’t want to brave the grocery store or wait for the outdoor growing season? Well, guess what? You can totally grow your own arugula indoors, and I’m here to guide you through the whole process. It’s easier than you think, and the reward of fresh, homegrown greens is absolutely worth it. Let’s get started!
What You’ll Need: The Arugula Arsenal
Before we dive into the nitty-gritty, let’s gather our supplies. Here’s what you’ll need to become an indoor arugula farmer:
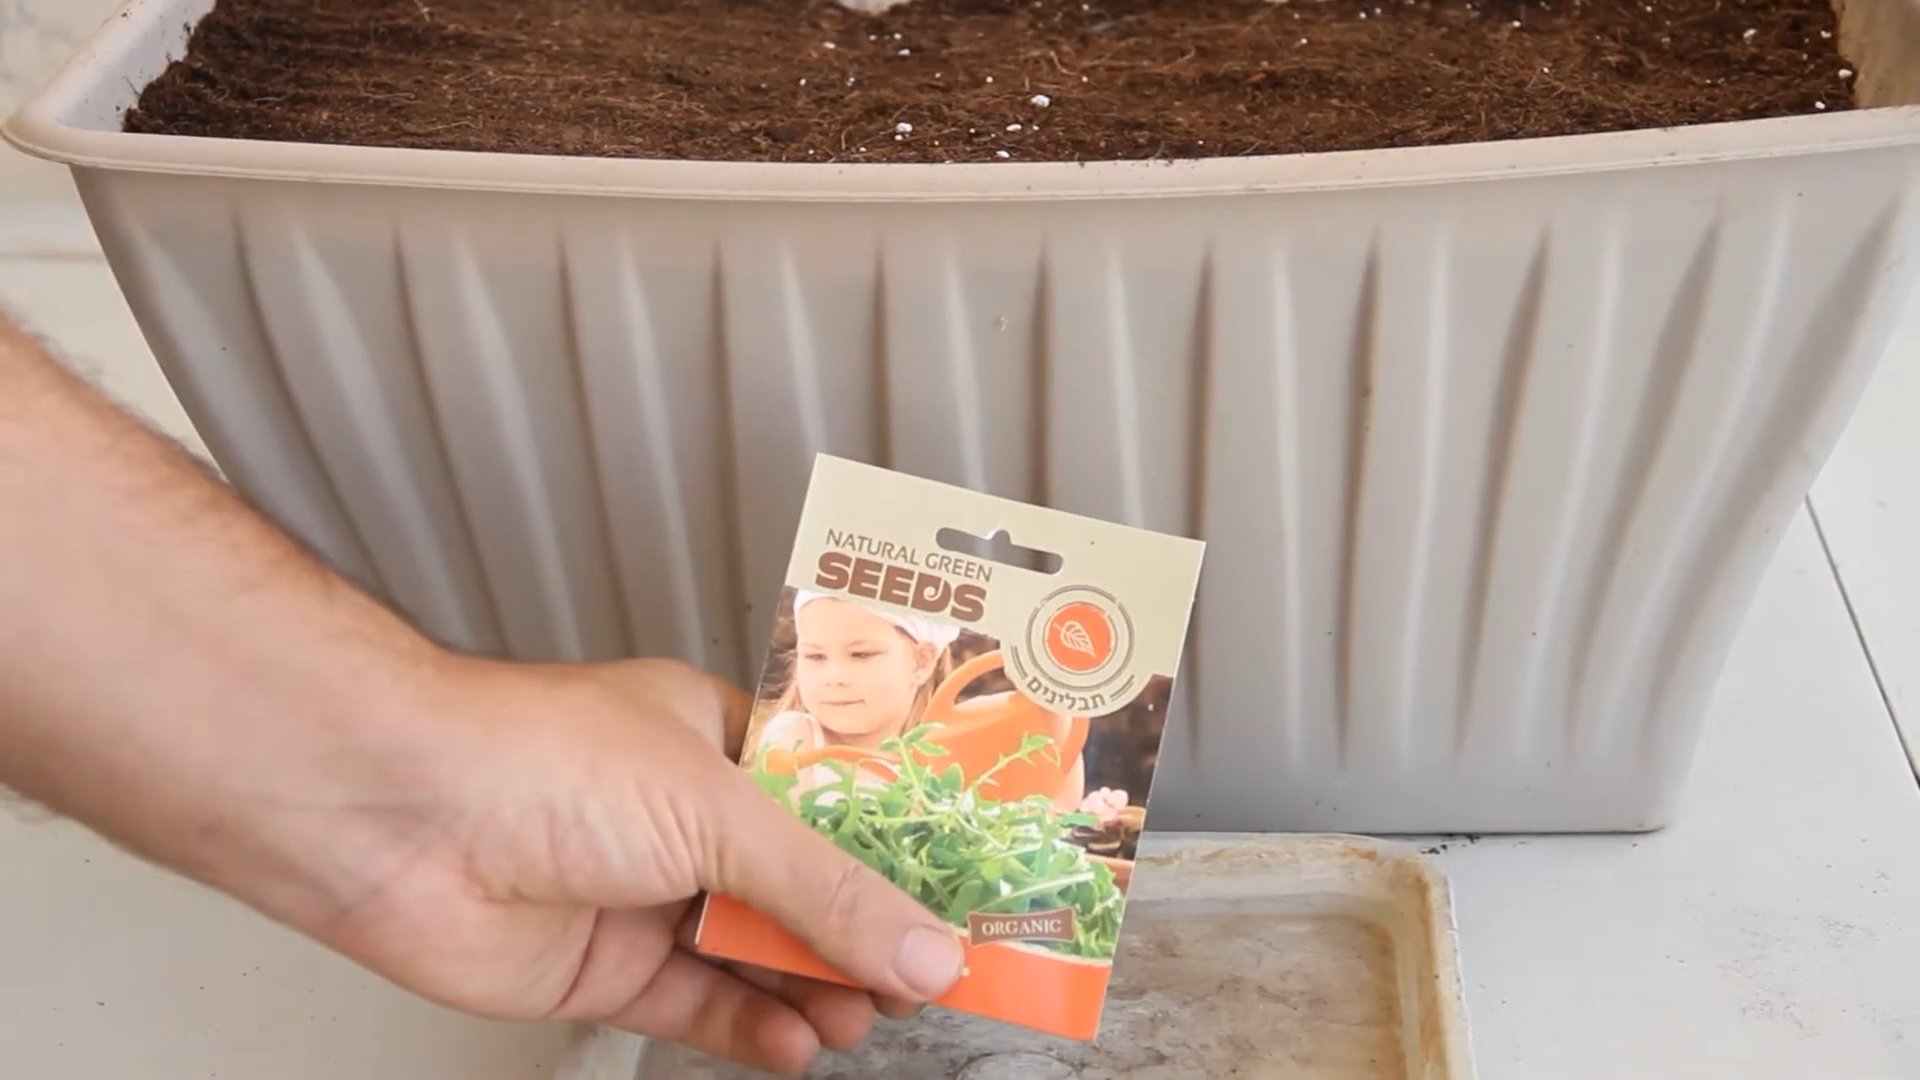
* Arugula Seeds: Obviously! Look for organic seeds if possible. You can find them at most garden centers or online.
* Planting Container: A pot, container, or even a repurposed plastic container will work. Make sure it’s at least 6 inches deep to give the arugula roots room to grow. Good drainage is crucial, so ensure there are drainage holes.
* Potting Mix: Use a high-quality potting mix specifically designed for containers. Avoid using garden soil, as it can compact and not drain well indoors.
* Grow Lights (Optional, but Recommended): While arugula can grow near a sunny window, grow lights will provide consistent and optimal light, especially during the shorter days of winter. LED grow lights are energy-efficient and work great.
* Watering Can or Spray Bottle: For gentle watering.
* Small Shovel or Trowel: For planting the seeds.
* Fertilizer (Optional): A liquid fertilizer formulated for leafy greens can give your arugula a boost, but it’s not strictly necessary.
* Spray bottle with water: To keep the soil moist during germination.
Step-by-Step: From Seed to Salad
Okay, now for the fun part! Here’s how to grow your arugula indoors, step by step:
1. Prepare Your Container: Fill your chosen container with potting mix, leaving about an inch of space at the top. Gently pat down the soil to create a level surface.
2. Sow the Seeds: Arugula seeds are small, so you don’t need to bury them too deep. Sprinkle the seeds evenly over the surface of the soil. Aim for about 1/4 inch spacing between seeds. You can also sow them in rows if you prefer.
3. Cover the Seeds: Lightly cover the seeds with a thin layer of potting mix (about 1/4 inch).
4. Water Gently: Use a spray bottle to mist the soil thoroughly. You want the soil to be moist but not soggy. Avoid pouring water directly onto the seeds, as this can dislodge them.
5. Create a Humid Environment (Optional): To help with germination, you can cover the container with a clear plastic bag or plastic wrap. This will create a humid environment that the seeds will love. Make sure to poke a few holes in the plastic for ventilation.
6. Find the Right Spot: Place your container in a location that receives at least 6 hours of sunlight per day. A south-facing window is ideal. If you’re using grow lights, position them a few inches above the soil surface.
7. Maintain Moisture: Keep the soil consistently moist, but not waterlogged. Check the soil moisture daily and water as needed. The top inch of soil should feel slightly damp to the touch.
8. Remove the Cover (If Used): Once the seedlings emerge (usually within 5-7 days), remove the plastic bag or plastic wrap.
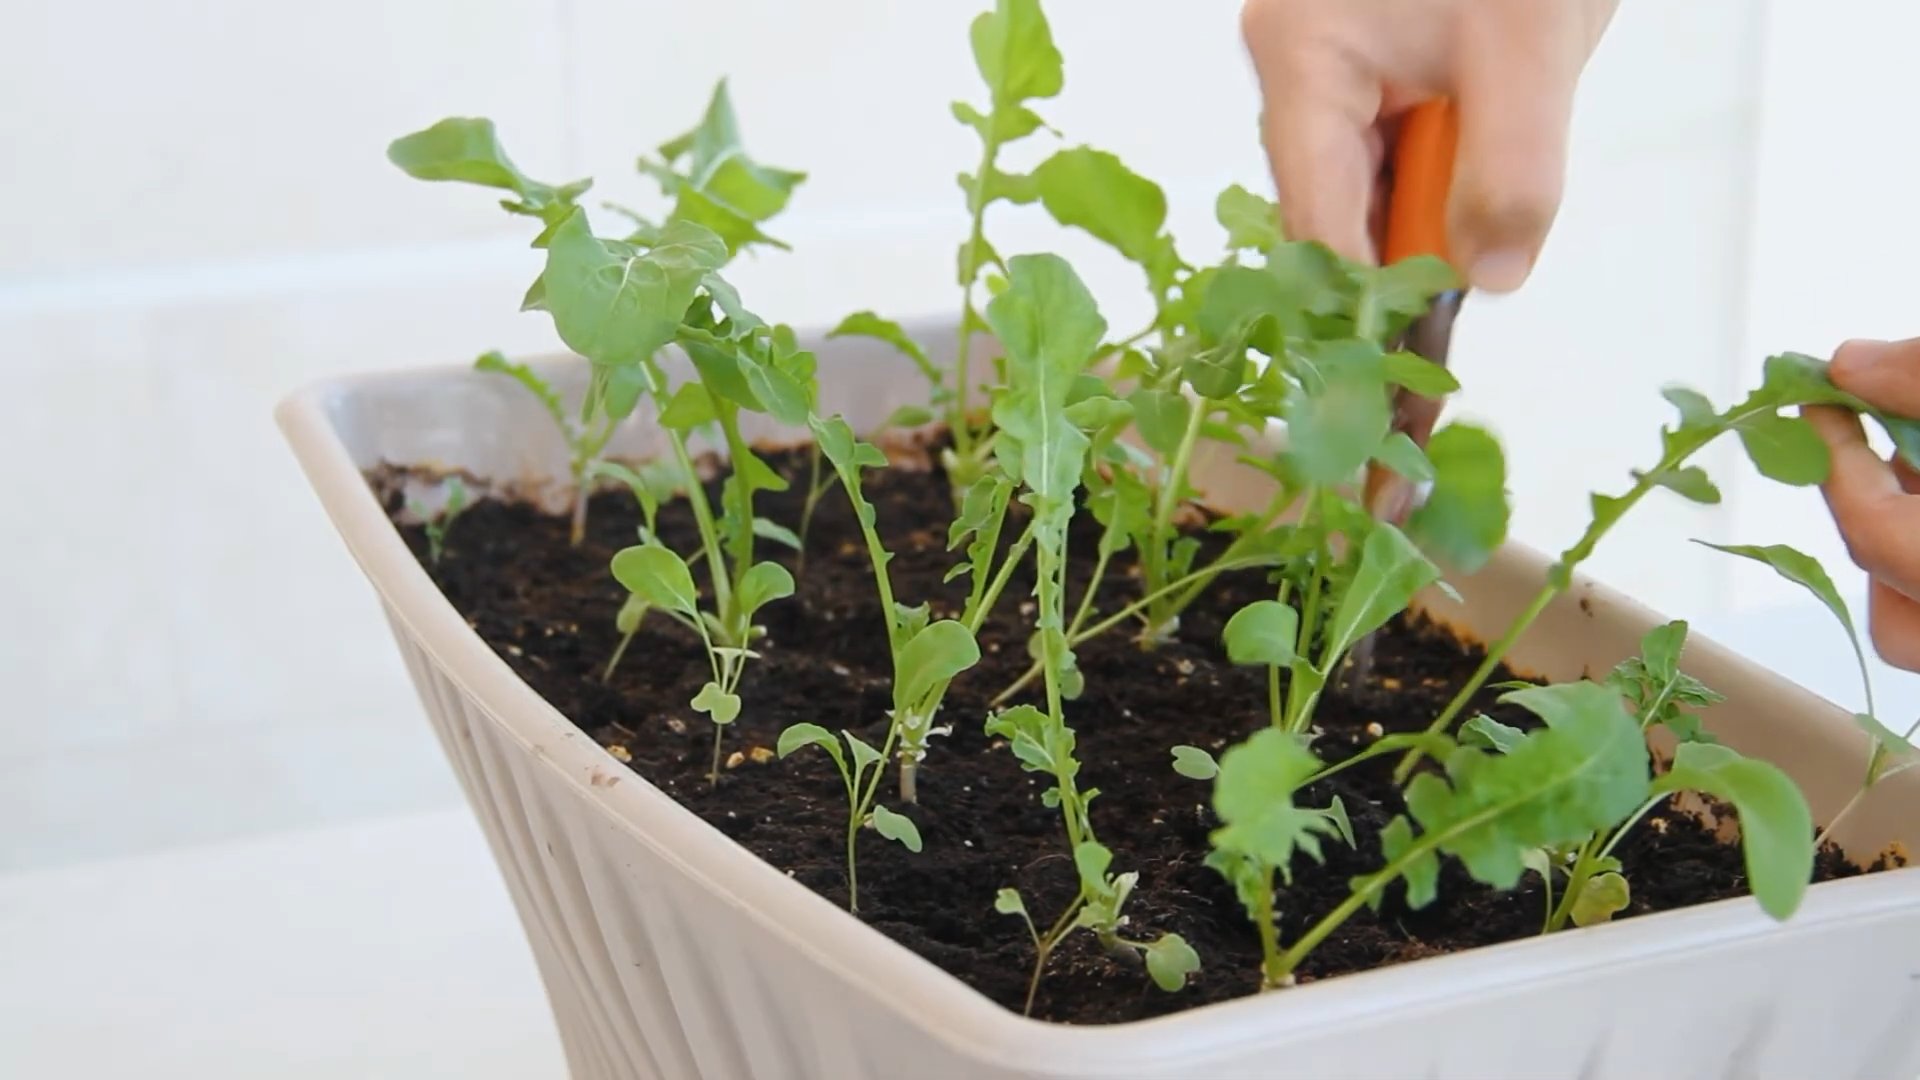
9. Thin the Seedlings (If Necessary): If your seedlings are growing too close together, you’ll need to thin them out. This will give the remaining plants enough space to grow. Use small scissors to snip off the weaker seedlings at the soil line, leaving about 1-2 inches between plants.
10. Fertilize (Optional): If you choose to fertilize, start about 2-3 weeks after the seedlings emerge. Use a liquid fertilizer diluted to half strength and apply it according to the package directions.
11. Harvest Your Arugula: You can start harvesting your arugula when the leaves are about 2-3 inches long. Simply snip off the outer leaves with scissors, leaving the inner leaves to continue growing. This cut-and-come-again method will allow you to harvest arugula for several weeks.
12. Successive Planting: To ensure a continuous supply of arugula, sow new seeds every 2-3 weeks.
Troubleshooting: Common Arugula Issues and How to Solve Them
Even with the best intentions, you might encounter a few challenges along the way. Here are some common issues and how to address them:
* Leggy Seedlings: If your seedlings are tall and spindly, they’re likely not getting enough light. Move them to a sunnier location or use grow lights.
* Yellowing Leaves: Yellowing leaves can indicate overwatering, underwatering, or nutrient deficiency. Check the soil moisture and adjust your watering accordingly. If you suspect a nutrient deficiency, try fertilizing with a balanced liquid fertilizer.
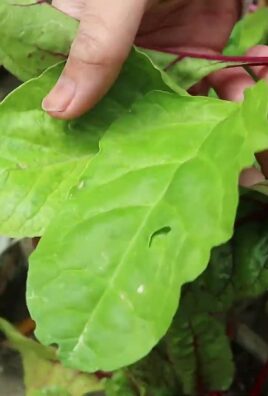
* Pests: Indoor arugula is generally less susceptible to pests than outdoor arugula, but you might still encounter aphids or spider mites. If you spot any pests, try spraying them with insecticidal soap or neem oil.
* Slow Growth: Slow growth can be caused by a variety of factors, including insufficient light, poor soil, or cold temperatures. Make sure your arugula is getting enough light, use a high-quality potting mix, and keep the temperature above 60°F (15°C).
Harvesting and Enjoying Your Homegrown Arugula
The best part of growing your own arugula is, of course, enjoying the fruits (or rather, leaves!) of your labor. Here’s how to harvest and use your homegrown arugula:
* Harvesting: As mentioned earlier, you can start harvesting your arugula when the leaves are about 2-3 inches long. Use scissors to snip off the outer leaves, leaving the inner leaves to continue growing.
* Washing: Gently wash the harvested arugula leaves under cool water to remove any dirt or debris.
* Storing: Store the washed arugula leaves in a plastic bag in the refrigerator. They should stay fresh for several days.
* Using: Arugula is incredibly versatile and can be used in a variety of dishes. Add it to salads, sandwiches, pizzas, or pasta dishes. You can also use it to make pesto or add it to smoothies.
Tips and Tricks for Arugula Success
Here are a few extra tips and tricks to help you grow the best arugula possible:
* Choose the Right Variety: There are several different varieties of arugula available, each with its own unique flavor and characteristics. Experiment with different varieties to find your favorite.
* Rotate Your Crops: If you’re growing arugula in the same container for multiple seasons, it’s a good idea to rotate your crops. This will help prevent the buildup of pests and diseases in the soil.
* Provide Good Air Circulation: Good air circulation is important for preventing fungal diseases. Make sure your arugula plants have enough space between them and that the air is circulating freely around them.
* Don’t Overwater: Overwatering is one of the most common mistakes that people make when growing arugula indoors. Make sure the soil is well-draining and that you’re not watering too frequently.
* Enjoy the Process! Growing your own arugula should be a fun and rewarding experience. Don’t be afraid to experiment and learn from your mistakes.
Section: Maximizing Your Arugula Yield
To really get the most out of your indoor arugula garden, consider these advanced techniques:
1. Succession Planting on Steroids: Don’t just plant every 2-3 weeks. Stagger your planting even further. I like to have three containers going at different stages. One just seeded, one with seedlings, and one ready for harvest. This ensures a near-constant supply.
2. Bottom Watering: Instead of watering from the top, try bottom watering. Place your container in a shallow dish of water and let the soil absorb the water from the bottom up. This encourages deeper root growth and helps prevent fungal diseases. Just don’t leave it sitting in water for too long. An hour or two is usually sufficient.
3. Pruning for Bushier Growth: Don’t be afraid to prune your arugula plants. Pinching off the growing tips will encourage them to branch out and produce more leaves.
4. Companion Planting (Even Indoors!): While space might be limited, consider planting companion plants like basil or chives in the same container. These plants can help deter pests and improve the flavor of your arugula.
5. Seed Saving: Once your arugula plants bolt (go to seed), you can collect the seeds and save them for future planting. This is a great way to save money and ensure a
Conclusion
So, there you have it! Growing arugula indoors is not only achievable, but it’s also a remarkably rewarding experience that brings fresh, peppery greens right to your fingertips, regardless of the season. We’ve walked through the simple steps, from selecting the right container and soil to providing adequate light and water. But why is this DIY trick a must-try?
Firstly, consider the unparalleled freshness. Store-bought arugula, even when organic, can’t compete with the vibrant flavor and crisp texture of homegrown greens harvested just moments before you add them to your salad, pizza, or pesto. You control every aspect of its growth, ensuring it’s free from unwanted pesticides and herbicides.
Secondly, think about the cost savings. Arugula, while delicious, can be surprisingly expensive at the grocery store. By investing a small amount of time and resources into growing your own, you’ll quickly recoup your initial investment and enjoy a continuous supply of fresh greens at a fraction of the cost.
Thirdly, and perhaps most importantly, growing arugula indoors is incredibly convenient. No more last-minute trips to the store when you realize you’re out of your favorite salad ingredient. Your fresh arugula is always readily available, adding a touch of gourmet flair to your meals with minimal effort.
But the beauty of this DIY project lies in its adaptability. Feel free to experiment with different varieties of arugula. ‘Astro’ arugula is known for its mild flavor, while ‘Rocket’ arugula packs a more peppery punch. You can also try growing arugula in different types of containers, from repurposed yogurt containers to stylish terracotta pots. Consider companion planting with herbs like basil or chives to create a miniature indoor garden.
For those looking to maximize their yield, consider investing in a grow light. While a sunny windowsill can work, a grow light will provide consistent and optimal light levels, resulting in faster growth and more abundant harvests. You can also experiment with different soil mixes to find what works best for your growing conditions. Some gardeners prefer a soilless mix, while others opt for a traditional potting mix amended with compost.
Don’t be afraid to get creative and personalize your indoor arugula garden. Add decorative stones, small figurines, or even a miniature trellis to create a visually appealing and functional space. Remember, gardening is as much about the process as it is about the end result.
We strongly encourage you to give this DIY trick a try. It’s a simple, affordable, and incredibly satisfying way to enjoy fresh, healthy greens year-round. Once you’ve harvested your first batch of homegrown arugula, we’d love to hear about your experience! Share your photos, tips, and tricks in the comments below. Let’s build a community of indoor arugula growers and inspire others to embrace the joys of homegrown food. Let us know if you have found success with this method of growing arugula indoors.
Frequently Asked Questions (FAQ)
What is the best time of year to start growing arugula indoors?
The beauty of growing arugula indoors is that you can do it year-round! Unlike outdoor gardening, you’re not limited by seasonal changes or weather conditions. As long as you provide adequate light, water, and temperature, you can enjoy fresh arugula any time of the year. However, if you are starting from seed, be aware that germination rates may be slightly lower during the colder months due to lower ambient temperatures. Using a heat mat can help improve germination rates during these times.
How much light does arugula need when grown indoors?
Arugula thrives in bright light. Ideally, it needs at least 6 hours of direct sunlight per day. If you don’t have a sunny windowsill, you can supplement with a grow light. A fluorescent or LED grow light placed a few inches above the plants will provide the necessary light for healthy growth. Signs that your arugula isn’t getting enough light include leggy growth (long, thin stems) and pale leaves.
How often should I water my indoor arugula?
Water arugula regularly, keeping the soil consistently moist but not waterlogged. Check the soil moisture by sticking your finger about an inch into the soil. If it feels dry, it’s time to water. Avoid overwatering, as this can lead to root rot. A good rule of thumb is to water deeply when the top inch of soil feels dry. Ensure your container has drainage holes to prevent water from pooling at the bottom.
What kind of soil is best for growing arugula indoors?
Arugula prefers well-draining soil that is rich in organic matter. A good potting mix is essential. You can use a commercially available potting mix or create your own by mixing equal parts of potting soil, compost, and perlite or vermiculite. The compost will provide nutrients, while the perlite or vermiculite will improve drainage. Avoid using garden soil, as it can be too heavy and may contain pests or diseases.
How long does it take for arugula to grow indoors?
Arugula is a fast-growing plant. You can typically harvest your first leaves within 3-4 weeks of planting. The exact time will depend on the variety of arugula, the growing conditions, and the amount of light it receives. To encourage continuous growth, harvest the outer leaves regularly, leaving the inner leaves to continue growing.
How do I harvest arugula?
Harvest arugula by snipping off the outer leaves with scissors or by gently pulling them off the plant. Avoid harvesting more than one-third of the plant at a time, as this can stress the plant and slow down growth. Harvest arugula when the leaves are about 2-3 inches long for the best flavor.
What are some common problems when growing arugula indoors?
Some common problems when growing arugula indoors include aphids, flea beetles, and fungal diseases. Aphids can be controlled with insecticidal soap or by simply washing them off the plants with water. Flea beetles can be deterred by covering the plants with row covers. Fungal diseases can be prevented by ensuring good air circulation and avoiding overwatering.
Can I grow arugula from seed indoors?
Yes, you can easily grow arugula from seed indoors. Sow the seeds about 1/4 inch deep in moist potting mix. Keep the soil consistently moist and provide plenty of light. The seeds should germinate within a few days. Once the seedlings have developed a few sets of true leaves, you can thin them out to allow for adequate spacing.
Can I grow arugula in a hydroponic system indoors?
Absolutely! Arugula is well-suited for hydroponic growing. Hydroponics allows for faster growth and higher yields compared to traditional soil-based gardening. You can use a variety of hydroponic systems, such as deep water culture (DWC) or nutrient film technique (NFT), to grow arugula indoors. Be sure to use a nutrient solution specifically formulated for leafy greens.
How do I prevent arugula from bolting (going to seed)?
Bolting occurs when arugula is exposed to high temperatures or stress. To prevent bolting, keep the plants well-watered and provide adequate shade during the hottest part of the day. You can also try growing arugula in a cooler location or using a fan to improve air circulation. Harvesting the leaves regularly will also help prevent bolting.
Leave a Comment