
Fix Sink Clog Quickly? Oh, I know that feeling – the frustration of standing over a sink filled with murky water that just won’t drain! It’s a household headache we’ve all experienced. But before you reach for harsh chemicals or call a pricey plumber, let me tell you, there’s a better way.
For generations, resourceful homeowners have relied on simple, DIY tricks to tackle common plumbing problems. Think about it – our grandparents didn’t have access to the arsenal of products we do today, yet they managed to keep their pipes flowing smoothly. Their secret? Ingenuity and a few clever hacks.
That’s why I’m so excited to share these easy and effective methods to fix sink clog quickly. Not only will you save money and avoid exposing your family to potentially harmful chemicals, but you’ll also gain a sense of accomplishment knowing you tackled the problem yourself. Plus, who doesn’t love a good DIY project that actually works? So, grab your rubber gloves, and let’s get that sink draining like new again! You’ll be amazed at how simple it can be.
DIY Sink Clog Buster: From Drip to Drain in Minutes!
Okay, so you’re staring at a sink full of murky water, right? We’ve all been there. That slow drain is the bane of every homeowner’s existence. But before you call a plumber and watch your wallet weep, let’s tackle this clog ourselves! I’m going to walk you through a few tried-and-true methods to get that water flowing freely again. Trust me, you’ll feel like a plumbing superhero when you’re done!
Understanding the Enemy: What Causes Sink Clogs?
Before we dive into the solutions, let’s quickly understand what we’re fighting. Most sink clogs are caused by a delightful cocktail of:
* Hair: The ultimate clog culprit. It loves to wrap around everything.
* Soap Scum: That greasy residue that builds up over time.
* Food Particles: Even with a strainer, some bits always seem to sneak through.
* Grease and Oil: Solidifies in the pipes and creates a sticky trap.
* Mineral Buildup: Especially in areas with hard water.
Knowing your enemy helps you choose the right weapon!
Method 1: The Boiling Water Blitz
This is the simplest and often surprisingly effective first step. It’s my go-to for minor clogs.
What You’ll Need:
* A kettle or pot
* Boiling water
Step-by-Step Instructions:
1. Boil, Boil, Toil, and… Boil! Fill your kettle or pot with water and bring it to a rolling boil. Seriously, make sure it’s boiling hot.
2. Clear the Sink: Carefully remove as much standing water from the sink as possible. A cup or small bucket works well. You want the boiling water to directly attack the clog, not just sit on top of a pool of lukewarm water.
3. Pour Slowly and Steadily: Slowly pour the boiling water down the drain. Be careful not to splash yourself! Give the water a few seconds to work its magic.
4. Repeat if Necessary: If the water doesn’t drain immediately, wait a few minutes and repeat the process. Sometimes it takes a couple of tries to melt away the clog.
5. Test the Drain: After a few minutes, turn on the faucet and see if the water drains normally. If it’s still slow, move on to the next method.
Method 2: The Dynamic Duo: Baking Soda and Vinegar Volcano
This is a classic DIY solution that uses a chemical reaction to break down the clog. It’s like a mini science experiment in your sink!
What You’ll Need:
* 1 cup baking soda
* 1 cup white vinegar
* Hot water (not boiling this time)
Step-by-Step Instructions:
1. Clear the Sink (Again!): Remove as much standing water from the sink as possible.
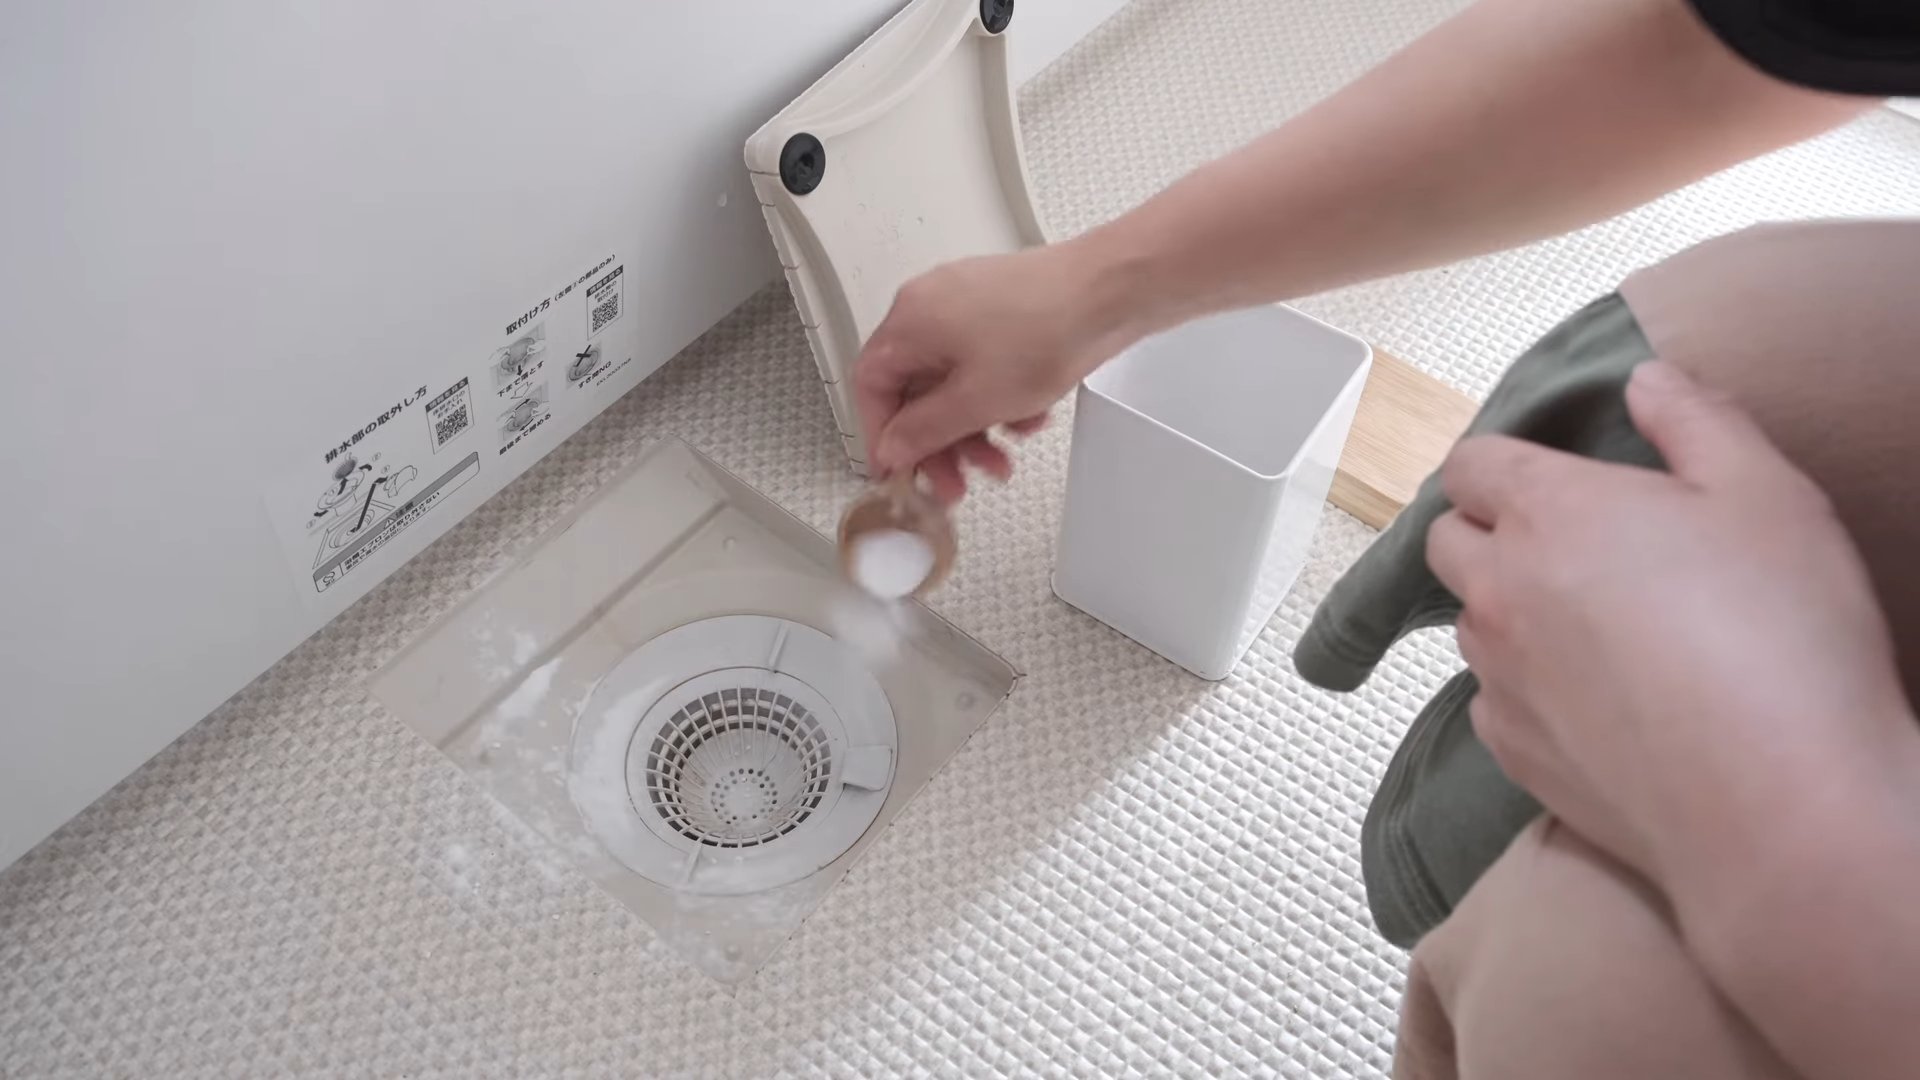
2. Baking Soda Blast: Pour one cup of baking soda down the drain. Try to get it as far down as possible.
3. Vinegar Volcano: Immediately follow with one cup of white vinegar. You should hear a fizzing sound – that’s the magic happening!
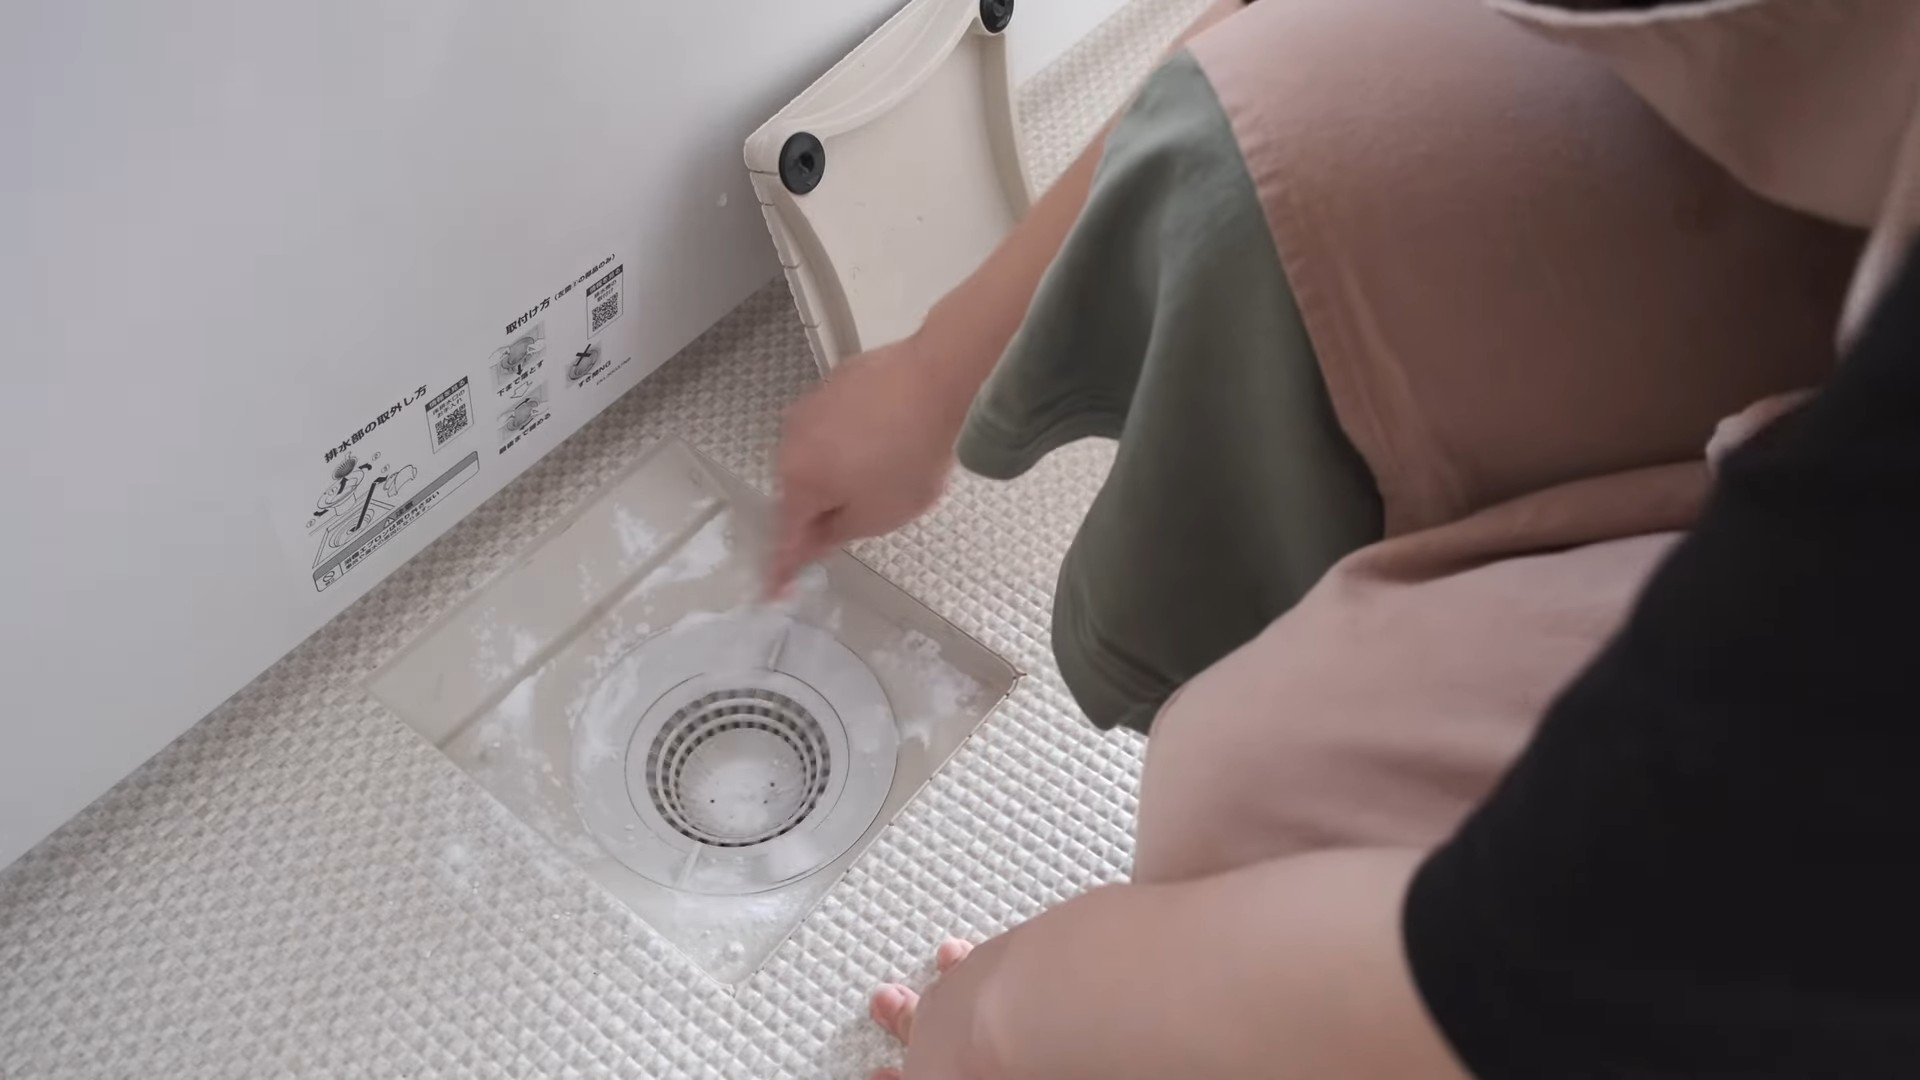
4. Let it Fizz and Foam: Let the mixture fizz and foam for about 30 minutes. This gives the baking soda and vinegar time to break down the clog. Don’t skip this step!
5. Hot Water Rinse: After 30 minutes, pour a pot of hot (but not boiling) water down the drain to flush away the loosened debris.
6. Test the Drain: Turn on the faucet and see if the water drains normally. If not, repeat the process or move on to the next method.
Method 3: The Plunger Power Play
Sometimes, you just need a little brute force. A plunger is a simple but effective tool for dislodging clogs.
What You’ll Need:
* A plunger (make sure it’s a flange plunger for sinks)
* Water
Step-by-Step Instructions:
1. Add Water: Add enough water to the sink to cover the cup of the plunger. This creates a seal.
2. Position the Plunger: Place the plunger over the drain opening, ensuring a tight seal. If you have an overflow drain, cover it with a wet cloth or your hand to prevent air from escaping.
3. Plunge Away! Push and pull the plunger up and down vigorously for several minutes. Maintain the seal as best as you can. You should feel the pressure building and releasing.
4. Check the Drain: Remove the plunger and see if the water drains. If it does, run the faucet for a few minutes to flush away any remaining debris.
5. Repeat if Necessary: If the water still doesn’t drain, repeat the plunging process. Sometimes it takes a few tries to dislodge a stubborn clog.
Method 4: The Bent Wire Hanger Hook
This is my go-to method for hair clogs. It’s a bit gross, but it works wonders!
What You’ll Need:
* A wire coat hanger
* Pliers (optional)
* Gloves (trust me, you’ll want these)
Step-by-Step Instructions:
1. Straighten and Bend: Straighten the wire coat hanger as much as possible. Then, bend one end into a small hook. Pliers can help with this.
2. Fish Around: Carefully insert the hooked end of the hanger down the drain. Start fishing around, trying to snag any hair, gunk, or debris.
3. Pull Out the Grossness: Slowly pull the hanger back up, bringing with it any captured debris. Be prepared for some seriously disgusting stuff!
4. Clean the Hanger: Wipe off the hanger with a paper towel or cloth.
5. Repeat as Needed: Repeat the fishing process until you’re no longer pulling out any debris.
6. Flush with Hot Water: After you’ve removed as much debris as possible, flush the drain with hot water to clear away any remaining residue.
7. Test the Drain: Turn on the faucet and see if the water drains normally.
Method 5: The P-Trap Adventure (For the Brave!)
Okay, this one’s a bit more involved, but it’s often necessary for really stubborn clogs. The P-trap is the curved pipe under your sink that traps debris.
What You’ll Need:
* A bucket
* Adjustable pliers or a wrench
* Gloves
* Old towels or rags
Step-by-Step Instructions:
1. Prepare for a Mess: Place the bucket under the P-trap to catch any water and debris that will spill out. Spread old towels or rags around the area to protect your floor.
2. Loosen the Slip Nuts: Use adjustable pliers or a wrench to loosen the slip nuts that connect the P-trap to the drain pipes. Don’t remove them completely yet!
3. Carefully Remove the P-Trap: Once the slip nuts are loose, carefully remove the P-trap. Be prepared for a gush of water and potentially some nasty gunk.
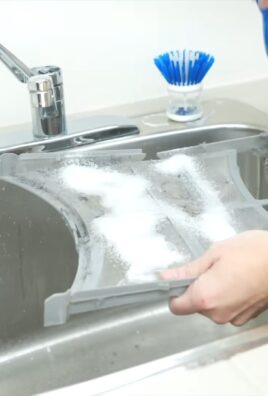
4. Clean the P-Trap: Thoroughly clean the P-trap, removing any debris or buildup. You can use a wire brush or a small tool to scrape away stubborn gunk.
5. Inspect the Drain Pipes: While the P-trap is removed, inspect the drain pipes for any clogs. You can use a wire hanger or a small brush to clear them out.
6. Reassemble the P-Trap: Reattach the P-trap, making sure the slip nuts are tightened securely. Don’t overtighten them, or you could damage the pipes!
7. Test for Leaks: Turn on the faucet and check for leaks around the slip nuts. If you see any leaks, tighten the nuts slightly until the leaking stops.
Preventing Future Clogs: A Few Pro Tips
Now that you’ve conquered the clog, let’s talk about prevention! Here are a few tips to keep your sink draining smoothly:
* Use a Strainer: A good strainer is your first line of defense against food particles and hair.
* Avoid Pouring Grease Down the Drain: Let grease cool and solidify, then dispose of it in the trash.
* Flush with Hot Water Regularly: Run hot water down the drain for a few minutes after each use to help flush away any buildup.
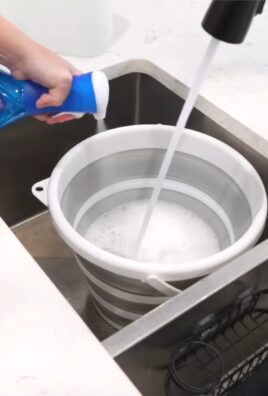
* Baking Soda and Vinegar Maintenance: Pour a cup of baking soda followed by a cup of vinegar down the drain once a month to keep things flowing smoothly.
* Consider Enzyme Drain Cleaners: These are a more
Conclusion
So, there you have it! This simple, yet incredibly effective DIY trick to fix sink clog quickly is a game-changer for any homeowner. Forget expensive plumbers and harsh chemical drain cleaners that can damage your pipes and the environment. This method is not only cost-effective but also uses ingredients you likely already have in your pantry.
Why is this a must-try? Because it works! The combination of baking soda and vinegar creates a powerful fizzing action that breaks down the gunk and grime causing the blockage. It’s a natural, safe, and efficient way to restore proper drainage to your sink. Plus, it’s incredibly satisfying to watch that clog disappear!
But don’t just take our word for it. The beauty of this DIY solution lies in its adaptability. Here are a few suggestions and variations to consider:
* For stubborn clogs: After pouring in the baking soda and vinegar, let the mixture sit for a longer period, even overnight. This allows the fizzing action to work its magic more thoroughly. You can also try using boiling water instead of hot tap water for the final flush, but be cautious when using boiling water with PVC pipes, as it can potentially damage them. Always test a small, inconspicuous area first.
* Adding a scent: If you want to freshen up your drain while you’re at it, add a few drops of your favorite essential oil (like lemon, tea tree, or eucalyptus) to the baking soda before pouring it down the drain. This will leave a pleasant aroma in your bathroom or kitchen.
* Preventative maintenance: Don’t wait for a full-blown clog to occur. Use this DIY trick as a preventative measure every few weeks to keep your drains clear and flowing smoothly. A smaller amount of baking soda and vinegar will suffice for regular maintenance.
* Using a plunger: After the baking soda and vinegar treatment, try using a plunger to help dislodge any remaining debris. The combination of the chemical reaction and the physical force of the plunger can be incredibly effective.
We are confident that this DIY trick will become your go-to solution for dealing with sink clogs. It’s easy, affordable, and environmentally friendly. So, ditch the harsh chemicals and give this method a try.
We encourage you to try this fix sink clog quickly method and share your experience with us! Let us know in the comments below how it worked for you, any variations you tried, and any tips you have to share. Your feedback will help other readers and contribute to a community of DIY enthusiasts. Happy unclogging!
Frequently Asked Questions (FAQ)
What causes sink clogs in the first place?
Sink clogs are typically caused by a buildup of various materials that accumulate over time. In the kitchen sink, common culprits include grease, food scraps, coffee grounds, and even small pieces of plastic. In the bathroom sink, hair, soap scum, toothpaste, and shaving cream are the usual suspects. These materials can stick to the inside of the pipes and gradually restrict water flow, eventually leading to a complete blockage. Regularly flushing your drains with hot water can help prevent some of these build-ups.
Is this DIY trick safe for all types of pipes?
Generally, the baking soda and vinegar method is safe for most types of pipes, including PVC and metal pipes. However, it’s always a good idea to exercise caution, especially when using boiling water. Boiling water can potentially soften or warp PVC pipes, so it’s best to use hot tap water instead, or test a small, inconspicuous area first. If you have very old or fragile pipes, consult a plumber before attempting any DIY drain cleaning methods.
How often can I use this DIY trick to fix sink clog quickly?
You can use this DIY trick as often as needed, but it’s generally recommended to use it as a preventative measure every few weeks to keep your drains clear. If you have a recurring clog, you may need to address the underlying cause, such as a buildup of grease or hair in the pipes. In such cases, you might consider using a drain snake or calling a plumber for professional assistance.
What if the clog doesn’t clear after the first attempt?
If the clog persists after the first attempt, don’t give up! Try repeating the process, allowing the baking soda and vinegar mixture to sit for a longer period, even overnight. You can also try using a plunger after the baking soda and vinegar treatment to help dislodge any remaining debris. If the clog is particularly stubborn, you may need to use a drain snake to physically remove the blockage. If all else fails, it’s best to call a plumber to avoid damaging your pipes.
Can I use other types of acids instead of vinegar?
While vinegar is the most commonly used acid for this DIY trick, you could technically use other mild acids like lemon juice or citric acid. However, vinegar is readily available, inexpensive, and generally effective, making it the preferred choice. Stronger acids, such as hydrochloric acid (muriatic acid), should never be used for DIY drain cleaning, as they can be extremely corrosive and dangerous.
What are some other ways to prevent sink clogs?
Preventing sink clogs is always better than having to fix them. Here are a few tips to keep your drains clear:
* Use drain screens: Install drain screens in your sinks to catch hair, food scraps, and other debris before they enter the pipes.
* Avoid pouring grease down the drain: Dispose of grease in a separate container and throw it away.
* Flush drains with hot water regularly: Run hot water down your drains for a few minutes each week to help flush away any buildup.
* Don’t overfill the garbage disposal: Avoid putting large amounts of food scraps down the garbage disposal at once.
* Clean your sink regularly: Wipe down your sink and drain regularly to remove any debris that may be accumulating.
Is baking soda and vinegar safe for septic systems?
Yes, the baking soda and vinegar method is generally considered safe for septic systems. The small amounts of baking soda and vinegar used in this trick won’t harm the beneficial bacteria in your septic tank. However, it’s always a good idea to avoid using harsh chemicals or excessive amounts of any cleaning product if you have a septic system.
Can I use this trick to unclog other drains, like shower drains or bathtub drains?
Yes, this DIY trick can be used to unclog other drains, such as shower drains or bathtub drains. The process is the same: pour baking soda down the drain, followed by vinegar, let it fizz, and then flush with hot water. However, shower and bathtub drains often have more hair buildup, so you may need to use a drain snake to remove the hair before or after using the baking soda and vinegar method.

Leave a Comment