
Effortless home cleaning hacks – who doesn’t want them? Let’s be honest, cleaning isn’t usually anyone’s favorite pastime. We all dream of sparkling homes without spending hours scrubbing and sweating. But what if I told you that achieving a clean and tidy space could be easier than you think?
The desire for a clean home is as old as civilization itself. From ancient Romans using olive oil and ashes to clean their villas to the Victorian era’s obsession with spotless parlors, people have always sought ways to maintain a hygienic and aesthetically pleasing living environment. Today, with our busy lives, the need for quick and efficient cleaning solutions is more crucial than ever. We’re constantly juggling work, family, and social commitments, leaving little time for extensive cleaning routines.
That’s where these effortless home cleaning hacks come in! I’m going to share some of my favorite DIY tricks that will save you time, money, and energy. These aren’t just random tips; they’re tried-and-tested methods that I’ve personally used to keep my home looking its best. From tackling stubborn stains to organizing cluttered spaces, these hacks will empower you to create a clean and comfortable home without sacrificing your precious free time. Get ready to transform your cleaning routine and reclaim your weekends!
Effortless Home Cleaning Hacks: Making Chores a Breeze!
Okay, let’s be honest, cleaning isn’t exactly anyone’s favorite pastime. But a clean home is a happy home, right? So, I’ve compiled some of my absolute favorite, tried-and-true cleaning hacks that will save you time, energy, and maybe even a little sanity. Get ready to transform your cleaning routine!
Tackling the Kitchen: Sparkling Surfaces and Spotless Appliances
The kitchen, the heart of the home, often bears the brunt of daily messes. But fear not! These hacks will have your kitchen gleaming in no time.
Cleaning Your Microwave with Lemon Power
This is a game-changer. No more scrubbing baked-on food!
1. Gather your supplies: You’ll need a microwave-safe bowl, one lemon, and water.
2. Prepare the lemon solution: Cut the lemon in half and squeeze the juice into the bowl. Then, drop the lemon halves into the bowl as well.
3. Add water: Fill the bowl with about a cup of water.
4. Microwave magic: Place the bowl in the microwave and heat on high for 3-5 minutes, or until the water is boiling and the microwave is steamy.
5. Let it sit: Don’t open the microwave immediately! Let the steam work its magic for another 5-10 minutes. This loosens all the grime.
6. Wipe it clean: Carefully remove the bowl (it will be hot!). Use a clean cloth or sponge to easily wipe away all the loosened food particles. The lemon scent will leave your microwave smelling fresh and clean!
De-Greasing Your Stovetop with Baking Soda
Burnt-on grease can be a real pain. But baking soda is your secret weapon.
1. Gather your supplies: You’ll need baking soda, water, a sponge or cloth, and a spray bottle (optional).
2. Create a baking soda paste: Mix baking soda with a small amount of water to form a thick paste.
3. Apply the paste: Generously apply the paste to the greasy areas of your stovetop.
4. Let it sit: Allow the paste to sit for at least 15-20 minutes. For really stubborn grease, you can let it sit for even longer, up to a few hours.
5. Scrub and wipe: Use a damp sponge or cloth to scrub away the paste and the loosened grease. You might need to apply a little elbow grease for tougher spots.
6. Rinse and dry: Rinse the stovetop with clean water and dry with a clean cloth. Your stovetop should be sparkling!
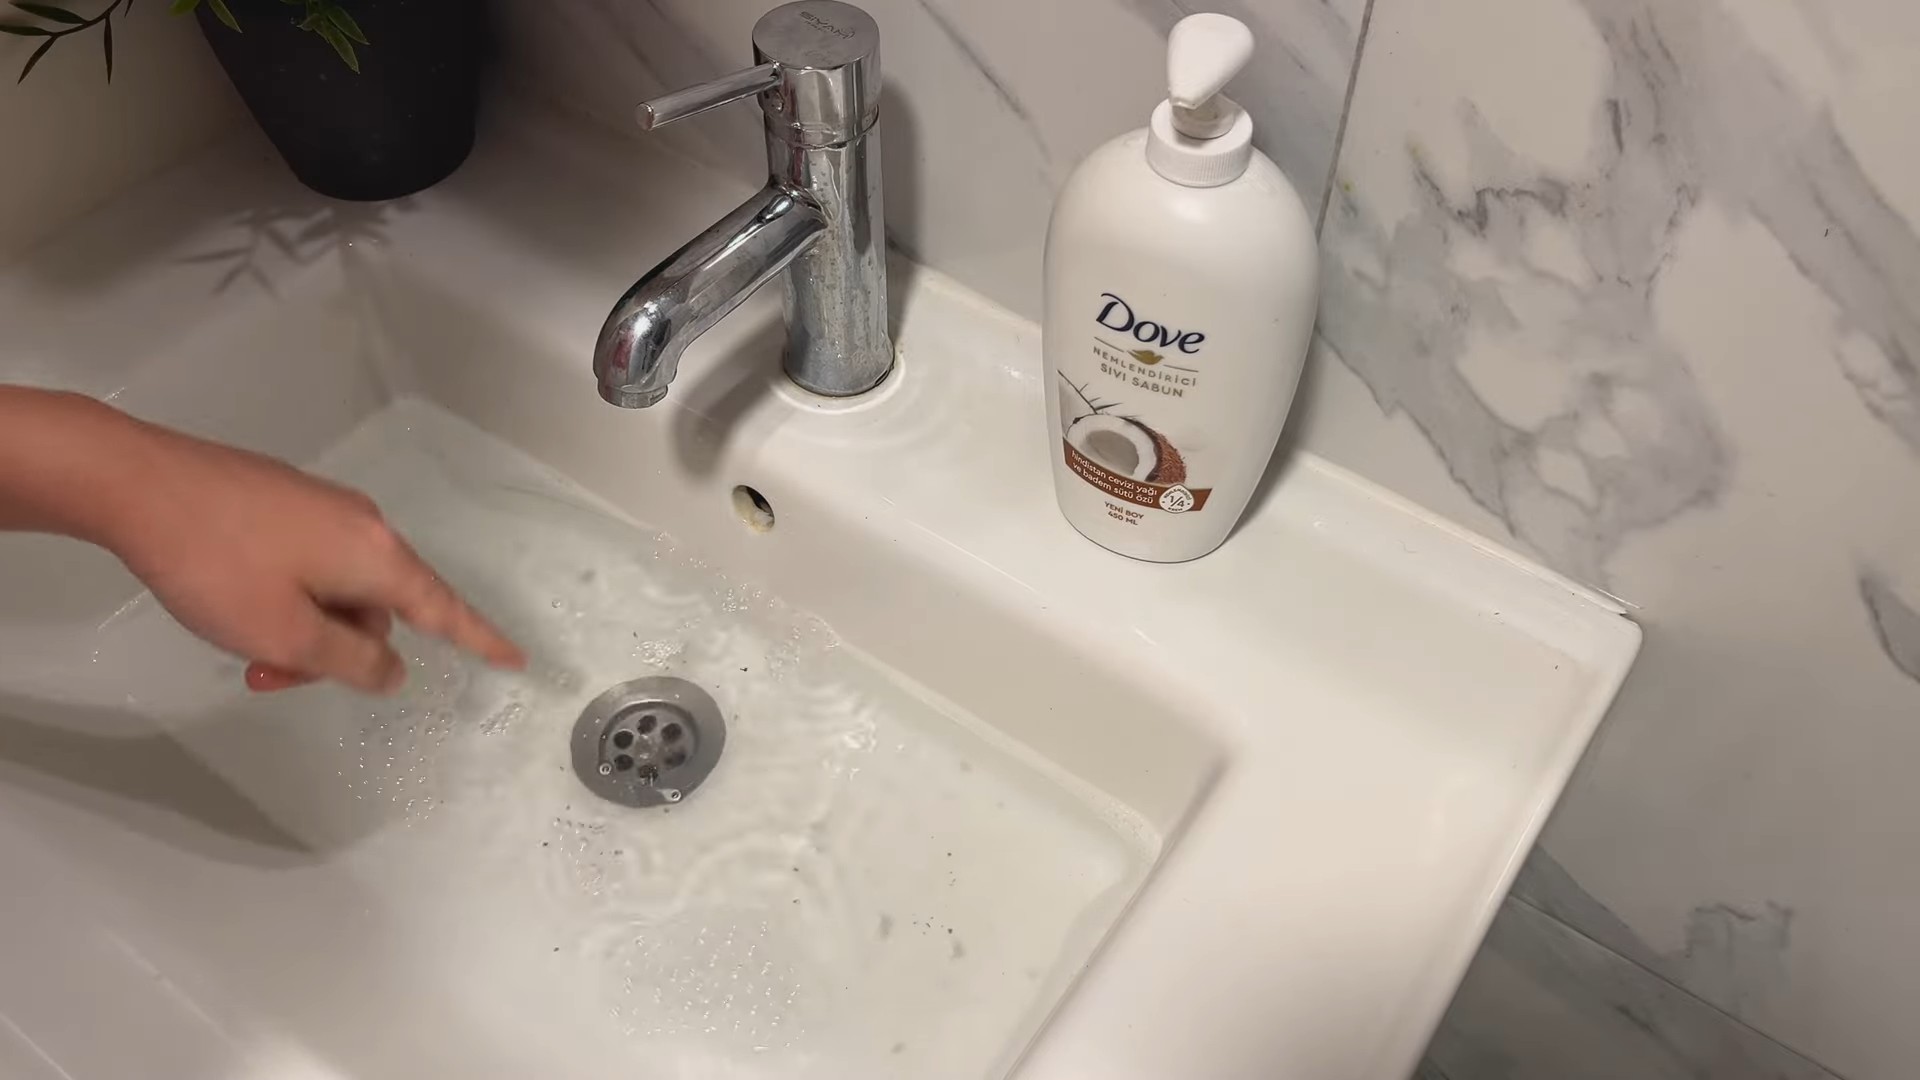
Cleaning Your Dishwasher with Vinegar
Yes, your dishwasher needs cleaning too! Vinegar is a natural and effective way to keep it running smoothly.
1. Empty the dishwasher: Make sure your dishwasher is completely empty.
2. Vinegar bath: Place a dishwasher-safe cup or bowl filled with one cup of white vinegar on the top rack of the dishwasher.
3. Run a hot cycle: Run the dishwasher on a hot cycle.
4. Repeat monthly: Repeat this process once a month to keep your dishwasher clean and fresh. This helps remove buildup and odors.
Bathroom Bliss: Sparkling Fixtures and Fresh Scents
The bathroom can quickly become a breeding ground for grime and mildew. These hacks will help you keep it clean and inviting.
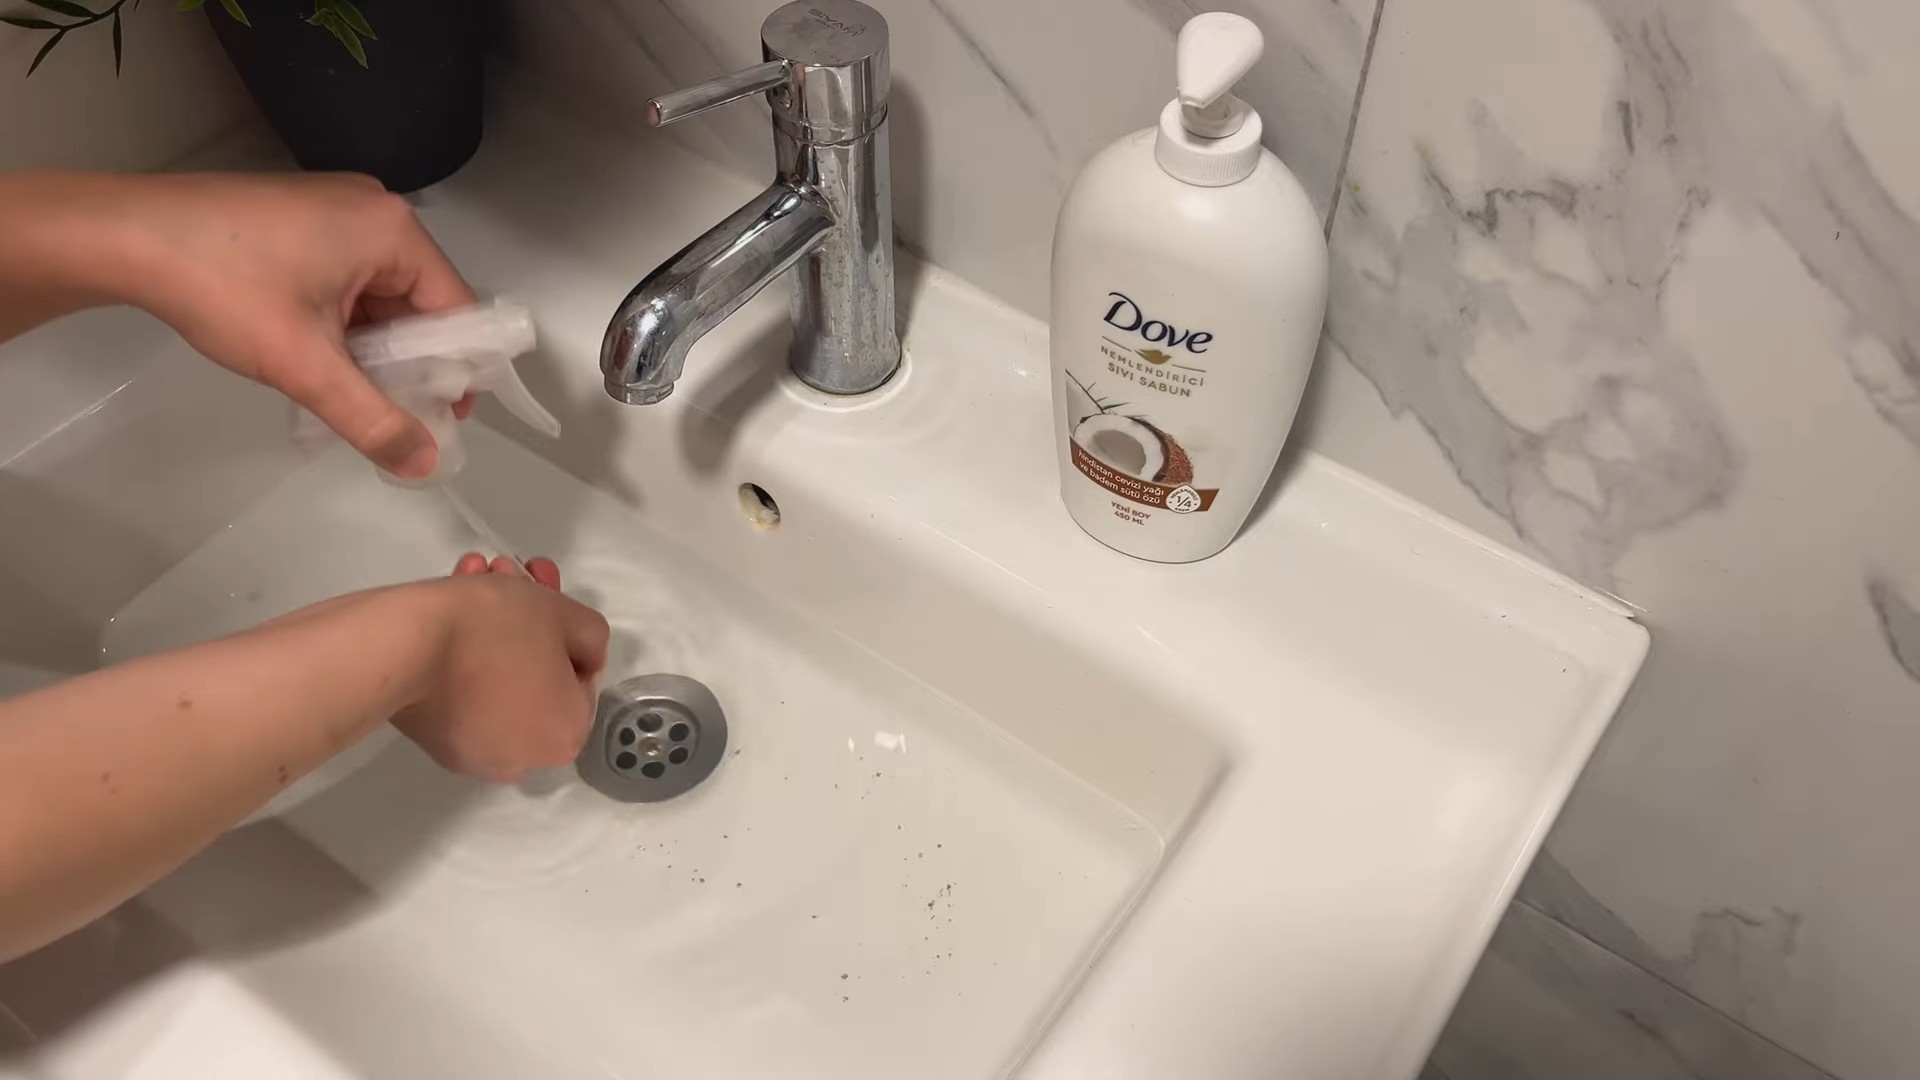
Cleaning Showerheads with Vinegar
Hard water deposits can clog your showerhead and reduce water pressure. Vinegar to the rescue!
1. Gather your supplies: You’ll need a plastic bag (a sandwich bag or grocery bag works), white vinegar, a rubber band or twist tie.
2. Fill the bag with vinegar: Pour enough white vinegar into the plastic bag to completely submerge the showerhead.
3. Secure the bag: Attach the bag to the showerhead using a rubber band or twist tie, ensuring the showerhead is fully immersed in the vinegar.
4. Soak overnight: Let the showerhead soak in the vinegar overnight.
5. Remove and rinse: Remove the bag and run the shower for a few minutes to flush out any remaining vinegar and loosened deposits.
6. Wipe clean: Wipe the showerhead clean with a cloth. Your showerhead should be sparkling and the water pressure improved!
Cleaning Grout with Baking Soda and Vinegar
Grout can be a magnet for dirt and mildew. This powerful combination will get it looking like new.
1. Gather your supplies: You’ll need baking soda, white vinegar, a spray bottle, an old toothbrush or grout brush.
2. Sprinkle baking soda: Sprinkle baking soda generously over the grout you want to clean.
3. Spray with vinegar: Fill a spray bottle with white vinegar and spray it onto the baking soda-covered grout. The mixture will fizz.
4. Let it sit: Allow the mixture to sit for 5-10 minutes.
5. Scrub: Use an old toothbrush or grout brush to scrub the grout lines.
6. Rinse: Rinse the grout with clean water. You can use a spray bottle or a damp cloth.
7. Dry: Dry the grout with a clean cloth.
Cleaning Toilet Bowls with Coke
Yes, you read that right! Coke can actually clean your toilet bowl.
1. Pour Coke into the bowl: Pour a can of Coke (any brand will do) around the rim of the toilet bowl, ensuring it coats the entire surface.
2. Let it sit: Let the Coke sit for at least an hour, or even overnight for tougher stains. The acids in the Coke will help break down stains and mineral deposits.
3. Scrub: After letting it sit, scrub the toilet bowl with a toilet brush.
4. Flush: Flush the toilet to rinse away the Coke and loosened stains.
Living Room Refresh: Dust-Free Surfaces and Cozy Comfort
The living room is where we relax and unwind, so keeping it clean is essential for a comfortable atmosphere.
Dusting Like a Pro with Dryer Sheets
Dryer sheets aren’t just for laundry! They’re also fantastic for dusting.
1. Grab a dryer sheet: Take a clean, unused dryer sheet.
2. Dust surfaces: Use the dryer sheet to dust furniture, electronics, blinds, and other surfaces. The dryer sheet will attract dust and leave a static-free finish, which helps prevent dust from settling as quickly.
3. Enjoy the fresh scent: Plus, dryer sheets leave a pleasant, fresh scent!
Cleaning Upholstery with Baking Soda
Freshen up your upholstery and eliminate odors with baking soda.
1. Sprinkle baking soda: Generously sprinkle baking soda over the upholstery you want to clean.
2. Let it sit: Allow the baking soda to sit for at least 30 minutes, or even longer for heavily soiled upholstery. The baking soda will absorb odors and loosen dirt.
3. Vacuum: Thoroughly vacuum the upholstery to remove the baking soda and the absorbed dirt and odors.
Cleaning Blinds with a Sock
This is a quick and easy way to clean blinds without making a mess.
1. Gather your supplies: You’ll need an old sock (clean, of course!), white vinegar, and a bowl of water.
2. Mix the cleaning solution: Mix equal parts white vinegar and water in the bowl.
3. Dampen the sock: Dip the sock into the cleaning solution and wring out any excess liquid.
4. Clean the blinds: Slip the sock over your hand and use it to wipe each slat of the blinds. The sock will trap the dust and dirt.
5. Rinse and dry: If the blinds are very dirty, you may need to rinse the sock and repeat the process. Once you’ve cleaned all the slats, use a clean, dry cloth to wipe them dry.
Bedroom Bliss: A Sanctuary of Cleanliness
Your bedroom should be a peaceful retreat. These hacks will help you keep it clean and organized.
Freshening Your Mattress with Baking Soda
Your mattress can harbor dust mites and odors. Baking soda is a natural way to freshen it up.
1. Strip the bed: Remove all bedding from the mattress.
2. Sprinkle baking soda: Generously sprinkle baking soda over the entire surface of the mattress.
3. Let it sit: Allow the baking soda to sit for at least 30 minutes, or even longer for heavily soiled mattresses. The baking soda will absorb odors and moisture.
4. Vacuum: Thoroughly vacuum the mattress to remove the baking soda and the absorbed dirt and odors.
5. Air it out: Open the windows to air out the mattress for a few hours.
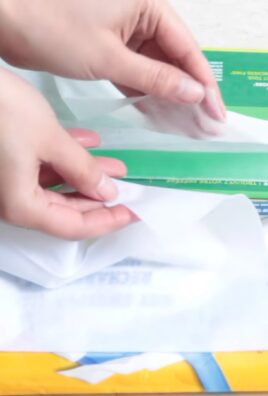
Organizing Your Closet with a Clothes
Conclusion
So, there you have it! These effortless home cleaning hacks are more than just quick fixes; they’re game-changers that can revolutionize your cleaning routine and give you back precious time. We’ve explored simple, cost-effective solutions that utilize everyday items you likely already have in your pantry or bathroom. From banishing stubborn stains to creating a sparkling, fresh-smelling home, these DIY tricks offer a sustainable and satisfying alternative to harsh chemicals and expensive cleaning products.
Why is this a must-try? Because it’s about more than just cleaning; it’s about reclaiming your time, saving money, and creating a healthier living environment. Imagine spending less time scrubbing and more time enjoying the things you love. Think about the satisfaction of knowing you’re using natural, safe ingredients to keep your home clean and your family healthy. These effortless home cleaning hacks empower you to take control of your cleaning routine and achieve remarkable results with minimal effort.
But the beauty of these hacks lies in their adaptability. Feel free to experiment with variations to suit your specific needs and preferences. For instance, if you’re sensitive to vinegar, try using lemon juice as a substitute. If you prefer a stronger scent, add a few drops of your favorite essential oil to your cleaning solutions. The possibilities are endless!
Don’t be afraid to get creative and personalize these effortless home cleaning hacks to make them your own.
We encourage you to try these DIY tricks and experience the difference for yourself. Start with one or two that resonate with you and see how they transform your cleaning routine. We’re confident that you’ll be amazed by the results.
And most importantly, we want to hear about your experience! Share your successes, your challenges, and your own unique variations in the comments below. Let’s create a community of cleaning enthusiasts who are passionate about sharing tips and tricks for a cleaner, healthier, and happier home. Your insights could inspire others and help them discover the joy of effortless home cleaning. So, go ahead, give these hacks a try, and let us know what you think!
Frequently Asked Questions (FAQs)
What if I don’t have all the ingredients listed in the recipes?
That’s perfectly fine! Many of these effortless home cleaning hacks are adaptable. For example, if you don’t have baking soda, you can often substitute it with washing soda, although the results might vary slightly. If you’re missing vinegar, lemon juice can be a good alternative, especially for removing hard water stains or deodorizing. The key is to understand the purpose of each ingredient and find a suitable substitute that serves a similar function. Don’t be afraid to experiment! Just be sure to research any potential interactions between different ingredients before combining them.
Are these cleaning hacks safe for all surfaces?
While most of these hacks are generally safe for common household surfaces, it’s always a good idea to test them in an inconspicuous area first, especially on delicate materials like wood, marble, or granite. For instance, vinegar can be too acidic for some natural stone surfaces and may cause etching. Similarly, abrasive cleaners like baking soda can scratch delicate finishes. Always read the manufacturer’s instructions for your surfaces and err on the side of caution. When in doubt, dilute the cleaning solution or use a gentler alternative.
How often should I use these cleaning hacks?
The frequency of use depends on your cleaning habits and the specific area you’re cleaning. For daily tasks like wiping down countertops or cleaning up spills, you can use these hacks as often as needed. For deeper cleaning tasks like scrubbing the bathroom or cleaning the oven, you may only need to do it weekly or monthly. Pay attention to the condition of your home and adjust your cleaning schedule accordingly. Regular maintenance with these effortless home cleaning hacks can prevent dirt and grime from building up, making your cleaning routine easier in the long run.
Can I use essential oils in these cleaning solutions?
Absolutely! Essential oils can add a pleasant scent and even provide additional cleaning benefits. For example, tea tree oil has antibacterial properties, while lemon oil can help cut through grease. However, it’s important to use essential oils safely and responsibly. Always dilute them properly before adding them to your cleaning solutions, and avoid using them on surfaces that may be sensitive to oils. Also, be mindful of any allergies or sensitivities you or your family members may have to certain essential oils. A few drops are usually sufficient to add fragrance and boost cleaning power.
How do I store these homemade cleaning solutions?
Store your homemade cleaning solutions in clean, airtight containers, preferably labeled with the contents and date. Keep them out of reach of children and pets. Avoid storing them in direct sunlight or extreme temperatures, as this can affect their effectiveness. Some solutions, like those containing vinegar, may react with certain metals, so avoid storing them in metal containers. Most homemade cleaning solutions will last for several weeks or even months if stored properly. If you notice any changes in color, odor, or consistency, it’s best to discard the solution and make a fresh batch.
What if a cleaning hack doesn’t work for me?
Don’t be discouraged! Cleaning results can vary depending on the type of stain, the surface being cleaned, and the specific ingredients used. If a hack doesn’t work the first time, try adjusting the recipe or technique. You may need to use a stronger concentration of the cleaning solution, apply more pressure while scrubbing, or let the solution sit for a longer period of time. If you’re still having trouble, try a different cleaning hack or consult a professional cleaning service. Remember, cleaning is often a process of trial and error, so don’t give up easily!
Are these effortless home cleaning hacks environmentally friendly?
Yes, that’s one of the biggest advantages of using these DIY tricks! By using natural ingredients like vinegar, baking soda, and lemon juice, you’re reducing your reliance on harsh chemicals that can be harmful to the environment and your health. These ingredients are biodegradable and less likely to pollute waterways or contribute to air pollution. Additionally, by making your own cleaning solutions, you’re reducing plastic waste from disposable cleaning bottles. It’s a win-win for your home and the planet!
Leave a Comment