
Cleaning blackened pots and pans can feel like an impossible chore, right? You’ve spent hours scrubbing, soaking, and even resorting to harsh chemicals, only to be met with stubborn, burnt-on residue that just won’t budge. I’ve been there, trust me! But what if I told you there’s a simple, effective, and surprisingly satisfying way to restore your cookware to its former glory, using ingredients you probably already have in your kitchen?
For generations, resourceful cooks have passed down clever tips and tricks for maintaining their precious pots and pans. Think of your grandmother, meticulously caring for her cast iron skillet, a symbol of home-cooked meals and family gatherings. These weren’t just tools; they were heirlooms! While modern cookware has evolved, the fundamental challenge of dealing with burnt food remains the same.
Let’s face it, nobody enjoys spending their precious time scrubbing away at blackened messes. Not only is it tedious, but it can also damage your cookware if you’re not careful. That’s why I’m so excited to share these DIY cleaning hacks with you. They’re designed to save you time, money, and elbow grease, while also extending the life of your favorite pots and pans. So, ditch the harsh chemicals and get ready to discover the secrets to effortlessly cleaning blackened pots and pans and bringing back their shine!
Revive Your Blackened Pots and Pans: A DIY Cleaning Guide
Okay, let’s face it. We’ve all been there. You’re cooking up a storm, get distracted, and suddenly your favorite pot is sporting a lovely (not!) layer of blackened gunk. Don’t despair! You don’t need to throw it out or spend hours scrubbing. I’m going to share my tried-and-true method for cleaning even the most stubbornly blackened pots and pans. This method is effective, uses common household ingredients, and will save you a ton of elbow grease.
What You’ll Need
Before we dive in, let’s gather our supplies. This is a pretty simple recipe, so you probably already have everything you need:
* Baking Soda: This is our main abrasive and deodorizer.
* White Vinegar: The acid helps to loosen the burnt-on food.
* Dish Soap: For extra cleaning power and degreasing.
* Water: To create our cleaning solution.
* Scrubbing Sponge or Pad: Choose one that’s safe for your pot’s material. Avoid steel wool on non-stick surfaces!
* Large Pot or Sink: Big enough to submerge your blackened pot.
* Tongs or a Wooden Spoon: To handle the pot safely.
* Optional: Rubber Gloves: To protect your hands.
The Baking Soda and Vinegar Boil Method
This is my go-to method for tackling serious blackening. The combination of baking soda and vinegar creates a bubbling action that helps to lift the burnt-on food particles.
1. Prepare the Pot: First, make sure your pot is empty. Scrape out any loose debris with a spatula or spoon. This will help the cleaning solution work more effectively.
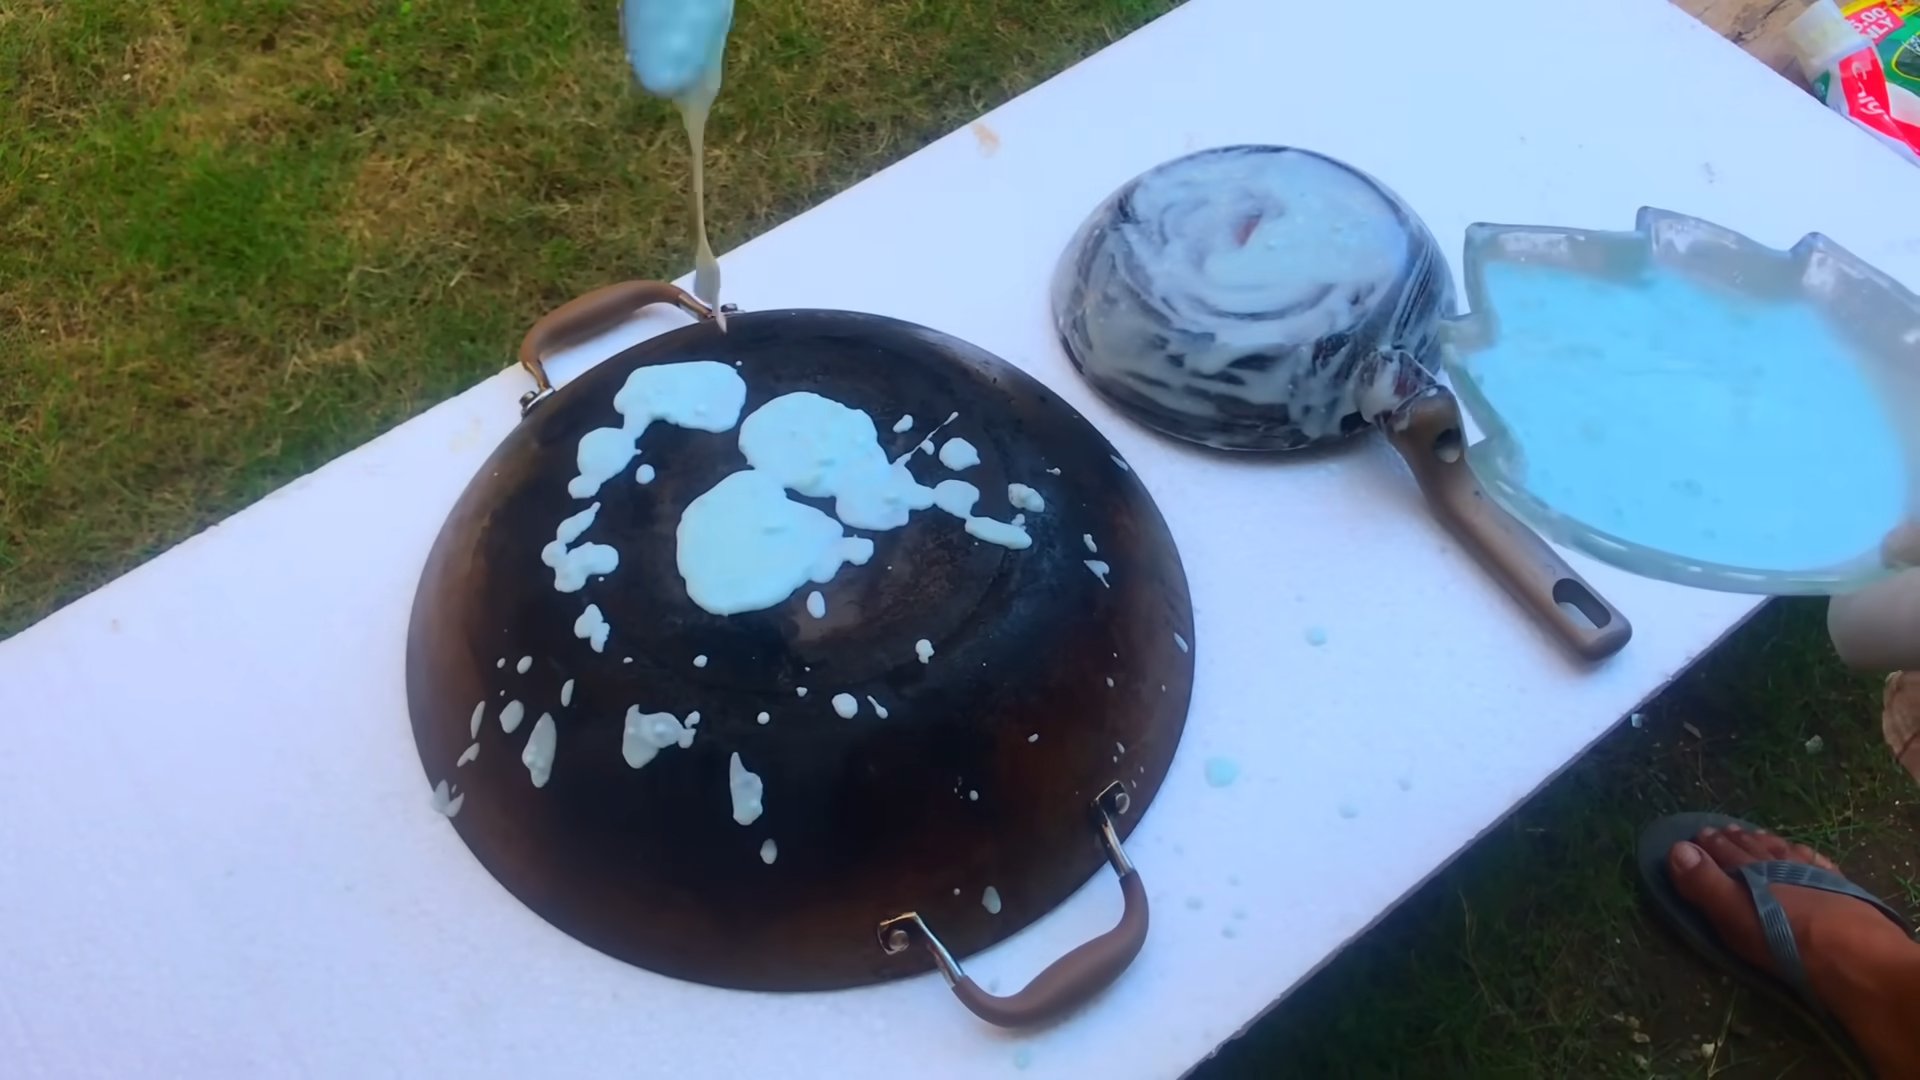
2. Add Baking Soda: Pour a generous amount of baking soda into the blackened pot. I usually start with about 1/2 cup, but you might need more depending on the size and severity of the blackening. Spread it evenly across the bottom of the pot.
3. Pour in Vinegar: Now, slowly pour in white vinegar. You’ll see it start to fizz and bubble as it reacts with the baking soda. Add enough vinegar to cover the baking soda layer.
4. Add Water: Fill the rest of the pot with water. Make sure the water covers all the blackened areas.
5. Boil the Mixture: Place the pot on the stove and bring the mixture to a boil. Let it simmer for about 10-15 minutes. You should see the burnt-on food starting to loosen and lift from the bottom of the pot. Keep an eye on it and make sure it doesn’t boil over!
6. Let it Cool: Carefully remove the pot from the heat and let it cool down completely. This is important to avoid burning yourself. The longer it cools, the more time the solution has to work its magic.
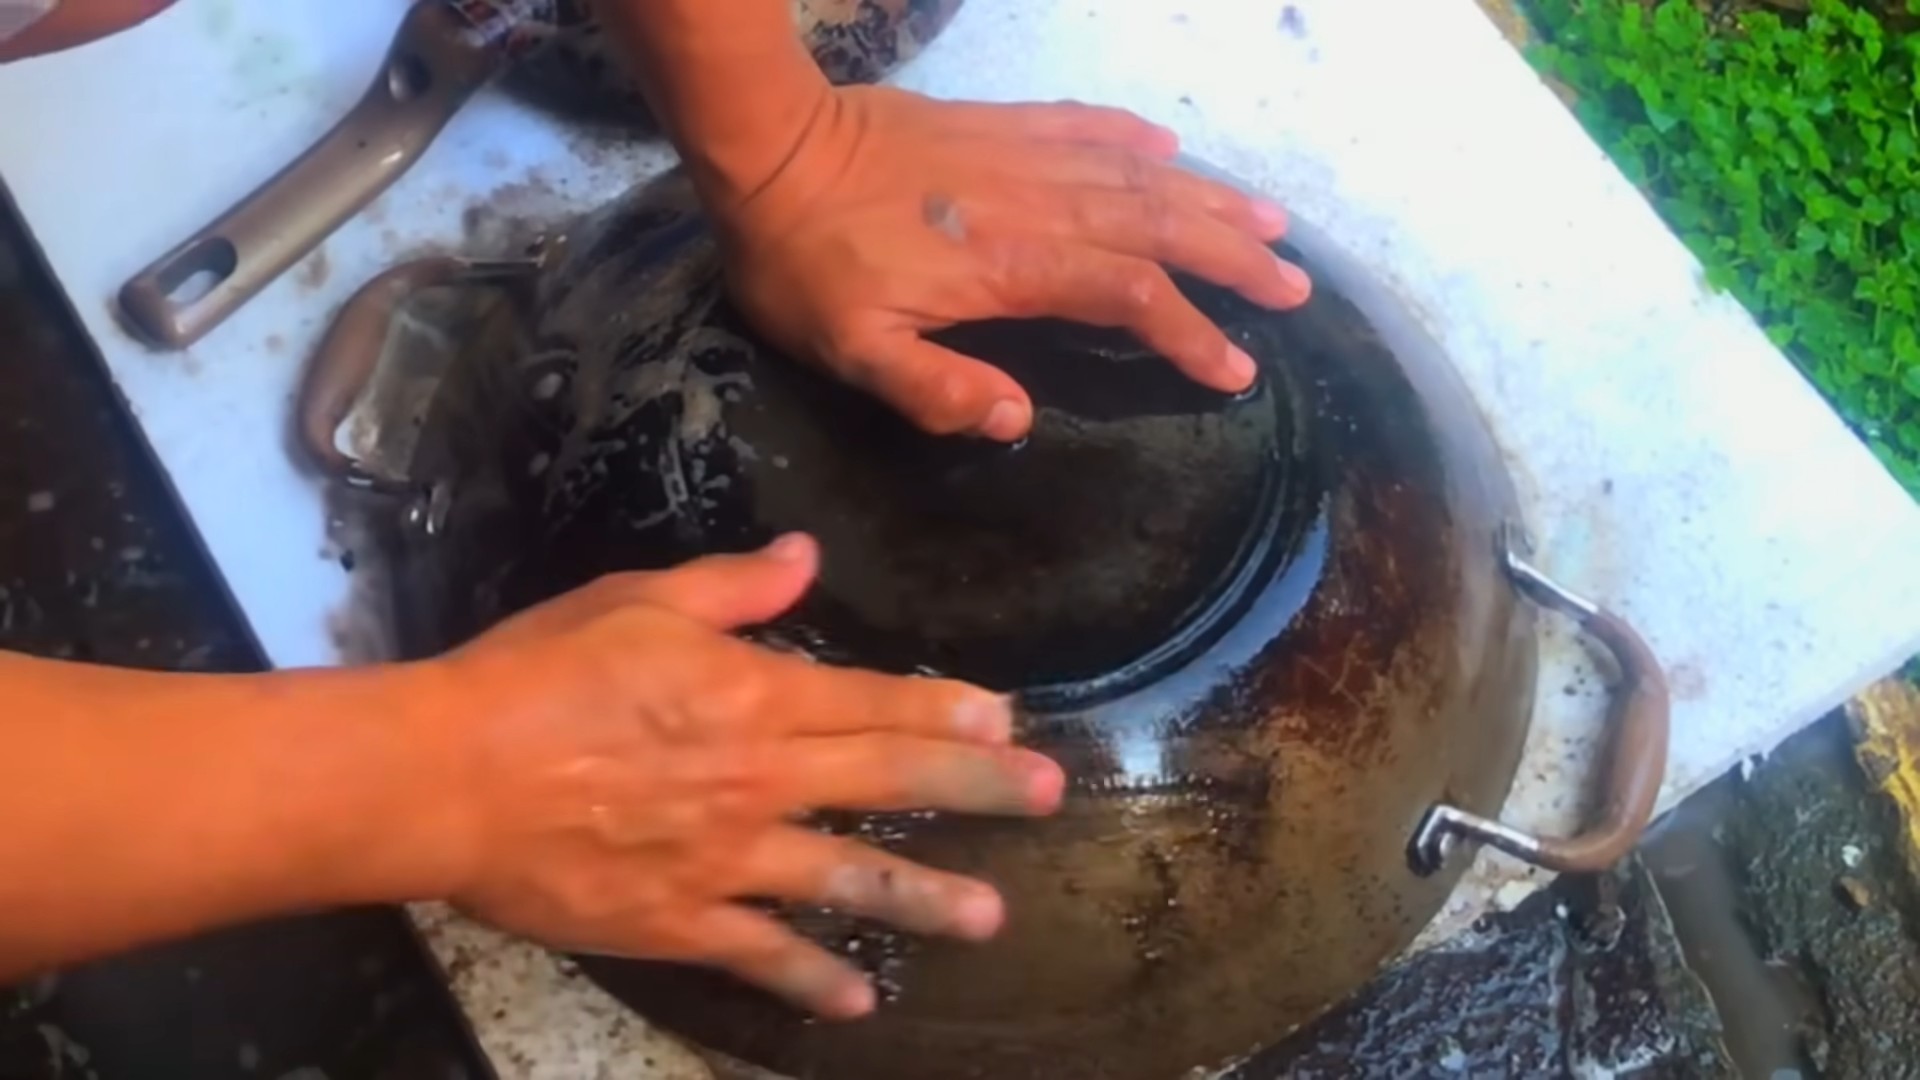
7. Scrub Away: Once the pot is cool enough to handle, pour out the water and baking soda mixture. Now it’s time to scrub! Use your scrubbing sponge or pad to gently scrub the blackened areas. You should find that the burnt-on food comes off much easier than before.
8. Add Dish Soap: If there are still stubborn spots, add a squirt of dish soap to your sponge and continue scrubbing. The dish soap will help to cut through any remaining grease and grime.
9. Rinse Thoroughly: Rinse the pot thoroughly with warm water to remove all traces of baking soda, vinegar, and dish soap.
10. Repeat if Necessary: For really tough cases, you might need to repeat the boiling and scrubbing process. Don’t be discouraged! Sometimes it takes a couple of tries to get your pot completely clean.
11. Dry Completely: Finally, dry the pot completely with a clean towel. This will help to prevent rust and water spots.
Dealing with Stubborn Spots
Sometimes, even after the boiling method, you might still have some stubborn spots that just won’t budge. Here are a few extra tricks I use:
* Baking Soda Paste: Make a paste of baking soda and water. Apply the paste to the stubborn spots and let it sit for a few hours or even overnight. The baking soda will help to loosen the burnt-on food. Then, scrub with a sponge or pad.
* Salt Scrub: For stainless steel pots, you can try using a salt scrub. Sprinkle a generous amount of coarse salt onto the blackened areas and scrub with a damp sponge. The salt acts as a gentle abrasive.
* Lemon Juice: Lemon juice is a natural acid that can help to break down burnt-on food. Cut a lemon in half and rub it directly onto the blackened areas. Let it sit for about 30 minutes, then scrub with a sponge.
Preventing Future Blackening
Of course, the best way to deal with blackened pots is to prevent them from happening in the first place! Here are a few tips:
* Keep an Eye on the Stove: This seems obvious, but it’s the most important thing you can do. Don’t get distracted while you’re cooking, especially when you’re simmering sauces or cooking foods that are prone to sticking.
* Use the Right Heat: Avoid using high heat when you don’t need it. High heat can cause food to burn and stick to the bottom of the pot.
* Stir Frequently: Stir your food frequently, especially when you’re cooking sauces or foods that are prone to sticking. This will help to prevent them from burning.
* Add Liquid: If you notice that your food is starting to stick to the bottom of the pot, add a little bit of liquid (water, broth, or wine) to help loosen it.
* Soak Immediately: If you do end up with a burnt pot, soak it in hot, soapy water immediately after cooking. This will make it much easier to clean later.
Cleaning Different Types of Pots and Pans
The method I described above is generally safe for most types of pots and pans, but there are a few things to keep in mind depending on the material:
* Stainless Steel: Stainless steel is very durable and can withstand a lot of scrubbing. You can use steel wool on stainless steel, but be careful not to scratch the surface.
* Non-Stick: Non-stick cookware is more delicate and requires a gentler approach. Avoid using abrasive cleaners or steel wool, as they can damage the non-stick coating. Use a soft sponge or cloth and mild dish soap.
* Cast Iron: Cast iron requires special care. After cleaning, you’ll need to re-season it to prevent rust.
* Enameled Cast Iron: Enameled cast iron is more delicate than regular cast iron. Avoid using abrasive cleaners or steel wool, as they can scratch the enamel coating.
A Note on Safety
* Always wear gloves when handling harsh chemicals or hot water.
* Be careful when boiling water, as it can easily boil over.
* Let the pot cool down completely before handling it.
* If you’re using a chemical cleaner, follow the manufacturer’s instructions carefully.
Alternative Cleaning Solutions
While I prefer the baking soda and vinegar method, here are a few other cleaning solutions you can try:
* Cream of Tartar: Mix cream of tartar with water to form a paste. Apply the paste to the blackened areas and let it sit for a few hours, then scrub with a sponge.
* Dryer Sheets: Place a dryer sheet in the pot, fill it with water, and let it soak overnight. The dryer sheet will help to loosen the burnt-on food.
* Cola: Pour cola into the pot and let it simmer for about 30 minutes. The phosphoric acid in the cola will help to break down the burnt-on food.
Final Thoughts
Cleaning blackened pots and pans doesn’t have to be a dreaded chore. With a little patience and the right techniques, you can restore your cookware to its former glory. Remember to always be careful and use the appropriate cleaning methods for your specific type of pot or pan. Happy cleaning!
Conclusion
So, there you have it! This simple, yet incredibly effective DIY trick for cleaning blackened pots and pans is a game-changer for any home cook. Forget spending hours scrubbing tirelessly or resorting to harsh chemicals that can damage your cookware and potentially leach into your food. This method, using readily available household ingredients, offers a safe, affordable, and remarkably efficient way to restore your beloved pots and pans to their former glory.
Why is this a must-try? Because it saves you time, money, and effort. Imagine the satisfaction of watching years of stubborn, baked-on grime effortlessly lift away, revealing the gleaming surface underneath. Think of the money you’ll save by not having to replace expensive cookware prematurely. And consider the peace of mind knowing you’re using a non-toxic cleaning solution in your kitchen.
But the beauty of this DIY cleaning method lies not only in its effectiveness but also in its adaptability. While the baking soda and vinegar combination is a powerhouse, feel free to experiment with variations to suit your specific needs and preferences. For instance, if you’re dealing with particularly stubborn stains, try adding a tablespoon of dish soap to the mixture for extra degreasing power. Alternatively, for stainless steel pots and pans, a paste of baking soda and water, left to sit for a few hours before scrubbing, can work wonders. You can also try using cream of tartar instead of baking soda for a slightly different abrasive action. Remember to always test any cleaning solution on a small, inconspicuous area of your pot or pan first to ensure it doesn’t cause any discoloration or damage.
This DIY cleaning trick is more than just a method; it’s a testament to the power of simple solutions. It’s about taking control of your kitchen cleaning routine and achieving professional-level results without breaking the bank or compromising your health. It’s about extending the life of your cookware and enjoying the satisfaction of cooking in clean, well-maintained pots and pans.
We are confident that once you try this method for cleaning blackened pots and pans, you’ll be amazed by the results. It’s a truly transformative experience that will change the way you approach kitchen cleaning forever. So, gather your ingredients, roll up your sleeves, and prepare to witness the magic unfold.
Don’t just take our word for it, though. We encourage you to try this DIY trick for yourself and share your experience with us! Let us know in the comments below how it worked for you, what variations you tried, and any tips or tricks you discovered along the way. We’re eager to hear your success stories and learn from your experiences. Together, we can create a community of happy, clean-kitchen enthusiasts!
Frequently Asked Questions (FAQs)
What kind of pots and pans can I use this method on?
This DIY cleaning method is generally safe for most types of pots and pans, including stainless steel, enamel-coated cast iron, and even some non-stick surfaces. However, it’s crucial to exercise caution and test the solution on a small, inconspicuous area first, especially if you’re unsure about the material of your cookware. Avoid using this method on delicate or antique cookware, as the abrasive action of baking soda could potentially damage the finish. For cast iron, ensure you re-season the pan after cleaning to prevent rusting.
How often can I use this method to clean my pots and pans?
You can use this method as often as needed, depending on how frequently your pots and pans become blackened. For heavily used cookware, you might find yourself using it once a week or even more often. However, for pots and pans that are only occasionally used, a monthly cleaning might suffice. Just remember to be gentle with the scrubbing and avoid excessive force, as this could potentially scratch the surface of your cookware over time.
What if the blackened stains are extremely stubborn and don’t come off easily?
If you’re dealing with particularly stubborn stains, there are a few things you can try. First, increase the amount of baking soda and vinegar you use. You can also try adding a tablespoon of dish soap to the mixture for extra degreasing power. Another option is to let the baking soda and vinegar mixture sit on the blackened area for a longer period of time, even overnight, before scrubbing. For extremely stubborn stains, you might need to repeat the process several times. As a last resort, you can try using a specialized pot and pan cleaner, but be sure to follow the manufacturer’s instructions carefully and wear gloves to protect your hands.
Can I use this method on non-stick cookware?
While this method can be used on some non-stick cookware, it’s important to proceed with caution. The abrasive action of baking soda can potentially damage the non-stick coating over time, so it’s best to use a gentler approach. Try using a smaller amount of baking soda and scrubbing very gently with a soft sponge or cloth. You can also try using a paste of baking soda and water instead of the vinegar mixture, as this is less abrasive. If you’re concerned about damaging your non-stick cookware, it’s best to use a specialized non-stick cleaner or simply wash it with warm, soapy water.
Is it safe to use vinegar and baking soda together?
Yes, it is generally safe to use vinegar and baking soda together for cleaning purposes. The chemical reaction between the two creates carbon dioxide gas, which helps to lift dirt and grime. However, it’s important to note that the reaction can be quite vigorous, so it’s best to mix the ingredients in a well-ventilated area and avoid using a closed container. Also, be careful not to inhale the fumes, as they can be irritating to the respiratory system.
What are some other uses for baking soda and vinegar in cleaning?
Baking soda and vinegar are incredibly versatile cleaning agents that can be used for a wide variety of purposes. Baking soda can be used to deodorize refrigerators, clean ovens, unclog drains, and remove stains from clothing. Vinegar can be used to clean windows, disinfect surfaces, remove hard water stains, and soften laundry. Together, they can be used to clean bathtubs, showers, and toilets. The possibilities are endless!
How do I prevent my pots and pans from getting blackened in the first place?
Prevention is always better than cure! To prevent your pots and pans from getting blackened, avoid overheating them, especially when cooking with oil or fat. Use the appropriate size burner for your pot or pan, and don’t leave food unattended while cooking. Clean your pots and pans immediately after use, before the food has a chance to dry and harden. If food does get burned on, soak the pot or pan in warm, soapy water for a few hours before scrubbing. And finally, invest in high-quality cookware that is less likely to burn or stick.
Leave a Comment