
Growing celery along a fence might sound like an unusual gardening hack, but trust me, it’s a game-changer! Are you tired of your precious celery stalks sprawling all over your garden bed, taking up valuable space? Or perhaps you’re looking for a clever way to maximize your yield in a small urban garden? Well, you’ve come to the right place!
Celery, with its crisp stalks and refreshing flavor, has been cultivated for centuries. Originating in the Mediterranean region, it was initially valued for its medicinal properties before becoming a culinary staple. Imagine, those ancient gardeners probably didn’t have fences to lean on, but we can learn from their dedication to cultivating this versatile vegetable. Today, we’re taking celery cultivation to the next level with this simple yet effective DIY trick.
This article will guide you through the process of growing celery along a fence, offering a practical and space-saving solution for any gardener. Not only does it help keep your garden organized, but it also provides support for the celery stalks, preventing them from bending or breaking. Plus, it can create a beautiful green backdrop in your garden! So, grab your gardening gloves, and let’s get started on this exciting DIY project that will transform your celery-growing experience. I promise, you’ll be amazed at the results!
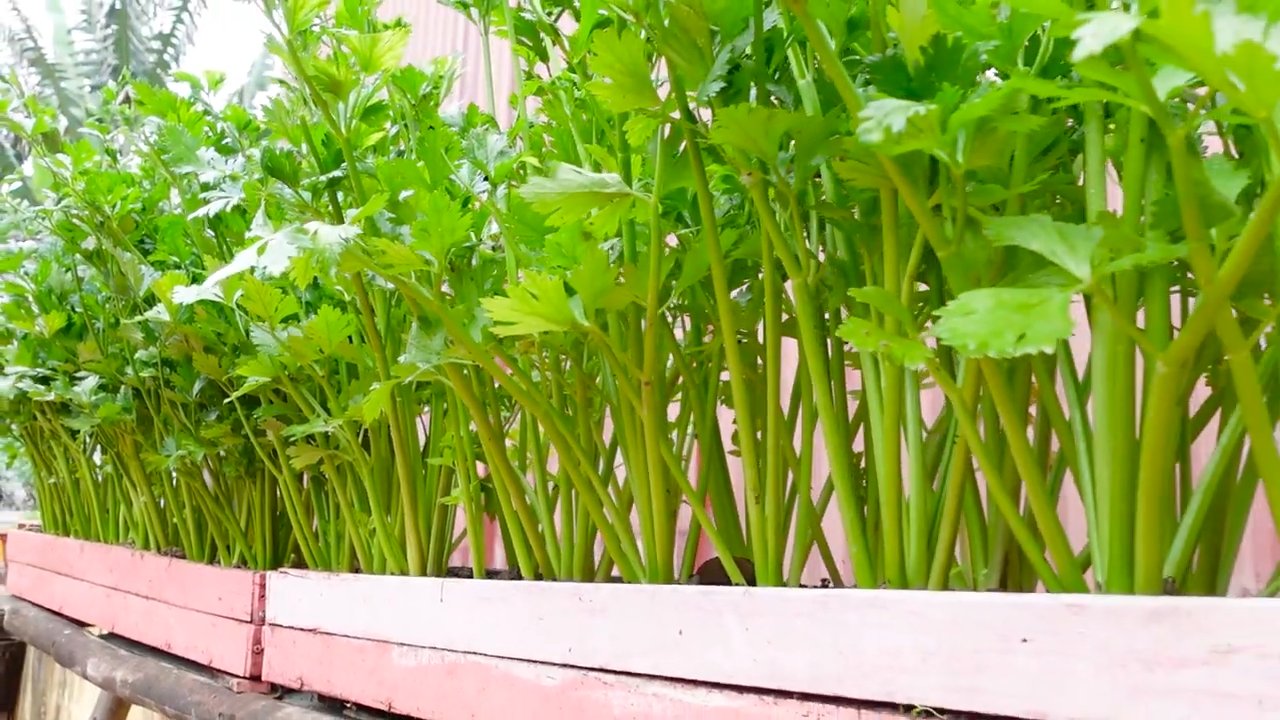
Homemade Raised Bed from Fences: Celery Paradise in the Garden
Hello dear garden friends! Do you also have the problem that your garden is not infinitely large, but you still want to grow as much vegetables as possible? Then I have a great idea for you today: We are building a raised bed right on our fence, perfect for celery and other plants that like it a little more humid. This saves space, looks great, and is also really easy to make!
Why Celery on the Fence?
Celery needs a sunny to semi-shady location and moist, nutrient-rich soil. A raised bed on the fence offers several advantages:
- Space-saving: We make optimal use of the existing space on the fence.
- Better soil conditions: We can tailor the soil in the raised bed specifically to the needs of the celery.
- Protection from pests: A raised bed can help keep slugs and other pests away.
- Ergonomic gardening: Working in a raised bed is easier on your back.
- Decorative: A planted raised bed on the fence is a real eye-catcher.
Material List: What We Need
Before we get started, let’s gather all the materials together. Don’t worry, you may already have most of it at home or can get it cheaply at the hardware store.
- Wooden planks: For the frame of the raised bed. I recommend treated wood so that it lasts longer. The length of the planks depends on the length of your fence. The width should be at least 20 cm so that the raised bed has enough depth.
- Wooden posts: To attach the planks to the fence. Here too, I recommend treated wood. The length of the posts should be chosen so that they can be firmly anchored in the ground and still have enough height to hold the planks.
- Screws or nails: To connect the planks and posts.
- Wire mesh or pond liner: As protection against voles and to seal the raised bed.
- Soil: Special vegetable soil or a mixture of garden soil, compost, and sand.
- Drainage material: Gravel, expanded clay, or clay shards for good drainage.
- Tools: Saw, hammer, screwdriver, drill, spirit level, spade, possibly a jigsaw.
- Safety glasses and gloves: For your safety!
Step-by-Step Instructions: How to Build the Raised Bed
Now let’s get down to business! Don’t worry, building the raised bed is really not difficult. Just follow my instructions and you will soon be able to harvest your own celery.
- Cleaning: First, you should thoroughly clean the area on the fence where the raised bed is to be built. Remove weeds, stones, and other obstacles.
- Measuring: Measure the length of the fence where the raised bed is to be built. Think about how long and wide the raised bed should be. I recommend a width of approx. 50-60 cm so that you can easily reach the plants.
- Marking: Mark the position of the posts on the fence. I recommend a distance of approx. 1 meter between the posts so that the raised bed is stable.
- Digging holes: Dig holes for the posts at the marked points. The holes should be deep enough so that the posts are firmly anchored in the ground (approx. 50-60 cm deep).
- Setting the posts: Place the posts in the holes and fill the holes with soil or concrete. Make sure that the posts are vertical. A spirit level will help with this.
- Fixing the posts: Let the posts dry well before you proceed with the next step.
- Cutting the planks: Cut the wooden planks to the appropriate length. Make sure that the planks are flush with the posts.
- Attaching the planks: Attach the planks to the posts. Use screws or nails for this. Make sure that the planks are horizontal. A spirit level will help with this.
- Attaching the inner lining: To protect the wood from moisture, you can line the inside of the raised bed with pond liner or dimpled sheeting. Attach the liner with staples or tape.
- Laying out the wire mesh: Lay a wire mesh on the bottom of the raised bed to protect it from voles.
- Filling in the drainage layer: Fill a layer of drainage material (gravel, expanded clay, or clay shards) on the wire mesh. This layer ensures good drainage and prevents waterlogging.
- Filling in the soil: Fill the raised bed with soil. I recommend a mixture of garden soil, compost, and sand. The soil should be loose and nutrient-rich.
- Pressing down the soil: Press the soil down lightly.
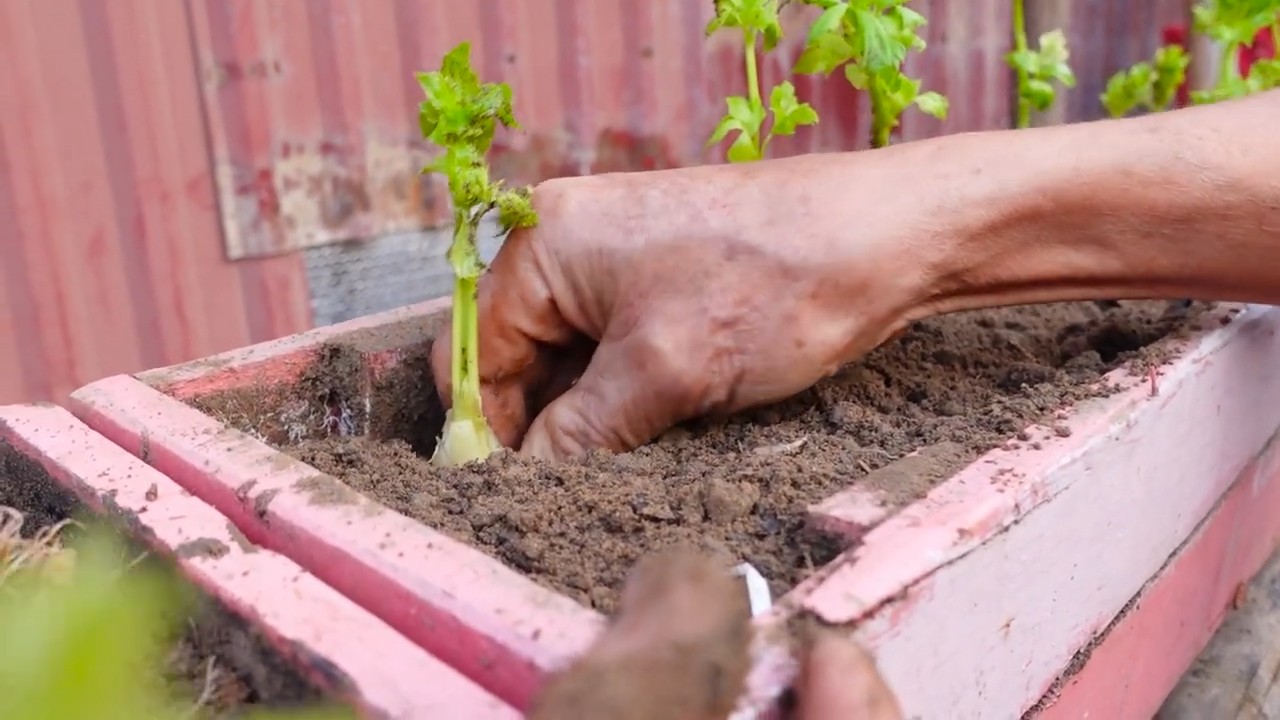
- Planting celery: Plant the celery plants in the raised bed. Make sure there is sufficient distance between the plants (approx. 20-30 cm).
- Watering in: Water the plants thoroughly after planting.
- Care: Water the plants regularly and fertilize them if necessary. Remove weeds and watch out for pests.
Additional Tips and Tricks
- Trellis: If you like, you can attach a trellis for climbing plants to the fence. This not only looks nice, but also provides additional shade for the celery.
- Mulching: Mulch the soil around the celery plants with straw or grass clippings. This keeps the moisture in the soil and suppresses weeds.
- Companion plants: Plant companion plants such as marigolds or nasturtiums next to the celery. These plants keep pests away and promote the growth of the celery.
- Watering: Make sure that the soil in the raised bed is always moist. You should water the plants regularly, especially on hot days. An automatic irrigation system can be very helpful here.
- Slug control: Unfortunately, celery is also very popular with slugs. To protect the plants from slugs, you can sprinkle slug pellets or set up slug fences.
- Harvest: Celery can be harvested as soon as the tubers are large enough. The harvest time is usually in the fall.
More Ideas for the Raised Bed on the Fence
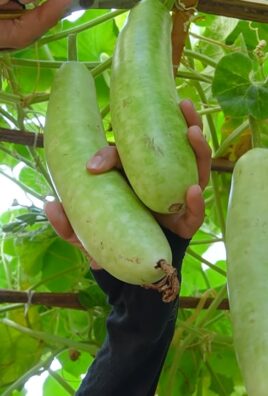
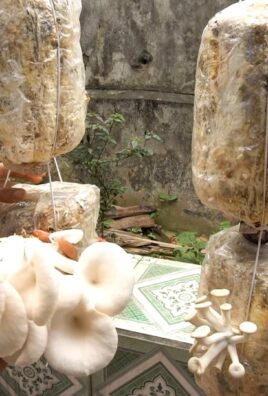
Besides celery, you can of course also grow other plants in your raised bed on the fence. Here are a few ideas:
- Herbs: Parsley, chives, basil, thyme, rosemary
- Salad: Leaf lettuce, corn salad, head lettuce
- Vegetables: Radishes, spinach, chard, strawberries
- Flowers: Marigolds, nasturtiums, student flowers
Let your creativity run wild and design your raised bed on the fence according to your own wishes!
Conclusion
I hope you enjoyed my instructions and that you are now inspired to build your own raised bed on the fence. It’s really a great project that is not only fun, but also provides delicious vegetables. So, get to the planks and get started! Good luck with your gardening!
Conclusion
So, there you have it! Growing celery along your fence isn’t just a quirky gardening experiment; it’s a practical, space-saving, and aesthetically pleasing way to bring fresh, crisp celery to your table. We’ve explored how this method maximizes your garden’s potential, turning an often-underutilized area into a thriving celery patch. Think about it: no more battling for precious real estate in your raised beds or vegetable garden. Your fence becomes a living, breathing support system, offering your celery plants the structure they need while adding a touch of verdant charm to your outdoor space.
But the benefits extend beyond mere space efficiency. By strategically positioning your celery along the fence, you’re also providing it with a degree of protection from harsh winds and intense sunlight, creating a microclimate that encourages healthy growth. This can lead to plumper, juicier stalks with a more delicate flavor – the kind you simply can’t find in store-bought celery.
And let’s not forget the visual appeal! A row of lush, green celery plants cascading along your fence is a sight to behold. It transforms a mundane boundary into a vibrant, edible landscape, adding texture and interest to your garden design. Imagine the compliments you’ll receive from neighbors and friends!
Now, before you rush out to plant your celery, consider these variations to tailor the method to your specific needs and preferences. If your fence is particularly sunny, you might want to consider using shade cloth during the hottest parts of the day to prevent the celery from bolting (going to seed prematurely). Alternatively, if your fence is in a shadier spot, choose a celery variety that is known to tolerate lower light conditions.
You can also experiment with different companion plants along the fence. Marigolds, for example, are known to deter pests, while nasturtiums can attract beneficial insects. Planting these alongside your celery can create a more balanced and thriving ecosystem.
Another exciting variation is to use different types of fencing. While a traditional wooden fence works perfectly well, you could also try growing celery along a chain-link fence or even a repurposed pallet fence. The key is to ensure that the fence provides adequate support and allows for good air circulation.
Ultimately, the success of growing celery along your fence depends on your willingness to experiment and adapt to your local conditions. Don’t be afraid to try new things, observe your plants closely, and adjust your approach as needed.
We are confident that this DIY trick will revolutionize your celery-growing experience. It’s a simple, effective, and rewarding way to enjoy fresh, homegrown celery all season long. So, grab your seeds or seedlings, head out to your fence, and get planting!
We’re eager to hear about your experiences. Share your photos, tips, and challenges in the comments section below. Let’s create a community of celery-growing enthusiasts and learn from each other’s successes and failures. Happy gardening!
Frequently Asked Questions (FAQ)
Q: What type of celery is best for growing along a fence?
A: While most celery varieties can be grown along a fence, some are better suited than others. Look for varieties that are relatively compact and sturdy, such as ‘Utah Improved’ or ‘Conquistador’. These varieties tend to hold up well against the elements and are less likely to flop over. If you live in a warmer climate, consider heat-tolerant varieties like ‘Florida 683’. Ultimately, the best variety for you will depend on your local climate and personal preferences. Experiment with a few different types to see which ones thrive in your garden.
Q: How far apart should I plant the celery seedlings along the fence?
A: A good rule of thumb is to space your celery seedlings about 6-8 inches apart along the fence. This will give them enough room to grow and mature without overcrowding each other. If you’re planting in rows, space the rows about 12-18 inches apart. Remember to consider the mature size of the celery variety you’re growing when determining spacing. Some varieties may require more space than others.
Q: What kind of soil is best for growing celery along a fence?
A: Celery thrives in rich, well-drained soil that is high in organic matter. Before planting, amend your soil with compost, aged manure, or other organic amendments to improve its fertility and drainage. Celery also prefers a slightly acidic soil pH, ideally between 6.0 and 6.8. You can test your soil pH using a soil testing kit and adjust it accordingly with lime or sulfur.
Q: How often should I water celery grown along a fence?
A: Celery is a water-loving plant and requires consistent moisture to thrive. Water your celery plants deeply and regularly, especially during hot, dry weather. Aim to keep the soil consistently moist but not waterlogged. A good way to check if your celery needs watering is to stick your finger into the soil about an inch deep. If the soil feels dry, it’s time to water. Consider using a soaker hose or drip irrigation system to deliver water directly to the roots of your celery plants.
Q: Does celery grown along a fence need fertilizer?
A: Yes, celery is a heavy feeder and benefits from regular fertilization. Apply a balanced fertilizer, such as 10-10-10, every 2-3 weeks during the growing season. You can also use organic fertilizers, such as fish emulsion or compost tea. Be sure to follow the instructions on the fertilizer label carefully to avoid over-fertilizing, which can damage your plants.
Q: How do I protect celery grown along a fence from pests and diseases?
A: Celery can be susceptible to a variety of pests and diseases, including aphids, celery leaf tiers, and celery blight. To prevent these problems, practice good garden hygiene by removing any dead or diseased leaves from your plants. You can also use insecticidal soap or neem oil to control aphids and other pests. To prevent celery blight, choose disease-resistant varieties and avoid overhead watering. If you notice any signs of disease, remove the affected leaves immediately and treat the plants with a fungicide. Companion planting with marigolds can also help deter pests.
Q: How long does it take for celery to mature when grown along a fence?
A: Celery typically takes about 100-120 days to mature from seed. However, you can shorten the growing time by starting your celery seedlings indoors 8-10 weeks before the last frost. Once the seedlings are large enough, transplant them to your garden along the fence. You can also purchase celery transplants from a local nursery.
Q: How do I harvest celery grown along a fence?
A: You can harvest celery stalks as needed once they reach a desired size. Simply cut the stalks off at the base of the plant with a sharp knife. You can also harvest the entire plant at once by cutting it off at ground level. After harvesting, wash the celery stalks thoroughly and store them in the refrigerator.
Q: Can I grow celery along a fence in containers?
A: Yes, you can grow celery along a fence in containers, as long as the containers are large enough to accommodate the plants’ root systems. Choose containers that are at least 12 inches deep and wide. Fill the containers with a rich, well-draining potting mix and plant your celery seedlings as described above. Be sure to water the containers regularly and fertilize the plants every 2-3 weeks.
Q: What are some other tips for successfully growing celery along a fence?
A: Here are a few additional tips for growing celery along a fence:
* Provide support for your celery plants, especially if they are tall or prone to flopping over. You can use twine or plant ties to secure the plants to the fence.
* Blanch your celery stalks by wrapping them with newspaper or cardboard a few weeks before harvest. This will make the stalks more tender and less bitter.
* Mulch around your celery plants to help retain moisture and suppress weeds.
* Monitor your celery plants regularly for pests and diseases and take action promptly if you notice any problems.
* Enjoy the process! Growing celery along a fence is a rewarding experience that will provide you with fresh, delicious celery all season long.

Leave a Comment