
Terrace Grown Asparagus: Imagine stepping onto your terrace and harvesting fresh, vibrant asparagus spears, ready to be steamed, grilled, or tossed into a delicious spring salad. Sounds dreamy, right? Well, it doesn’t have to be just a dream! For centuries, asparagus has been prized for its delicate flavor and nutritional benefits, gracing the tables of royalty and commoners alike. From ancient Roman banquets to modern-day farmers’ markets, this perennial vegetable has stood the test of time.
But what if you don’t have acres of land? That’s where this DIY guide comes in! Many people believe that growing asparagus requires vast fields, but I’m here to tell you that you can absolutely cultivate your own thriving asparagus patch right on your terrace. This article is packed with simple, effective tricks and hacks to help you successfully grow terrace grown asparagus, even in limited spaces.
Why is this so important? Because fresh, homegrown asparagus tastes infinitely better than anything you can buy in the store. Plus, knowing exactly where your food comes from and how it’s grown is incredibly rewarding. So, let’s ditch the store-bought stuff and embark on this exciting journey to create your own little asparagus oasis! Get ready to learn the secrets to successful terrace gardening and enjoy the unparalleled taste of freshly harvested asparagus.
Growing Asparagus on Your Terrace: A DIY Guide
Asparagus! The very word conjures images of spring, fresh flavors, and maybe even a little bit of fancy dining. But did you know you can actually grow this delicious vegetable right on your terrace? It’s true! While it takes patience, growing asparagus in containers is totally achievable, and I’m here to guide you through the whole process. Get ready to impress your friends (and yourself!) with homegrown asparagus.
Choosing the Right Container and Location
Before we even think about planting, we need to set the stage for success. Asparagus needs space and sun, so let’s get those sorted.
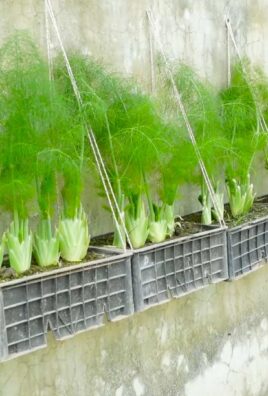
* Container Size: This is crucial. Asparagus roots run deep, so you’ll need a large container. I recommend something at least 24 inches in diameter and 24 inches deep. A half-barrel planter works wonderfully, or you can use a large, sturdy plastic container. The bigger, the better, really!
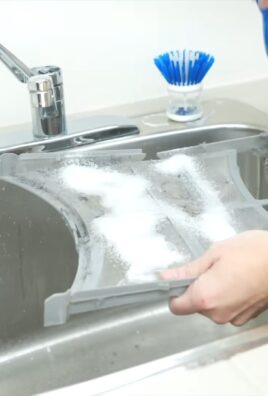
* Drainage: Excellent drainage is non-negotiable. Asparagus hates soggy feet. Make sure your container has plenty of drainage holes. If it doesn’t, drill some!
* Sunlight: Asparagus thrives in full sun, meaning at least 6-8 hours of direct sunlight per day. Choose a spot on your terrace that gets plenty of sunshine. If your terrace is partially shaded, try to position the container where it gets morning sun, which is generally stronger.
* Container Material: While terracotta pots look beautiful, they can dry out quickly. Plastic or resin containers retain moisture better, which is beneficial for asparagus. If you opt for terracotta, be prepared to water more frequently.
* Weight Considerations: Remember that a large container filled with soil and asparagus crowns will be heavy! Make sure your terrace can handle the weight. Consider using a plant dolly with wheels if you plan to move the container around.
Preparing the Soil
Asparagus needs well-draining, nutrient-rich soil. Here’s how to create the perfect growing medium:
* The Base Mix: Start with a good quality potting mix. Avoid using garden soil, as it can compact in containers and doesn’t drain well.
* Amendments: Amend the potting mix with compost and well-rotted manure. This will provide essential nutrients for your asparagus plants. I usually go for a ratio of about 2 parts potting mix, 1 part compost, and 1 part manure.
* Drainage Boost: To further improve drainage, you can add perlite or vermiculite to the mix. These materials help to aerate the soil and prevent waterlogging.
* pH Level: Asparagus prefers a slightly acidic to neutral soil pH (around 6.5 to 7.0). You can test your soil pH with a home testing kit and adjust it if necessary. Adding lime can raise the pH, while adding sulfur can lower it.
Planting Asparagus Crowns
Now for the exciting part – planting! Asparagus is typically grown from crowns, which are one-year-old plants.
1. Choosing Crowns: Purchase your asparagus crowns from a reputable nursery or online supplier. Look for healthy crowns that are plump and have plenty of roots. Avoid crowns that are dry or shriveled. Jersey Knight and Purple Passion are popular varieties that do well in containers.
2. Soaking the Crowns: Before planting, soak the asparagus crowns in water for about an hour. This will help to rehydrate them and encourage root growth.
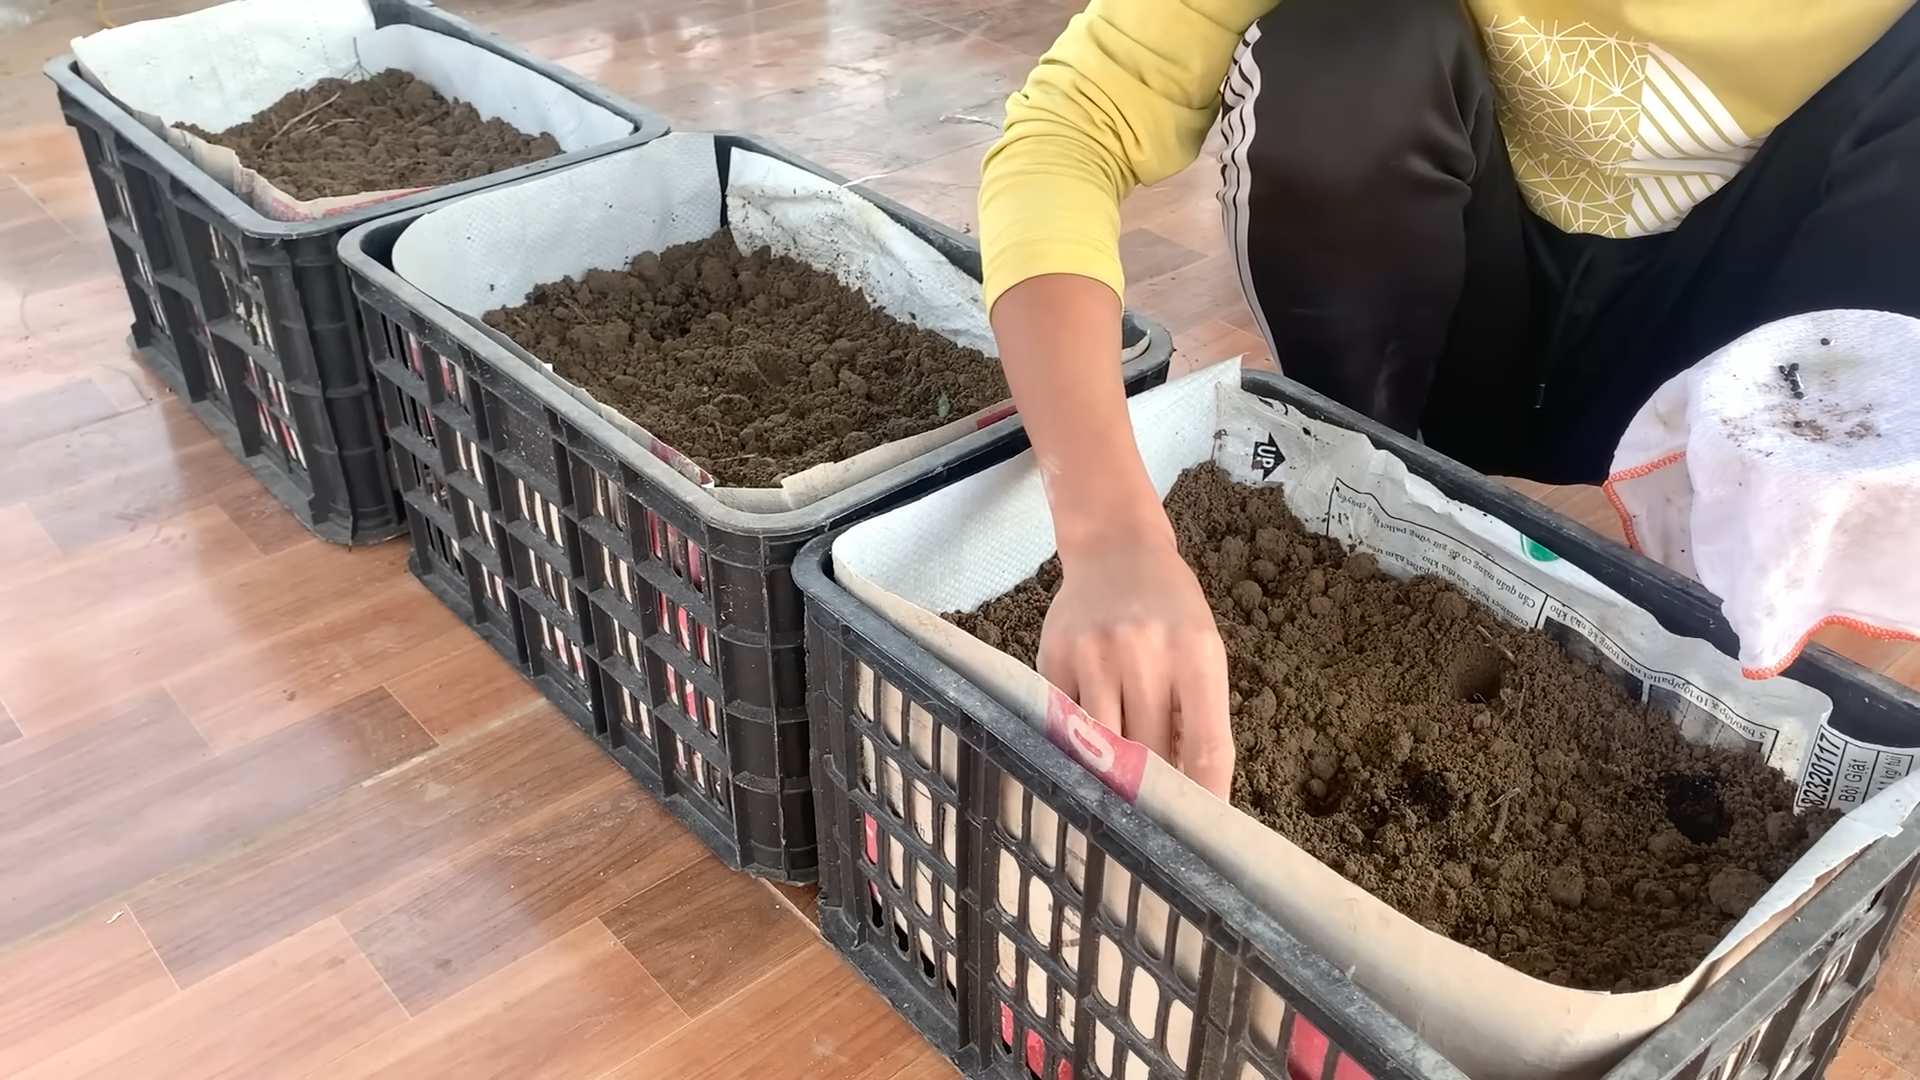
3. Creating a Mound: Fill the container with your prepared soil mix, leaving about 6 inches of space at the top. Create a mound of soil in the center of the container.
4. Positioning the Crowns: Place the asparagus crowns on top of the mound, spreading the roots out around the sides. Space the crowns about 8-12 inches apart. If you’re planting multiple crowns in the same container, make sure they have enough room to grow.
5. Covering the Crowns: Gently cover the crowns with soil, leaving the tips of the shoots exposed. Water thoroughly after planting.
6. Adding More Soil: As the asparagus shoots grow, gradually add more soil to the container until it’s filled to within a few inches of the top. This process is called “hilling” and it encourages the development of more spears.
Caring for Your Asparagus Plants
Asparagus requires consistent care to thrive. Here’s what you need to do:
* Watering: Water your asparagus plants regularly, especially during dry periods. Keep the soil consistently moist, but avoid overwatering, which can lead to root rot. Check the soil moisture by sticking your finger into the soil. If the top inch feels dry, it’s time to water.
* Fertilizing: Asparagus is a heavy feeder, so it needs regular fertilization. Apply a balanced fertilizer (such as 10-10-10) every few weeks during the growing season. You can also use organic fertilizers, such as compost tea or fish emulsion.
* Weeding: Keep the container free of weeds, which can compete with the asparagus plants for nutrients and water. Hand-pull any weeds that appear.
* Mulching: Apply a layer of mulch around the asparagus plants to help retain moisture, suppress weeds, and regulate soil temperature. Organic mulches, such as straw or wood chips, are ideal.
* Pest and Disease Control: Asparagus is relatively pest-resistant, but it can be susceptible to certain pests and diseases, such as asparagus beetles and crown rot. Inspect your plants regularly for any signs of problems and take action promptly. You can use organic pest control methods, such as insecticidal soap or neem oil, to control pests. Ensure good air circulation to prevent fungal diseases.
Harvesting Your Asparagus
Patience is key when it comes to harvesting asparagus. You shouldn’t harvest any spears during the first year after planting. This allows the plants to establish a strong root system.
* Second Year: In the second year, you can harvest a few spears, but only for a short period (about 2-3 weeks).
* Third Year and Beyond: From the third year onwards, you can harvest asparagus for a longer period (about 6-8 weeks).
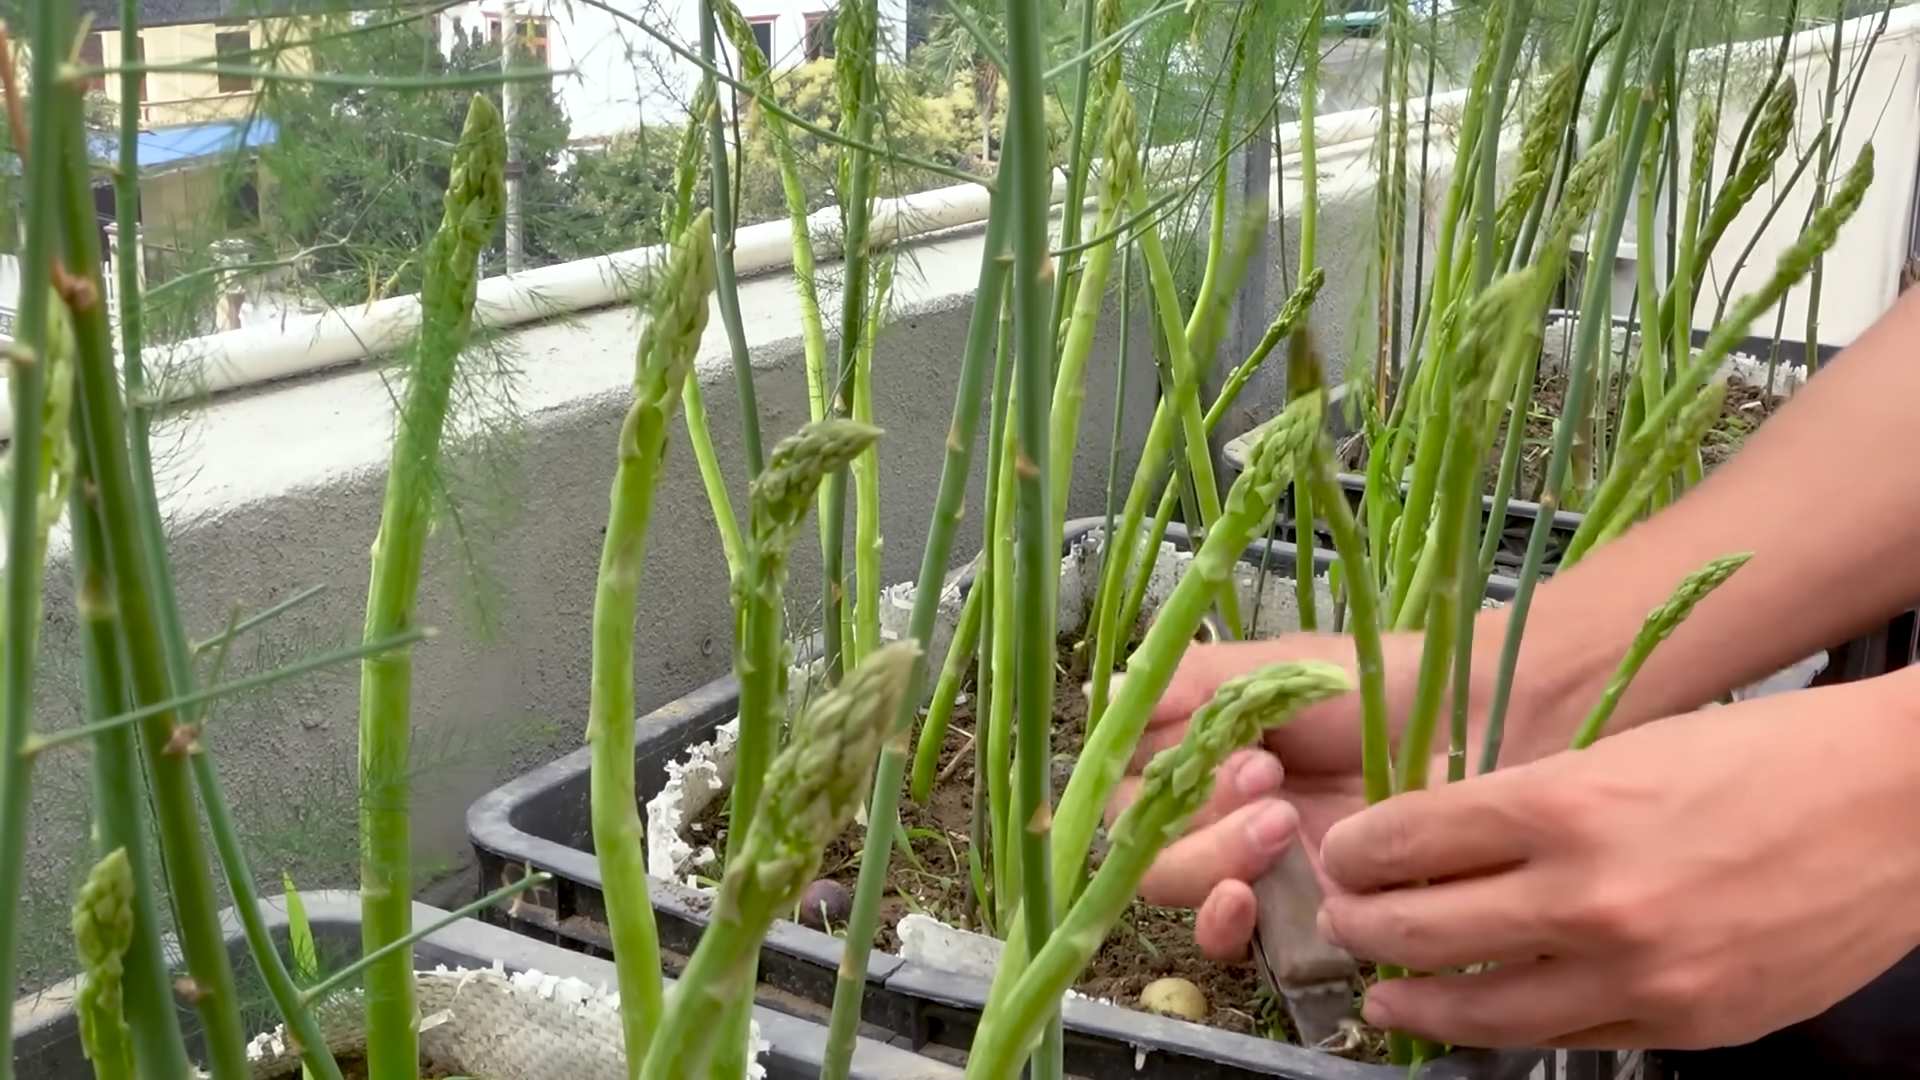
* Harvesting Technique: To harvest asparagus, snap off the spears at ground level when they are about 6-8 inches tall. Use a sharp knife or asparagus knife to make a clean cut.
* Knowing When to Stop: Stop harvesting when the spears become thin and spindly. This indicates that the plants are starting to exhaust their energy reserves. Allow the remaining spears to grow into ferns, which will help to replenish the plants’ energy for the following year.
Overwintering Asparagus
Asparagus is a perennial plant, meaning it will come back year after year. In the fall, the ferns will turn yellow and die back.
* Cutting Back the Ferns: Once the ferns have completely died back, cut them off at ground level.
* Mulching: Apply a thick layer of mulch over the crowns to protect them from the cold.
* Watering: Water the plants occasionally during the winter to prevent the soil from drying out completely.
* Dormancy: Asparagus needs a period of dormancy to rest and rejuvenate. This is why it’s important to allow the ferns to die back in the fall.
Troubleshooting
Even with the best care, you might encounter some problems along the way. Here are a few common issues and how to address them:
* Yellowing Ferns: Yellowing ferns can be caused by a variety of factors, including overwatering, underwatering, nutrient deficiencies, or pests and diseases. Check the soil moisture and nutrient levels and inspect the plants for any signs of pests or diseases.
* Thin Spears: Thin spears can be a sign of nutrient deficiencies or overharvesting. Fertilize your plants regularly and avoid harvesting for too long.
* Lack of Spears: A lack of spears can be caused by a variety of factors, including insufficient sunlight, poor soil, or young plants. Make sure your plants are getting enough sunlight and nutrients and be patient – it can take a few years for asparagus plants to start producing a good crop.
* Asparagus Beetles: Asparagus beetles are small, colorful beetles that can damage asparagus spears and ferns. Hand-pick the beetles off the plants or use insecticidal soap to control them.
Enjoying Your Homegrown Asparagus
The best part of growing your own asparagus is, of course, enjoying the delicious harvest! Freshly picked asparagus is incredibly flavorful and tender. Here are a few ideas for how to enjoy your homegrown asparagus:
* Steamed: Steaming asparagus is a simple and healthy way to cook it. Just steam the spears for a few minutes until they are tender-crisp.
* Roasted: Roasting asparagus brings out its natural sweetness. Toss the spears with olive oil, salt, and pepper and roast them in
Conclusion
So, there you have it! Growing your own asparagus on your terrace isn’t just a gardening project; it’s an investment in years of delicious, fresh, and incredibly rewarding harvests. Forget those bland, imported spears from the grocery store. Imagine stepping onto your terrace and snipping vibrant, tender asparagus, bursting with flavor, just moments before they hit your plate. This DIY trick transforms your outdoor space into a miniature farm, providing you with a sustainable source of one of spring’s most prized vegetables.
The beauty of terrace grown asparagus lies in its accessibility. Even if you lack a sprawling backyard, you can still enjoy the unparalleled taste of homegrown produce. It’s a fantastic way to connect with nature, learn about the growing process, and reduce your carbon footprint by minimizing your reliance on commercially grown asparagus that travels long distances.
But the benefits extend beyond just the taste and sustainability. Gardening is a known stress reliever, and tending to your asparagus patch can be a therapeutic and fulfilling activity. Watching those first spears emerge from the soil each spring is a truly magical experience, a testament to your hard work and patience.
Don’t be afraid to experiment! Consider companion planting with herbs like parsley or basil to deter pests and enhance the flavor of your asparagus. You could also try different varieties of asparagus, such as ‘Jersey Knight’ for its high yield or ‘Purple Passion’ for its unique color and sweeter taste. For a visually stunning display, interplant your asparagus with flowering perennials that bloom at different times of the year, creating a vibrant and ever-changing terrace garden.
Ready to embark on your asparagus-growing adventure? We wholeheartedly encourage you to give this DIY trick a try. It’s easier than you might think, and the rewards are immeasurable. From the satisfaction of nurturing your own food to the unparalleled flavor of freshly harvested asparagus, this is a project that will bring joy and deliciousness to your life for years to come.
Once you’ve harvested your first crop, don’t forget to share your experiences with us! We’d love to hear about your successes, challenges, and any variations you’ve tried. Share your photos and tips in the comments below, and let’s create a community of terrace grown asparagus enthusiasts! Let’s cultivate a community of gardeners who appreciate the joys of fresh, homegrown food.
Frequently Asked Questions (FAQ)
What kind of container is best for growing asparagus on a terrace?
The ideal container for terrace grown asparagus should be large and deep. Asparagus roots, known as crowns, need plenty of space to spread and establish themselves. A container that is at least 24 inches deep and 24 inches wide is recommended for each crown. You can use large pots, raised beds, or even repurposed containers like old bathtubs or troughs, as long as they have adequate drainage holes. Ensure the container is made of a durable material that can withstand the elements, such as plastic, wood, or terracotta. Dark-colored containers can absorb more heat, which can be beneficial in cooler climates but may require more frequent watering in hotter regions.
How often should I water my terrace grown asparagus?
Watering frequency depends on several factors, including the climate, the type of container, and the soil composition. Generally, asparagus needs consistent moisture, especially during the growing season (spring and summer). Water deeply whenever the top inch of soil feels dry to the touch. Avoid overwatering, as this can lead to root rot. In hot, dry weather, you may need to water daily, while in cooler, wetter weather, you may only need to water every few days. A good rule of thumb is to check the soil moisture regularly and adjust your watering schedule accordingly. Consider using a moisture meter to get an accurate reading of the soil’s moisture level.
What kind of soil is best for growing asparagus in containers?
Asparagus thrives in well-draining, fertile soil with a slightly acidic to neutral pH (6.0-7.0). A good potting mix for terrace grown asparagus should consist of a combination of compost, peat moss or coco coir, and perlite or vermiculite. Compost provides essential nutrients and improves soil structure, while peat moss or coco coir helps retain moisture. Perlite or vermiculite improves drainage and aeration. Avoid using heavy garden soil, as it can become compacted in containers and hinder root growth. You can also add slow-release fertilizer to the potting mix to provide a steady supply of nutrients throughout the growing season.
How long does it take for asparagus to produce spears after planting?
Patience is key when growing asparagus! It typically takes 2-3 years for asparagus crowns to mature and produce a substantial harvest. In the first year after planting, focus on establishing the roots and foliage. Allow the ferns to grow and mature without harvesting any spears. In the second year, you can harvest a few spears for a short period (about 2-3 weeks). By the third year, you can enjoy a full harvest for 6-8 weeks. Remember that over-harvesting young plants can weaken them and reduce their long-term productivity.
What are some common pests and diseases that affect asparagus, and how can I prevent them?
Asparagus beetles are a common pest that can damage the foliage and spears. Handpicking the beetles and their larvae is an effective way to control small infestations. You can also use insecticidal soap or neem oil. Asparagus rust is a fungal disease that can cause orange or reddish-brown pustules on the ferns. To prevent rust, ensure good air circulation around the plants and avoid overhead watering. Remove and destroy any infected foliage. Fusarium wilt is another fungal disease that can cause yellowing and wilting of the plants. To prevent Fusarium wilt, use disease-resistant varieties and avoid planting asparagus in soil that has previously been used to grow tomatoes, potatoes, or peppers. Regularly inspect your plants for signs of pests or diseases and take action promptly to prevent them from spreading.
Can I grow asparagus in a shady terrace?
Asparagus needs at least 6-8 hours of direct sunlight per day to thrive. While it can tolerate some shade, it will not produce as many spears in a shady location. If your terrace is mostly shady, consider growing other vegetables that are more shade-tolerant, such as lettuce, spinach, or kale. If you are determined to grow asparagus on a shady terrace, choose a location that receives the most sunlight possible and supplement with grow lights if necessary.
How do I harvest asparagus spears?
Harvest asparagus spears when they are about 6-8 inches tall and have tightly closed tips. Use a sharp knife to cut the spears at or slightly below the soil surface. Avoid pulling the spears, as this can damage the crown. Harvest spears regularly during the harvest season to encourage continued production. As the weather warms up, you may need to harvest daily.
How do I care for asparagus ferns after the harvest season?
After the harvest season, allow the asparagus ferns to grow and mature. The ferns will photosynthesize and store energy in the roots, which will fuel the next year’s growth. Water and fertilize the ferns regularly throughout the summer. In the fall, after the ferns have turned yellow or brown, cut them back to the ground. This will help prevent diseases and pests from overwintering in the garden. You can also add a layer of compost or mulch around the crowns to protect them from the cold.

Leave a Comment