
DIY Smart Home Upgrade: Transforming Your Existing Lights into Smart Lights
Hey there, fellow DIY enthusiasts! Ever dreamt of controlling your lights with your voice or phone, but balked at the cost of replacing all your bulbs with smart ones? Well, I’ve got a fantastic solution for you: turning your existing lights into smart lights using smart switches! It’s a surprisingly easy and affordable project that can dramatically improve your home’s convenience and energy efficiency. Let’s dive in!
Understanding Smart Switches
Before we get started, let’s quickly cover what smart switches are and why they’re a great alternative to smart bulbs.
* **What they are:** Smart switches replace your existing light switches and connect to your home’s Wi-Fi network. This allows you to control the lights connected to that switch remotely using a smartphone app, voice assistants like Alexa or Google Assistant, or even set schedules.
* **Why they’re awesome:**
* **Cost-effective:** Often cheaper than buying smart bulbs for every fixture, especially if you have multi-bulb fixtures.
* **Works with any bulb:** No need to worry about compatibility issues with different bulb types (LED, incandescent, halogen).
* **Centralized control:** Control multiple lights with a single switch.
* **Maintains existing aesthetics:** You can keep your favorite light fixtures and bulbs.
* **No hub required (sometimes):** Many smart switches connect directly to your Wi-Fi, eliminating the need for a separate hub. However, some brands, like Lutron Caseta, do require a hub for full functionality.
Safety First!
This is crucial: Working with electricity can be dangerous. If you’re not comfortable with electrical work, please hire a qualified electrician. I’m sharing my experience, but I’m not responsible for any accidents or injuries. Always follow these safety precautions:
* Turn off the power! Locate the circuit breaker that controls the light switch you’ll be working on and switch it off. Double-check that the power is off by testing the switch with a non-contact voltage tester.
* Use insulated tools. This will help protect you from electric shock.
* Take your time. Don’t rush the process. Read the instructions carefully and double-check your work.
* If in doubt, call a professional. Seriously, it’s better to be safe than sorry.
Tools and Materials You’ll Need
Here’s a list of everything you’ll need for this project:
* **Smart Switch:** Choose a smart switch that’s compatible with your home’s wiring (more on this later) and your preferred smart home ecosystem (Alexa, Google Assistant, etc.). I personally like Kasa Smart switches, but there are many great options out there.
* **Screwdrivers:** You’ll need both a flathead and a Phillips head screwdriver.
* **Wire Strippers/Cutters:** For stripping the insulation off the wires.
* **Wire Connectors (Wire Nuts):** To safely connect the wires.
* **Non-Contact Voltage Tester:** Absolutely essential for verifying that the power is off.
* **Electrical Tape:** For extra insulation and securing wire connections.
* **Pliers (Optional):** Can be helpful for bending wires.
* **Level (Optional):** To ensure the switch is installed straight.
* **Smartphone or Tablet:** For setting up the smart switch with the manufacturer’s app.
* **Pencil and Paper (Optional):** To draw a diagram of the existing wiring before you disconnect anything. This can be a lifesaver!
Choosing the Right Smart Switch
This is a key step. You need to make sure the smart switch you choose is compatible with your home’s wiring. Here’s what to consider:
* **Neutral Wire:** Most smart switches require a neutral wire. This is usually a white wire in your electrical box. If you don’t have a neutral wire, you’ll need to choose a smart switch that doesn’t require one. These are less common and may have some limitations.
* **Single-Pole vs. 3-Way Switch:** A single-pole switch controls a light from one location. A 3-way switch controls a light from two locations (e.g., at the top and bottom of a staircase). Make sure you buy the correct type of smart switch for your application. 3-way smart switch setups are a bit more complex, and often require a specific “add-on” switch at the second location.
* **Wi-Fi Compatibility:** Ensure the smart switch supports the Wi-Fi standard your home uses (2.4 GHz is most common).
* **Smart Home Ecosystem:** Choose a switch that’s compatible with your preferred smart home platform (Alexa, Google Assistant, Apple HomeKit).
* **Amperage Rating:** Make sure the switch’s amperage rating is sufficient for the lights it will be controlling. This is usually not an issue for residential lighting, but it’s worth checking.
Step-by-Step Installation Guide
Okay, let’s get to the fun part! Here’s how to install your smart switch:
Phase 1: Preparation and Disconnecting the Old Switch
1. Turn off the power! I can’t stress this enough. Go to your circuit breaker box and turn off the breaker that controls the light switch you’ll be working on. Use your non-contact voltage tester to confirm that the power is off at the switch.
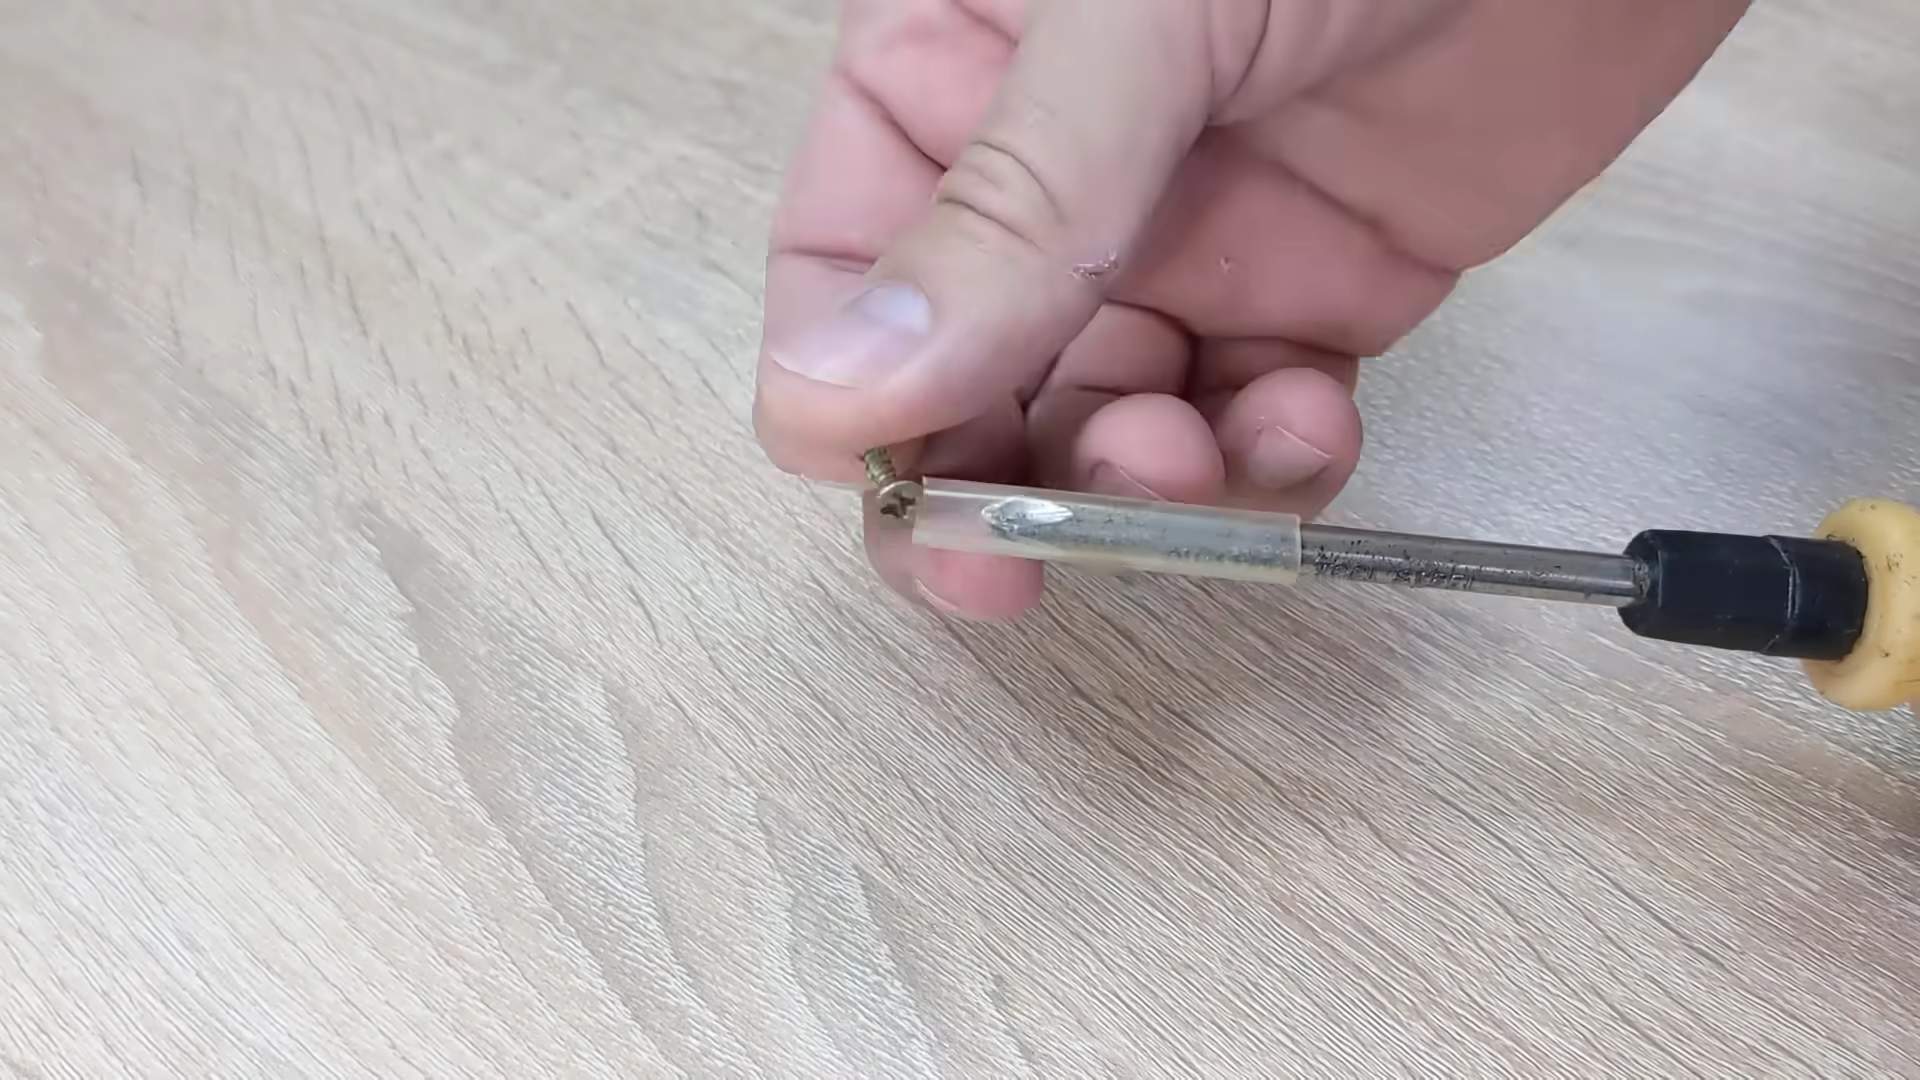
2. Remove the old switch plate. Use a screwdriver to remove the screws holding the switch plate in place.
3. Carefully remove the switch from the electrical box. Unscrew the screws holding the switch to the box. Gently pull the switch out, being careful not to yank on the wires.
4. Identify the wires. Before disconnecting anything, take a good look at the wires connected to the old switch. Typically, you’ll see:
* **Black wire(s):** These are the hot (live) wires.
* **White wire(s):** This is the neutral wire (if present).
* **Green or bare copper wire:** This is the ground wire.
* **Traveler wires (for 3-way switches):** These are usually different colors (e.g., red, blue).
5. Draw a diagram (optional but highly recommended). Before disconnecting any wires, draw a quick diagram of how the wires are connected to the old switch. This will be incredibly helpful when you’re connecting the new switch. Note the color of each wire and where it’s connected on the old switch.
6. Disconnect the wires. Use your screwdriver to loosen the screws holding the wires to the old switch. Carefully remove each wire. If the wires are connected with wire nuts, twist them off.
Phase 2: Connecting the Smart Switch
1. Connect the ground wire. Connect the green or bare copper wire from the electrical box to the green screw on the smart switch. Use a wire connector (wire nut) if necessary.
2. Connect the neutral wire (if present). Connect the white wire from the electrical box to the white wire on the smart switch. Use a wire connector (wire nut) to secure the connection.
3. Connect the hot (live) wires. Connect the black wire(s) from the electrical box to the black wire(s) on the smart switch. The smart switch instructions will specify which wire goes where. Use wire connectors (wire nuts) to secure the connections.
4. Connect the traveler wires (for 3-way switches). If you’re installing a 3-way smart switch, connect the traveler wires from the electrical box to the corresponding terminals on the smart switch. Refer to the smart switch instructions for the correct wiring configuration. This is where your diagram from earlier will be invaluable!
5. Double-check your connections. Make sure all the wires are securely connected and that there are no loose strands of wire.
6. Wrap the connections with electrical tape (optional). For extra safety, you can wrap the wire connectors with electrical tape.
Phase 3: Installing the Smart Switch and Testing
1. Carefully tuck the wires back into the electrical box. Make sure the wires are neatly tucked away and not pinched or damaged.
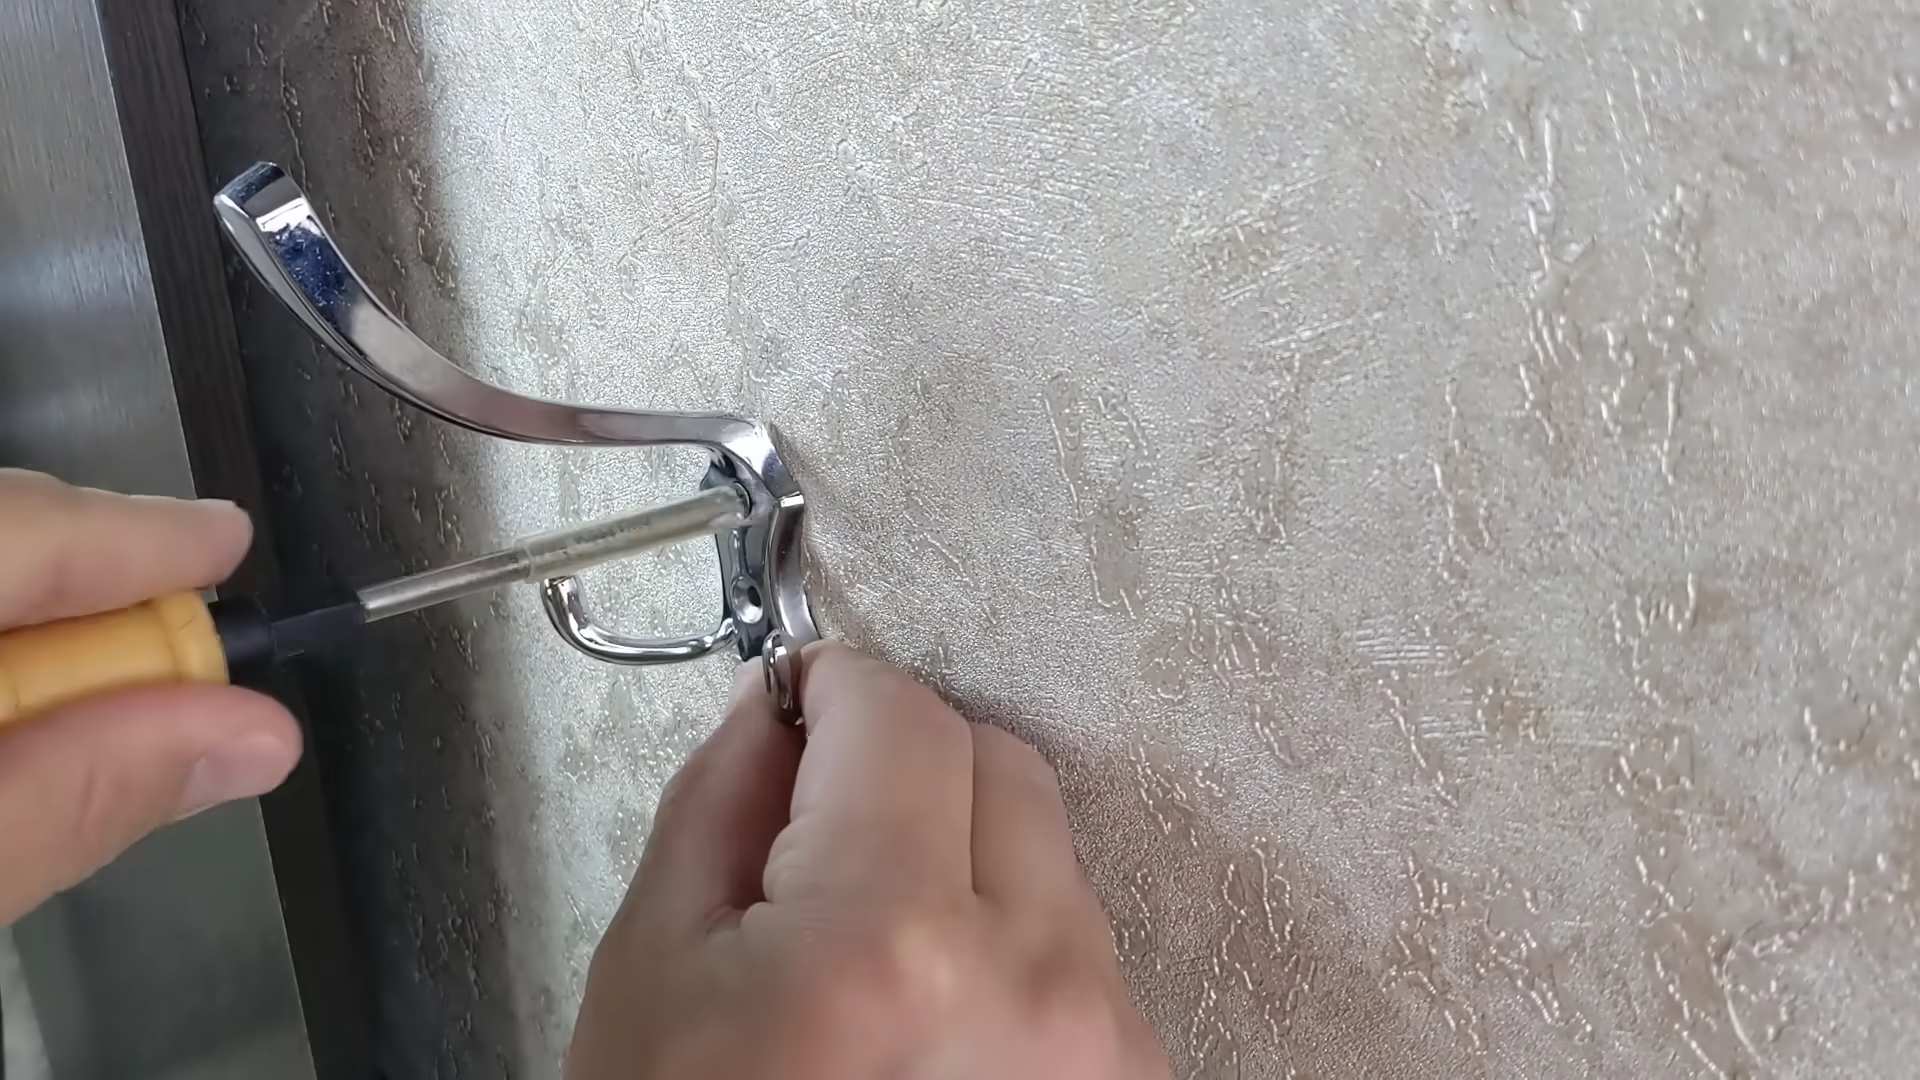
2. Mount the smart switch to the electrical box. Use the screws that came with the smart switch to secure it to the box.
3. Install the switch plate. Attach the switch plate to the smart switch.
4. Turn the power back on! Go back to your circuit breaker box and turn the breaker back on.
5. Test the switch. Turn the switch on and off manually to make sure it’s working properly.
6. Set up the smart switch with the manufacturer’s app. Download the manufacturer’s app to your smartphone or tablet and follow the instructions to connect the smart switch to your Wi-Fi network. This usually involves putting the switch into pairing mode and entering your Wi-Fi password.
7.
Conclusion
So, there you have it! This simple yet effective DIY trick is more than just a clever shortcut; it’s a gateway to unlocking a world of creative home solutions and personalized living. We’ve shown you how to transform ordinary items into extraordinary assets, saving you money, reducing waste, and adding a unique touch to your home.
Why is this a must-try? Because it empowers you to take control of your environment. Instead of being limited by what’s available in stores, you can craft solutions tailored to your specific needs and aesthetic preferences. Imagine the satisfaction of knowing you created something beautiful and functional with your own two hands! Plus, it’s incredibly rewarding to repurpose items that might otherwise end up in a landfill, contributing to a more sustainable lifestyle.
But the fun doesn’t stop here! This DIY trick is just the starting point. Feel free to experiment with different materials, colors, and embellishments to truly make it your own. For example, if you’re working with fabric, try using different patterns or textures to create a unique visual effect. If you’re repurposing glass jars, consider painting them with chalkboard paint so you can easily label their contents. Or, if you’re creating storage solutions, think about adding decorative handles or knobs to enhance their functionality and style.
Here are a few variations to spark your imagination:
* For the Gardener: Use repurposed plastic bottles to create a self-watering system for your plants. Simply cut the bottle in half, invert the top portion into the bottom, and fill the bottom with water. The soil will draw water up as needed, keeping your plants hydrated.
* For the Organizer: Transform old cardboard boxes into stylish storage containers by covering them with fabric, wallpaper, or even maps. Add labels to keep everything organized and easily accessible.
* For the Decorator: Create unique wall art using repurposed materials like wood scraps, metal pieces, or even old buttons. Arrange them in interesting patterns and secure them to a canvas or board.
* For the Eco-Conscious: Turn old t-shirts into reusable shopping bags. Simply cut off the sleeves and neckline, then sew the bottom closed. You’ll have a sturdy and stylish bag that’s perfect for carrying groceries or other items.
We are confident that this DIY trick will not only simplify your life but also inspire you to explore your creativity and embrace a more sustainable way of living. It’s about more than just saving money; it’s about adding a personal touch to your home and creating a space that truly reflects your unique style and values.
So, what are you waiting for? Gather your materials, unleash your imagination, and give this DIY trick a try! We’re eager to see what creative home solutions you come up with. Don’t forget to share your creations and experiences with us in the comments below or on social media using [Your Hashtag]. We can’t wait to be inspired by your ingenuity! Let’s build a community of creative home solution enthusiasts together!
Frequently Asked Questions
What if I don’t have all the materials listed?
Don’t worry! The beauty of DIY is that you can often substitute materials based on what you have available. The key is to understand the function of each material and find a suitable alternative. For example, if the recipe calls for a specific type of glue, you can often use another strong adhesive that’s appropriate for the materials you’re working with. If you don’t have the exact size or shape of container, get creative and see what else you can repurpose. The goal is to adapt the project to your resources and make it your own.
I’m not very crafty. Is this DIY trick still for me?
Absolutely! This DIY trick is designed to be accessible to everyone, regardless of their crafting experience. We’ve kept the instructions simple and straightforward, and we’ve included plenty of tips and suggestions to help you along the way. Don’t be afraid to experiment and make mistakes – that’s how you learn! The most important thing is to have fun and enjoy the process. Even if your first attempt isn’t perfect, you’ll still have created something unique and useful.
How can I make this DIY trick more sustainable?
Sustainability is at the heart of this DIY trick! To make it even more eco-friendly, focus on using repurposed and recycled materials whenever possible. Look for items around your home that you can give a new life, such as old clothes, glass jars, cardboard boxes, and plastic containers. You can also source materials from thrift stores, flea markets, or even your local recycling center. When purchasing new materials, opt for eco-friendly options like organic cotton, bamboo, or recycled paper. And remember, reducing waste is just as important as reusing materials.
What are some safety precautions I should take?
Safety should always be a top priority when working on any DIY project. Before you begin, make sure you have a clear and well-lit workspace. Wear appropriate safety gear, such as gloves, goggles, and a mask, if necessary. Be careful when using sharp tools or power equipment, and always follow the manufacturer’s instructions. If you’re working with chemicals or adhesives, ensure proper ventilation to avoid inhaling harmful fumes. And finally, keep your workspace clean and organized to prevent accidents.
How can I customize this DIY trick to fit my personal style?
Customization is key to making this DIY trick truly your own! Think about your personal style and aesthetic preferences, and then incorporate those elements into your project. For example, if you prefer a minimalist look, you might opt for simple, clean lines and neutral colors. If you’re drawn to a more bohemian style, you could add colorful patterns, textures, and embellishments. Don’t be afraid to experiment with different materials, colors, and techniques until you find something that you love. You can also draw inspiration from magazines, websites, and social media platforms to get ideas for your own unique creations.
Where can I find more creative home solutions?
The internet is a treasure trove of creative home solutions! There are countless websites, blogs, and social media accounts dedicated to DIY projects, home decor, and sustainable living. You can also find inspiration in books, magazines, and even your local library. Don’t be afraid to explore different resources and experiment with different ideas until you find something that resonates with you. And remember, the best creative home solutions are often the ones that are tailored to your specific needs and preferences.
What if my DIY project doesn’t turn out as expected?
Don’t be discouraged! DIY projects don’t always go according to plan, and that’s perfectly okay. The important thing is to learn from your mistakes and keep trying. If your project doesn’t turn out as expected, take a step back and analyze what went wrong. Did you use the wrong materials? Did you follow the instructions correctly? Did you rush through the process? Once you’ve identified the problem, you can make adjustments and try again. And remember, even if your project isn’t perfect, it’s still a unique and handmade creation that you can be proud of. Plus, you’ll have gained valuable experience and knowledge that you can use for future DIY projects.


Leave a Comment