
Grow Watermelons Backyard Easy? Absolutely! Imagine biting into a juicy, sweet watermelon you nurtured from a tiny seed, right in your own backyard. It’s not just a dream; it’s an achievable reality with a few simple tricks and a little DIY spirit. For centuries, watermelons have been a symbol of summer, abundance, and shared joy, gracing tables from ancient Egypt to modern-day picnics. Their vibrant color and refreshing taste have made them a beloved fruit across cultures.
But let’s be honest, the thought of growing watermelons can be intimidating. We often think of sprawling farms and expert gardeners, not our own humble backyards. That’s where these easy DIY hacks come in! I’m here to show you that you don’t need acres of land or a green thumb of steel to grow watermelons backyard easy. Whether you’re short on space, time, or experience, these tips will empower you to cultivate your own delicious watermelons. Get ready to impress your friends and family with your homegrown goodness – let’s get started!
Growing Watermelons in Your Backyard: A Beginner’s Guide
Okay, so you want to grow watermelons in your backyard? Awesome! It’s totally doable, even if you don’t have a sprawling farm. I’ve done it, and trust me, the taste of a homegrown watermelon is worth every bit of effort. This guide will walk you through everything you need to know, from choosing the right variety to harvesting your juicy prize.
Choosing the Right Watermelon Variety
First things first, let’s talk watermelons. Not all watermelons are created equal, and some are definitely better suited for backyard gardens than others. Consider these factors when making your choice:
* Size: Do you want a giant watermelon that will feed the whole neighborhood, or something more manageable? Smaller varieties like ‘Sugar Baby’ or ‘Bush Sugar Baby’ are great for smaller spaces.
* Days to Maturity: This is how long it takes from planting to harvest. If you have a short growing season, choose a variety with a shorter maturity time. ‘Early Moonbeam’ is a good option for cooler climates.
* Disease Resistance: Some varieties are more resistant to common watermelon diseases like fusarium wilt and anthracnose. Look for varieties labeled as disease-resistant.
* Taste Preference: Do you prefer a super sweet, red-fleshed watermelon, or something a little different? There are yellow-fleshed, orange-fleshed, and even seedless varieties to choose from!
I personally love ‘Sugar Baby’ because it’s relatively small, matures quickly, and tastes amazing. But do your research and find a variety that suits your needs and preferences.
Preparing Your Garden Bed
Watermelons are hungry plants, so preparing your garden bed properly is crucial for success. They need plenty of sunlight, well-drained soil, and lots of nutrients.
* Sunlight: Watermelons need at least 6-8 hours of direct sunlight per day. Choose a spot in your yard that gets plenty of sun.
* Soil: Watermelons prefer sandy loam soil that drains well. If your soil is heavy clay, you’ll need to amend it with organic matter like compost or well-rotted manure.
* Nutrients: Watermelons are heavy feeders, so you’ll need to add plenty of nutrients to the soil. Compost is a great option, but you can also use a balanced fertilizer.
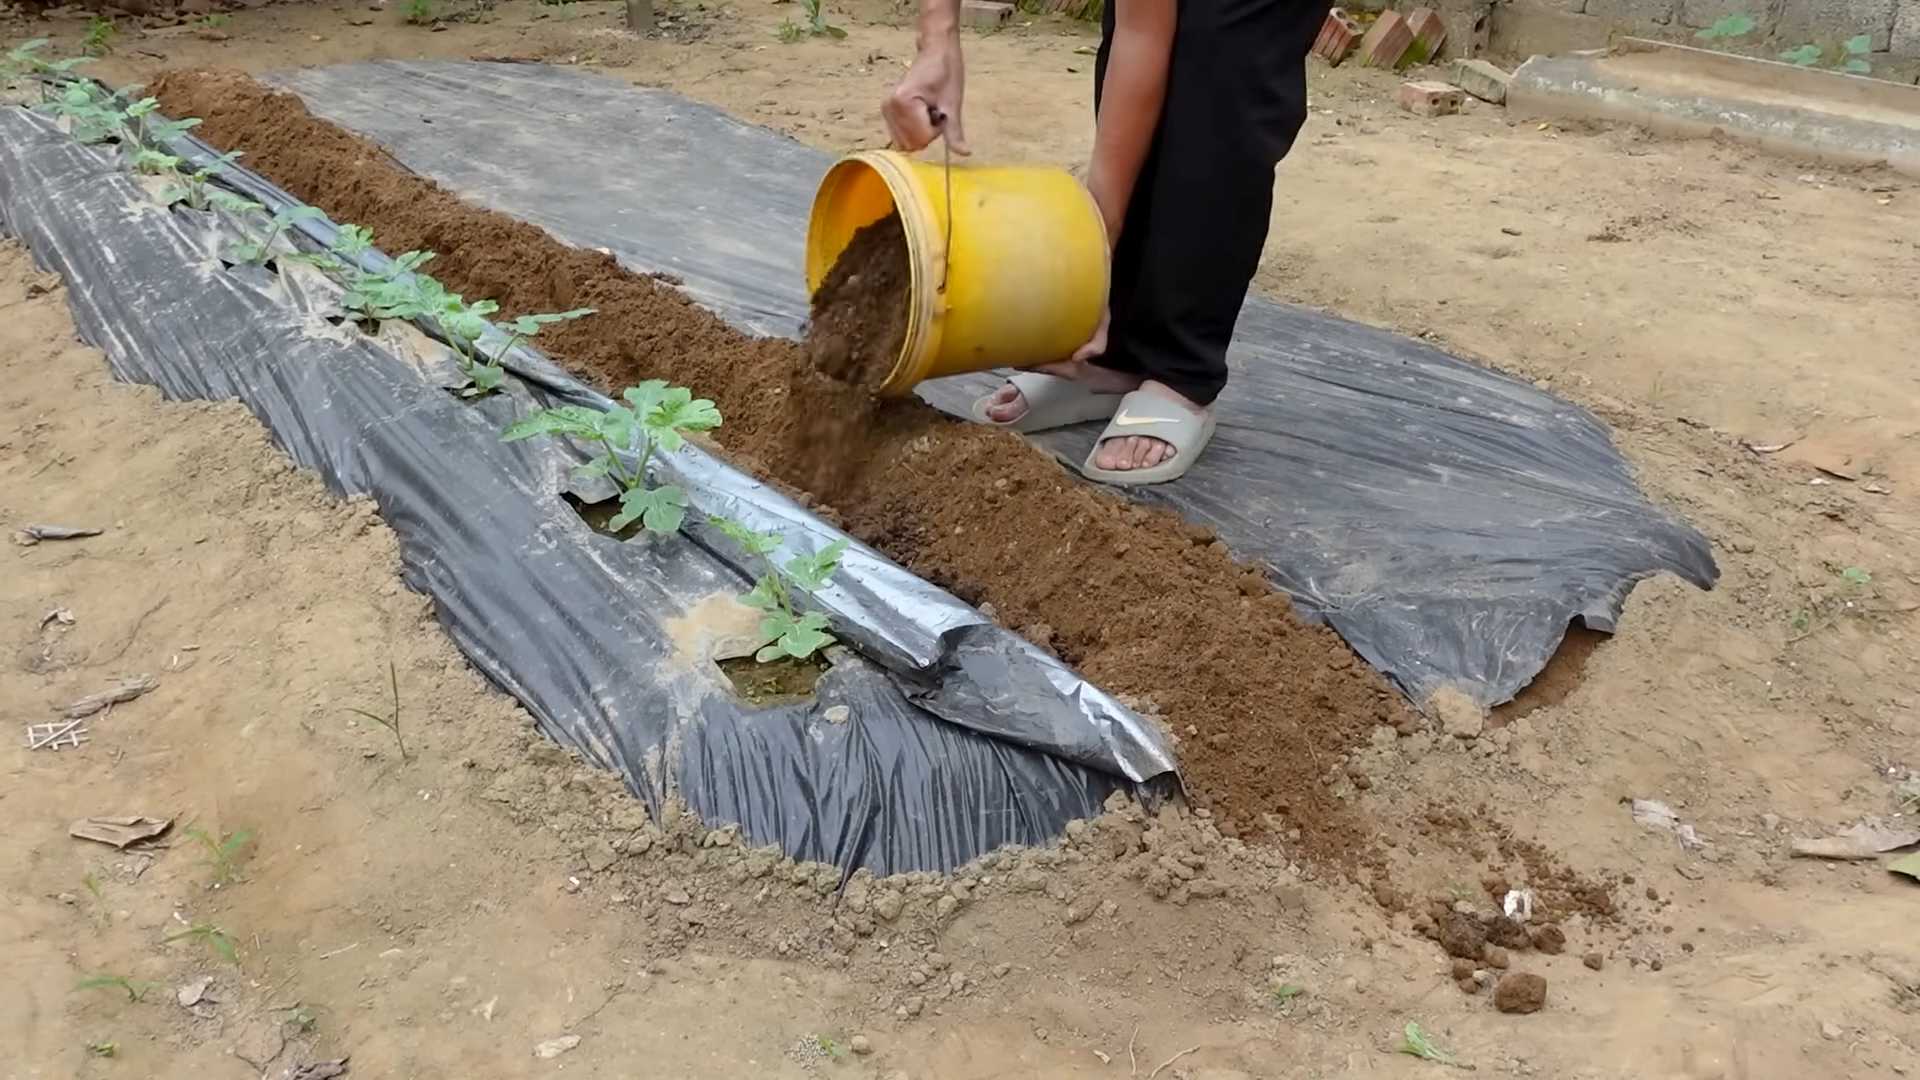
Here’s how I prepare my watermelon bed:
1. Clear the area: Remove any weeds, grass, or other debris from the area where you’ll be planting your watermelons.
2. Amend the soil: Dig in plenty of compost or well-rotted manure to improve the soil’s drainage and fertility. I usually add about 4-6 inches of compost.
3. Test the soil pH: Watermelons prefer a soil pH of 6.0-6.8. You can test your soil pH with a soil testing kit. If your soil is too acidic, add lime to raise the pH. If it’s too alkaline, add sulfur to lower the pH.
4. Create mounds or rows: Watermelons grow best on mounds or rows. This helps with drainage and allows the soil to warm up faster. I usually create mounds that are about 12 inches high and 3-4 feet wide.
5. Water the soil: Water the soil thoroughly after preparing the bed. This will help settle the soil and get it ready for planting.
Starting Watermelon Seeds Indoors (Optional)
Starting watermelon seeds indoors can give you a head start on the growing season, especially if you live in a cooler climate. However, it’s important to transplant them carefully, as they don’t like having their roots disturbed.
* When to start seeds: Start your seeds about 3-4 weeks before the last expected frost.
* What you’ll need: You’ll need seed starting trays or pots, seed starting mix, and a heat mat (optional).
Here’s how I start my watermelon seeds indoors:
1. Fill your seed starting trays or pots with seed starting mix.
2. Plant the seeds about 1 inch deep.
3. Water the soil gently.
4. Place the trays or pots on a heat mat (if using) and cover them with a plastic dome or plastic wrap to create a humid environment.
5. Keep the soil moist but not soggy.
6. Once the seeds germinate (usually within 7-10 days), remove the plastic dome or plastic wrap and place the trays or pots under grow lights or in a sunny window.
7. Harden off the seedlings before transplanting them outdoors. This means gradually exposing them to outdoor conditions over a period of 7-10 days. Start by placing them in a sheltered spot for a few hours each day, gradually increasing the amount of time they spend outdoors.
Planting Watermelon Seedlings or Seeds Directly in the Garden
Once the danger of frost has passed and the soil has warmed up to at least 70°F (21°C), it’s time to plant your watermelon seedlings or seeds directly in the garden.
* Spacing: Space watermelon plants 3-5 feet apart, depending on the variety.
* Planting depth: Plant seedlings at the same depth they were growing in their containers. Plant seeds about 1 inch deep.
Here’s how I plant my watermelon seedlings or seeds:
1. Dig a hole that is slightly larger than the root ball of the seedling or the size of the seed.
2. If planting a seedling, gently remove it from its container and loosen the roots.
3. Place the seedling or seed in the hole and cover it with soil.
4. Water the soil thoroughly.
5. Mulch around the plants with straw or hay to help retain moisture and suppress weeds.
Caring for Your Watermelon Plants
Watermelons need consistent care to thrive. Here’s what you need to do:
* Watering: Watermelons need plenty of water, especially during hot, dry weather. Water deeply and regularly, aiming for about 1-2 inches of water per week. Avoid watering the foliage, as this can encourage fungal diseases. Drip irrigation is a great option for watering watermelons.
* Fertilizing: Fertilize your watermelon plants every 2-3 weeks with a balanced fertilizer. You can also side-dress them with compost or well-rotted manure.
* Weeding: Keep the area around your watermelon plants free of weeds. Weeds compete with watermelons for nutrients and water.
* Pest Control: Watermelons can be susceptible to pests like aphids, squash bugs, and cucumber beetles. Inspect your plants regularly and take action if you see any pests. You can use insecticidal soap or neem oil to control pests.
* Vine Training: Watermelon vines can spread out quite a bit. You can train them to grow in a specific direction or prune them to keep them from taking over your garden. I usually let them sprawl, but I do prune off any dead or diseased leaves.
* Pollination: Watermelons need to be pollinated to produce fruit. If you’re not seeing any fruit set, you may need to hand-pollinate the flowers. To hand-pollinate, use a small paintbrush to transfer pollen from the male flowers to the female flowers. Male flowers have a long, thin stem, while female flowers have a small, immature watermelon at the base.
Protecting Your Watermelons
As your watermelons grow, you may need to protect them from pests and diseases.
* Pest Protection: Groundhogs, squirrels, and birds love watermelons! You can protect your watermelons by covering them with netting or cages.
* Disease Prevention: Watermelons can be susceptible to fungal diseases like powdery mildew and anthracnose. To prevent these diseases, water your plants at the base, avoid overhead watering, and provide good air circulation. You can also spray your plants with a fungicide if necessary.
Harvesting Your Watermelons
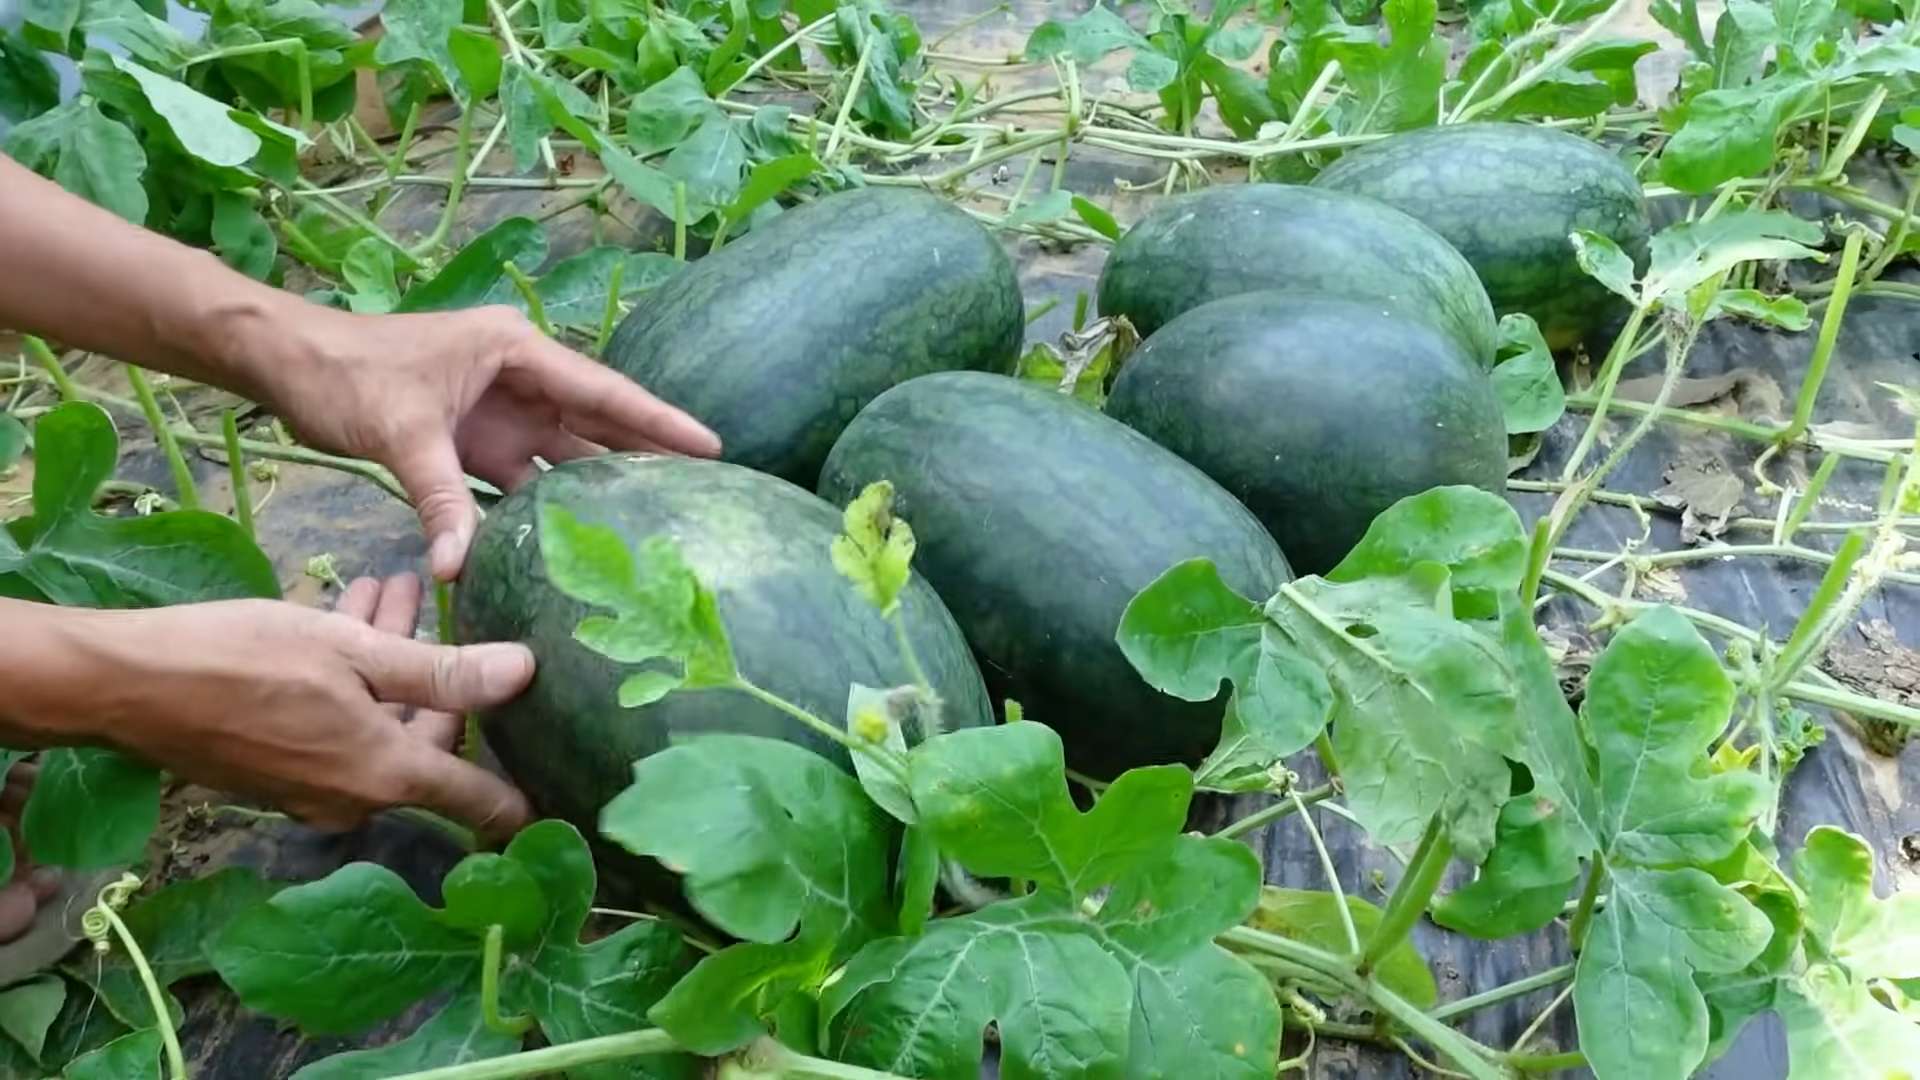
Harvesting watermelons at the right time is crucial for getting the best flavor. Here are some signs that your watermelons are ready to harvest:
* The tendril closest to the fruit turns brown and dry.
* The bottom of the watermelon (where it rests on the ground) turns from white to yellow.
* The watermelon sounds dull and hollow when you thump it.
Here’s how I harvest my watermelons:
1. Use a sharp knife to cut the watermelon from the vine, leaving about 2 inches of stem attached.
2. Handle the watermelon carefully to avoid bruising it.
3. Store the watermelon in a cool, dry place.
Troubleshooting Common Watermelon Problems
Even with the best care, you may encounter some problems when growing watermel
Conclusion
So, there you have it! Growing watermelons in your backyard doesn’t have to be an intimidating endeavor. This DIY trick, focusing on optimizing sunlight, soil preparation, and strategic watering, unlocks the potential for a bountiful harvest, even in smaller spaces. Forget expensive store-bought melons that lack that homegrown sweetness; imagine biting into a juicy, crimson watermelon you nurtured from seed to fruit, right in your own backyard.
This method isn’t just about saving money; it’s about connecting with nature, understanding the growing process, and experiencing the unparalleled satisfaction of harvesting your own food. The taste difference alone is worth the effort. Commercially grown watermelons are often picked before they’re fully ripe to withstand shipping, sacrificing flavor in the process. When you grow watermelons backyard easy, you control the entire process, ensuring peak ripeness and maximum sweetness.
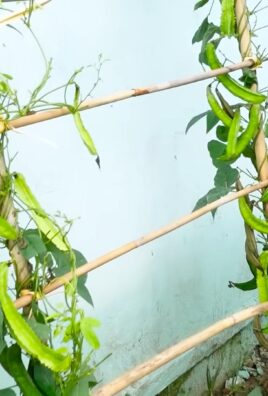
But don’t stop there! Experiment with different watermelon varieties. Try growing smaller, personal-sized watermelons like Sugar Baby or explore unique heirloom varieties with different colors and flavors. Consider companion planting with herbs like basil or marigolds to deter pests and attract pollinators. You can also try vertical gardening techniques to maximize space if you have a particularly small backyard. Training your watermelon vines to grow up a trellis or fence can be both aesthetically pleasing and space-saving.
The key to success lies in consistent care and attention. Regularly check your plants for pests and diseases, adjust your watering schedule based on the weather, and provide support for the developing fruits as they grow larger. Remember, patience is key. Growing watermelons takes time, but the reward is well worth the wait.
We’re confident that with this DIY trick, you’ll be enjoying delicious, homegrown watermelons in no time. Don’t be afraid to get your hands dirty and embrace the learning process. Gardening is a journey, and every season brings new challenges and opportunities.
Now, it’s your turn! We encourage you to try this DIY trick for growing watermelons in your backyard. Share your experiences, successes, and even your challenges in the comments below. We’d love to hear about your favorite watermelon varieties, your unique gardening techniques, and any tips you’ve learned along the way. Let’s create a community of backyard watermelon growers and share the joy of homegrown goodness! Happy gardening!
Frequently Asked Questions (FAQ)
Q: What is the best time to start growing watermelons?
A: The best time to start growing watermelons depends on your climate. Watermelons are warm-season crops and require a long growing season of at least 70-90 days. In general, you should start seeds indoors about 6-8 weeks before the last expected frost. If you live in a warmer climate with a longer growing season, you can direct sow seeds into the ground after the soil has warmed up to at least 70°F (21°C). Make sure to check your local frost dates to determine the best time to start your seeds. Starting too early can lead to transplant shock if the weather is still too cold when you move the seedlings outdoors. Starting too late may not give the watermelons enough time to mature before the end of the growing season.
Q: What kind of soil is best for growing watermelons?
A: Watermelons thrive in well-drained, sandy loam soil that is rich in organic matter. The soil should have a pH between 6.0 and 6.8. Before planting, amend the soil with compost, aged manure, or other organic matter to improve drainage, fertility, and water retention. Avoid heavy clay soils, as they can become waterlogged and hinder root growth. If you have clay soil, consider growing watermelons in raised beds or containers filled with a suitable potting mix. Proper soil preparation is crucial for healthy watermelon growth and a bountiful harvest.
Q: How much sunlight do watermelons need?
A: Watermelons need at least 6-8 hours of direct sunlight per day to thrive. Choose a planting location that receives full sun throughout the day. Insufficient sunlight can result in smaller fruits, reduced sweetness, and increased susceptibility to diseases. If you live in a particularly hot climate, providing some afternoon shade during the hottest part of the day can help prevent sunburn on the fruits. However, ensure that the plants still receive ample sunlight overall.
Q: How often should I water my watermelon plants?
A: Watermelon plants need consistent watering, especially during fruit development. Water deeply and regularly, aiming to keep the soil consistently moist but not waterlogged. Water at the base of the plants to avoid wetting the foliage, which can increase the risk of fungal diseases. During hot, dry weather, you may need to water daily. As the fruits ripen, you can reduce watering slightly to concentrate the sugars and improve the flavor. Monitor the soil moisture regularly and adjust your watering schedule accordingly.
Q: How do I know when a watermelon is ripe?
A: Determining when a watermelon is ripe can be tricky, but there are several indicators to look for. First, check the tendril closest to the fruit stem. When this tendril turns brown and dries out, it’s a good sign that the watermelon is nearing ripeness. Second, examine the underside of the watermelon where it rests on the ground. This spot, known as the ground spot, should turn from white to a creamy yellow color. Finally, give the watermelon a gentle thump. A ripe watermelon will sound hollow and deep, while an unripe watermelon will sound dull and solid. With practice, you’ll develop a feel for identifying ripe watermelons.
Q: What are some common pests and diseases that affect watermelons?
A: Watermelons can be susceptible to various pests and diseases, including aphids, squash bugs, vine borers, powdery mildew, and fusarium wilt. Regularly inspect your plants for signs of infestation or disease. Use organic pest control methods, such as insecticidal soap or neem oil, to control pests. Ensure good air circulation around the plants to prevent fungal diseases. Choose disease-resistant watermelon varieties whenever possible. Crop rotation can also help reduce the risk of soilborne diseases.
Q: Can I grow watermelons in containers?
A: Yes, you can grow watermelons in containers, but you’ll need to choose a large container (at least 20 gallons) and a compact watermelon variety, such as Sugar Baby or Bush Sugar Baby. Use a high-quality potting mix and provide adequate drainage. Water container-grown watermelons more frequently than those grown in the ground, as the soil in containers tends to dry out faster. Fertilize regularly with a balanced fertilizer. You may also need to provide support for the vines as they grow.
Q: How can I improve the sweetness of my watermelons?
A: Several factors can influence the sweetness of watermelons. First, choose a watermelon variety known for its sweetness. Second, ensure that the plants receive adequate sunlight and water. Third, fertilize with a fertilizer that is high in potassium, which promotes sugar production. Finally, reduce watering slightly as the fruits ripen to concentrate the sugars. Avoid overwatering, as this can dilute the sugars and result in a less sweet watermelon.
Q: What can I do with leftover watermelon?
A: There are many delicious ways to use leftover watermelon. You can blend it into smoothies, make watermelon juice, or create a refreshing watermelon salad with feta cheese and mint. Watermelon can also be grilled for a unique smoky flavor. You can even pickle the rind for a tangy treat. Don’t let any part of the watermelon go to waste!

Leave a Comment