
Growing pumpkins at home might seem like a daunting task reserved for sprawling farms, but I’m here to tell you it’s totally achievable, even if you only have a small backyard or a sunny balcony! Imagine carving a pumpkin you nurtured from a tiny seed, knowing you poured your heart (and maybe a little compost) into it. That’s the magic we’re unlocking today!
Pumpkins have a rich history, deeply intertwined with autumn festivals and harvest celebrations for centuries. From their humble beginnings in Central America, they’ve become a symbol of abundance and the changing seasons. But beyond their cultural significance, pumpkins are incredibly versatile – delicious in pies, soups, and even roasted seeds.
So, why should you try growing pumpkins at home? Well, store-bought pumpkins are great, but there’s something incredibly rewarding about cultivating your own. Plus, you can choose from a wider variety of pumpkins than you’ll typically find in stores, from the classic orange giants to unique heirloom varieties. In this article, I’ll share my favorite DIY tricks and hacks to help you successfully grow your own pumpkins, regardless of your gardening experience. We’ll cover everything from seed starting to pest control, ensuring you have a bountiful harvest this fall. Let’s get our hands dirty!
Growing Pumpkins: From Seed to Spooky (or Delicious!) Pie
Okay, pumpkin lovers, let’s get our hands dirty! I’m going to walk you through everything you need to know to grow your own pumpkins right in your backyard. It’s easier than you think, and the satisfaction of carving a pumpkin you nurtured from a tiny seed is unbeatable.
Choosing Your Pumpkin Variety
Before we even think about planting, we need to decide what kind of pumpkin we want. This isn’t just about size; it’s about purpose!
* **Giant Pumpkins (Atlantic Giant):** These are the behemoths you see at county fairs. They require a lot of space, patience, and specialized care. If you’re aiming for a record-breaker, be prepared for a serious commitment!
* **Carving Pumpkins (Howden, Connecticut Field):** These are your classic jack-o’-lantern pumpkins. They’re a good size for carving and relatively easy to grow.
* **Pie Pumpkins (Sugar Pie, Baby Pam):** These are smaller, denser, and sweeter, making them perfect for baking. They have less stringy flesh than carving pumpkins.
* **Ornamental Pumpkins (Jack Be Little, Lumina):** These are the cute, colorful pumpkins you use for decorations. They come in various shapes, sizes, and colors.
Think about what you want to *do* with your pumpkins before you choose your seeds.
Preparing Your Pumpkin Patch
Pumpkins are hungry plants, so soil preparation is key! They need plenty of sunshine and well-drained soil.
* **Sunlight:** Pumpkins need at least 6-8 hours of direct sunlight per day. Choose a spot in your yard that gets plenty of sun.
* **Soil:** Pumpkins thrive in rich, well-drained soil with a pH between 6.0 and 7.0.
* **Space:** Give your pumpkins plenty of room to spread out. Giant pumpkins need even more space than smaller varieties.
* **Compost:** Pumpkins are heavy feeders, so amend your soil with plenty of compost or well-rotted manure. This will provide them with the nutrients they need to grow big and strong.
Planting Your Pumpkin Seeds
Now for the fun part! There are two main ways to plant your pumpkin seeds: direct sowing and starting indoors.
Direct Sowing
This is the easiest method, especially if you live in a warmer climate with a long growing season.
1. **Wait for Warm Weather:** Pumpkins are sensitive to frost, so wait until the soil has warmed up to at least 60°F (15°C) before planting. This is usually a couple of weeks after the last frost.
2. **Prepare the Soil:** Loosen the soil and amend it with compost or manure.
3. **Create Hills:** Form small mounds of soil about 1-2 feet in diameter and 6-12 inches high. These hills will help with drainage and warm the soil.
4. **Plant the Seeds:** Plant 3-5 seeds per hill, about 1 inch deep. Space the hills 4-8 feet apart, depending on the variety of pumpkin you’re growing. Giant pumpkins need even more space.
5. **Water Thoroughly:** Water the hills gently but thoroughly after planting.
6. **Thin the Seedlings:** Once the seedlings emerge and have a few true leaves, thin them to the strongest 1-2 plants per hill. This will give the remaining plants plenty of room to grow.
Starting Indoors
Starting your pumpkin seeds indoors gives them a head start, especially if you live in a cooler climate with a shorter growing season.
1. **Start 2-3 Weeks Before Last Frost:** Start your seeds indoors about 2-3 weeks before the last expected frost.
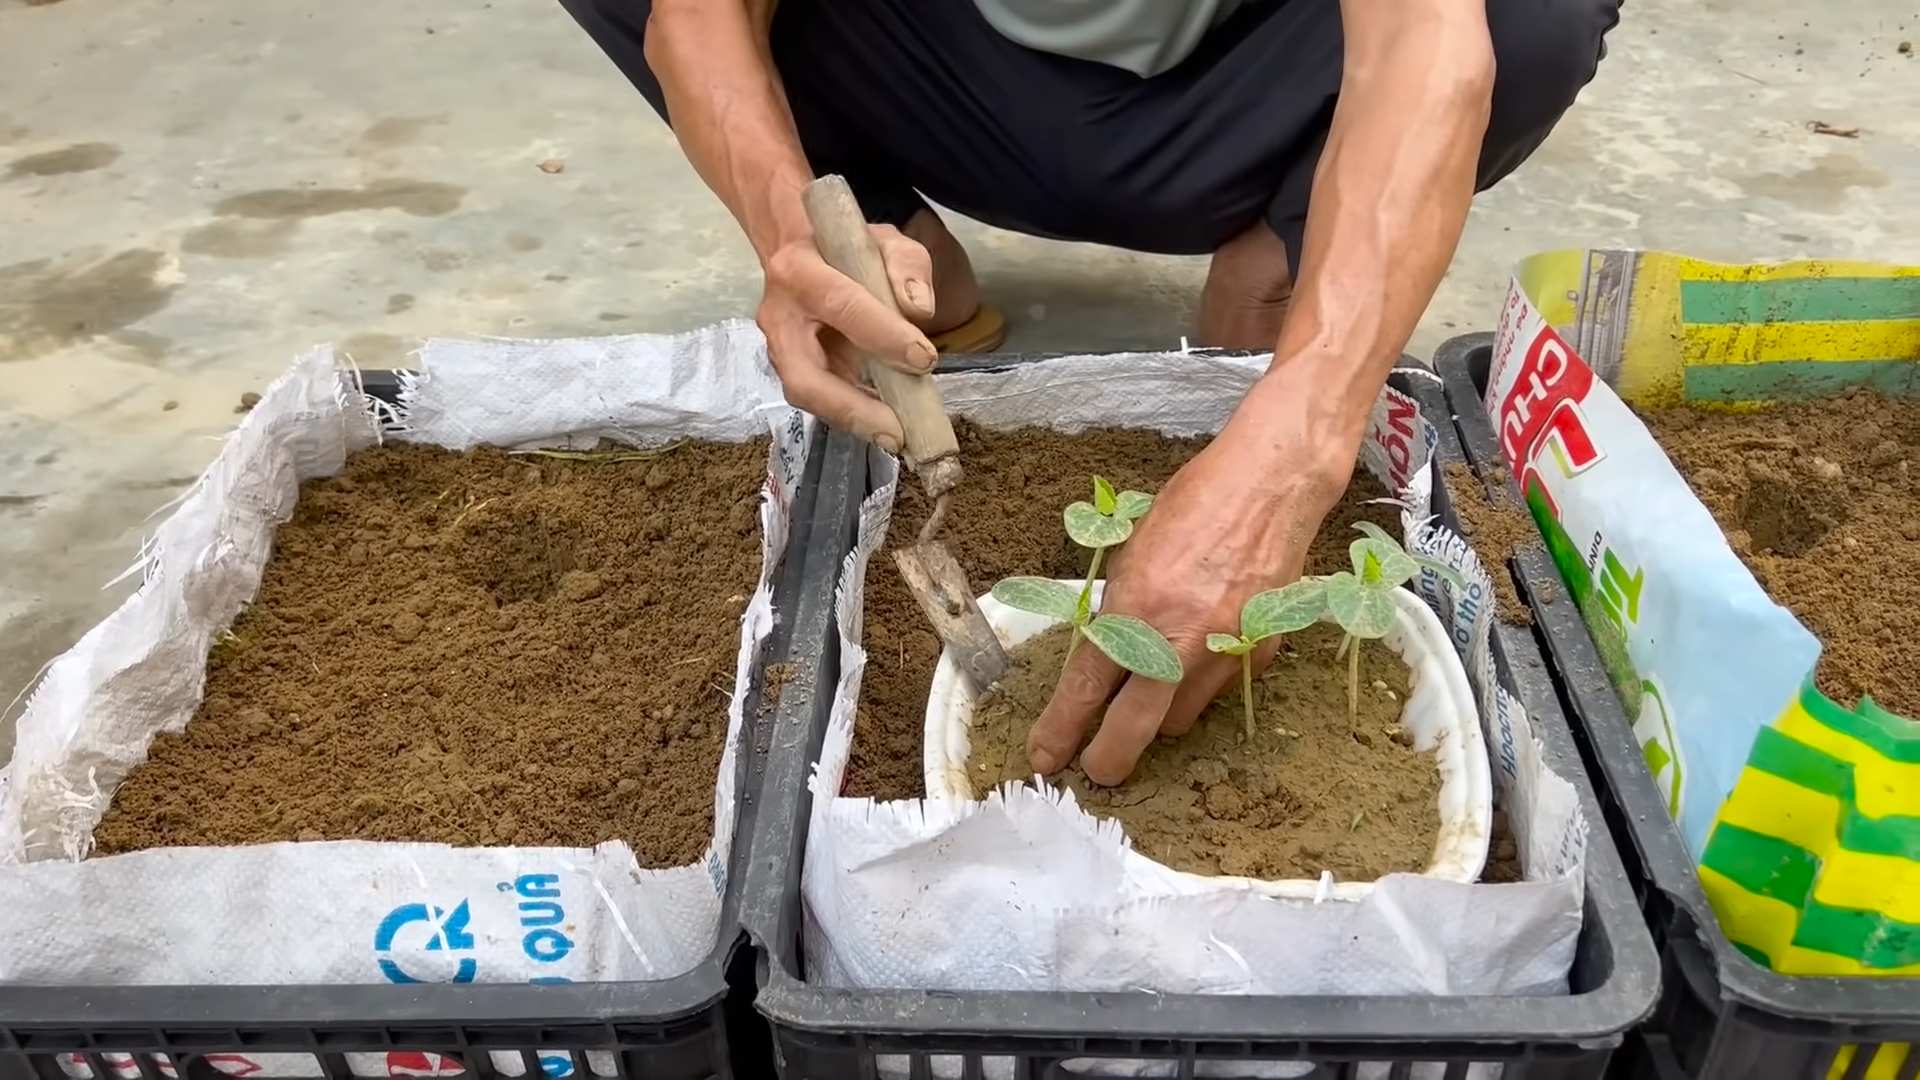
2. **Use Peat Pots or Biodegradable Pots:** Pumpkins don’t like to have their roots disturbed, so use peat pots or biodegradable pots that can be planted directly into the ground.
3. **Fill Pots with Seed Starting Mix:** Fill the pots with a good quality seed starting mix.
4. **Plant the Seeds:** Plant 1-2 seeds per pot, about 1 inch deep.
5. **Water Gently:** Water the pots gently but thoroughly after planting.
6. **Provide Warmth and Light:** Place the pots in a warm, sunny location or under grow lights.
7. **Harden Off Seedlings:** Before transplanting the seedlings outdoors, harden them off by gradually exposing them to outdoor conditions for a week or so. Start by placing them in a sheltered spot for a few hours each day, gradually increasing the amount of time they spend outdoors.
8. **Transplant Seedlings:** Once the soil has warmed up and the danger of frost has passed, transplant the seedlings into your prepared pumpkin patch. Space them 4-8 feet apart, depending on the variety of pumpkin you’re growing.
Caring for Your Pumpkin Plants
Once your pumpkin plants are established, it’s important to provide them with the care they need to thrive.
* **Watering:** Pumpkins need plenty of water, especially during hot, dry weather. Water deeply and regularly, aiming for about 1 inch of water per week. Avoid watering the foliage, as this can lead to fungal diseases. Drip irrigation or soaker hoses are ideal.
* **Fertilizing:** Pumpkins are heavy feeders, so fertilize them regularly with a balanced fertilizer. You can also side-dress them with compost or manure.
* **Weeding:** Keep your pumpkin patch free of weeds, which can compete with your plants for nutrients and water.
* **Pest Control:** Keep an eye out for pests such as squash bugs, squash vine borers, and cucumber beetles. Handpick pests whenever possible. You can also use insecticidal soap or other organic pest control methods.
* **Pollination:** Pumpkins have separate male and female flowers. The female flowers need to be pollinated in order to produce fruit. If you’re not seeing any pumpkins forming, you may need to hand-pollinate the flowers. To do this, use a small paintbrush to transfer pollen from the male flowers to the female flowers. The female flowers have a small, immature pumpkin at the base of the flower.
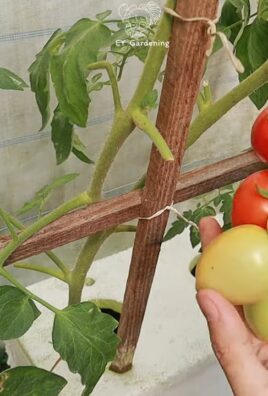
* **Pruning:** Pruning your pumpkin plants can help to improve air circulation and prevent disease. Remove any dead or diseased leaves and stems. You can also prune the vines to encourage the plant to focus its energy on producing fewer, larger pumpkins.
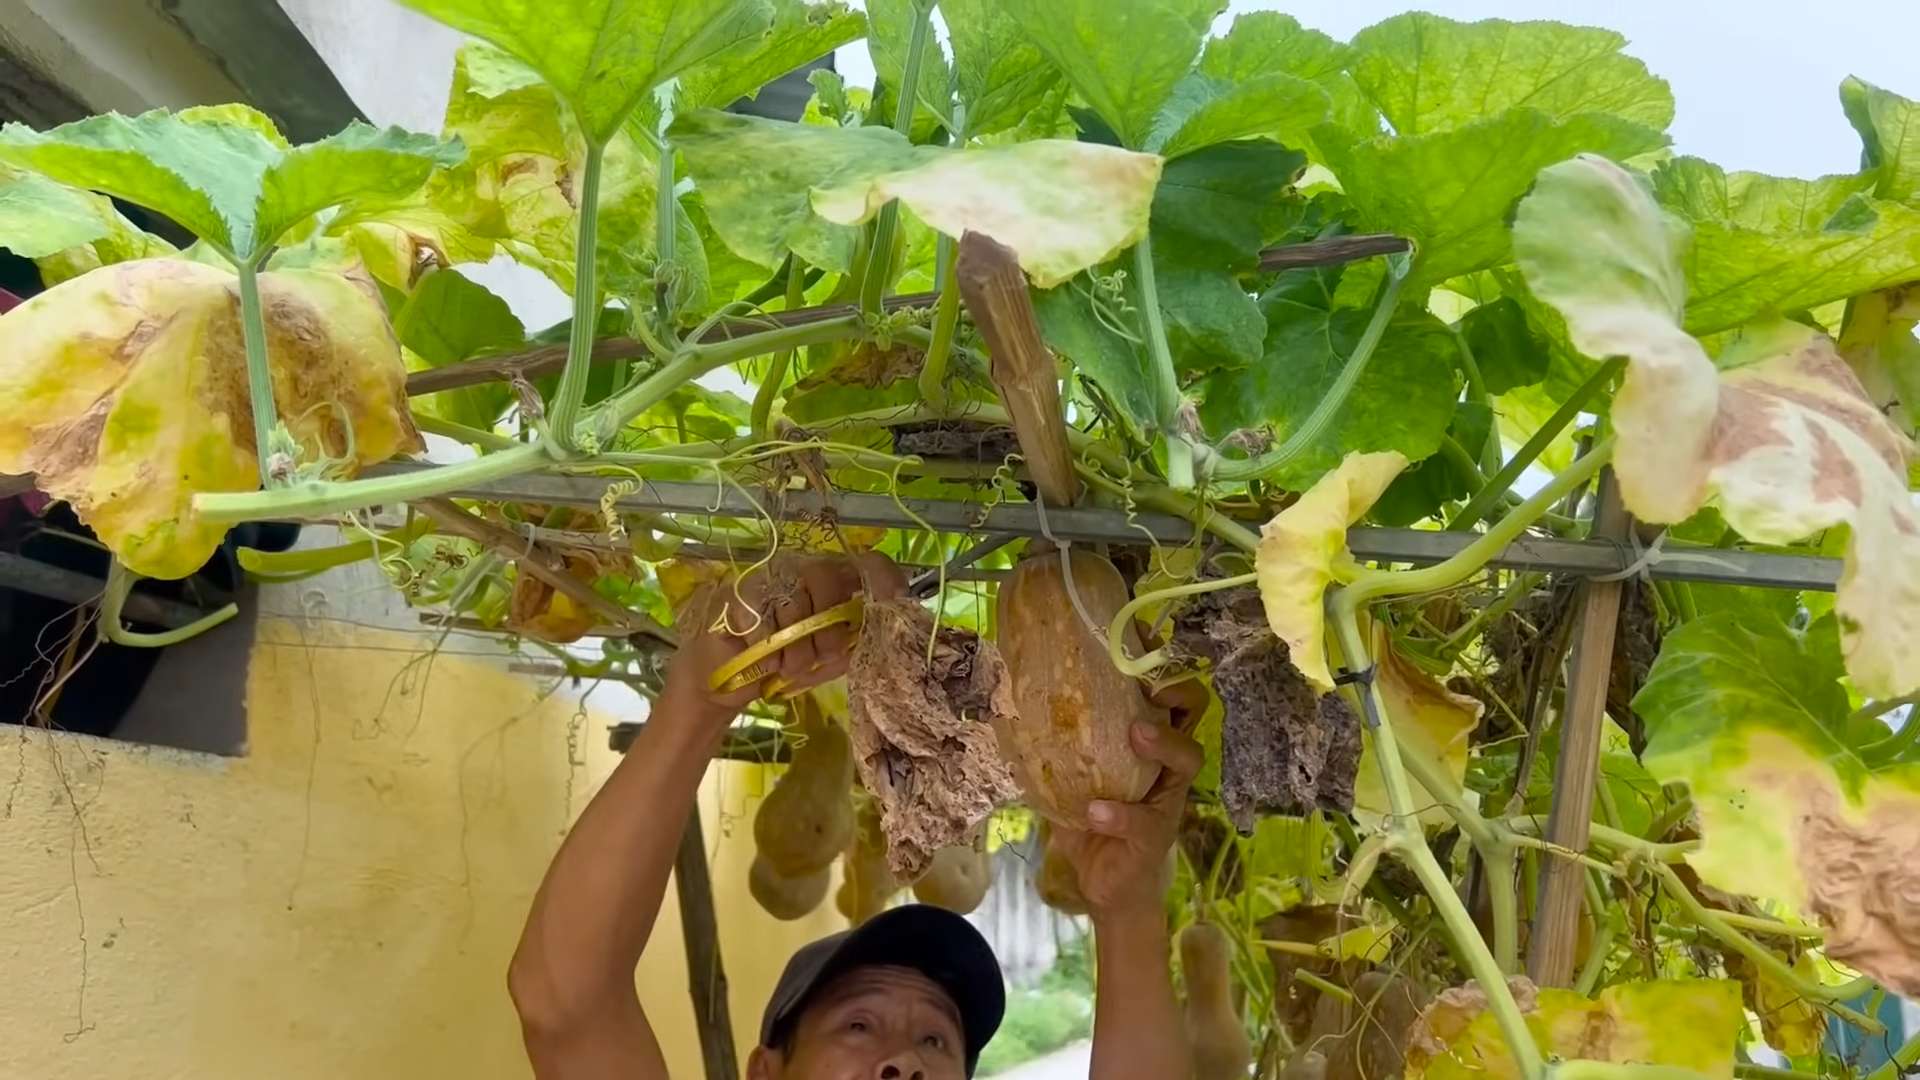
* **Protecting Developing Pumpkins:** As your pumpkins grow, protect them from pests and diseases. Place a piece of cardboard or straw under each pumpkin to prevent it from rotting. You can also cover the pumpkins with netting to protect them from insects and animals.
Harvesting Your Pumpkins
The moment we’ve all been waiting for! Knowing when to harvest your pumpkins is crucial for ensuring they’re ripe and ready for carving or baking.
* **Check the Color:** The pumpkin should be a deep, solid color, typical of the variety you’re growing.
* **Tap the Pumpkin:** A ripe pumpkin will sound hollow when you tap it.
* **Check the Stem:** The stem should be hard and dry.
* **Harvest Before Frost:** Harvest your pumpkins before the first frost, as frost can damage them.
* **Cut the Stem:** Use a sharp knife or pruning shears to cut the stem, leaving about 3-4 inches of stem attached to the pumpkin.
* **Handle with Care:** Be careful not to drop or bruise the pumpkins, as this can shorten their storage life.
Curing Your Pumpkins
Curing your pumpkins helps to harden the skin and extend their storage life.
1. **Clean the Pumpkins:** Wipe the pumpkins clean with a damp cloth.
2. **Place in a Warm, Dry Place:** Place the pumpkins in a warm, dry place with good air circulation. A sunny porch or garage is ideal.
3. **Cure for 1-2 Weeks:** Cure the pumpkins for 1-2 weeks, or until the skin is hard and the stem is dry.
Storing Your Pumpkins
Once your pumpkins are cured, you can store them for several months in a cool, dry place.
* **Ideal Storage Conditions:** The ideal storage conditions for pumpkins are a temperature of 50-60°F (10-15°C) and a humidity of 50-75%.
* **Avoid Freezing:** Do not store pumpkins in a place where they will freeze.
* **Check Regularly:** Check your pumpkins regularly for signs of rot or spoilage. Remove any pumpkins that are starting to rot to prevent the spread of disease.
Troubleshooting Common Pumpkin Problems
Even with the best care, you might encounter some problems along the way. Here are a few common issues and how to address them:
* **Powdery Mildew:** This fungal disease appears as a white, powdery coating on the leaves. Improve air circulation by pruning the plants and avoid watering the foliage. You can also use a fungicide if necessary.
* **Squash Bugs:** These pests can damage pumpkin plants by sucking the sap from the
Conclusion
So, there you have it! Growing pumpkins at home isn’t just a fun fall activity; it’s a rewarding experience that connects you with nature and provides you with delicious, homegrown produce. From selecting the right variety to nurturing your seedlings and protecting them from pests, every step of the process is an opportunity to learn and appreciate the magic of gardening.
Why is this DIY pumpkin growing adventure a must-try? Because it offers a level of freshness and control you simply can’t get from store-bought pumpkins. Imagine carving a jack-o’-lantern from a pumpkin you nurtured from a tiny seed, or baking a pie with the rich, earthy flavor of a pumpkin you harvested yourself. The satisfaction is unparalleled. Plus, you’ll know exactly what went into your pumpkin – no mystery pesticides or long-distance transportation.
But the benefits extend beyond the culinary. Growing pumpkins is a fantastic way to engage children in gardening, teaching them about plant life cycles and the importance of sustainable food practices. It’s also a great way to beautify your yard with vibrant foliage and cheerful orange globes.
Ready to take your pumpkin patch to the next level? Consider these variations and suggestions:
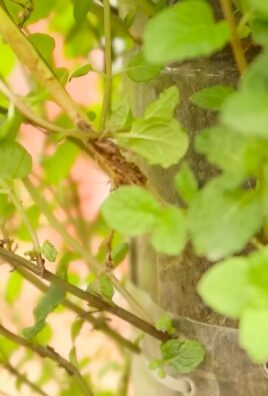
* Vertical Pumpkin Growing: If you’re short on space, try growing pumpkins vertically on a sturdy trellis. This method is particularly well-suited for smaller varieties like ‘Jack Be Little’ or ‘Baby Boo’.
* Heirloom Varieties: Explore the fascinating world of heirloom pumpkins! Varieties like ‘Rouge Vif d’Etampes’ (Cinderella pumpkin) or ‘Marina di Chioggia’ offer unique flavors, textures, and appearances.
* Companion Planting: Maximize your garden’s potential by planting companion plants alongside your pumpkins. Marigolds deter pests, while beans and corn provide support and nitrogen fixation.
* Pumpkin Seed Snacks: Don’t throw away those pumpkin seeds! Roast them with your favorite spices for a healthy and delicious snack. Experiment with different flavor combinations like cinnamon sugar, chili powder, or garlic salt.
* Pumpkin Puree Perfection: Homemade pumpkin puree is far superior to the canned variety. Roast your pumpkins until tender, then scoop out the flesh and blend it until smooth. Freeze any excess puree for later use.
We’re confident that you’ll find growing pumpkins at home to be a deeply satisfying and enjoyable experience. So, grab some seeds, prepare your garden, and get ready to witness the magic of pumpkin growth firsthand.
We encourage you to try this DIY trick and share your experiences with us! Post photos of your pumpkin patch, share your favorite pumpkin recipes, and let us know what you learned along the way. Your insights and tips can inspire other gardeners to embark on their own pumpkin-growing adventures. Let’s create a community of pumpkin enthusiasts!
Frequently Asked Questions (FAQ)
What is the best time to start growing pumpkins?
The ideal time to start growing pumpkins depends on your climate and the specific variety you’re planting. Generally, pumpkins require a long growing season of 90-120 days. In cooler climates, you’ll want to start seeds indoors about 2-3 weeks before the last expected frost. In warmer climates, you can direct sow seeds in the garden after the last frost. Check the seed packet for specific recommendations for your chosen variety.
How much space do pumpkins need?
Pumpkins are sprawling plants that require plenty of space to grow. Allow at least 4-6 feet between plants, and even more for larger varieties. If you’re growing pumpkins in rows, space the rows 8-10 feet apart. Consider using a trellis for smaller varieties to save space.
What kind of soil is best for growing pumpkins?
Pumpkins thrive in well-drained, fertile soil that is rich in organic matter. Amend your soil with compost or aged manure before planting to improve its fertility and drainage. A soil pH of 6.0 to 7.0 is ideal.
How often should I water my pumpkin plants?
Pumpkins need consistent moisture, especially during hot, dry weather. Water deeply and regularly, aiming to keep the soil consistently moist but not waterlogged. Water at the base of the plants to avoid wetting the foliage, which can lead to fungal diseases. Mulching around the plants can help retain moisture and suppress weeds.
What are some common pumpkin pests and diseases?
Common pumpkin pests include squash bugs, squash vine borers, and aphids. Regularly inspect your plants for signs of infestation and take action promptly. Organic pest control methods, such as hand-picking pests, using insecticidal soap, or introducing beneficial insects, are often effective. Common pumpkin diseases include powdery mildew and downy mildew. Preventative measures, such as providing good air circulation and avoiding overhead watering, can help reduce the risk of disease. If disease does occur, treat it with an appropriate fungicide.
How do I know when my pumpkins are ripe?
Pumpkins are typically ready to harvest when they have reached their mature color, the rind is hard and resistant to scratching, and the stem is dry and brown. Gently tap the pumpkin; a ripe pumpkin will sound hollow. Use a sharp knife or pruning shears to cut the pumpkin from the vine, leaving a few inches of stem attached.
Can I grow pumpkins in containers?
Yes, you can grow pumpkins in containers, but you’ll need to choose a smaller variety and use a large container (at least 20 gallons). Ensure the container has good drainage and use a high-quality potting mix. Container-grown pumpkins will require more frequent watering and fertilization than those grown in the ground.
How do I store pumpkins after harvesting?
Store pumpkins in a cool, dry place with good air circulation. A temperature of 50-60°F (10-15°C) is ideal. Avoid storing pumpkins in direct sunlight or near sources of heat. Properly stored pumpkins can last for several months.
What can I do with my pumpkin besides carving it?
Pumpkins are incredibly versatile! You can use them to make pumpkin pie, pumpkin bread, pumpkin soup, pumpkin risotto, and many other delicious dishes. You can also roast the seeds for a healthy snack. Don’t forget to compost any leftover pumpkin flesh to enrich your garden soil.
My pumpkin plant is producing flowers, but no pumpkins. What’s wrong?
This is a common issue with pumpkins. Pumpkins have both male and female flowers. The female flowers have a small, immature pumpkin at the base, while the male flowers do not. Pumpkins require pollination to set fruit. If pollination is not occurring, you can try hand-pollinating the female flowers by transferring pollen from the male flowers using a small brush. Factors that can affect pollination include lack of pollinators, unfavorable weather conditions, and nutrient deficiencies.
Leave a Comment