
Napa Cabbage Planting Guide: Your Guide to a Bountiful Harvest
Have you ever dreamed of biting into a crisp, sweet Napa cabbage you grew yourself? I know I have! That’s why I’m so excited to share my Napa Cabbage Planting Guide with you – a comprehensive guide filled with easy-to-follow tips and tricks to help you cultivate your own delicious Napa cabbage right in your backyard. This isn’t just about planting; it’s about connecting with nature and enjoying the unparalleled satisfaction of harvesting your own homegrown vegetables.
Growing your own food has a rich history, connecting us to ancient agricultural practices and fostering a deeper appreciation for the food we consume. From the earliest civilizations cultivating crops to the modern-day resurgence of home gardening, the act of nurturing plants from seed to harvest has always held a special significance. And while Napa cabbage might be a relatively recent addition to many gardens, its delicate flavor and versatility make it a rewarding crop to grow.
Why Grow Your Own Napa Cabbage?
In today’s world, knowing where your food comes from is more important than ever. A Napa Cabbage Planting Guide empowers you to take control of your food source, ensuring quality and freshness. Plus, there’s nothing quite like the taste of a homegrown Napa cabbage – it’s far superior to anything you’ll find in the supermarket! This guide will walk you through every step, from selecting the right seeds to harvesting your mature heads, ensuring a successful and enjoyable experience. You’ll learn about soil preparation, pest control, and harvesting techniques, all tailored to help you achieve a bountiful harvest. So, let’s get started on your journey to growing the most delicious Napa cabbage you’ve ever tasted!
This Napa Cabbage Planting Guide is your key to unlocking the secrets of a successful harvest. Let’s get growing!
My Napa Cabbage Planting Guide: From Seed to Supper
Growing your own Napa cabbage is incredibly rewarding! This guide will walk you through the entire process, from starting seeds to harvesting your delicious, homegrown bounty. Let’s get started!
Phase 1: Planning and Preparation
- Choose your location: Napa cabbage needs at least six hours of direct sunlight per day. Select a sunny spot in your garden with well-drained soil. Poor drainage can lead to root rot.
- Soil preparation: Napa cabbage thrives in loose, fertile soil. Amend your soil with compost or other organic matter to improve its structure and nutrient content. A soil test can help determine if you need to add any specific nutrients.
- Timing is key: Napa cabbage is a cool-season crop. The best time to plant depends on your climate. In many areas, starting seeds indoors 6-8 weeks before the last expected frost is ideal. You can also direct sow seeds outdoors after the last frost, but starting indoors gives you a head start.
- Gather your supplies: You’ll need seeds, seed starting mix (if starting indoors), gardening gloves, a trowel or hand cultivator, watering can, and possibly row covers or netting to protect your plants from pests.
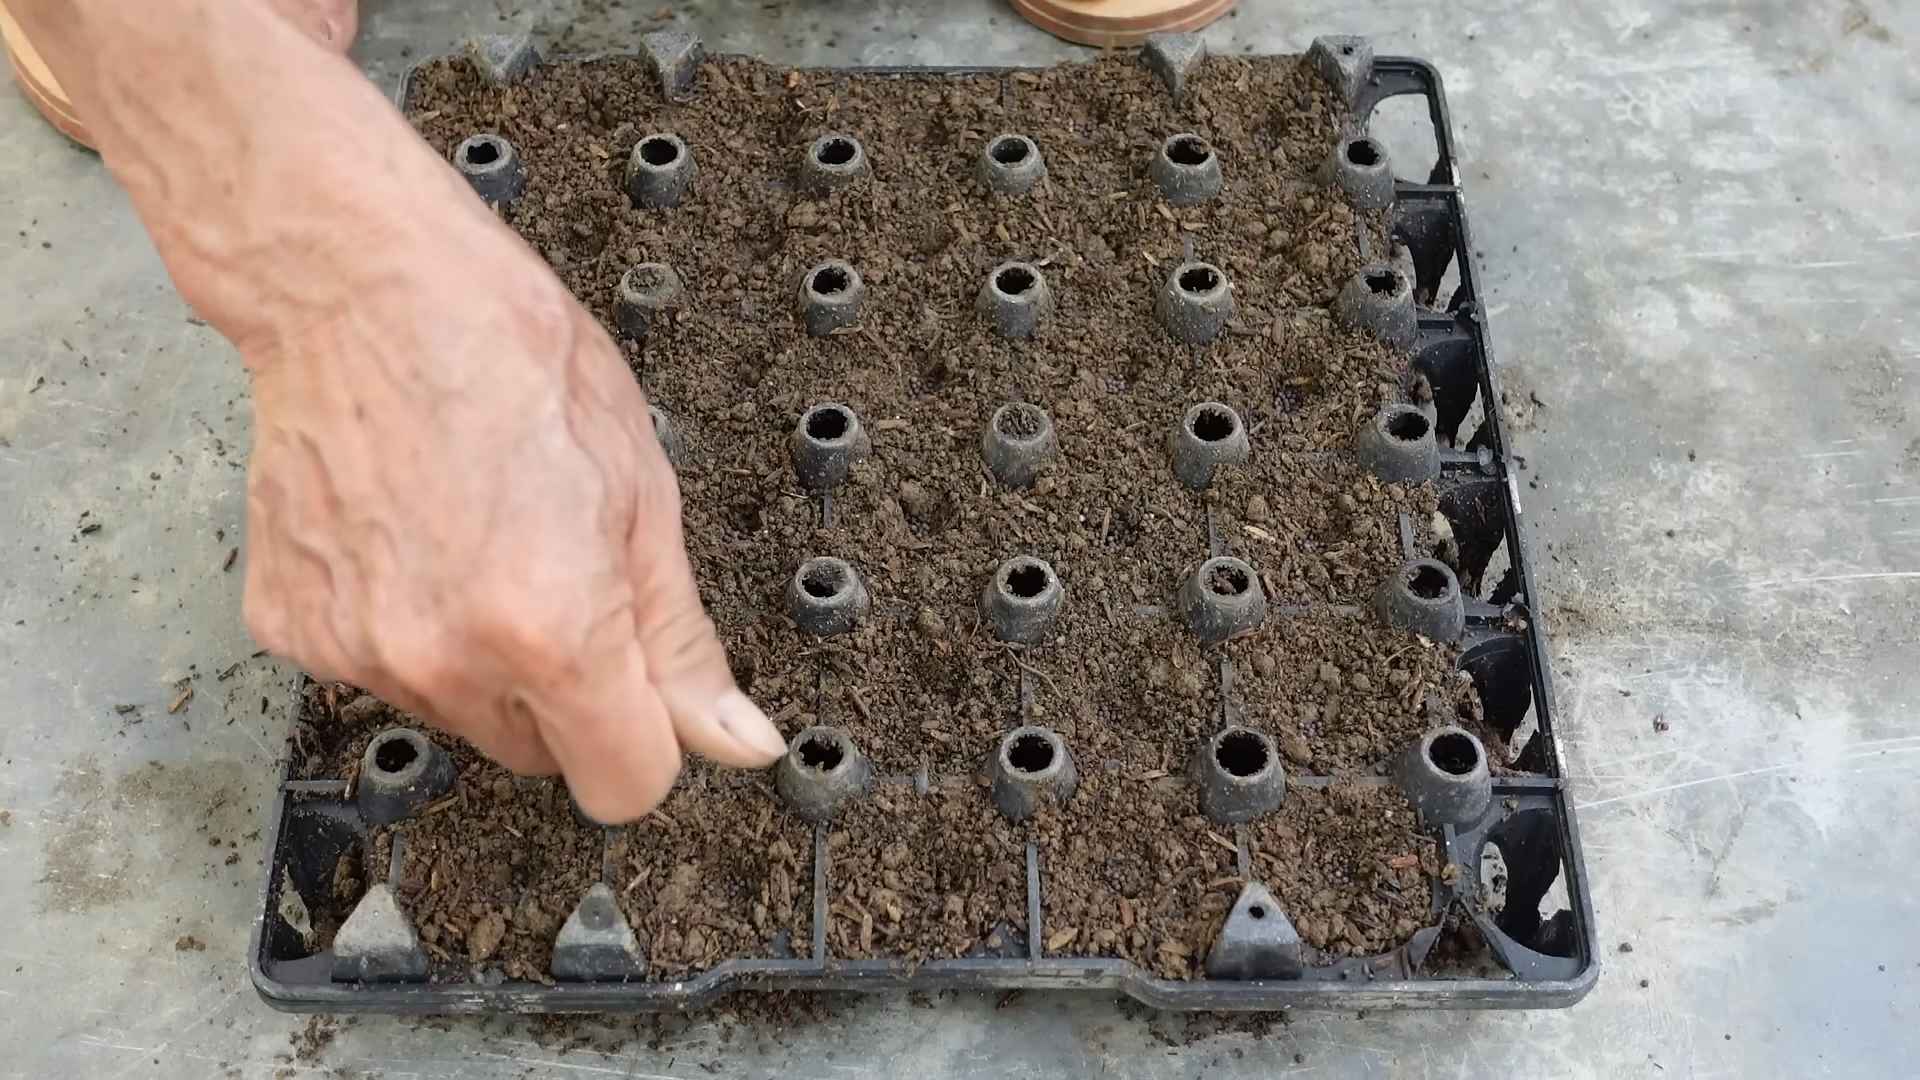
Phase 2: Starting Seeds (Indoor Method)
- Fill seed starting trays: Fill your seed starting trays with a seed starting mix. Don’t use garden soil, as it can be too dense and harbor diseases.
- Sow the seeds: Sow your Napa cabbage seeds about ¼ inch deep and about 1 inch apart. Gently firm the soil around the seeds.
- Water gently: Water the seeds thoroughly but gently, avoiding washing them away. Use a watering can with a fine rose.
- Provide warmth and light: Place the trays in a warm location (around 70-75°F) with plenty of light. A sunny windowsill or a grow light is ideal. You may need a grow light to supplement sunlight, especially during shorter days.
- Maintain moisture: Keep the soil consistently moist but not soggy. Allow the top inch of soil to dry slightly between waterings.
- Thin seedlings: Once the seedlings have developed their first true leaves (the leaves that appear after the cotyledons), thin them out to give each plant enough space to grow. Leave about 2 inches between seedlings.
- Harden off seedlings: Before transplanting outdoors, gradually acclimate your seedlings to outdoor conditions. This process, called hardening off, helps them withstand the shock of transplanting. Start by placing them outdoors for a few hours each day, gradually increasing the time over several days.
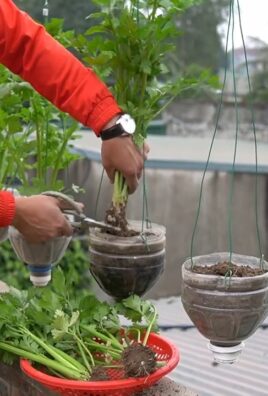
Phase 3: Transplanting and Growing
- Prepare the garden bed: Once the danger of frost has passed and your seedlings are hardened off, prepare your garden bed. Loosen the soil and remove any weeds.
- Dig planting holes: Dig holes that are deep and wide enough to accommodate your seedlings’ root balls. Space the holes 18-24 inches apart, depending on the variety of Napa cabbage you’re growing.
- Transplant seedlings: Carefully remove the seedlings from their trays, being careful not to damage their roots. Plant them in the holes, covering the roots with soil. Gently firm the soil around the plants.
- Water thoroughly: Water the newly transplanted seedlings deeply to help them settle in.
- Mulch: Apply a layer of mulch around the plants to help retain moisture, suppress weeds, and regulate soil temperature.
- Water regularly: Keep the soil consistently moist, especially during dry periods. Water deeply and less frequently rather than shallowly and often.
- Fertilize (optional): You can fertilize your Napa cabbage plants with a balanced fertilizer, following the package instructions. However, if you amended your soil well before planting, you may not need to fertilize.
- Pest and disease control: Regularly inspect your plants for pests and diseases. Take appropriate action if you find any problems. This might involve handpicking pests, using insecticidal soap, or applying a fungicide if necessary. Prevention is key – good air circulation and proper spacing can help minimize problems.
Phase 4: Harvesting
- Harvesting time: Napa cabbage is typically ready for harvest 70-80 days after transplanting. The heads should be firm and tightly packed.
- Harvesting method: Use a sharp knife to cut the head from the plant at the base. Leave some of the outer leaves on the plant if you wish, as they may continue to grow.
- Storage: Store your harvested Napa cabbage in the refrigerator for up to a week. You can also freeze it for longer storage.
Phase 5: Troubleshooting
Common Problems and Solutions:
- Yellowing leaves: This can be caused by nutrient deficiencies, pests, or diseases. Check your soil’s nutrient levels and look for signs of pests or diseases. Adjust your care accordingly.
- Bolting: Bolting (going to seed) occurs when the plant produces a flower stalk instead of a head. This is often caused by hot weather or long days. Choose a variety that is less prone to bolting, or plant in cooler weather.
- Pests: Common pests include aphids, cabbage worms, and slugs. Use appropriate pest control methods to manage these pests.
- Diseases: Diseases such as downy mildew and black rot can affect Napa cabbage. Ensure good air circulation and avoid overhead watering to minimize the risk of disease.
Remember to always research specific pest and disease control methods appropriate for your region and the severity of the problem.
Conclusion
So there you have it – your comprehensive guide to successfully planting Napa cabbage! This DIY approach to growing your own Napa cabbage offers unparalleled satisfaction and control over the entire process, from seed to harvest. You’ll be amazed by the superior flavor and freshness of homegrown Napa cabbage compared to store-bought varieties. The effort involved is minimal, especially when you follow the detailed steps outlined in this guide, and the rewards are immense. Beyond the delicious harvests, you’ll also experience the joy of nurturing life from seed, connecting with nature, and potentially saving money on your grocery bill. This Napa Cabbage Planting Guide empowers you to take charge of your food source and enjoy the fruits (or rather, vegetables!) of your labor. It’s a truly rewarding experience that we highly recommend to anyone with even a small patch of land or a container garden. Don’t be intimidated by the process; even beginner gardeners can achieve fantastic results with a little patience and care.
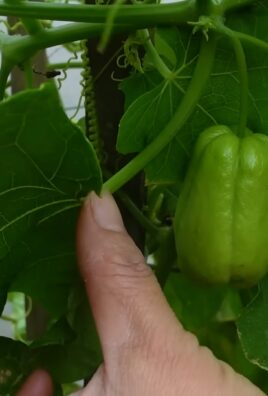
Beyond the basic techniques described, there are numerous ways to customize your Napa cabbage planting experience. Experiment with different companion plants to enhance growth and deter pests. Consider using organic fertilizers and pest control methods for a truly sustainable approach. You can also explore different varieties of Napa cabbage, each with its unique characteristics in terms of size, color, and flavor. Some varieties are better suited for specific climates, so research your local conditions to choose the best option for your garden. For those with limited space, vertical gardening techniques can be highly effective for growing Napa cabbage. And don’t forget the importance of proper soil preparation – a rich, well-draining soil is crucial for healthy growth. The possibilities are endless, and the journey of discovery is half the fun!
We encourage you to try this DIY Napa cabbage planting method and share your experiences with us. We’d love to hear about your successes, challenges, and any innovative techniques you’ve developed. Post your photos on social media using #NapaCabbageDIY and tag us – we can’t wait to see your bountiful harvests! Remember, the key to success lies in careful planning, consistent attention, and a touch of patience. With this guide as your companion, you’ll be well on your way to enjoying the freshest, most flavorful Napa cabbage you’ve ever tasted. So grab your seeds, get your hands dirty, and embark on this rewarding gardening adventure! You won’t regret it.
Frequently Asked Questions
What type of soil is best for growing Napa cabbage?
Napa cabbage thrives in loose, well-draining soil rich in organic matter. Amend heavy clay soils with compost or other organic materials to improve drainage and aeration. A slightly acidic to neutral pH (6.0-7.0) is ideal.
How much sunlight does Napa cabbage need?
Napa cabbage requires at least six hours of direct sunlight per day for optimal growth. Choose a location in your garden that receives ample sunlight, especially during the crucial early stages of growth.
When is the best time to plant Napa cabbage?
The best time to plant Napa cabbage depends on your climate. In cooler climates, spring and fall plantings are ideal. In warmer climates, fall planting is often preferred to avoid the intense summer heat. Check your local frost dates to determine the optimal planting time for your region.
How often should I water my Napa cabbage?
Consistent watering is crucial for healthy Napa cabbage growth. Water deeply and regularly, especially during dry periods. Aim to keep the soil consistently moist but not waterlogged. Mulching can help retain soil moisture and reduce the frequency of watering.
What are some common pests and diseases that affect Napa cabbage?
Common pests include aphids, cabbage worms, and slugs. Diseases such as black rot and downy mildew can also affect Napa cabbage. Regular monitoring and preventative measures, such as crop rotation and the use of organic pest control methods, are essential for maintaining healthy plants.
How long does it take for Napa cabbage to mature?
The time it takes for Napa cabbage to mature varies depending on the variety and growing conditions. Generally, it takes around 70-80 days from planting to harvest. Check the seed packet for specific maturity information for your chosen variety.
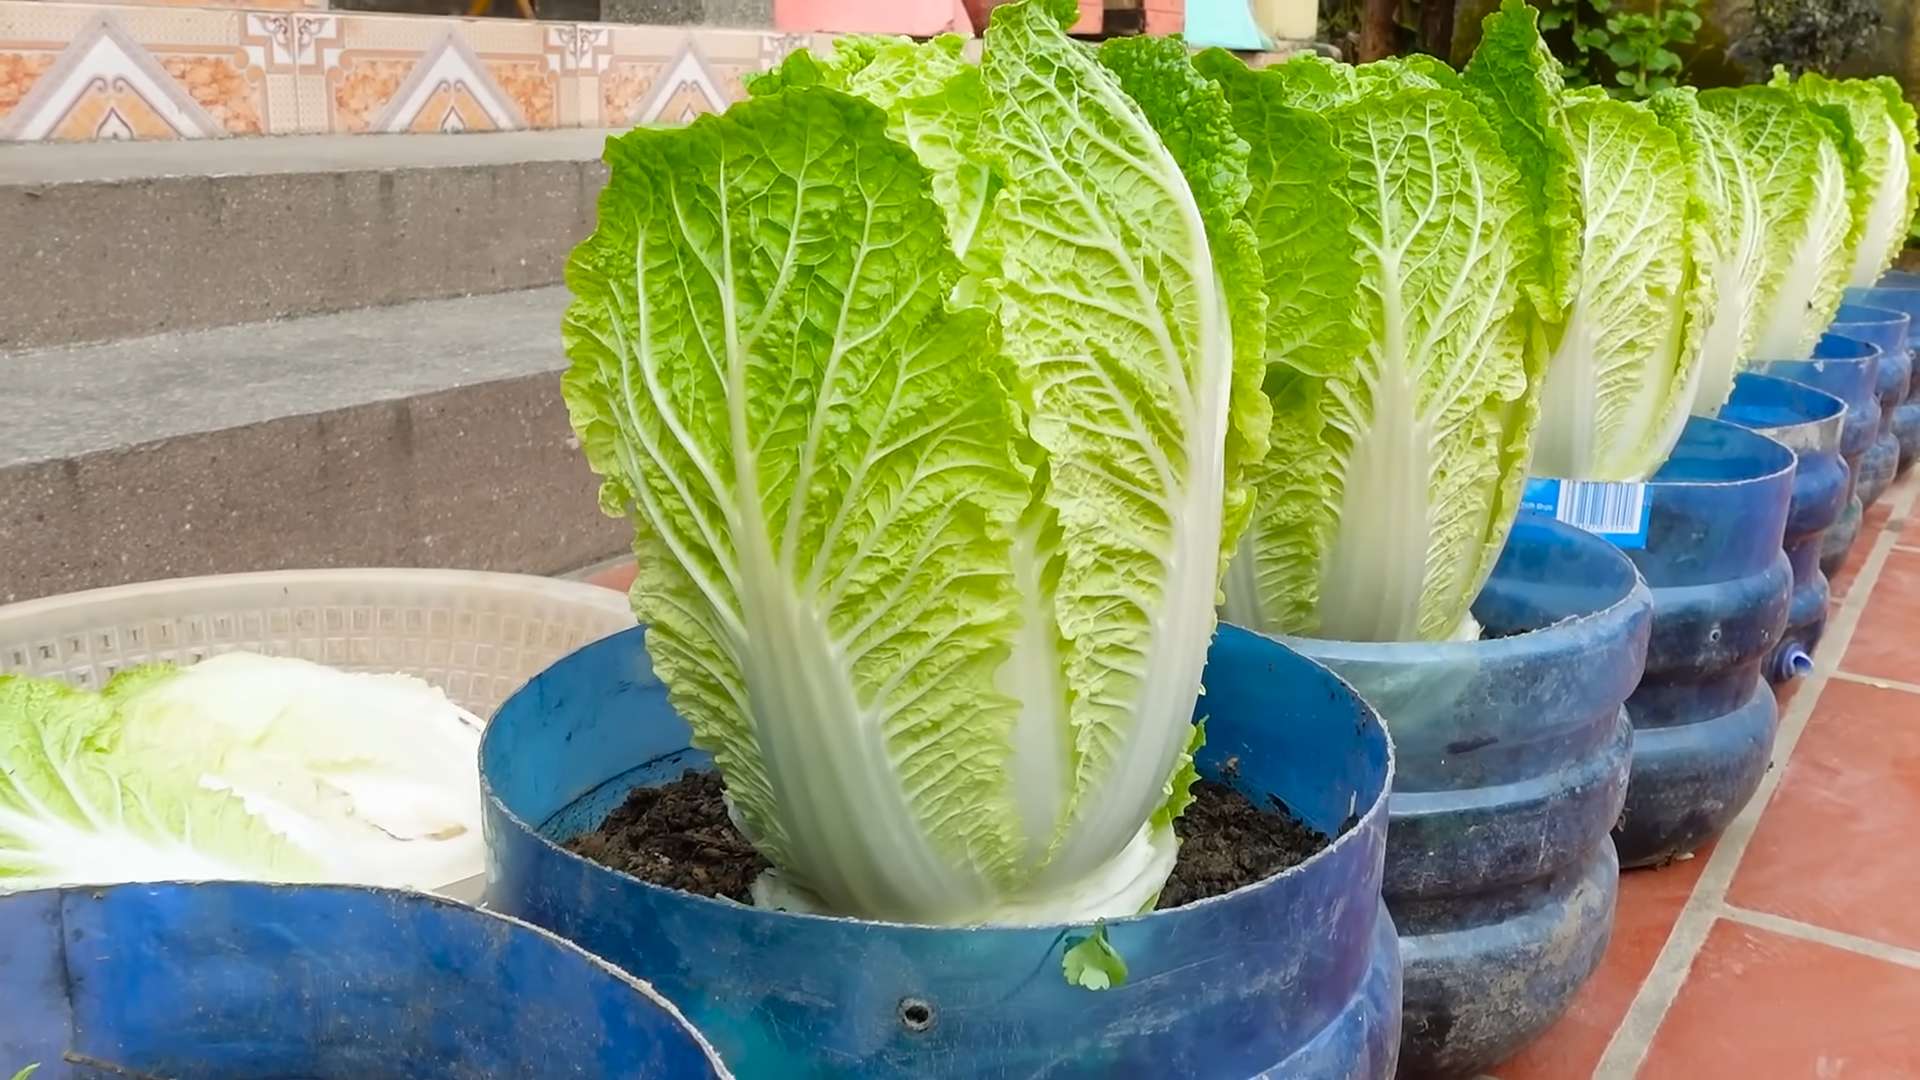
Can I grow Napa cabbage in containers?
Yes, you can successfully grow Napa cabbage in containers. Choose large containers (at least 12 inches in diameter) with adequate drainage holes. Use a high-quality potting mix and ensure consistent watering.
What should I do with my harvested Napa cabbage?
Harvested Napa cabbage can be stored in the refrigerator for up to a week. You can also freeze Napa cabbage for longer storage. Blanch the cabbage before freezing to maintain its quality and texture.
What are some creative ways to use Napa cabbage?
Napa cabbage is incredibly versatile! Use it in stir-fries, salads, slaws, kimchi, or as a filling for wraps and dumplings. Its mild flavor pairs well with a variety of ingredients and cuisines.
My Napa cabbage plants are not growing well. What could be the problem?
Several factors can affect Napa cabbage growth, including insufficient sunlight, poor soil drainage, inadequate watering, pest infestations, or disease. Review the growing conditions and troubleshoot potential problems. If you suspect a disease, consult a local gardening expert for advice.
Leave a Comment