
Cleaning with Dish Soap and Vinegar
Cleaning with dish soap and vinegar—it sounds simple, right? But trust me, this seemingly basic combination holds the key to unlocking a world of sparkling clean surfaces and a surprisingly eco-friendly approach to home gardening. I’ve been a gardener for years, and over time, I’ve discovered that some of the most effective cleaning solutions are the ones found right in your kitchen cupboard. This isn’t just about saving money; it’s about harnessing the power of readily available, natural ingredients to keep your gardening tools and equipment in tip-top shape.
The practice of using vinegar for cleaning dates back centuries, with evidence suggesting its use in ancient civilizations for its antiseptic and cleaning properties. Similarly, the use of soap for cleaning has a long and rich history, evolving from simple plant-based concoctions to the sophisticated formulas we use today. Combining these two powerhouse ingredients creates a surprisingly effective cleaning solution for various gardening needs.
Why You Need This DIY Cleaning Trick
Let’s face it: keeping your gardening tools clean is crucial. Dirty tools can harbor diseases and pests, potentially harming your plants and impacting the overall health of your garden. Cleaning with dish soap and vinegar offers a safe, effective, and affordable alternative to harsh chemical cleaners, protecting both your plants and the environment. This simple DIY solution will help you maintain your tools, pots, and even your greenhouse, ensuring a thriving and healthy garden all season long. I’ll show you exactly how to use this amazing cleaning duo for various gardening tasks, from cleaning your watering cans to disinfecting your seed trays. So, let’s dive into the details of cleaning with dish soap and vinegar and unlock the secrets to a cleaner, healthier garden!
Cleaning Your Entire Home with Dish Soap and Vinegar: A Deep Clean on a Budget
Dish soap and vinegar. Two pantry staples that are surprisingly powerful cleaning agents! I’m going to show you how I use them to tackle almost every cleaning task around my house, saving money and reducing harsh chemicals. Let’s get started!
Part 1: Gathering Your Supplies
- A bottle of your favorite dish soap (I prefer a fragrance-free one for sensitive skin and allergies)
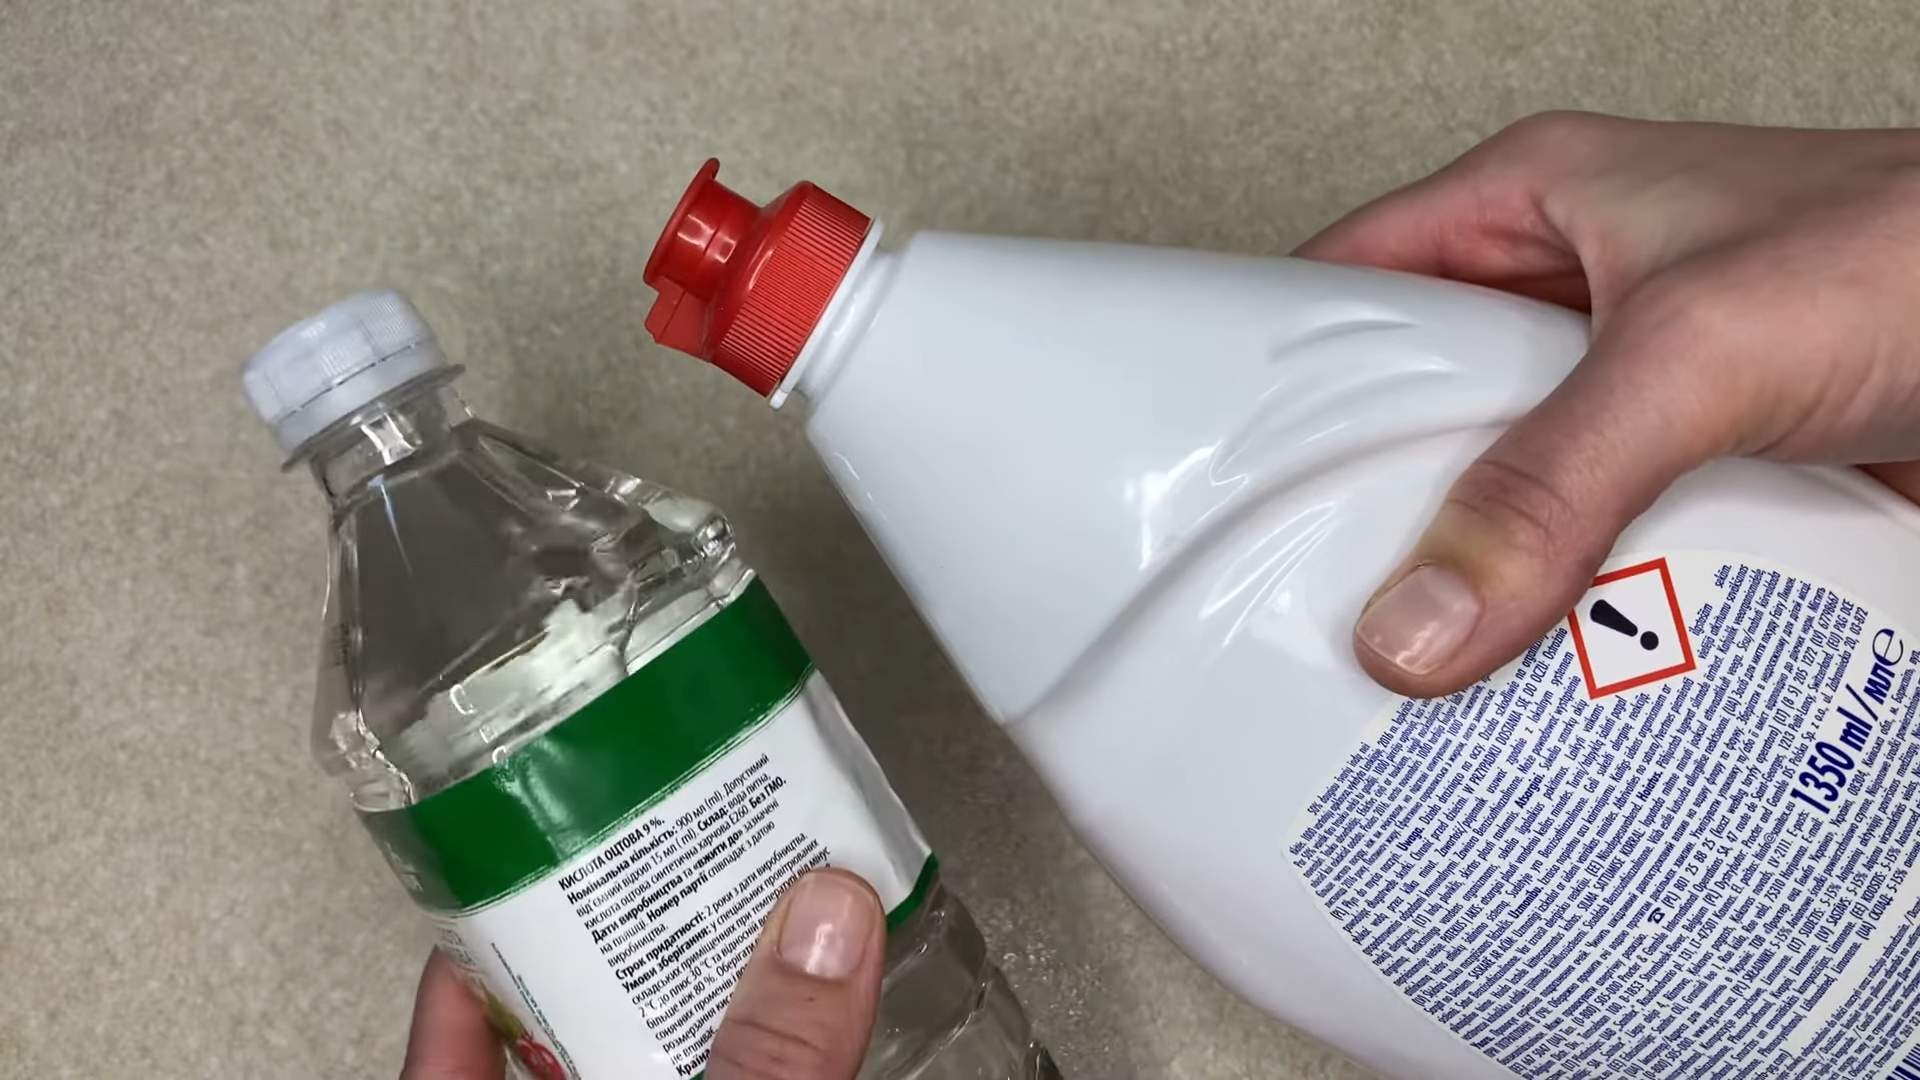
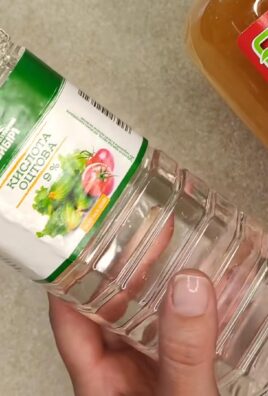
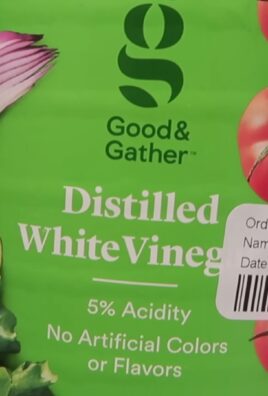
- White vinegar (distilled is best)
- Spray bottles (at least two, one for each solution)
- Microfiber cloths (these are amazing for cleaning and leave no lint)
- Buckets (one for rinsing cloths)
- Optional: Rubber gloves (to protect your hands)
- Optional: Baking soda (for extra scrubbing power)
Part 2: Making Your Cleaning Solutions
- Dish Soap Solution: Fill one spray bottle about halfway with warm water. Add about a tablespoon of dish soap. Shake well to combine. This solution is great for general cleaning, tackling grease, and wiping down surfaces.
- Vinegar Solution: Fill your second spray bottle with undiluted white vinegar. This is a powerful disinfectant and cleaner, perfect for cutting through grime and removing soap scum. Caution: Vinegar has a strong smell, so open windows for ventilation.
Part 3: Cleaning Your Kitchen
- Countertops: Spray your dish soap solution onto your countertops. Wipe clean with a microfiber cloth. For stubborn stains, let the solution sit for a few minutes before wiping.
- Sink: For a sparkling sink, spray with the vinegar solution and let it sit for 10-15 minutes. Scrub with a sponge or microfiber cloth. Rinse thoroughly. For particularly stubborn stains, sprinkle baking soda on the sink before spraying with vinegar – the fizzing action helps lift grime.
- Stovetop: For a gas stovetop, spray the dish soap solution on the burners and grates. Let it sit for a few minutes, then scrub with a cloth or sponge. For a glass or electric stovetop, use the same method, being careful not to scratch the surface. Remember to always unplug electrical appliances before cleaning.
- Microwave: Fill a microwave-safe bowl with a cup of water and a tablespoon of vinegar. Microwave on high for 5 minutes. The steam will loosen food splatters. Wipe clean with a damp cloth.
- Oven (light cleaning): For a quick clean, spray the inside of your oven with the vinegar solution. Let it sit for 30 minutes, then wipe clean. For a deeper clean, you might need a more intensive method, but this is great for maintaining cleanliness between deep cleans.
- Dishwasher (exterior): Wipe down the exterior of your dishwasher with the dish soap solution. Pay attention to the handle and control panel.
- Refrigerator (exterior): Wipe down the exterior of your refrigerator with the dish soap solution. Pay attention to the handle and any spills.
Part 4: Cleaning Your Bathroom
- Toilet: Pour a cup of vinegar into the toilet bowl. Let it sit for 30 minutes, then scrub with a toilet brush. Flush.
- Shower and Tub: Spray the shower and tub with the vinegar solution. Let it sit for 15-20 minutes. Scrub with a sponge or brush. Rinse thoroughly. For soap scum buildup, you may need to repeat this process or use a bit of baking soda for extra scrubbing power.
- Bathroom Sink and Countertop: Spray with the dish soap solution, wipe clean, and rinse.
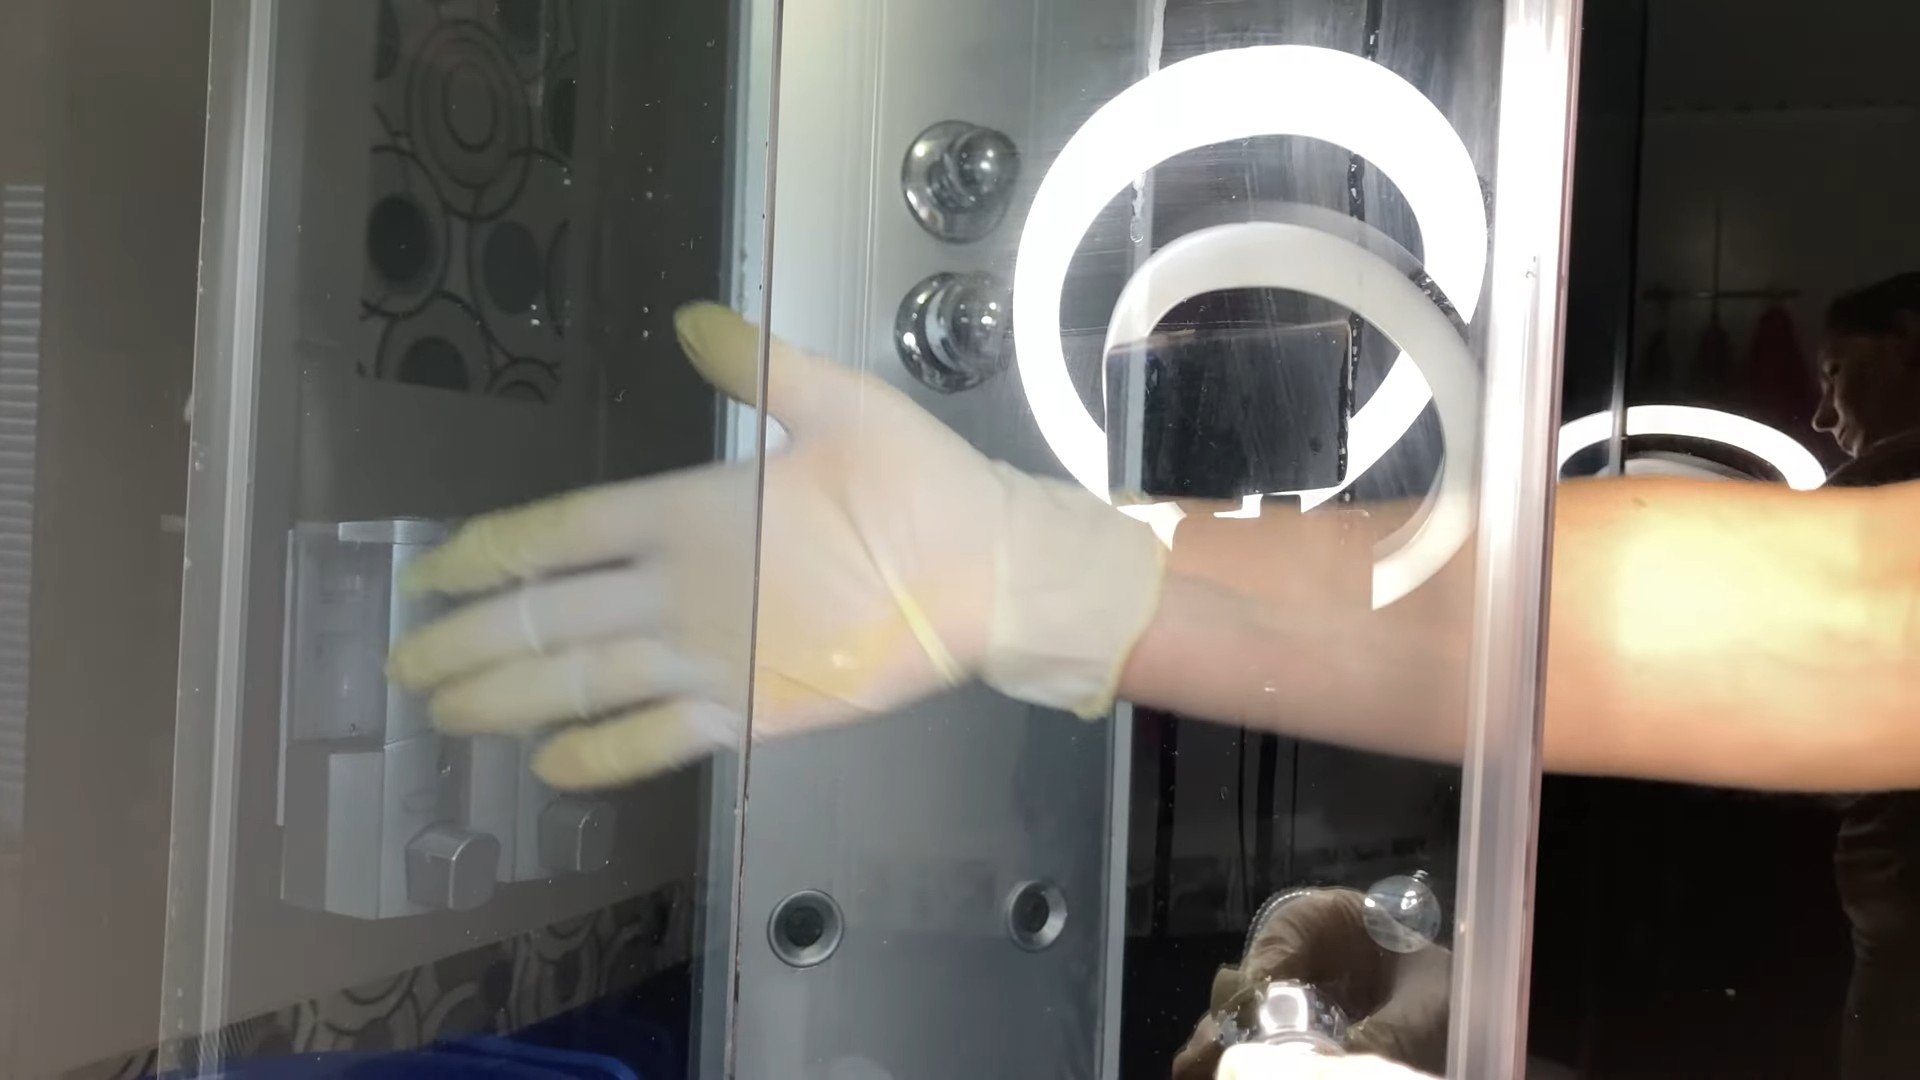
- Mirrors: Spray with the vinegar solution and wipe clean with a microfiber cloth for streak-free shine. Tip: Use a separate cloth for mirrors to avoid transferring any residue.
- Floor: For tile floors, mop with a solution of warm water and a small amount of vinegar. For other types of flooring, check the manufacturer’s cleaning instructions.
Part 5: Cleaning Other Areas of Your Home
- Floors (general): For most hard floors, a solution of warm water and a small amount of dish soap works well. Always test a small, inconspicuous area first to ensure it doesn’t damage the finish.
- Walls: For light cleaning, use the dish soap solution. For stubborn marks, try a paste of baking soda and water.
- Windows and Mirrors: The vinegar solution is excellent for streak-free cleaning. Spray, wipe with a clean microfiber cloth, and buff dry with a clean, dry cloth for extra shine.
- Baseboards: Wipe down baseboards with the dish soap solution. A damp cloth is usually sufficient.
- Light Switches and Door Handles: These high-touch areas should be cleaned regularly. Use the dish soap solution for a quick clean.
Part 6: Important Reminders
- Always test any cleaning solution on a small, inconspicuous area first to ensure it doesn’t damage the surface.
- Ventilate the area well when using vinegar, as it has a strong odor.
- Rinse thoroughly after cleaning with vinegar or dish soap to remove any residue.
- For heavily soiled areas, you may need to repeat the cleaning process or use a more abrasive cleaning method.
- Dispose of cleaning solutions properly.
Part 7: Beyond the Basics
Once you’re comfortable with the basics, you can experiment with adding essential oils to your cleaning solutions for a pleasant scent. Just remember to use a small amount, as essential oils can sometimes damage certain surfaces.
Remember, consistency is key! Regular cleaning with these simple solutions will keep your home sparkling clean without breaking the bank or exposing yourself to harsh chemicals.
Conclusion
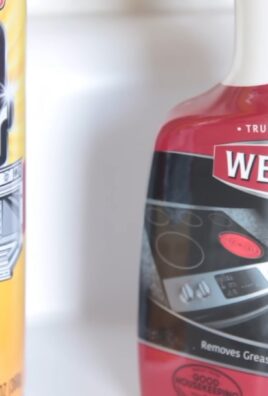
This DIY cleaning solution using dish soap and vinegar is a game-changer for anyone looking for a powerful, eco-friendly, and budget-friendly alternative to harsh commercial cleaners. It’s a must-try because it effectively tackles a wide range of cleaning tasks, from tackling greasy kitchen messes to sparkling bathroom surfaces. The combination of dish soap’s grease-cutting power and vinegar’s natural disinfecting properties creates a cleaning duo that’s surprisingly effective. You’ll be amazed at how well it cuts through grime without leaving behind harmful chemical residues. Plus, the cost savings are significant – you likely already have these ingredients in your pantry! This simple cleaning method is not only effective but also contributes to a healthier home environment for you and your family.
Beyond the basic recipe, there are numerous ways to customize this cleaning solution to suit your specific needs. For tougher stains or heavily soiled areas, you can increase the concentration of either the dish soap or the vinegar. Experiment with different types of dish soap – some are formulated with extra grease-cutting power, while others are more gentle. For a more pleasant scent, consider adding a few drops of your favorite essential oil, such as lemon, tea tree, or lavender. Remember to always test any new variation on a small, inconspicuous area first to ensure it doesn’t damage the surface. You can also adapt this solution for specific cleaning tasks. For example, a slightly diluted version can be used for everyday dusting, while a stronger concentration can be employed for deep cleaning the oven or tackling stubborn bathtub grime. The versatility of this dish soap and vinegar cleaning solution is truly remarkable.
We strongly encourage you to try this simple yet effective DIY cleaning method. Share your experiences and results with us! Let us know which surfaces you cleaned, how effective you found the solution, and any variations you experimented with. Your feedback will help others discover the power of this amazing cleaning duo. Join the growing community of people who are embracing natural and sustainable cleaning practices. Don’t be afraid to experiment and find what works best for you and your home. This is more than just a cleaning solution; it’s a step towards a healthier, greener, and more affordable way of keeping your home sparkling clean.
Frequently Asked Questions
What types of surfaces can I clean with this solution?
This dish soap and vinegar cleaning solution is safe for use on a variety of surfaces, including countertops (avoid granite and marble), sinks, stovetops (excluding gas stovetops), and most bathroom fixtures. However, it’s crucial to always test a small, inconspicuous area first to ensure it doesn’t damage the surface. Avoid using it on delicate surfaces like polished wood or certain types of stone.
Can I use this solution on my floors?
Yes, you can use a diluted version of this solution on most hard-surface floors, such as tile, linoleum, and sealed hardwood. Always rinse thoroughly after cleaning to prevent residue buildup. Avoid using it on unsealed wood floors or carpets.
Is this solution safe for my pets?
While the ingredients are generally considered safe, it’s always best to rinse thoroughly after cleaning any area where your pets might come into contact. Keep the solution out of reach of pets to prevent accidental ingestion.
How long does the solution last?
The solution can be stored in a tightly sealed spray bottle for several weeks. However, it’s best to make fresh solution every few weeks to ensure its effectiveness.
What if I don’t have white vinegar?
While white vinegar is preferred for its lack of color and odor, you can substitute apple cider vinegar or another type of vinegar. However, be aware that these may leave a slight scent or discoloration.
Can I use this on my windows and mirrors?
Yes, a diluted version of this solution can be used to clean windows and mirrors. However, ensure you thoroughly rinse and dry the surfaces to prevent streaking. For best results, use a microfiber cloth.
Will this solution damage my appliances?
Generally, this solution is safe for most appliances, but always test a small area first. Avoid using it on delicate electronic components or screens. For ovens, focus on cleaning the interior surfaces and avoid getting the solution into any electrical components.
What are the benefits of using this DIY cleaner compared to commercial cleaners?
This DIY cleaner offers several advantages over commercial cleaners. It’s significantly cheaper, environmentally friendly, and avoids the use of harsh chemicals that can be harmful to your health and the environment. It’s also highly effective in cleaning various surfaces.
Can I use this solution on my microwave?
Yes, this solution is effective for cleaning the inside of your microwave. Simply spray the solution inside, let it sit for a few minutes, then wipe clean.
How do I dispose of leftover solution?
The solution is safe to pour down the drain in small quantities. However, avoid pouring large amounts down the drain at once, as it could potentially clog your pipes.
Leave a Comment