
Growing Healthy Backyard Kohlrabi might sound intimidating, but trust me, it’s easier than you think! Have you ever walked through a farmer’s market and been intrigued by that alien-looking vegetable with stems sprouting all around? That’s kohlrabi, and it’s surprisingly delicious and incredibly rewarding to grow yourself. For centuries, kohlrabi has been a staple in European and Asian cuisines, prized for its crisp texture and mild, slightly sweet flavor. Think of it as a cross between a turnip and a cabbage, but with a milder, more approachable taste.
But why should you bother with growing your own kohlrabi? Well, for starters, store-bought kohlrabi can sometimes be tough and woody, especially if it’s been sitting on the shelf for a while. When you grow your own, you get to harvest it at its peak of freshness, ensuring a tender and flavorful treat. Plus, there’s nothing quite like the satisfaction of nurturing a plant from seed to table! In this article, I’m going to share my favorite DIY tricks and hacks for growing healthy backyard kohlrabi, even if you’re a complete beginner. We’ll cover everything from choosing the right variety to protecting your plants from pests, so you can enjoy a bountiful harvest of this unique and delicious vegetable. Get ready to get your hands dirty and discover the joy of homegrown kohlrabi!

Growing Kohlrabi in Your Own Garden: A Comprehensive DIY Guide
Hello, garden friends! I love harvesting fresh vegetables directly from my garden, and kohlrabi is no exception. It’s crisp, delicious, and surprisingly easy to grow. In this article, I’ll show you how to grow your own healthy and tasty kohlrabi in your garden. Don’t worry, it’s easier than you think!
What You Need for Growing Kohlrabi
Before we get started, here is a list of things you will need:
- Kohlrabi seeds: Choose a variety that you like. There are different colors and sizes.
- Seed starting mix: For starting seeds indoors.
- Sowing containers: Small pots or seed trays.
- Garden soil: Well-prepared soil in the garden.
- Compost or organic fertilizer: For soil improvement.
- Watering can or garden hose: For watering.
- Garden tools: Spade, rake, trowel.
- Slug pellets (optional): For protection against snails and slugs.
- Mulch material (optional): Straw or grass clippings to keep the soil moist.
The Right Time for Sowing
The timing of sowing depends on when you want to harvest. Kohlrabi is a relatively fast-growing vegetable, so you can grow it several times a year.
- Early sowing (February/March): For an early harvest in early summer. This sowing is done indoors or in a greenhouse.
- Direct sowing (April/May): For a summer harvest.
- Late sowing (July/August): For a fall harvest.
Sowing Indoors (Starting Seeds)
Starting seeds indoors is ideal if you want to harvest early or live in a region with short summers.
- Preparation of sowing containers: Fill the seed pots or trays with seed starting mix. Lightly press the soil down.
- Sowing the seeds: Place 1-2 seeds per pot about 1 cm (0.4 inches) deep into the soil.
- Covering the seeds: Cover the seeds with a thin layer of soil and moisten them gently with a spray bottle.
- Location: Place the pots in a bright and warm place (approx. 18-20°C / 64-68°F). A windowsill or a heated greenhouse is ideal.
- Moisture: Keep the soil moist, but not wet. Avoid waterlogging.
- Germination: The seeds usually germinate within 7-14 days.
- Pricking out: As soon as the seedlings have 2-3 true leaves (in addition to the seed leaves), you can prick them out. This means you transplant each seedling into its own, larger pot.
Direct Sowing in the Garden
When the weather is warm enough (soil temperature at least 8°C / 46°F), you can also sow kohlrabi directly into the garden bed.
- Soil preparation: Loosen the soil thoroughly and remove weeds. Work in compost or organic fertilizer to improve the soil.
- Making seed drills: Use a rake or a stick to make shallow furrows (approx. 1 cm deep) 20-30 cm (8-12 inches) apart.
- Sowing the seeds: Place the seeds in the furrows, about 5 cm (2 inches) apart.
- Covering the seeds: Cover the seeds with soil and press them down lightly.
- Watering: Water the furrows gently.
- Marking: Mark the rows so you know where you have sown.
- Thinning: Once the seedlings are large enough, thin them out so that the plants are about 20-30 cm (8-12 inches) apart. You can carefully replant the removed seedlings.
Transplanting the Started Kohlrabi Plants
Once the kohlrabi seedlings started indoors are strong enough (approx. 10-15 cm / 4-6 inches high) and there is no more danger of frost, you can transplant them into the garden bed.
- Preparing the bed: Loosen the soil and remove weeds.
- Digging planting holes: Dig planting holes 20-30 cm (8-12 inches) apart.
- Placing the plants: Carefully place the kohlrabi plants in the holes. Make sure the top of the root ball is level with the soil surface.
- Filling in: Fill the holes with soil and press it down lightly.
- Watering: Water the plants thoroughly.
Caring for Kohlrabi
Proper care is crucial for a rich harvest.
- Watering: Kohlrabi needs regular water, especially during dry periods. Make sure the soil is always slightly moist. However, avoid waterlogging.
- Weed control: Remove weeds regularly, as they take nutrients and water from the kohlrabi.
- Fertilizing: Fertilize the kohlrabi regularly with compost, organic fertilizer, or a special vegetable fertilizer. Pay attention to the dosage instructions.
- Pest protection: Kohlrabi can be attacked by various pests, such as cabbage whites, flea beetles, and slugs.
- Cabbage whites: Protect the plants with a vegetable protection net.
- Flea beetles: Keep the soil moist and sprinkle wood ash around the plants.
- Slugs: Use slug pellets or pick the slugs off.
- Mulching: Mulch the soil around the kohlrabi plants with straw or grass clippings. This keeps the soil moist, suppresses weeds, and protects against soil splash.
Harvesting Kohlrabi
The time of harvest depends on the variety and growing conditions. As a rule, kohlrabi is ready for harvest 6-8 weeks after sowing.
- Size: Harvest the kohlrabi when the bulbs have reached the desired size (approx. 8-10 cm / 3-4 inches in diameter).
- Firmness: The bulbs should be firm and plump.
- Harvesting: Cut the bulb with a sharp knife just above the ground.
- Storage: Kohlrabi can be stored in the refrigerator for a few days. Remove the leaves before storing.
Common Problems and Solutions
- Kohlrabi splits: Irregular watering can cause the bulbs to split. Ensure a consistent water supply.
- Kohlrabi becomes woody: Harvesting too late or drought can cause the bulbs to become woody. Harvest the kohlrabi on time and ensure sufficient water.
- Pests: As already mentioned, various pests can attack kohlrabi. Check the plants regularly and take action if necessary.
Variety Recommendations
There are many different kohlrabi varieties. Here are some recommendations:
‘Blauer Delikatess’: An early, blue variety with a mild taste.
‘Delikatess Weisser’: An early, white variety with a mild taste.
‘Superschmelz’: A very large, white variety that does not become woody.
Conclusion
So, there you have it! Growing healthy backyard kohlrabi isn’t some gardener’s secret, but a surprisingly straightforward and rewarding endeavor. From seed to harvest, the process is filled with opportunities to connect with nature and enjoy the fruits (or rather, the bulbs!) of your labor. We’ve covered everything from selecting the right varieties and preparing your soil to warding off pests and knowing exactly when to harvest for peak flavor.
But why is this DIY approach to growing kohlrabi a must-try? Simply put, it’s about control, freshness, and flavor. Store-bought kohlrabi, while convenient, often lacks the vibrant taste and crisp texture of homegrown varieties. By cultivating your own, you dictate the growing conditions, ensuring your kohlrabi is free from unwanted chemicals and harvested at its prime. Plus, there’s an undeniable satisfaction in nurturing a plant from seed to table.
Don’t be afraid to experiment! Consider these variations to personalize your kohlrabi growing experience:
* **Succession Planting:** Plant seeds every few weeks to ensure a continuous harvest throughout the growing season. This is especially useful if you have a small garden and want to maximize your yield.
* **Companion Planting:** Pair your kohlrabi with beneficial companions like chamomile, dill, or onions to deter pests and improve growth.
* **Colored Varieties:** Explore different kohlrabi varieties beyond the standard green and purple. ‘Superschmelz’ is known for its enormous size and mild flavor, while ‘White Vienna’ is a classic choice for its crisp texture.
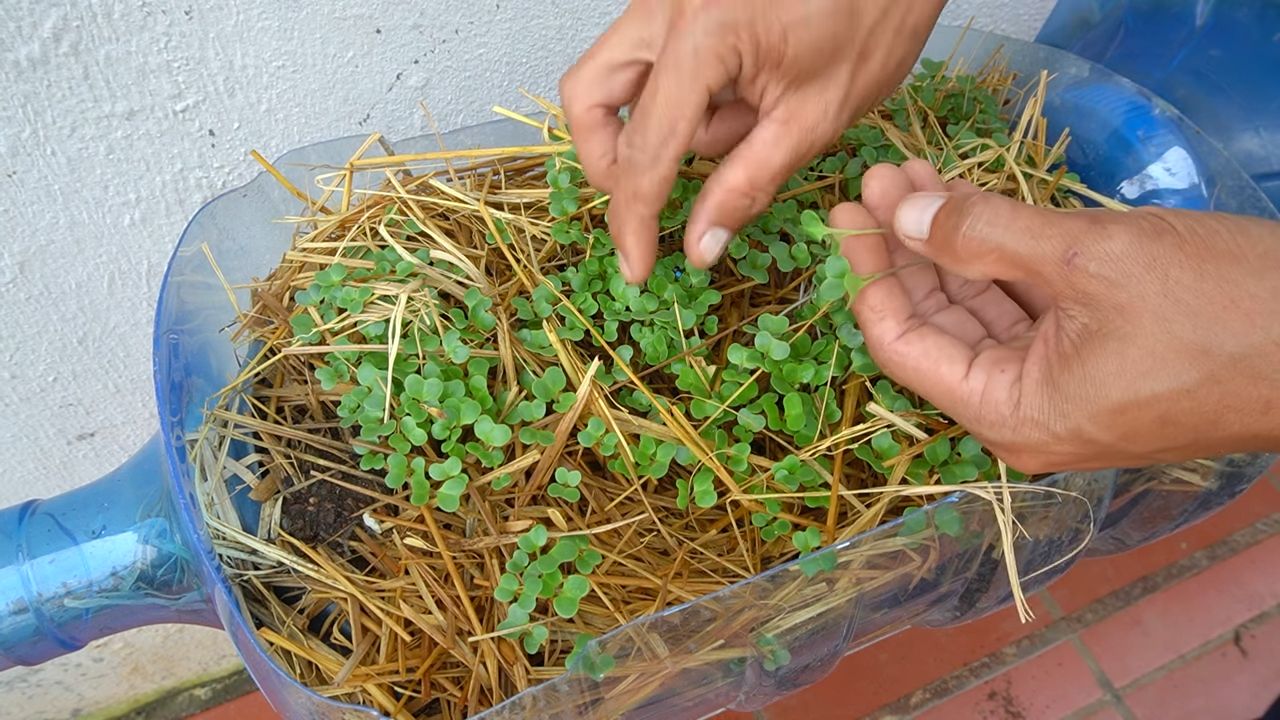
* **Microgreens:** Even if you don’t have a garden, you can grow kohlrabi microgreens indoors for a nutritious and flavorful addition to salads and sandwiches.
Growing your own kohlrabi is more than just a gardening project; it’s an investment in your health, your taste buds, and your connection to the natural world. It’s a chance to learn, to experiment, and to enjoy the unparalleled flavor of freshly harvested produce.
We wholeheartedly encourage you to give this DIY trick a try. Start small, be patient, and don’t be afraid to make mistakes. Gardening is a journey, and every challenge is an opportunity to learn and grow.
Once you’ve harvested your first crop of homegrown kohlrabi, we’d love to hear about your experience! Share your tips, tricks, and favorite recipes in the comments below. Let’s build a community of kohlrabi enthusiasts and inspire others to discover the joys of growing their own food. Happy gardening!
Frequently Asked Questions (FAQs)
What is the best time of year to plant kohlrabi?
The ideal time to plant kohlrabi depends on your climate. In cooler regions with short summers, start seeds indoors 4-6 weeks before the last expected frost and transplant them outdoors once the soil has warmed up. In warmer regions with mild winters, you can plant kohlrabi in the fall for a winter harvest. Generally, kohlrabi thrives in cool weather, so avoid planting during the hottest months of the year. Aim for planting when soil temperatures are consistently between 60°F and 70°F (15°C and 21°C).
How much sunlight does kohlrabi need?
Kohlrabi requires at least 6 hours of direct sunlight per day to thrive. Choose a planting location that receives ample sunlight throughout the day. If you live in a particularly hot climate, some afternoon shade can be beneficial to prevent the bulbs from bolting (going to seed prematurely).
What kind of soil is best for growing kohlrabi?
Kohlrabi prefers well-drained, fertile soil that is rich in organic matter. Amend your soil with compost or well-rotted manure before planting to improve drainage and nutrient content. A slightly acidic to neutral soil pH of 6.0 to 7.5 is ideal. You can test your soil pH using a soil testing kit and adjust it accordingly with lime (to raise pH) or sulfur (to lower pH).
How often should I water kohlrabi?
Kohlrabi needs consistent moisture to develop plump, juicy bulbs. Water deeply and regularly, especially during dry periods. Aim to keep the soil consistently moist but not waterlogged. Mulching around the plants can help retain moisture and suppress weeds. A good rule of thumb is to water when the top inch of soil feels dry to the touch.
What are some common pests and diseases that affect kohlrabi?
Common pests that can affect kohlrabi include cabbage worms, aphids, flea beetles, and cabbage root maggots. Diseases include clubroot, black rot, and downy mildew. To prevent pest and disease problems, practice crop rotation, use row covers to protect plants from insects, and choose disease-resistant varieties. Regularly inspect your plants for signs of pests or diseases and take appropriate action, such as hand-picking pests, using insecticidal soap, or applying fungicides.
When is kohlrabi ready to harvest?
Kohlrabi is typically ready to harvest when the bulbs are about 2-3 inches in diameter. The exact size will depend on the variety. Harvest kohlrabi before the bulbs become too large, as they can become tough and woody. To harvest, simply cut the bulb from the stem just above the soil line.
Can I eat the leaves of kohlrabi?
Yes, the leaves of kohlrabi are edible and nutritious! They can be eaten raw in salads or cooked like spinach or kale. Choose young, tender leaves for the best flavor and texture. Older leaves may be tougher and more bitter.
How do I store kohlrabi after harvesting?
Store kohlrabi bulbs in the refrigerator for up to several weeks. Remove the leaves before storing, as they can draw moisture from the bulbs. Place the bulbs in a plastic bag or container to prevent them from drying out.
My kohlrabi plants are bolting (going to seed). What can I do?
Bolting is often caused by stress, such as hot weather, inconsistent watering, or poor soil. To prevent bolting, choose bolt-resistant varieties, provide consistent moisture, and protect plants from extreme temperatures. If your plants do bolt, you can still harvest the leaves and use them in salads or cooked dishes. The bulbs may become tough and bitter, but they are still edible.
Can I grow kohlrabi in containers?
Yes, kohlrabi can be successfully grown in containers. Choose a container that is at least 12 inches deep and wide to provide enough room for the roots to grow. Use a well-draining potting mix and provide regular watering and fertilization. Container-grown kohlrabi may need more frequent watering than plants grown in the ground.
Leave a Comment