
Soil bags for corn – ever thought about growing your own sweet, juicy corn right in your backyard, even if you don’t have a sprawling farm? I know, it sounds almost too good to be true, right? But trust me, it’s totally achievable with a few clever DIY tricks! Forget the image of endless fields; we’re bringing the farm to you, one soil bag at a time.
Growing corn has deep roots (pun intended!) in human history. It was a staple crop for ancient civilizations in the Americas, providing sustenance and playing a vital role in their cultures. Now, centuries later, we’re adapting those agricultural traditions to fit our modern lives. Think of it as a mini-homage to our ancestors, but with a modern, space-saving twist.
Why should you try this DIY hack? Well, for starters, imagine the satisfaction of biting into corn you grew yourself – the taste is simply unmatched! Plus, in a world where we’re increasingly conscious of where our food comes from, growing your own corn offers a fantastic way to connect with nature and ensure you’re eating fresh, healthy produce. And let’s be honest, who wouldn’t want to impress their friends and family with their green thumb? This article will guide you through the process of using soil bags for corn, making it easy and accessible for everyone, regardless of their gardening experience. Let’s get growing!
DIY Corn Cultivation in a Sack: Your Own Little Cornfield for Balcony and Garden
Hey folks! Do you fancy fresh, homegrown corn but don’t have a huge field available? No problem! I’ll show you how you can easily grow corn in sacks. This is perfect for balconies, patios, or small gardens. It’s super easy and a lot of fun!
What you need:
- Corn seeds: Choose a variety that is suitable for growing in containers. Dwarf corn varieties are ideal.
- Large, sturdy sacks: Use jute sacks, grow bags, or even sturdy trash bags (make sure they are UV-resistant!). The sacks should have a capacity of at least 60 liters.
- High-quality potting soil: A mixture of garden soil, compost, and coconut fiber is perfect.
- Drainage material: Expanded clay, gravel, or broken pottery for the bottom of the sacks.
- Fertilizer: Slow-release fertilizer or liquid fertilizer for corn.
- Watering can or hose: For watering your corn plants.
- Knife or scissors: For cutting the sacks (if necessary).
- Optional: A trellis or support if your corn variety grows very tall.
Why grow corn in a sack?
- Space-saving: Ideal for small gardens, balconies, and patios.
- Flexible: You can easily move the sacks to find the best location for your plants.
- Less weeding: The sacks reduce weed growth.
- Better control: You have more control over soil quality and watering.
- Fresh corn: Enjoy the taste of homegrown corn!
Step-by-Step Guide: Corn Cultivation in a Sack
1. Preparing the Sacks
- Select sacks: Choose the sacks you want to use. Make sure they are sturdy and large enough. Jute sacks are a great, natural option, but plastic grow bags also work very well. If you use trash bags, make sure they are UV-resistant so they don’t disintegrate in the sun.
- Create drainage: Cut a few small holes in the bottom of the sacks to allow excess water to drain. Then, fill a layer of drainage material (expanded clay, gravel, or broken pottery) at the bottom of the sacks. This layer should be about 5-10 cm thick. This prevents waterlogging, which can be harmful to corn.
- Fill the sacks: Fill the sacks with the potting soil. Leave about 10-15 cm of space at the top so you can water later without the soil overflowing. The soil should be loose and well-aerated.
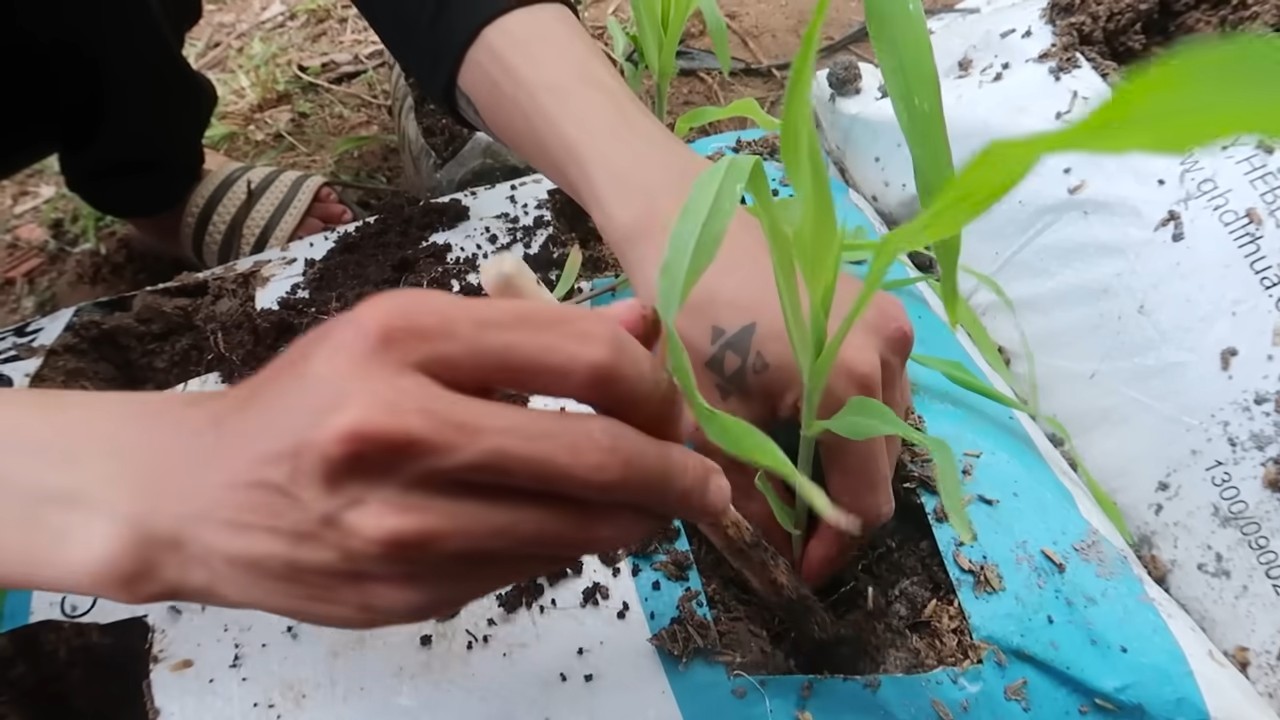
2. Sowing the Corn Seeds
- Prepare seeds (optional): You can soak the corn seeds in lukewarm water for a few hours before sowing. This speeds up germination.
- Sowing: Use your finger to make small holes (about 2-3 cm deep) in the soil. The distance between the holes should be about 20-25 cm. Place 2-3 corn seeds in each hole. This increases the probability that at least one seed will germinate.
- Close the holes: Cover the seeds with soil and press down lightly.
- Watering: Water the soil gently so that it is moist but not wet.
3. Caring for the Corn Plants
- Location: Place the sacks in a sunny location. Corn needs at least 6-8 hours of sun per day to grow well.
- Watering: Water the corn plants regularly, especially during dry periods. The soil should always be slightly moist, but not wet. Check the moisture of the soil by sticking your finger a few centimeters deep into the soil.
- Fertilizing: Fertilize the corn plants regularly with a slow-release fertilizer or liquid fertilizer for corn. Start fertilizing once the plants are about 15-20 cm high. Follow the instructions on the fertilizer packaging.
- Remove weeds: Regularly remove any weeds that grow in the sacks. Weeds compete with the corn plants for nutrients and water.
- Support (optional): If your corn variety grows very tall, it may be useful to install a support. This prevents the plants from bending over. You can use bamboo sticks or other supports.
- Assist pollination (optional): Corn is wind-pollinated. If you only have a few plants or the location is sheltered from the wind, you can assist pollination by gently shaking the male flower stalks (the “tassels” at the top of the plant) when the female flowers (the “silks” on the cobs) are visible.
4. Harvesting the Corn
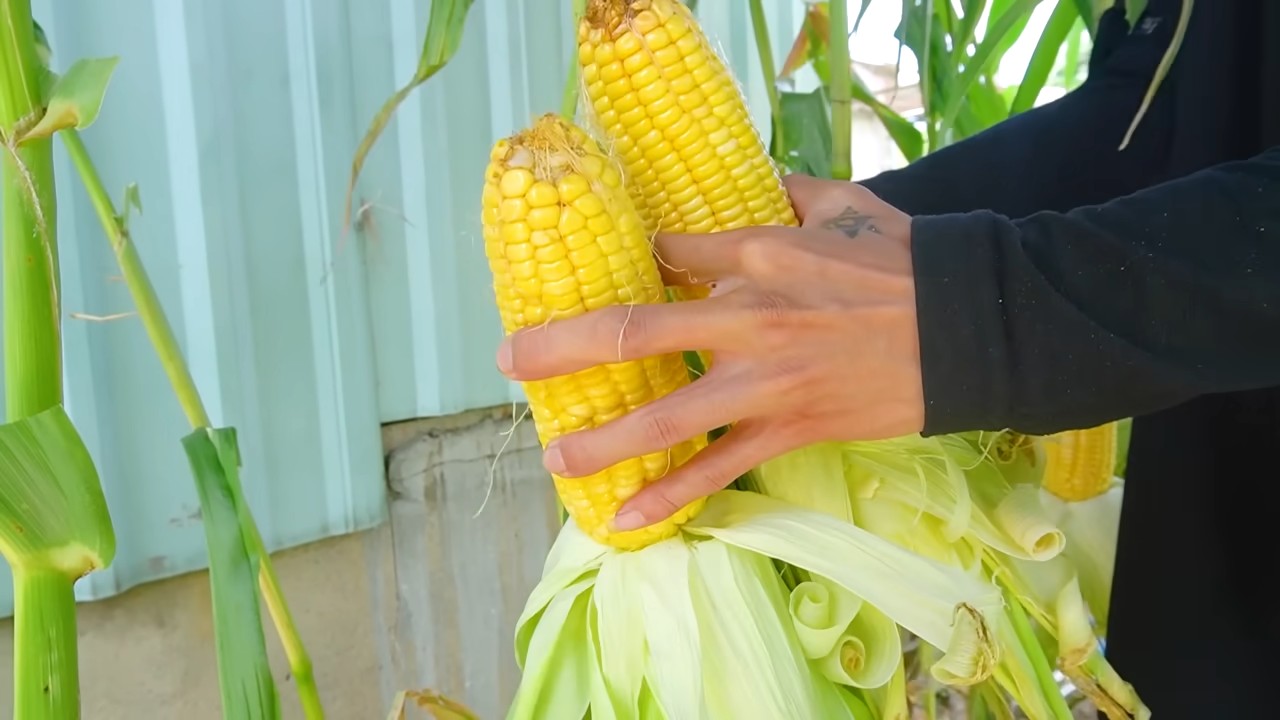
- Recognizing ripeness: The corn cobs are ripe when the “silks” are brown and dry and the cobs feel plump. You can also carefully open a kernel. If it is milky, the corn is ripe.
- Harvesting: Carefully break the corn cobs off the plants.
- Enjoy: Enjoy your homegrown corn! You can cook it, grill it, or make popcorn.
Additional Tips and Tricks
- Variety selection: Choose a corn variety that is suitable for growing in containers. Dwarf corn varieties are ideal as they do not grow as tall and require less space.
- Soil quality: Use high-quality potting soil that is well-draining and nutrient-rich. You can improve the soil with compost or other organic materials.
- Pests and diseases: Watch out for pests and diseases. Aphids, corn borers, and fungal diseases can cause problems. Combat pests and diseases early with appropriate measures.
- Multiple sacks: Plant several sacks of corn to achieve a larger harvest.
- Sustainability: Use recycled sacks or grow bags made from sustainable materials.
- Experiment: Try out different corn varieties and growing methods to find out what works best for you.
Avoiding Common Mistakes
- Too little sun: Corn needs a lot of sun to grow well. Place the sacks in a sunny location.
- Overwatering: Avoid waterlogging, as it can lead to root rot. Ensure good drainage and only water when the soil is dry.
- Under-fertilizing: Corn is a heavy feeder and requires sufficient nutrients. Fertilize the plants regularly.
- Planting too closely: Do not plant the seeds too close together, otherwise the plants will not have enough space to grow.
- Ignoring pests and diseases: Regularly check the plants for pests and diseases and combat them early.
I hope this guide helps you to grow your own corn in a sack. It’s truly a great feeling to harvest fresh, homegrown corn. Happy gardening! And remember: Patience is the key to success!
Conclusion
So, there you have it! Creating your own soil bags for corn isn’t just a cost-effective alternative to pre-mixed options; it’s a gateway to understanding and nurturing the specific needs of your corn plants. By taking control of the ingredients, you’re ensuring that your corn receives the precise nutrients it craves, leading to healthier, more robust growth and, ultimately, a more bountiful harvest.
This DIY approach empowers you to tailor the soil composition to your local climate and soil conditions. Are you dealing with heavy clay soil? Increase the amount of perlite or vermiculite for better drainage. Live in a particularly dry region? Incorporate more moisture-retentive materials like peat moss or coconut coir. The possibilities are endless, and the results speak for themselves.
Beyond the practical benefits, there’s a certain satisfaction that comes from creating something with your own hands. Knowing that you’ve provided your corn with the perfect growing medium, crafted with care and attention, adds a layer of enjoyment to the entire gardening process.
Don’t be afraid to experiment! Try different ratios of ingredients, observe how your corn responds, and adjust accordingly. Consider adding slow-release fertilizers for sustained nutrient delivery or incorporating beneficial microbes to enhance soil health. You could even try adding a small amount of compost tea to the soil bags for an extra boost of nutrients.
We wholeheartedly encourage you to give this DIY soil bag method a try. It’s a simple, rewarding, and effective way to improve your corn growing experience. And most importantly, we want to hear about your results! Share your experiences, tips, and variations in the comments below. Let’s build a community of corn-growing enthusiasts who are passionate about creating the perfect growing environment for their plants. Your insights could help other gardeners achieve even greater success. So, get your hands dirty, mix up some soil, and watch your corn thrive! This method of creating soil bags for corn is a game changer.
Frequently Asked Questions (FAQ)
Q: Why should I make my own soil bags for corn instead of buying pre-mixed potting soil?
A: While pre-mixed potting soil is convenient, creating your own soil bags for corn offers several advantages. Firstly, it’s often more cost-effective, especially if you’re planting a large corn patch. Secondly, you have complete control over the ingredients, allowing you to tailor the soil composition to the specific needs of corn, which are heavy feeders. Pre-mixed soils may not always provide the optimal balance of nutrients for corn’s vigorous growth. Finally, making your own soil bags allows you to avoid potentially harmful additives or chemicals that may be present in some commercial mixes. You can ensure that your corn is grown in a healthy, natural environment.
Q: What are the essential ingredients for making soil bags for corn?
A: The ideal soil mix for corn should be well-draining, nutrient-rich, and capable of retaining moisture. A good starting point is a combination of the following:
* **Topsoil:** Provides a base for the mix and contains essential minerals.
* **Compost:** Adds organic matter, improves soil structure, and provides a slow-release source of nutrients. Well-rotted manure can also be used.
* **Peat Moss or Coconut Coir:** Helps retain moisture and improves aeration. Coconut coir is a more sustainable alternative to peat moss.
* **Perlite or Vermiculite:** Improves drainage and aeration, preventing the soil from becoming compacted.
* **Slow-Release Fertilizer:** Provides a steady supply of nutrients throughout the growing season. Choose a fertilizer specifically formulated for vegetables or one with a high nitrogen content, as corn is a heavy nitrogen feeder.
Q: What is the ideal ratio of ingredients for soil bags for corn?
A: A good starting ratio is:
* 40% Topsoil
* 30% Compost or Well-Rotted Manure
* 20% Peat Moss or Coconut Coir
* 10% Perlite or Vermiculite
This ratio can be adjusted based on your local soil conditions and the specific needs of your corn variety. If your soil is already rich in organic matter, you may reduce the amount of compost. If your soil is heavy and clay-like, increase the amount of perlite or vermiculite.
Q: How do I know if my soil bags are providing the right nutrients for my corn?
A: Observe your corn plants closely for signs of nutrient deficiencies. Yellowing leaves, stunted growth, or poor ear development can indicate a lack of essential nutrients. You can also perform a soil test to determine the nutrient levels in your soil. Based on the results, you can amend your soil with additional fertilizers or organic matter as needed.
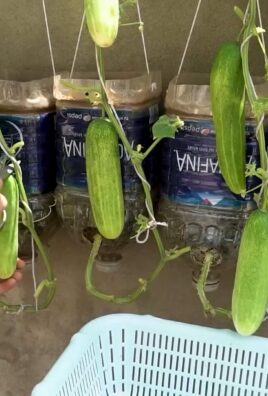
Q: Can I use this DIY soil bag method for other vegetables besides corn?
A: Yes, this method can be adapted for other vegetables, but you may need to adjust the ratio of ingredients and the type of fertilizer used based on the specific needs of each plant. For example, tomatoes and peppers prefer a slightly acidic soil, while leafy greens thrive in a more nitrogen-rich environment. Research the specific nutrient requirements of each vegetable before creating your soil mix.
Q: How often should I water my corn plants in soil bags?
A: The frequency of watering will depend on the weather conditions, the size of the soil bags, and the type of soil mix you’re using. Generally, you should water your corn plants when the top inch of soil feels dry to the touch. Avoid overwatering, as this can lead to root rot. Ensure that the soil bags have adequate drainage to prevent water from pooling at the bottom.
Q: What size soil bag is best for growing corn?
A: Corn plants need ample space for their roots to develop. A good rule of thumb is to use a soil bag that is at least 12 inches in diameter and 12 inches deep. Larger bags are generally better, as they provide more room for root growth and help retain moisture. You can use grow bags, plastic containers, or even repurposed burlap sacks.
Q: Can I reuse the soil from my soil bags for corn in subsequent years?
A: Yes, you can reuse the soil, but it’s important to replenish the nutrients that have been depleted by the corn plants. Amend the soil with fresh compost, well-rotted manure, and slow-release fertilizer before replanting. You may also want to consider sterilizing the soil to kill any potential pests or diseases.
Q: What are some common problems that can occur when growing corn in soil bags, and how can I prevent them?
A: Some common problems include:
* **Nutrient deficiencies:** Prevent this by using a well-balanced soil mix and fertilizing regularly.
* **Pests and diseases:** Monitor your plants regularly for signs of pests or diseases and take appropriate action.
* **Overwatering or underwatering:** Water your plants consistently and ensure that the soil has adequate drainage.
* **Lack of sunlight:** Corn needs at least 6-8 hours of sunlight per day.
By taking these precautions, you can minimize the risk of problems and ensure a successful corn harvest.
Leave a Comment