
Grow Crunchy Celery at Home – and ditch the limp, lifeless stalks from the grocery store! Have you ever dreamed of biting into a crisp, refreshing piece of celery, bursting with flavor, straight from your own backyard? I know I have! For centuries, celery has been more than just a crunchy snack; it’s been used in traditional medicine and culinary practices across the globe. From ancient Rome, where it was used in wreaths and ceremonies, to modern-day kitchens where it adds a vital crunch to soups and salads, celery has a rich history.
But let’s be honest, achieving that perfect crunch can be tricky. Store-bought celery often lacks the vibrant taste and satisfying snap we crave. That’s where these DIY tricks come in! I’m going to share some simple, effective methods to help you grow crunchy celery at home, even if you’re a beginner gardener. Imagine the satisfaction of harvesting your own celery, knowing exactly where it came from and how it was grown. No more disappointing, soggy stalks! These hacks will not only improve the texture and taste of your celery but also save you money and reduce your reliance on store-bought produce. So, grab your gardening gloves, and let’s get started on this crunchy adventure!
Crunchy Celery from Your Own Garden: Here’s How!
I love the crunchy bite of fresh celery! And what could be better than harvesting it directly from your own garden? It might seem a bit tricky at first, but with these instructions, I’ll show you how to easily grow your own super crunchy celery at home. Don’t worry, even if you don’t have a huge garden, it’s still possible! We can even grow it in a pot on the balcony or terrace.
What you need:
- Celery stalks: Organic quality is best, as these often germinate better. You only need the stalks; we won’t need the celery root itself.
- A sharp knife: For cutting the stalks cleanly.
- A glass or a bowl: For rooting the stalks.
- Water: For rooting and later watering.
- Seed starting mix or potting soil: For planting the rooted stalks.
- Pots or a garden bed: Depending on where you want to grow your celery.
- Optional: Liquid fertilizer: For an optimal supply of nutrients.
Phase 1: Preparing and Rooting the Celery Stalks
This is the most important step to lay the foundation for your crunchy celery. Here, I’ll show you how to properly prepare the stalks and get them to root.
- Select celery stalks: Choose fresh, crisp celery stalks. Make sure they have no brown spots or signs of rot. The inner, lighter stalks are often the most suitable.
- Cut the stalks: Cut the stalks about 5-7 cm from the bottom end. Make sure you make a clean cut to prevent rot. The cut end should still contain a small part of the root base.
- Place in water: Place the cut stalks in a glass or bowl with water. The water should be about 2-3 cm deep, so the bottom end of the stalks is covered. Make sure the leaves are not in the water, as they could rot.
- Choose a location: Place the glass or bowl in a bright spot, but out of direct sunlight. A windowsill is ideal.
- Change the water: Change the water every 1-2 days to prevent rot and keep the water fresh.
- Be patient: After about 5-7 days, you should see the first roots. It might take a bit longer, so don’t give up! Once the roots are about 2-3 cm long, the stalks are ready for planting.
Phase 2: Planting the Rooted Celery Stalks
Now for the real work! We are planting the rooted stalks in soil so they can grow into strong celery plants.
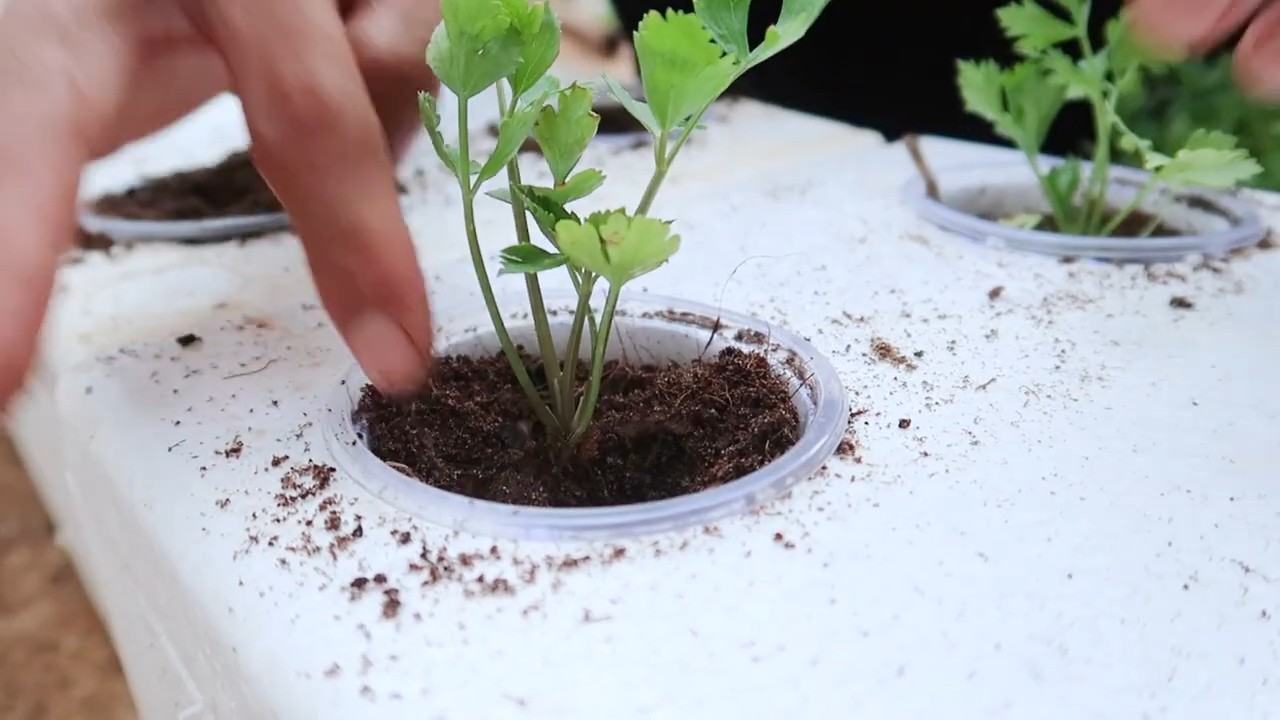
- Prepare pots or a bed: Fill pots (at least 15 cm in diameter) or a garden bed with seed starting mix or potting soil. The soil should be loose and well-draining.
- Dig planting holes: Dig small planting holes large enough to accommodate the roots of the celery stalks.
- Plant the stalks: Carefully place the rooted stalks into the planting holes. Be careful not to damage the roots. The stalks should be planted deep enough so that the root base is completely covered with soil.
- Water them in: Water the freshly planted stalks thoroughly.
- Choose a location: Place the pots or bed in a sunny to partially shaded location. Celery needs a lot of light to grow well.
Phase 3: Caring for and Harvesting Your Celery
Proper care is crucial for a rich harvest of crunchy celery. Here are my tips:
- Water regularly: Celery needs a lot of water. Water the plants regularly, especially on hot days. The soil should always be slightly moist, but not wet. Avoid waterlogging, as this can lead to rot.
- Fertilize: Fertilize the plants every 2-3 weeks with a liquid fertilizer for vegetables. Be sure to follow the dosage instructions on the packaging.
- Remove weeds: Regularly remove weeds growing around the celery plants. Weeds compete with the plants for nutrients and water.
- Control pests: Watch out for pests like aphids or snails. If necessary, you can use organic pesticides.
- Blanching (optional): For particularly tender and light-colored celery, you can blanch the stalks. This means wrapping the stalks with soil or special blanching material about 2-3 weeks before harvest to protect them from sunlight. However, blanching is not a must; the celery tastes excellent without it.
- Harvest: You can harvest your celery as soon as the stalks have reached the desired size. This is usually after about 3-4 months. Simply cut the stalks at the bottom end with a sharp knife. You can either harvest the whole plant at once or just individual stalks as needed.
Additional Tips for Extra Crunchy Celery:
- The right soil: Celery prefers a humus-rich, loose, and well-draining soil. If your soil is very sandy or loamy, you can improve it with compost or other organic matter.
- Mulching: A layer of mulch made of straw or grass clippings helps to retain moisture in the soil and suppress weeds.
- Regular hoeing: Regularly hoeing the soil loosens it and improves root aeration.
- Cool temperatures: Celery does not like it too hot. Temperatures between 15 and 20 degrees Celsius are ideal. In very hot temperatures, you may need to shade the plants.
- Variety selection: There are different varieties of celery. Find out which varieties grow well in your region and are particularly crunchy.
Common Problems and Solutions:
- Yellow leaves: Yellow leaves can be a sign of nutrient deficiency or too little water. Fertilize the plants and water them regularly.
- Rot: Rot can be caused by waterlogging or planting too densely. Ensure good drainage and sufficient space between plants.
- Pests: Aphids and snails can infest celery. Use organic pesticides or pick the pests off by hand.
With these tips and tricks, nothing stands in the way of your own crunchy celery! Have fun gardening and enjoy your meal! I hope this guide helps you to successfully grow your own celery. It’s a really great feeling to harvest vegetables from your own garden and know where they come from. And the taste is simply unbeatable! So, what are you waiting for? Get started and become a celery expert!
Conclusion
So, there you have it! Growing crunchy celery at home is not just a whimsical gardening project; it’s a gateway to fresher, more flavorful meals and a deeper connection with the food you consume. We’ve walked through the steps, demystified the process, and hopefully, inspired you to ditch the limp, store-bought stalks for the vibrant, crisp goodness you can cultivate yourself.
Why is this DIY trick a must-try? Because the difference is undeniable. Imagine biting into a celery stick bursting with moisture, its snap echoing the freshness you simply can’t find in produce that’s traveled miles and sat on shelves. Think of the vibrant green hue, a testament to its vitality and nutrient density. And consider the satisfaction of knowing exactly where your food comes from, free from the pesticides and preservatives that often accompany commercially grown celery.
But the benefits extend beyond taste and quality. Growing your own celery is a sustainable choice, reducing your carbon footprint and supporting a more localized food system. It’s also a rewarding hobby, offering a therapeutic escape from the stresses of daily life and a chance to connect with nature. Plus, it’s a fantastic educational opportunity for children, teaching them about plant life cycles and the importance of healthy eating.
Ready to take your celery game to the next level? Experiment with different varieties! ‘Utah Tall’ is a classic choice known for its robust flavor and crisp texture. ‘Golden Self-Blanching’ offers a milder taste and a beautiful golden hue. And for a touch of novelty, try growing ‘Redventure’ celery, which boasts vibrant red stalks and a slightly peppery flavor.
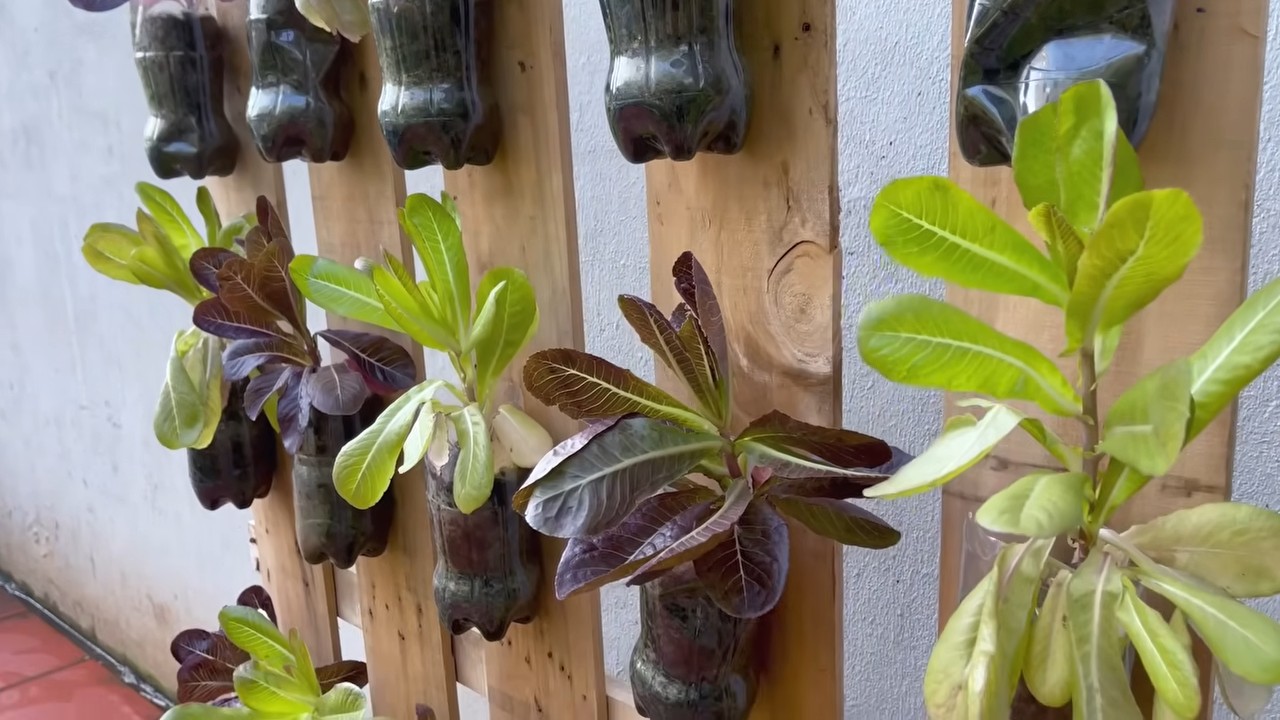
Don’t be afraid to get creative with your growing methods, too. While we’ve focused on traditional soil-based gardening, you can also explore hydroponics or container gardening for a more compact and controlled environment. Just remember to provide your celery plants with plenty of sunlight, consistent moisture, and nutrient-rich soil.
The key to truly crunchy celery lies in consistent watering and blanching. Blanching, whether by mounding soil around the stalks or using a light-blocking material, helps to reduce bitterness and promote tenderness. Experiment with different blanching techniques to find what works best for your growing conditions and personal preferences.
We understand that gardening can sometimes feel daunting, especially for beginners. But don’t let that deter you! Growing crunchy celery at home is a surprisingly straightforward process, and the rewards are well worth the effort. Start small, be patient, and don’t be afraid to learn from your mistakes. Every gardener, no matter how experienced, has faced challenges along the way.
So, what are you waiting for? Grab your seeds or seedlings, prepare your garden bed or container, and embark on your celery-growing adventure today! We’re confident that you’ll be amazed by the results.
And most importantly, we want to hear about your experience! Share your tips, tricks, and triumphs in the comments below. Let us know what varieties you’re growing, what challenges you’ve faced, and what delicious dishes you’re creating with your homegrown celery. Together, we can build a community of passionate celery growers and inspire others to embrace the joys of DIY gardening. Let’s cultivate a world where everyone can enjoy the unparalleled taste and texture of truly crunchy celery, grown with love and care in their own backyard.
Frequently Asked Questions (FAQ)
What is the best time of year to plant celery?
Celery is a cool-season crop, so the best time to plant it depends on your climate. In regions with mild winters, you can start seeds indoors in late winter or early spring and transplant them outdoors after the last frost. In areas with hot summers, it’s best to plant celery in late summer or early fall for a winter harvest. Aim for temperatures between 60-70°F (15-21°C) for optimal growth.
How much sunlight does celery need?
Celery thrives in full sun, requiring at least six hours of direct sunlight per day. However, in hotter climates, providing some afternoon shade can help prevent the plants from bolting (going to seed prematurely). If you’re growing celery indoors, use grow lights to supplement natural sunlight.
What kind of soil is best for growing celery?
Celery prefers rich, well-drained soil with a pH between 6.0 and 6.8. Amend your soil with compost or other organic matter to improve its fertility and drainage. Celery is a heavy feeder, so it’s important to provide it with plenty of nutrients. Consider adding a slow-release fertilizer at planting time.
How often should I water celery?
Consistent moisture is crucial for growing crunchy celery. Water your plants deeply and regularly, especially during hot, dry weather. Aim to keep the soil consistently moist but not waterlogged. Mulching around the plants can help retain moisture and suppress weeds.
What is blanching, and why is it important for celery?
Blanching is the process of excluding light from the celery stalks to reduce bitterness and promote tenderness. This can be done by mounding soil around the stalks, wrapping them with newspaper or cardboard, or using specialized blanching collars. Start blanching about two to three weeks before harvest.
How do I prevent celery from bolting?
Bolting, or premature flowering, can occur when celery plants are exposed to stress, such as extreme temperatures or inconsistent watering. To prevent bolting, choose bolt-resistant varieties, provide consistent moisture, and protect your plants from temperature fluctuations.
What are some common pests and diseases that affect celery?
Celery can be susceptible to various pests and diseases, including aphids, celery leaf miners, and fungal diseases like early blight and late blight. Monitor your plants regularly for signs of infestation or disease, and take appropriate action if necessary. Organic pest control methods, such as insecticidal soap or neem oil, can be effective for controlling aphids and leaf miners. Fungicides can be used to treat fungal diseases.
How do I harvest celery?
You can harvest celery when the stalks are at least 6-8 inches tall and have reached the desired thickness. Cut the stalks at the base of the plant with a sharp knife. You can harvest individual stalks as needed or harvest the entire plant at once.
How do I store celery after harvesting?
To store celery, wrap it tightly in plastic wrap or place it in a resealable plastic bag in the refrigerator. Celery can last for several weeks when stored properly. You can also freeze celery for longer storage, but it may lose some of its crispness.
Can I grow celery from the base of a store-bought stalk?
Yes, you can regrow celery from the base of a store-bought stalk. Cut off the stalks about 2 inches from the base and place the base in a shallow dish of water. Place the dish in a sunny location and change the water every day. After a few days, you should see new roots and leaves emerging. Once the roots are well-developed, you can transplant the celery base into a pot or garden bed. While this method won’t produce a full-sized celery plant, it can provide you with a continuous supply of celery leaves for flavoring dishes. This is a great way to recycle and reduce food waste while enjoying the fresh taste of celery.

Leave a Comment