
Kid friendly radish garden: Ever dreamt of getting your little ones excited about veggies? Forget the battles at the dinner table – imagine them eagerly pulling vibrant, crunchy radishes straight from the earth, their faces beaming with pride! This isn’t just a gardening project; it’s a gateway to healthy eating habits and a lifelong love for nature.
Radishes, surprisingly, have a rich history, dating back to ancient Egypt where they were a staple food. They were even used as currency! While we’re not suggesting you pay your bills with radishes, we are suggesting you bring this easy-to-grow vegetable into your home garden.
In today’s busy world, it’s easy to lose touch with where our food comes from. That’s why creating a kid friendly radish garden is so important. It’s a fantastic way to teach children about the life cycle of plants, responsibility, and the joy of harvesting their own food. Plus, radishes are incredibly fast growers, offering almost instant gratification – perfect for short attention spans! I’m going to share some simple DIY tricks and hacks to make this project fun, educational, and successful, even if you have limited space or gardening experience. Let’s get those little hands dirty and grow some delicious radishes together!
Creating a Kid-Friendly Radish Garden: A DIY Guide
Hey there, fellow garden enthusiasts! I’m so excited to share this super fun and easy DIY project with you: creating a radish garden that’s perfect for kids. Radishes are fantastic because they grow incredibly fast, making them ideal for impatient little gardeners. Plus, they’re delicious (once you get used to that peppery bite!) and packed with nutrients. Let’s get our hands dirty!
What Makes Radishes Great for Kids?
Before we dive in, let’s talk about why radishes are such a winner for kid-friendly gardening:
* Speedy Growth: Radishes can be ready to harvest in as little as 3-4 weeks. This instant gratification keeps kids engaged and excited.
* Easy to Grow: They’re relatively low-maintenance and don’t require a lot of fuss.
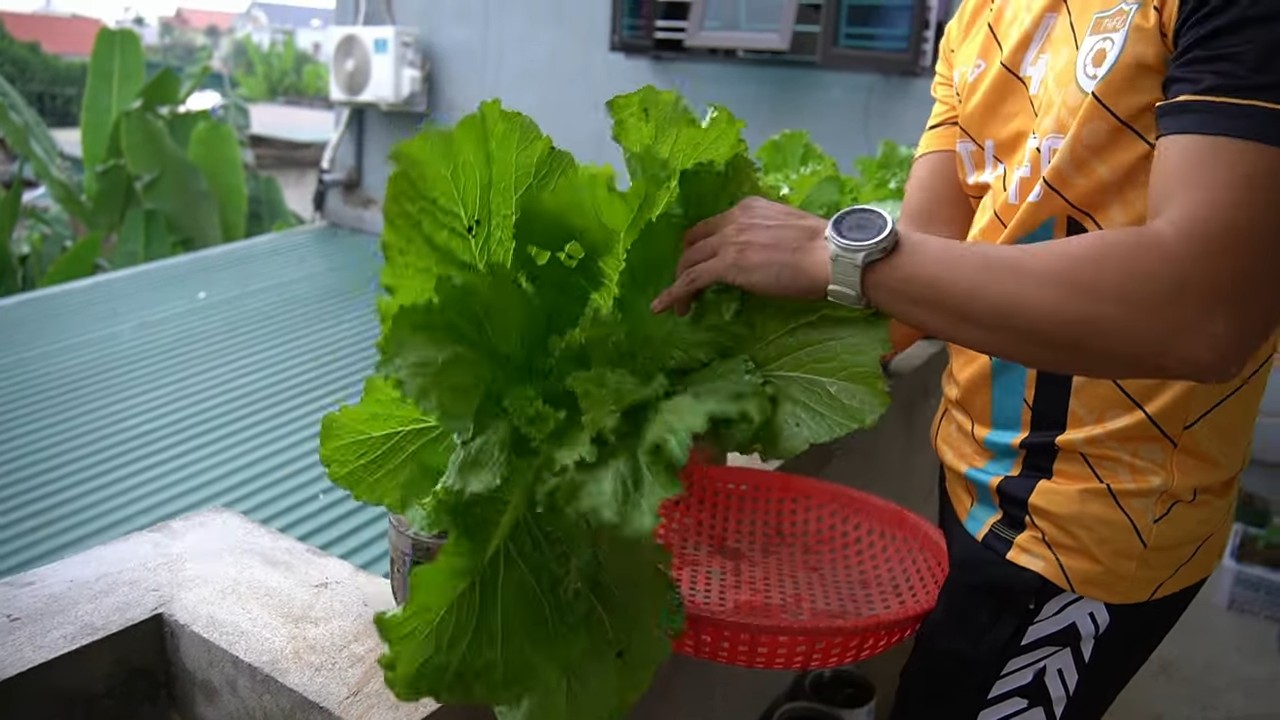
* Edible from Seed to Root: Kids can even eat the radish greens!
* Educational: Gardening teaches kids about responsibility, patience, and where their food comes from.
* Fun Colors and Shapes: Radishes come in a variety of colors and shapes, making them visually appealing.
Materials You’ll Need
Okay, let’s gather our supplies. Here’s what you’ll need to create your kid-friendly radish garden:
* Radish Seeds: Choose a variety that matures quickly, like Cherry Belle or French Breakfast. I personally love the Easter Egg blend for the fun colors!
* Potting Soil: A good quality potting mix is essential for healthy growth.
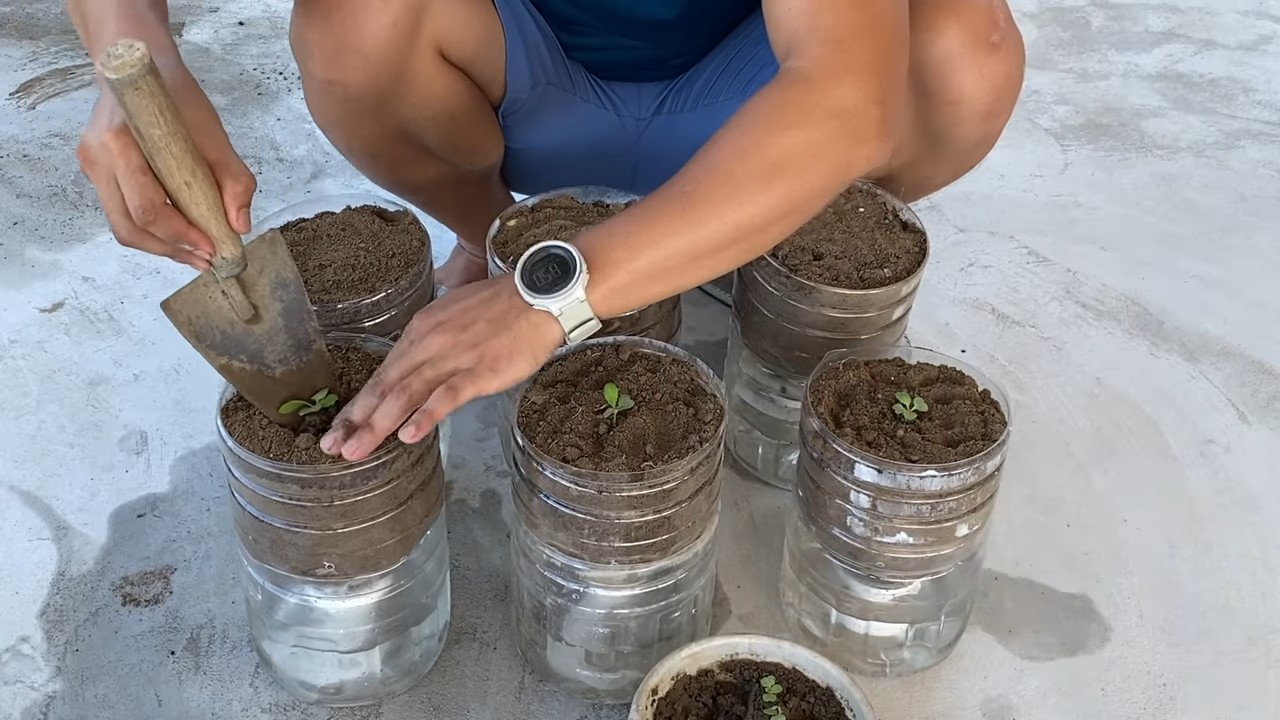
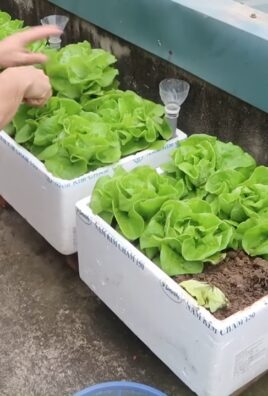
* Container: You can use a pot, a raised bed, or even a repurposed container like an old bucket or wagon. Make sure it has drainage holes!
* Gardening Gloves (Kid-Sized): Protect those little hands!
* Small Trowel or Shovel: For digging and planting.
* Watering Can or Hose with a Gentle Spray Nozzle: For watering without disturbing the seeds.
* Plant Markers: To label your radish varieties (optional, but fun!).
* Decorations (Optional): Let your kids personalize the garden with painted rocks, small figurines, or other decorations.
* Ruler or Measuring Tape: To ensure proper spacing.
Step-by-Step Instructions: Planting Your Radish Garden
Alright, let’s get planting! Follow these steps to create your very own kid-friendly radish garden:
1. Prepare the Container:
* First, make sure your container is clean and has adequate drainage holes.
* If you’re using a repurposed container, give it a good scrub with soap and water.
* Fill the container with potting soil, leaving about an inch or two of space at the top.
* Gently pat down the soil to create a level surface.
2. Sow the Seeds:
* This is where the fun begins! Radish seeds are relatively small, so handle them carefully.
* Using your finger or the trowel, create shallow furrows (small trenches) in the soil, about ½ inch deep and 1 inch apart.
* Encourage your kids to carefully place the radish seeds into the furrows, spacing them about 1 inch apart.
* Don’t overcrowd the seeds, as this can lead to smaller radishes.
3. Cover the Seeds:
* Gently cover the seeds with a thin layer of potting soil.
* Lightly pat down the soil to ensure good contact between the seeds and the soil.
4. Water Thoroughly:
* Use your watering can or hose with a gentle spray nozzle to water the soil thoroughly.
* Make sure the soil is evenly moist, but not waterlogged.
* Watering is crucial for germination, so don’t skip this step!
5. Label Your Radishes (Optional):
* If you’re planting different varieties of radishes, use plant markers to label each row.
* This is a great way to teach kids about different types of plants.
* You can even let them decorate the plant markers with colorful markers or paint.
6. Decorate Your Garden (Optional):
* Now comes the fun part: decorating!
* Let your kids personalize the garden with painted rocks, small figurines, or other decorations.
* This will make the garden even more special and encourage them to take care of it.
Caring for Your Radish Garden
Now that your radishes are planted, it’s time to learn how to care for them. Here’s what you need to know:
1. Watering:
* Radishes need consistent moisture to grow properly.
* Water the garden whenever the top inch of soil feels dry to the touch.
* Avoid overwatering, as this can lead to root rot.
* Water in the morning to allow the foliage to dry before nightfall.
2. Sunlight:
* Radishes need at least 6 hours of sunlight per day.
* Place your container in a sunny location, such as a patio, balcony, or windowsill.
* If you don’t have enough sunlight, you can supplement with a grow light.
3. Thinning:
* Once the seedlings emerge (usually within a few days), you may need to thin them out.
* Thinning involves removing some of the seedlings to give the remaining plants more space to grow.
* If the seedlings are too close together (less than 1 inch apart), gently pull out the weaker ones.
* This will allow the remaining radishes to develop larger roots.
4. Weeding:
* Keep the garden free of weeds, as they can compete with the radishes for nutrients and water.
* Gently pull out any weeds that you see, being careful not to disturb the radish roots.
5. Fertilizing (Optional):
* Radishes don’t require a lot of fertilizer, but you can give them a boost with a diluted liquid fertilizer.
* Use a balanced fertilizer, such as 10-10-10, and follow the instructions on the label.
* Fertilize every few weeks, or as needed.
Harvesting Your Radishes
The best part of growing radishes is harvesting them! Here’s how to know when your radishes are ready to pick:
1. Check the Maturity Date:
* Refer to the seed packet for the maturity date of your radish variety.
* This will give you an estimate of when your radishes will be ready to harvest.
2. Check the Size:
* Radishes are typically ready to harvest when they are about 1 inch in diameter.
* Gently brush away some of the soil around the base of the plant to check the size of the root.
3. Harvesting:
* To harvest your radishes, gently pull them out of the soil.
* If the soil is dry, you may need to loosen it with a trowel first.
* Wash the radishes thoroughly and trim off the tops and roots.
4. Eating:
* Radishes can be eaten raw, cooked, or pickled.
* They’re delicious in salads, sandwiches, or as a snack.
* You can even eat the radish greens! They have a peppery flavor and can be added to salads or stir-fries.
Troubleshooting Common Problems
Even with the best care, you may encounter some problems while growing radishes. Here are some common issues and how to address them:
* Pests: Flea beetles can sometimes attack radish leaves, leaving small holes. Cover the plants with row covers to protect them. You can also use insecticidal soap if necessary.
* Cracked Radishes: This is usually caused by inconsistent watering. Make sure to water regularly and evenly.
* Bolting: Bolting occurs when the radishes flower prematurely, resulting in a bitter taste. This is often caused by hot weather or stress. Plant radishes in the spring or fall to avoid bolting.
* Small Radishes: This can be caused by overcrowding, lack of sunlight, or poor soil. Thin the seedlings, provide adequate sunlight, and amend the soil with compost.
Radish Varieties to Try
Here are a few radish varieties that are particularly well-suited for kids:
* Cherry Belle: A classic, round, red radish that’s easy to grow and has a mild flavor.
* French Breakfast: An elongated, red and white radish with a slightly peppery taste.
* Easter Egg: A mix of radishes in various colors, including red, pink, purple, and white.
*
Conclusion
So, there you have it! Transforming your garden into a kid-friendly radish paradise is not only achievable but also incredibly rewarding. We’ve explored how to cultivate a space where children can actively participate in growing their own food, fostering a lifelong appreciation for nature and healthy eating habits. This isn’t just about planting seeds; it’s about planting the seeds of curiosity, responsibility, and a connection to the earth.
Why is this DIY trick a must-try? Because it’s more than just gardening; it’s an investment in your children’s well-being and development. It’s a chance to unplug from screens and reconnect with the natural world. Radishes, with their quick growth cycle and vibrant colors, are the perfect gateway vegetable for young gardeners. They offer instant gratification and a tangible sense of accomplishment. Imagine the pride on your child’s face when they harvest their first radish, knowing they nurtured it from a tiny seed!
But the benefits extend beyond the individual. By involving children in gardening, you’re also contributing to a more sustainable future. They learn about the importance of healthy soil, water conservation, and the interconnectedness of all living things. They become more aware of where their food comes from and the effort involved in producing it.
Looking for variations to spice things up? Consider creating themed radish gardens. A “rainbow radish” garden with different colored varieties (red, pink, purple, white) is visually appealing and encourages children to try new things. You could also create a “miniature radish” garden using smaller containers and dwarf radish varieties. This is perfect for balconies or patios with limited space. Another fun idea is to incorporate companion planting. Marigolds, for example, deter pests and add a splash of color to the garden. Dill is also a great companion plant, attracting beneficial insects.
Don’t be afraid to experiment! Gardening is all about learning and adapting. Let your children take the lead and make their own decisions. They might want to create a radish “maze” or build a small scarecrow to protect their crop. The possibilities are endless!
We wholeheartedly encourage you to try this DIY trick and create your own kid-friendly radish garden. It’s a simple, affordable, and incredibly enriching experience for the whole family. Remember to document your journey and share your experiences with us! We’d love to see photos of your radish gardens and hear about the challenges and successes you encounter. Share your tips and tricks with other readers and inspire them to embark on their own gardening adventures. Let’s cultivate a community of young gardeners and nurture a love for nature that will last a lifetime. So, grab your seeds, gather your little helpers, and get ready to grow some radishes! This is a fantastic way to introduce the joy of gardening and the satisfaction of growing your own food to the next generation. Remember, even if you only have a small space, you can still create a thriving and engaging radish garden for your kids. It’s all about making it fun, educational, and a memorable experience for everyone involved.
Frequently Asked Questions (FAQ)
What are the best radish varieties for kids to grow?
Choosing the right radish varieties can make all the difference in a child’s gardening experience. Look for varieties that are quick to mature, easy to grow, and have a mild flavor. Cherry Belle radishes are a classic choice, known for their bright red color and crisp texture. French Breakfast radishes are another popular option, with their elongated shape and slightly peppery taste. For something a little different, try Easter Egg radishes, which come in a mix of colors, including red, pink, purple, and white. These are visually appealing and encourage children to try different varieties. Avoid overly spicy or pungent varieties, as these may not be as appealing to young palates. Consider also the size of the radish; smaller varieties are easier for children to handle and harvest.
How do I prepare the soil for planting radishes with kids?
Soil preparation is crucial for successful radish gardening. Radishes prefer loose, well-drained soil that is rich in organic matter. Start by removing any rocks, weeds, or debris from the planting area. Then, amend the soil with compost or well-rotted manure to improve its fertility and drainage. This is a great opportunity to involve children in the process. Let them help you mix the compost into the soil and break up any clumps. Make sure the soil is not compacted, as this can hinder root development. A slightly acidic to neutral soil pH (around 6.0 to 7.0) is ideal for radishes. You can test the soil pH using a home testing kit or by sending a sample to a local agricultural extension office.
How often should I water radishes in a kid-friendly garden?
Radishes need consistent moisture to grow quickly and develop their characteristic crispness. Water regularly, especially during dry spells. Aim to keep the soil consistently moist but not waterlogged. Overwatering can lead to root rot, while underwatering can result in tough, bitter radishes. A good rule of thumb is to water deeply whenever the top inch of soil feels dry to the touch. Involve children in the watering process and teach them how to check the soil moisture. Consider using a watering can with a gentle rose to avoid disturbing the seedlings. Mulching around the plants can help retain moisture and suppress weeds.
What are some common pests and diseases that affect radishes, and how can I manage them naturally?
Radishes are generally pest-resistant, but they can be susceptible to certain pests and diseases. Flea beetles are a common pest that can chew small holes in the leaves. You can control flea beetles by covering the plants with row covers or by spraying them with insecticidal soap. Root maggots are another potential problem, especially in areas with heavy clay soil. You can prevent root maggots by practicing crop rotation and by adding beneficial nematodes to the soil. Diseases such as damping-off and white rust can also affect radishes. Damping-off is a fungal disease that can kill seedlings. You can prevent damping-off by using sterile potting mix and by avoiding overwatering. White rust is a fungal disease that causes white spots on the leaves. You can control white rust by removing infected leaves and by spraying the plants with a fungicide. Encourage beneficial insects, such as ladybugs and lacewings, to help control pests naturally.
How do I know when my radishes are ready to harvest, and how should I harvest them with kids?
Radishes are typically ready to harvest within 3 to 4 weeks of planting. The exact time will depend on the variety and growing conditions. Look for radishes that are about 1 inch in diameter. You can gently pull back the soil around the base of the plant to check the size of the radish. To harvest, simply grasp the radish by the leaves and gently pull it out of the ground. If the radish is difficult to pull, you can loosen the soil around it with a trowel. Involve children in the harvesting process and let them experience the satisfaction of pulling their own radishes. Wash the radishes thoroughly and enjoy them fresh from the garden.
What can I do with radishes besides eating them raw?
While radishes are delicious eaten raw in salads or as a crunchy snack, there are many other ways to enjoy them. You can roast radishes in the oven with olive oil and herbs for a surprisingly sweet and savory side dish. You can also pickle radishes for a tangy and refreshing condiment. Radish greens are also edible and can be used in salads, soups, or stir-fries. They have a slightly peppery flavor similar to arugula. Get creative and experiment with different ways to incorporate radishes into your meals. Encourage children to try different radish recipes and discover their favorite ways to eat them.
How can I extend the radish growing season in my kid-friendly garden?
Radishes are a cool-season crop that grows best in spring and fall. To extend the growing season, you can plant radishes in succession, sowing a new batch of seeds every 2 to 3 weeks. This will ensure a continuous harvest throughout the spring and fall. You can also use row covers to protect the plants from frost and extend the growing season into the winter months. In warmer climates, you can grow radishes in the shade during the summer months to prevent them from bolting (going to seed). Choose heat-tolerant varieties for summer planting.

Leave a Comment