
Soil-Free Microgreens at Home: Imagine harvesting a burst of fresh, nutrient-packed greens right from your kitchen counter, without ever getting your hands dirty! Sounds like a dream, right? Well, it’s not! I’m so excited to share a simple and incredibly rewarding DIY project that will transform your meals and your connection to fresh food: growing microgreens hydroponically.
For centuries, humans have sought innovative ways to cultivate food, and while traditional gardening holds a special place, the rise of urban living and a desire for readily available, healthy options have fueled the popularity of soil-free methods. Think of it as a modern twist on ancient agricultural ingenuity! Growing microgreens, in particular, has exploded in recent years, and for good reason. These tiny powerhouses are packed with vitamins and minerals, often exceeding the nutritional value of their mature counterparts.
But why should you bother with this DIY trick? Because life gets busy! Finding the time and space for a traditional garden can be challenging. With this method for soil-free microgreens at home, you can bypass the need for large plots of land, messy soil, and complicated gardening tools. It’s perfect for apartment dwellers, busy professionals, or anyone who wants a quick and easy way to add a healthy boost to their diet. Plus, it’s incredibly satisfying to watch these little sprouts come to life, knowing you nurtured them from seed to plate. So, let’s dive in and discover how you can easily grow your own delicious and nutritious microgreens, completely soil-free!
Growing Soil-Free Microgreens at Home: A Beginner’s Guide
Hey there, fellow gardening enthusiasts! Are you itching to grow something fresh and delicious, but maybe you’re short on space, time, or even… soil? Well, you’re in luck! I’m going to walk you through a super easy and rewarding project: growing microgreens at home, completely soil-free. Trust me, it’s simpler than you think, and the results are packed with flavor and nutrients.
What are Microgreens, Anyway?
Microgreens are basically baby versions of vegetables and herbs. They’re harvested just after the cotyledon leaves (the first leaves that emerge from the seed) have developed, and sometimes after the first true leaves appear. They’re tiny, but mighty, offering a concentrated burst of flavor and a ton of vitamins and minerals. Plus, they look adorable sprinkled on salads, sandwiches, and just about anything else!
Why Soil-Free?
Growing microgreens without soil, often called hydroponics or using a soilless medium, has a few key advantages:
* Cleaner Harvest: No soil means less mess and a cleaner final product. You won’t have to worry about washing off dirt before you eat them.
* Faster Growth: In some cases, microgreens can grow faster in a controlled, soilless environment.
* Less Risk of Disease: Soil can harbor pathogens that can harm your microgreens. A clean, soilless setup minimizes this risk.
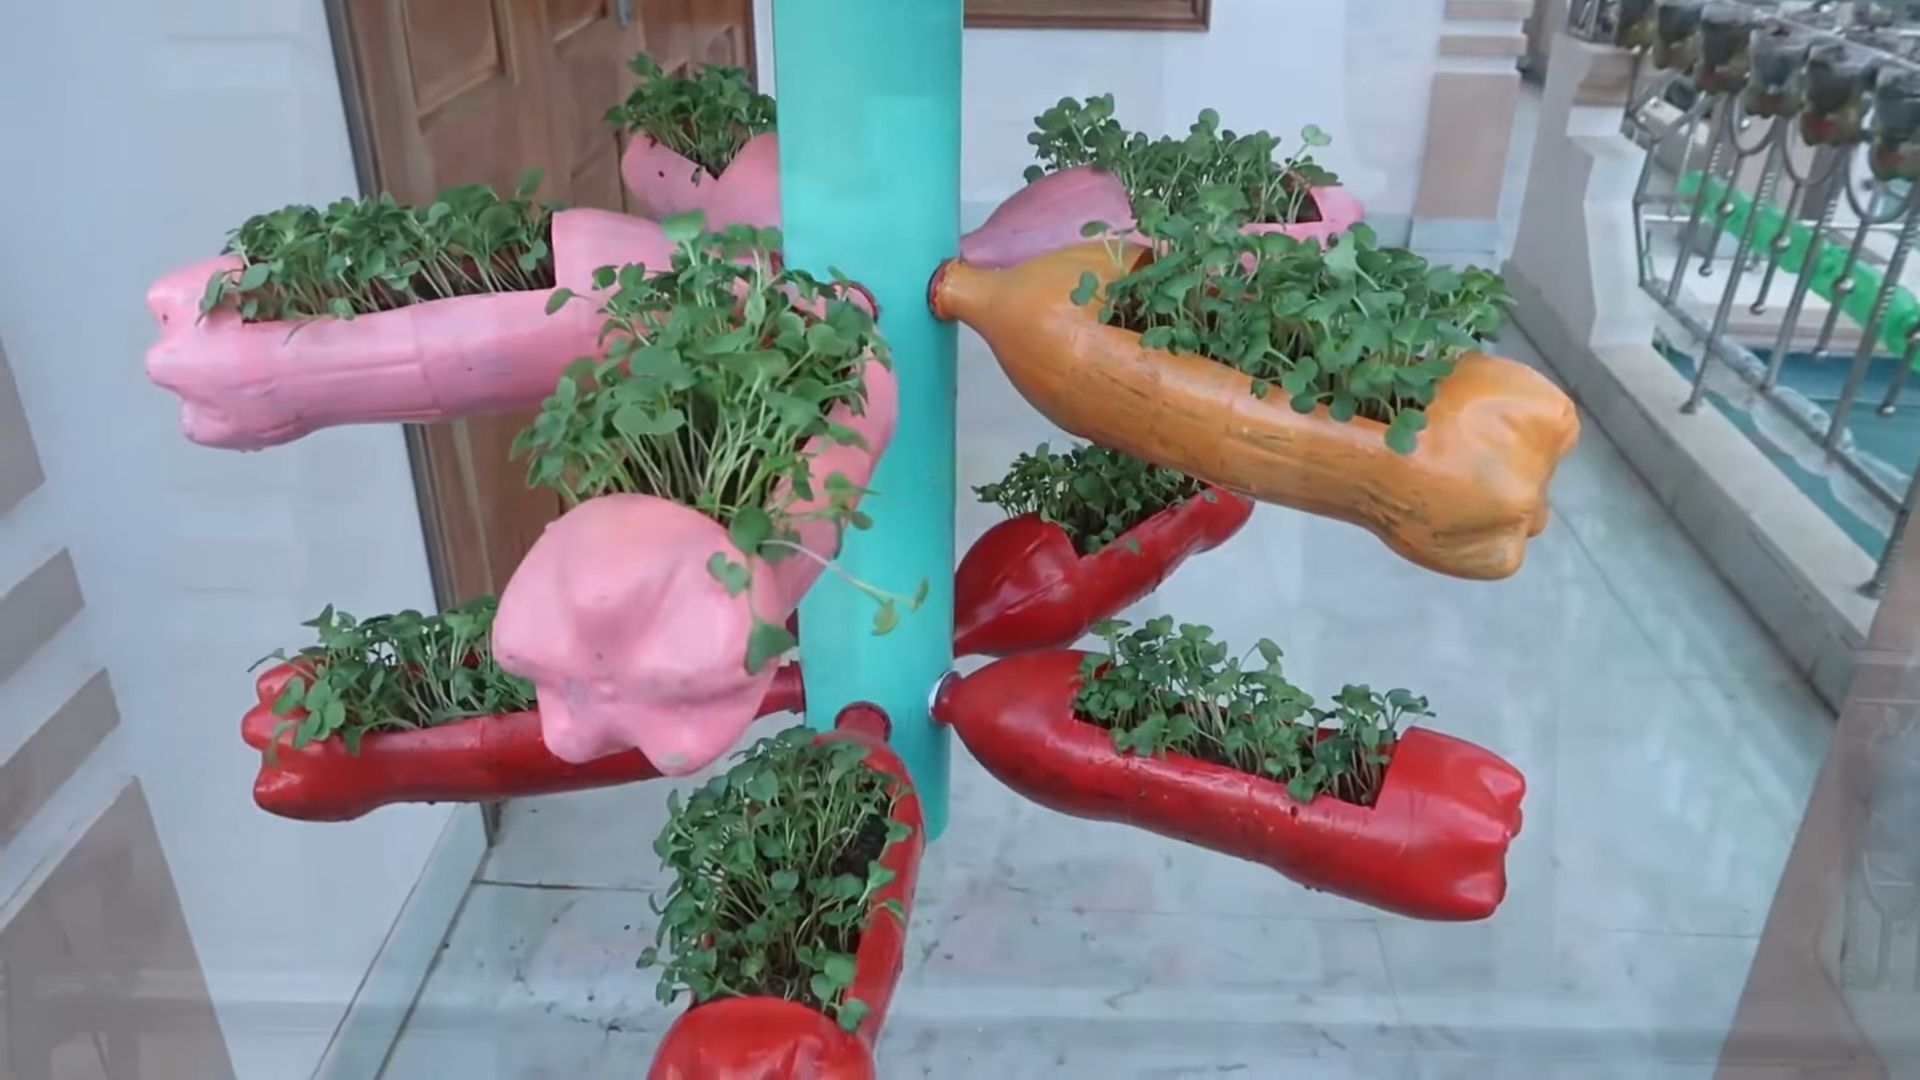
* Space-Saving: You can easily grow microgreens in small containers on your kitchen counter, even if you don’t have a garden.
* Year-Round Growing: You’re not limited by the seasons! You can enjoy fresh microgreens all year long.
What You’ll Need: Your Supply List
Before we dive in, let’s gather our supplies. Don’t worry, you probably have a lot of this stuff already!
* Seeds: This is the most important part! Choose seeds specifically meant for microgreens. Some popular options include:
* Broccoli
* Radish
* Sunflower
* Pea shoots
* Mustard
* Arugula
* Kale
* Cress
Important: Make sure you’re using seeds intended for sprouting or microgreens. Regular garden seeds might be treated with chemicals you don’t want to eat.
* Growing Trays: You’ll need two trays: one with drainage holes and one without. The tray with drainage holes will hold your seeds and growing medium, and the tray without will act as a reservoir for water. You can find these at most garden centers or online. I often reuse plastic takeout containers for this!
* Growing Medium: Instead of soil, we’ll use a soilless medium. Here are a few options:
* Hemp Mats: These are biodegradable and provide excellent support for the roots.
* Coconut Coir: This is a sustainable alternative to peat moss. It’s made from coconut husks and retains moisture well.
* Paper Towels: Yes, really! This is the simplest and cheapest option, perfect for beginners. Just make sure they’re unbleached.
* Jute Mats: Similar to hemp mats, these are made from natural jute fibers.
* Spray Bottle: For misting the seeds and keeping the growing medium moist.
* Water: Filtered water is best, but tap water is usually fine too.
* Weight (Optional): A small weight, like a book or a brick wrapped in plastic, can help the seeds germinate evenly.
* Light Source: Microgreens need light to grow. A sunny windowsill is great, but a grow light will give you more consistent results, especially during the winter months.
* Hydrogen Peroxide (Optional): A diluted solution of hydrogen peroxide (3%) can help prevent mold and fungal growth.
Step-by-Step Guide: Growing Your Soil-Free Microgreens
Okay, let’s get our hands dirty (well, not really, since we’re going soil-free!). Here’s a detailed guide to growing your own microgreens:
Phase 1: Preparing Your Growing Medium and Seeds
1. Prepare Your Growing Medium:
* Hemp or Jute Mats: Simply cut the mat to fit your growing tray.
* Coconut Coir: Soak the coir in water until it’s fully hydrated. Squeeze out any excess water. You want it to be damp, not soggy. Spread it evenly in your growing tray.
* Paper Towels: Layer several sheets of paper towels (4-6 layers) in your growing tray. Moisten them thoroughly with water. You want them to be damp, but not dripping.
2. Pre-Soak Your Seeds (Optional but Recommended): Soaking your seeds before planting can speed up germination. Place the seeds in a bowl of water and let them soak for the recommended time (usually 4-8 hours, but check the seed packet for specific instructions). This helps soften the seed coat and encourages sprouting.
3. Drain the Seeds: After soaking, drain the seeds thoroughly using a fine-mesh sieve or colander.
Phase 2: Sowing the Seeds
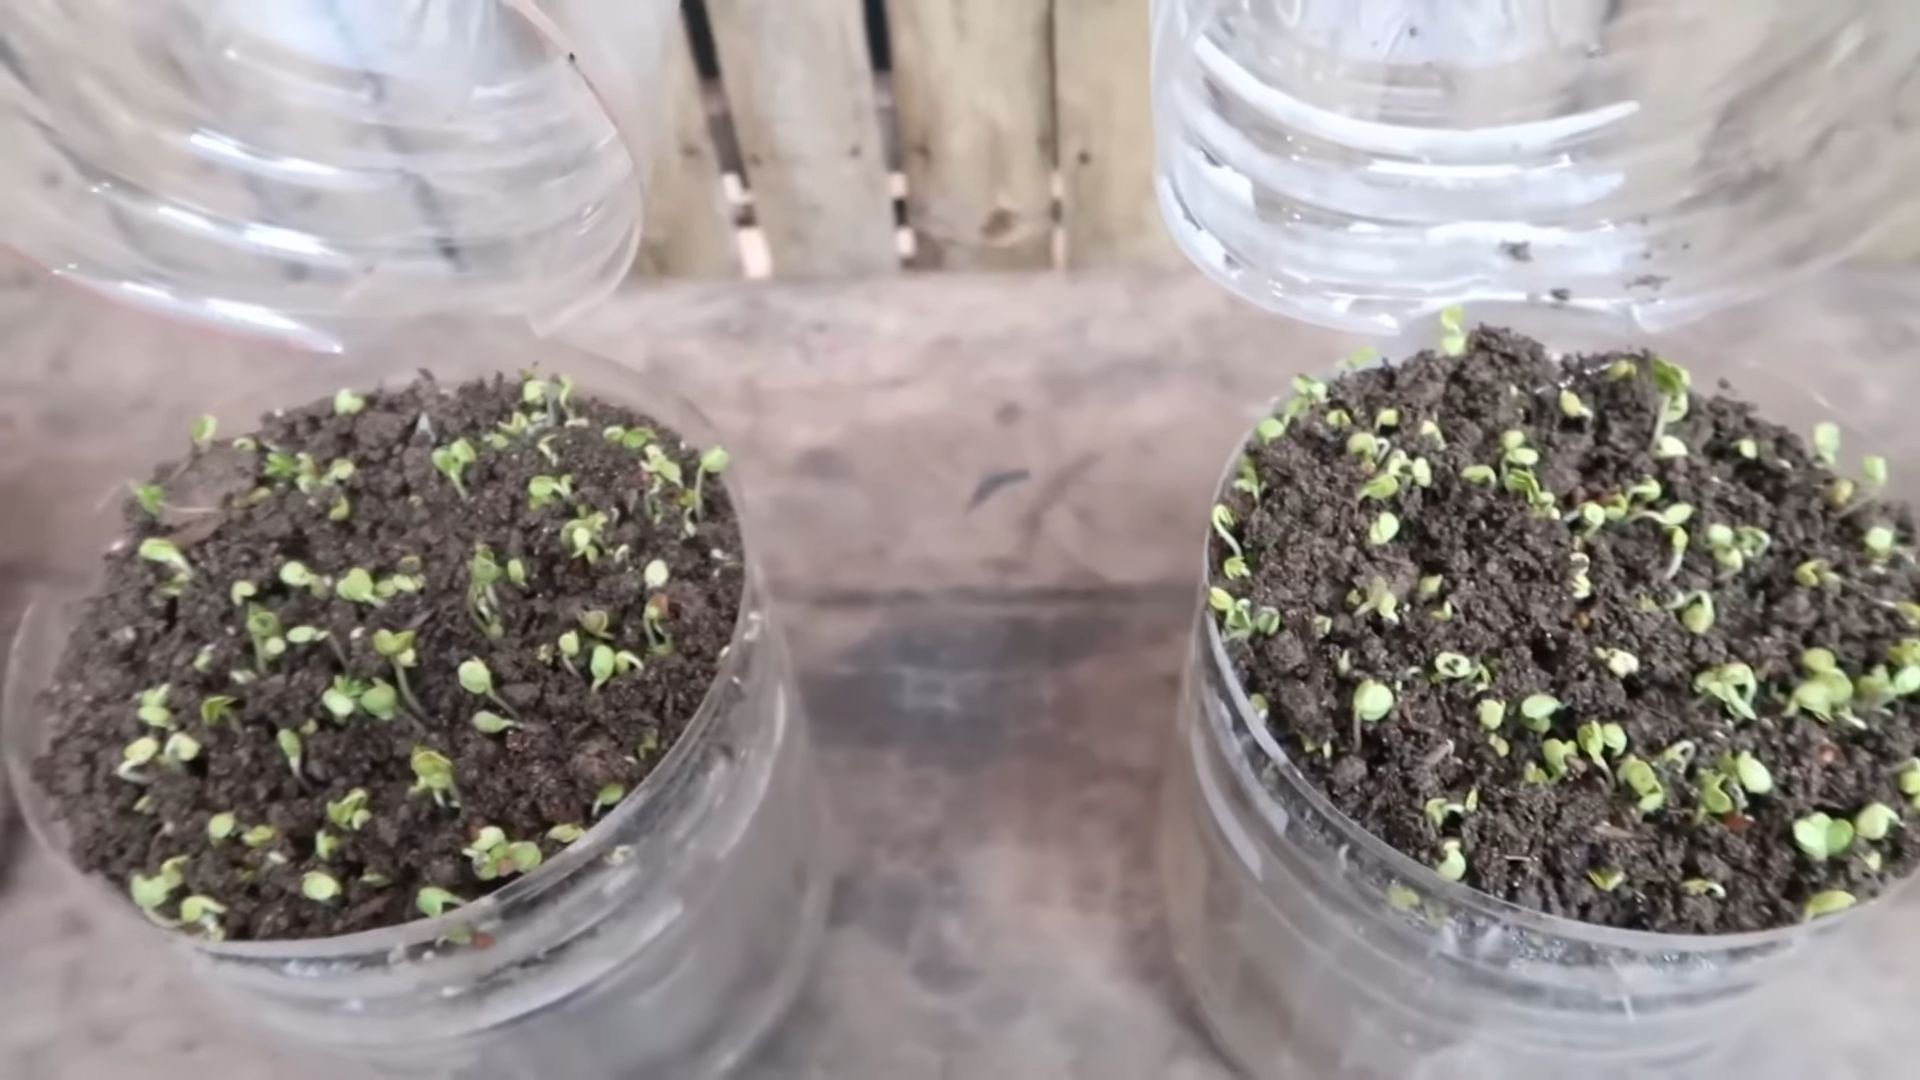
1. Sow the Seeds Evenly: Sprinkle the seeds evenly over the prepared growing medium. You want a dense layer of seeds, but not so crowded that they’re overlapping. Think of it like a cozy blanket of seeds.
2. Mist the Seeds: Gently mist the seeds with water using your spray bottle. This will help them adhere to the growing medium and stay moist.
3. Cover the Seeds (Blackout Period): This is a crucial step! Cover the seeds with a lid or another tray to create a dark, humid environment. This encourages germination. You can also place a weight on top of the cover to ensure good seed-to-medium contact. This “blackout period” typically lasts for 2-3 days, or until the seeds have sprouted.
4. Maintain Moisture: During the blackout period, check the seeds daily to make sure they’re still moist. Mist them with water as needed. You don’t want them to dry out.
Phase 3: Growing and Harvesting
1. Introduce Light: Once the seeds have sprouted (you’ll see tiny white roots and the beginnings of leaves), remove the cover and introduce light. Place the tray on a sunny windowsill or under a grow light. If using a grow light, position it about 6-12 inches above the plants.
2. Water Regularly: Continue to mist the microgreens with water 1-2 times per day, or as needed to keep the growing medium moist. You can also bottom-water by pouring water into the reservoir tray (the one without drainage holes). The growing medium will absorb the water from the bottom.
3. Monitor for Mold: Keep an eye out for mold or fungal growth. If you see any, remove the affected areas immediately. You can also spray the microgreens with a diluted solution of hydrogen peroxide (1 part hydrogen peroxide to 10 parts water) to help prevent mold. Good air circulation is also important.
4. Harvest Your Microgreens: Your microgreens will be ready to harvest in about 7-14 days, depending on the variety. They’re ready when the cotyledon leaves are fully developed and the first true leaves have emerged.
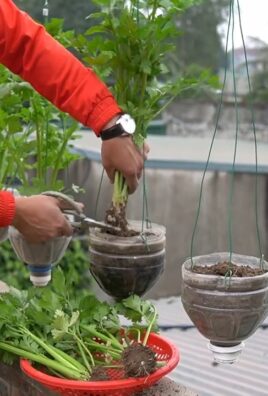
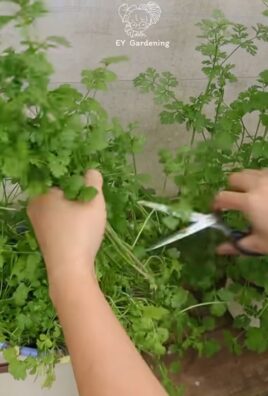
5. Harvesting Technique: Use sharp scissors or a knife to cut the microgreens just above the growing medium.
6. Wash and Enjoy: Gently wash the harvested microgreens in cool water and pat them dry. They’re now ready to eat! Add them to salads, sandwiches, soups, smoothies, or use them as a garnish.
7. Composting: After harvesting, you can compost the used growing medium and any remaining roots.
Troubleshooting Tips
* Seeds Not Germinating: Make sure your seeds are fresh and viable. Check the expiration date on the seed packet. Also, ensure that the seeds are kept moist during the blackout period.
* Mold Growth: Mold is a common problem when growing microgreens. To prevent mold, ensure good air circulation, avoid overwatering, and use a diluted solution of hydrogen peroxide.
* Leggy Microgreens: Leggy microgreens are tall and spindly, with long stems and small leaves. This is usually caused by insufficient light. Move the microgreens to a brighter location or use a grow light.
* Yellowing Leaves: Yellowing leaves can be a sign of overwatering or nutrient deficiency. Make sure you’re not overwatering the microgreens. If you suspect a nutrient deficiency, you can add a diluted liquid fertilizer to the water.
Choosing the Right Seeds
Not all seeds are created equal when it comes to microgreens. Some varieties are easier to grow than others, and some have more intense flavors. Here are a few of my
Conclusion
So, there you have it! Growing soil-free microgreens at home is not only achievable but also surprisingly simple and incredibly rewarding. We’ve walked you through the process, highlighting the ease, cleanliness, and speed with which you can cultivate these nutrient-packed powerhouses right in your own kitchen. Forget the messy soil and the potential for soilborne diseases; this method offers a clean, efficient, and space-saving alternative that’s perfect for urban dwellers, busy individuals, and anyone looking to add a boost of fresh, homegrown goodness to their diet.
But why is this DIY trick a must-try? Beyond the convenience, consider the control you gain over your food source. You know exactly what’s going into your microgreens – no pesticides, no herbicides, just pure, unadulterated plant power. Plus, the satisfaction of watching those tiny sprouts emerge and flourish is genuinely fulfilling. It’s a miniature garden that brings a touch of nature indoors, even in the smallest of apartments.
Ready to take your microgreen game to the next level? Experiment with different seed varieties! Radish, broccoli, sunflower, pea shoots, and mustard are all excellent choices for soil-free cultivation. You can also play around with the lighting. While indirect sunlight works well, a simple grow light can significantly boost growth and yield, especially during the darker months. Consider using different types of sprouting trays or containers to find what works best for your space and preferences. You can even try stacking multiple trays to maximize your vertical growing area.
Don’t be afraid to get creative with your microgreen creations! Sprinkle them on salads, sandwiches, soups, or use them as a vibrant garnish for your favorite dishes. They add a burst of flavor, texture, and nutrition that’s hard to beat. Imagine the possibilities: spicy radish microgreens on tacos, delicate broccoli microgreens in a creamy soup, or hearty sunflower microgreens on a breakfast toast. The culinary applications are endless!
We wholeheartedly encourage you to give this soil-free microgreen growing method a try. It’s a fun, educational, and delicious way to connect with your food and enhance your well-being. Once you experience the joy of harvesting your own fresh microgreens, you’ll wonder why you didn’t start sooner.
And most importantly, we want to hear about your experiences! Share your successes, your challenges, and your creative microgreen recipes with us. Post photos of your thriving soil-free gardens on social media using #SoilFreeMicrogreens and tag us so we can celebrate your green thumb achievements. Let’s build a community of microgreen enthusiasts and inspire others to embrace the power of homegrown goodness. Happy growing!
Frequently Asked Questions (FAQ)
What exactly are microgreens, and why should I grow them?
Microgreens are young vegetable greens that are harvested just after the cotyledon leaves have developed, typically within 7-14 days of germination. They are packed with nutrients, often containing higher concentrations of vitamins and minerals than their mature counterparts. Growing them allows you to have a readily available source of fresh, healthy greens, even if you don’t have a garden. Plus, they add a burst of flavor and visual appeal to your meals.
What types of seeds are best for growing soil-free microgreens?
Many different types of seeds can be used for soil-free microgreens. Some popular choices include:
* **Brassicas:** Broccoli, kale, cabbage, radish, mustard
* **Legumes:** Pea shoots, lentils, chickpeas
* **Grains:** Wheatgrass, barley
* **Other:** Sunflower, buckwheat, amaranth
Choose seeds that are specifically labeled for sprouting or microgreens, as these are typically untreated and have a higher germination rate. Avoid using seeds that are coated with fungicides or other chemicals.
What kind of container should I use for growing soil-free microgreens?
Shallow trays with drainage holes are ideal. You can use dedicated sprouting trays, plastic containers, or even repurposed food containers. The key is to ensure good drainage to prevent waterlogging, which can lead to mold growth. A tray with a lid or cover can also help to maintain humidity during the initial germination phase.
How often should I water my soil-free microgreens?
Watering frequency depends on the humidity and temperature of your environment. Generally, you should mist or spray your microgreens at least once or twice a day to keep them consistently moist but not soggy. The growing medium should feel damp to the touch. Avoid overwatering, as this can lead to mold or fungal growth.
How much light do soil-free microgreens need?
Microgreens need adequate light to thrive. Indirect sunlight is often sufficient, but a grow light can significantly improve growth, especially in low-light conditions. Position your microgreens near a sunny window or under a grow light for at least 6-8 hours per day. If you’re using a grow light, start with it positioned a few inches above the seedlings and adjust as needed to prevent burning.
How do I prevent mold growth in my soil-free microgreens?
Mold growth is a common concern when growing microgreens. To prevent it:
* Ensure good air circulation.
* Avoid overwatering.
* Use clean containers and equipment.
* Rinse seeds thoroughly before planting.
* If mold appears, remove the affected area immediately and improve air circulation. A diluted hydrogen peroxide solution (1 part hydrogen peroxide to 10 parts water) can be sprayed on the affected area.
When are my soil-free microgreens ready to harvest?
Microgreens are typically ready to harvest when the cotyledon leaves (the first set of leaves) are fully developed and the first true leaves (the second set of leaves) are just starting to emerge. This usually takes about 7-14 days, depending on the variety.
How do I harvest my soil-free microgreens?
Use clean scissors or a sharp knife to cut the microgreens just above the growing medium. Rinse them gently with water before using.
How long will harvested microgreens last?
Harvested microgreens are best used immediately for optimal flavor and nutrition. However, they can be stored in the refrigerator for up to a week. To store them, gently pat them dry with a paper towel and place them in a sealed container or bag.
Can I reuse the growing medium after harvesting my microgreens?
It’s generally not recommended to reuse the growing medium, as it may contain residual seeds, roots, and potential contaminants. It’s best to start with fresh growing medium for each batch of microgreens.
What if my seeds don’t germinate?
Several factors can affect seed germination. Make sure you’re using fresh, high-quality seeds. Ensure that the growing medium is consistently moist but not waterlogged. The temperature should be within the optimal range for the specific seed variety. If you’re still having trouble, try soaking the seeds in water for a few hours before planting to help them germinate.
Is growing soil-free microgreens organic?
While you’re not using soil, whether your microgreens are considered “organic” depends on the seeds you use and the growing medium. To ensure your microgreens are organic, use certified organic seeds and a growing medium that is approved for organic gardening.
Can I grow microgreens indoors year-round?
Yes! One of the great advantages of growing soil-free microgreens is that you can do it indoors year-round, regardless of the weather outside. With proper lighting and temperature control, you can enjoy a continuous supply of fresh microgreens.
Leave a Comment