
Streak Free Windows are the holy grail of home cleaning, aren’t they? I mean, who doesn’t dream of gazing out at the world through crystal-clear panes, unmarred by unsightly streaks and smudges? For generations, achieving truly streak-free windows has felt like an elusive quest, passed down through families with whispered secrets and often-disappointing results. Think about your grandmother’s tips – newspaper, vinegar, maybe even a prayer to the cleaning gods!
But what if I told you that achieving that pristine, sparkling finish is actually within your reach, and without resorting to harsh chemicals or expensive professional services? This DIY guide is your secret weapon in the battle against window grime. We’re diving deep into simple, effective techniques and readily available ingredients to unlock the secrets to streak free windows.
Why is this so important? Because clean windows aren’t just about aesthetics. They let in more natural light, brightening your home and boosting your mood. They improve your curb appeal, making your house look its best. And let’s be honest, they just make you feel good! So, ditch the frustration and get ready to transform your windows from dull and dirty to dazzlingly clean with these easy-to-follow DIY tricks. Let’s get started!
DIY Streak-Free Windows: My Secret Weapon!
Okay, let’s be honest, who *enjoys* cleaning windows? It’s usually a chore that ends with more streaks than you started with, leaving you frustrated and squinting at the sun. But fear not, my friends! I’ve cracked the code to sparkling, streak-free windows, and I’m sharing all my secrets with you. This isn’t just about wiping; it’s about a system, a method, and a little bit of elbow grease (but not too much!).
Gathering Your Arsenal: What You’ll Need
Before we dive in, let’s make sure you have everything you need. Trust me, having all your supplies ready will make the process so much smoother.
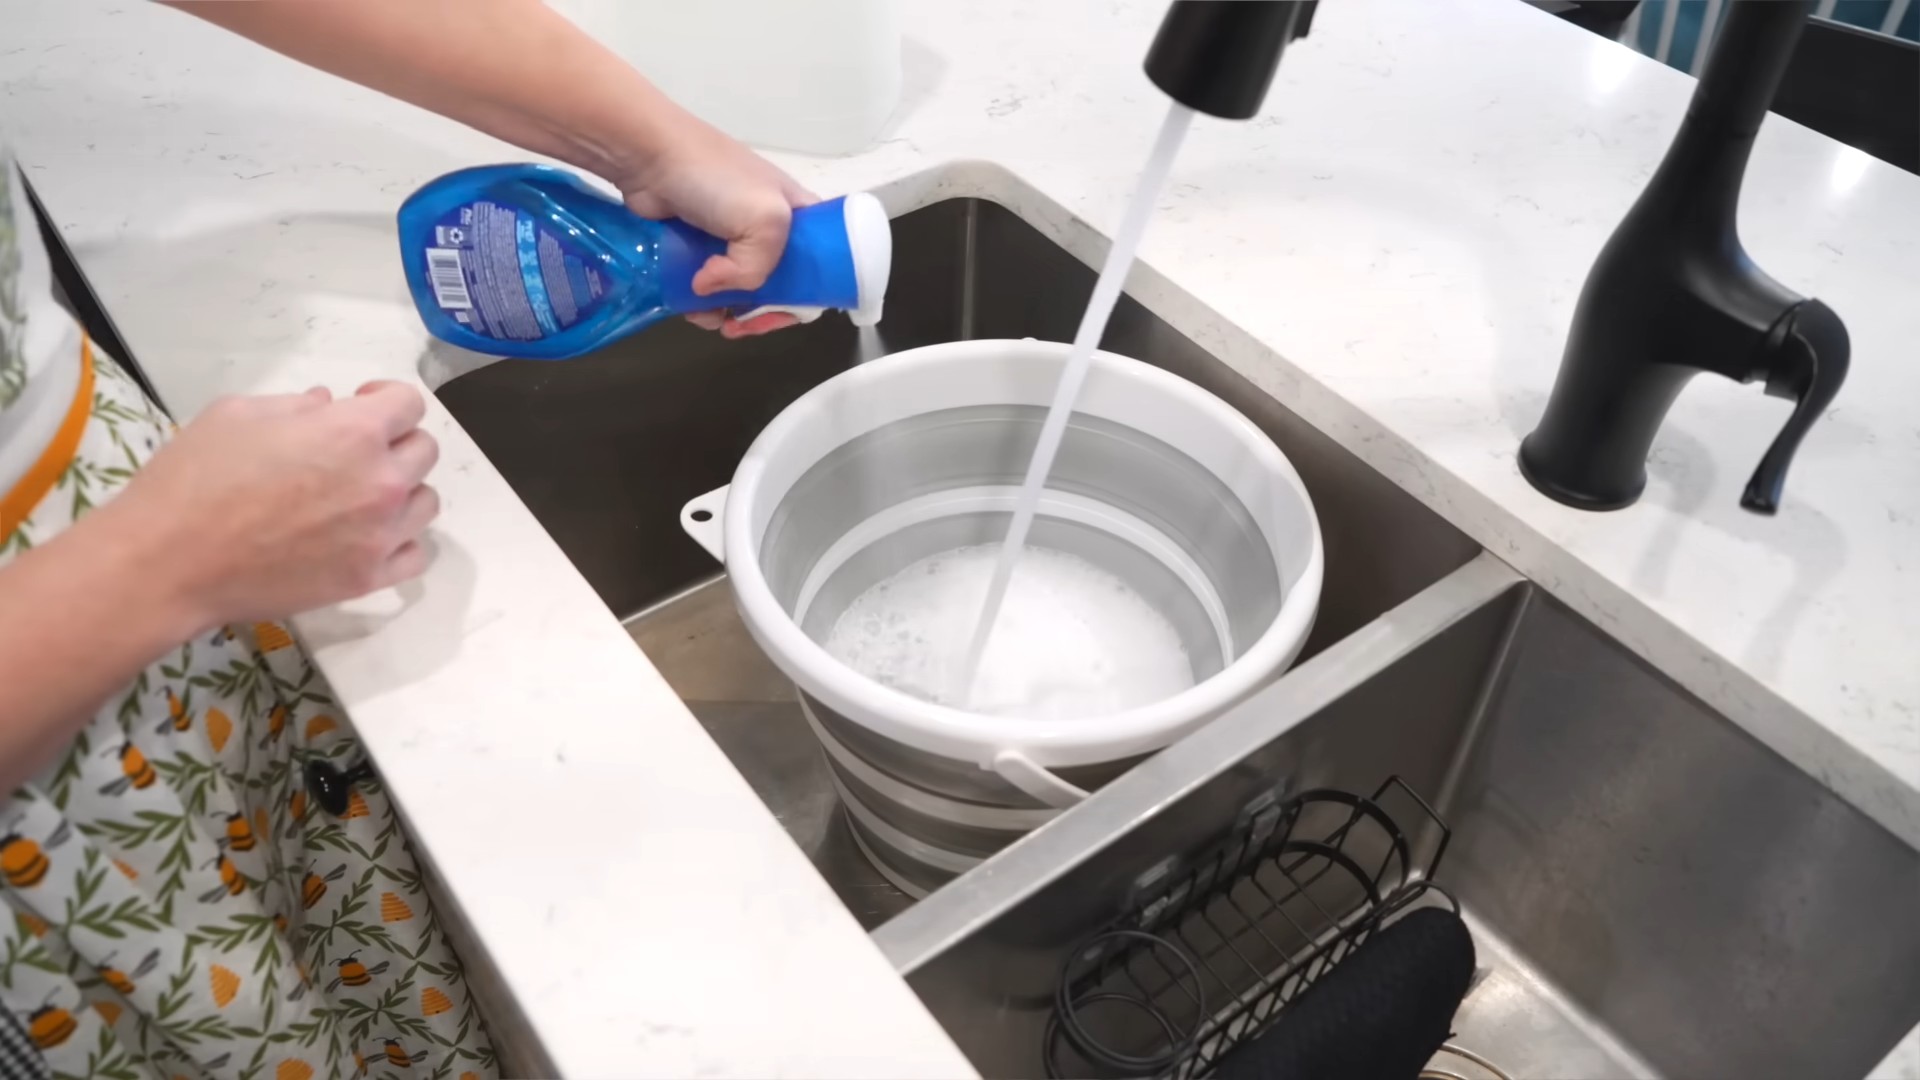
* Two Buckets: Yes, two! One for your cleaning solution and one for rinsing. This is crucial to avoid just spreading dirty water around.
* Microfiber Cloths: Ditch the paper towels! Microfiber cloths are the key to streak-free success. I recommend having at least four on hand – two for washing and two for drying/polishing.
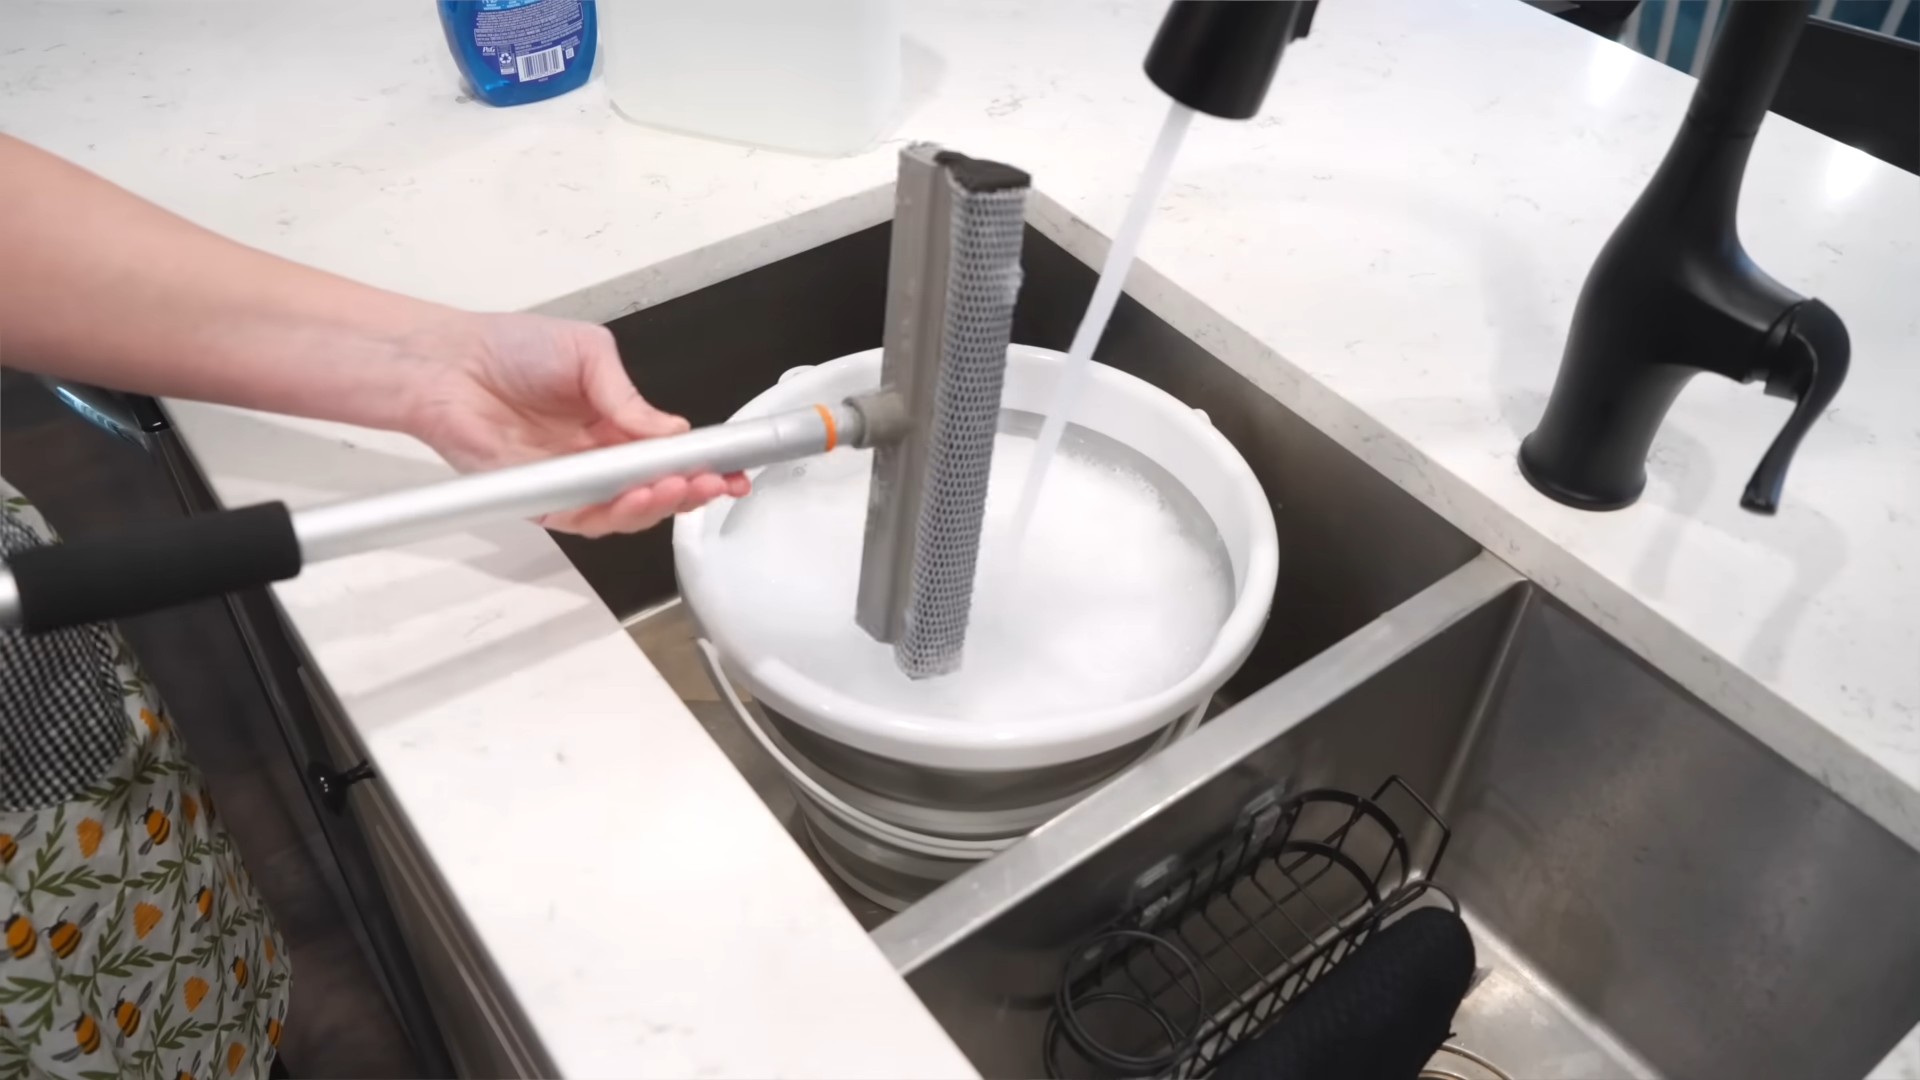
* Squeegee: A good quality squeegee is your best friend. Look for one with a rubber blade that’s in good condition (no nicks or tears!). I prefer one that’s about 10-12 inches wide.
* Spray Bottle: For pre-treating stubborn spots.
* Dish Soap: Just a tiny amount! We’re talking a few drops, not a bubble bath.
* White Vinegar: This is my secret weapon! Vinegar helps cut through grime and leaves a brilliant shine.
* Warm Water: The warmer the water, the better it will dissolve dirt and grease.
* Ladder or Step Stool: For those hard-to-reach windows. Safety first!
* Old Towel or Drop Cloth: To protect your window sills and floors from drips.
* Optional: Scrub Brush or Sponge: For extra dirty windows.
Mixing the Magic Potion: Your Cleaning Solution
Forget those expensive window cleaners! My homemade solution is just as effective (if not more so) and much cheaper.
1. Fill one bucket with warm water. About a gallon should do the trick.
2. Add a few drops of dish soap. Seriously, just a few! Too much soap will leave a residue.
3. Pour in 1/2 cup of white vinegar. The vinegar smell will dissipate quickly, so don’t worry about your house smelling like a pickle jar.
4. Stir gently to combine. Avoid creating too many bubbles.
The Window Cleaning Process: Step-by-Step
Alright, let’s get down to business! This is where the magic happens.
1. Prepare the Area: Lay down your old towel or drop cloth to protect your window sills and floors. Move any furniture that might be in the way.
2. Pre-Treat Stubborn Spots: If you have any particularly dirty areas (bird droppings, bug splatters, etc.), spray them with a mixture of water and vinegar in your spray bottle. Let it sit for a few minutes to loosen the grime.
3. Wash the Window: Dip one of your microfiber cloths into the cleaning solution, making sure it’s damp but not dripping wet. Wring it out slightly.
4. Wipe the Window: Starting at the top, wipe the entire window with the damp microfiber cloth. Use overlapping strokes to ensure you cover every inch. Don’t be afraid to apply a little pressure to remove stubborn dirt.
5. Squeegee Time! This is where the squeegee comes in. Start at the top corner of the window and overlap each stroke by about an inch. Wipe the squeegee blade with a clean, dry microfiber cloth after each stroke to remove any excess water and dirt.
* Pro Tip: Angle the squeegee slightly downwards to help the water run off.
6. Wipe the Edges: Use a clean, dry microfiber cloth to wipe the edges of the window and catch any drips.
7. Rinse and Repeat (If Necessary): If your windows are particularly dirty, you may need to repeat steps 3-6.
8. The Final Polish: Once the window is dry, use a clean, dry microfiber cloth to buff the glass and remove any remaining streaks. This is the key to that sparkling, streak-free finish!
9. Clean Your Tools: Rinse your microfiber cloths and squeegee with clean water after each window to prevent spreading dirt.
Tackling Different Types of Windows
Not all windows are created equal! Here’s how to adjust your technique for different types of windows.
Casement Windows
These windows swing outward, making them a bit trickier to clean. Make sure the window is securely latched open before you start cleaning. You may need to use a ladder or step stool to reach the outside of the window.
Double-Hung Windows
These windows have two sashes that slide up and down. You can usually tilt the sashes inward for easier cleaning.
Storm Windows
Storm windows are designed to protect your windows from the elements. They can be a pain to remove and clean, but it’s worth it for the extra protection. Be careful when handling storm windows, as they can be heavy and fragile.
Skylights
Cleaning skylights can be challenging, but it’s important to keep them clean to maximize natural light. Use a long-handled squeegee or a window cleaning robot to reach those high-up windows.
Troubleshooting Common Problems
Even with the best technique, you might encounter a few snags along the way. Here’s how to troubleshoot some common window cleaning problems.
* Streaks: If you’re still seeing streaks, make sure you’re using clean microfiber cloths and a good quality squeegee. You may also need to adjust the amount of dish soap in your cleaning solution. Too much soap can leave a residue that causes streaks.
* Water Spots: Water spots can be caused by hard water or mineral deposits on the glass. Try adding a little more vinegar to your cleaning solution to help dissolve the minerals.
* Smears: Smears are usually caused by using dirty cloths or a dirty squeegee. Make sure you’re rinsing your tools frequently and using clean cloths for each window.
* Dried-On Grime: For stubborn, dried-on grime, try using a scrub brush or sponge to loosen the dirt before wiping with a microfiber cloth. You can also try using a stronger cleaning solution, such as a mixture of water and ammonia.
Maintaining Your Sparkling Windows
Once you’ve achieved streak-free perfection, you’ll want to keep your windows looking their best. Here are a few tips for maintaining your sparkling windows:
* Clean your windows regularly. The more often you clean them, the less dirt and grime will accumulate. I recommend cleaning your windows at least twice a year, or more often if you live in a dusty or polluted area.
* Wipe up spills and splatters immediately. Don’t let spills and splatters dry on your windows, as they can be difficult to remove later.
* Use a window cleaner specifically designed for glass. While my homemade solution works great, you can also use a commercial window cleaner if you prefer. Just make sure it’s designed for glass and doesn’t contain any harsh chemicals that could damage your windows.
* Protect your windows from the elements. If you live in an area with harsh weather, consider installing storm windows or window film to protect your windows from damage.
Extra Tips and Tricks From My Experience
* The Best Time to Clean: Avoid cleaning windows in direct sunlight, as the sun can cause the cleaning solution to dry too quickly, leaving streaks. Overcast days are ideal.
* Don’t Forget the Screens! Before you start cleaning your windows, remove the screens and wash them with soap and water. Let them dry completely before putting them back in.
* Clean Your Squeegee Blade: Keep your squeegee blade clean and in good condition. If it’s damaged or worn, replace it.
* Practice Makes Perfect: Don’t get discouraged if you don’t achieve streak-free perfection on your first try. With a little practice, you’ll be a window cleaning pro in no time!
* Listen to Music! Put on some tunes and make it a fun activity. Cleaning doesn’t have to be a drag!
So there you have it! My complete guide to achieving sparkling, streak-free windows. Follow these steps, and you’ll be amazed at the difference it makes. Happy cleaning!
Conclusion
Achieving truly streak-free windows might seem like an elusive dream, but with this simple DIY trick, that dream can become a sparkling reality. Forget expensive commercial cleaners loaded with harsh chemicals and disappointing results. This method, utilizing readily available household ingredients, offers a cost-effective, eco-friendly, and, most importantly, highly effective solution for achieving crystal-clear, gleaming windows.
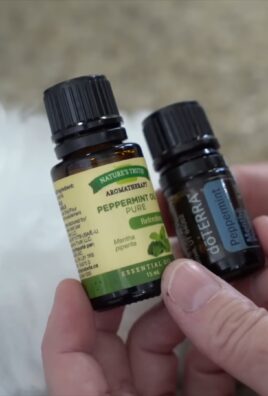
The beauty of this DIY approach lies not only in its simplicity but also in its adaptability. Feel free to experiment with the ratios of vinegar and water to find what works best for your specific water hardness and window grime levels. For particularly stubborn stains, consider adding a few drops of lemon essential oil for its degreasing properties and a refreshing scent. If you prefer a more subtle fragrance, lavender or tea tree oil can also be excellent additions, offering antibacterial benefits as well.
Beyond the basic recipe, consider the tools you use. A high-quality microfiber cloth is essential for preventing streaks and ensuring a smooth, even clean. Avoid using paper towels, as they can leave behind lint and contribute to streaking. A squeegee can also be a valuable asset, especially for larger windows or those with hard-to-reach areas. Practice your squeegee technique for optimal results – overlapping strokes and wiping the blade after each pass are key.
This DIY window cleaning solution isn’t just about saving money; it’s about taking control of the ingredients you use in your home and creating a healthier, more sustainable cleaning routine. You’ll be amazed at the difference a simple, homemade solution can make. The satisfaction of seeing your windows sparkle without the use of harsh chemicals is truly rewarding.
We wholeheartedly encourage you to give this DIY trick for streak-free windows a try. It’s a game-changer for achieving a brighter, cleaner home. Once you’ve experienced the difference, we’d love to hear about your results! Share your tips, variations, and before-and-after photos in the comments below. Let’s build a community of sparkling window enthusiasts and share our secrets to achieving that perfect, streak-free shine! Don’t be surprised if you find yourself actually enjoying cleaning your windows – it’s that effective!
Frequently Asked Questions (FAQ)
Why should I use a DIY window cleaner instead of a commercial one?
There are several compelling reasons to opt for a DIY window cleaner. Firstly, it’s significantly more cost-effective. Commercial window cleaners can be expensive, especially if you have a lot of windows to clean. DIY solutions use inexpensive ingredients you likely already have in your pantry, such as vinegar and water. Secondly, DIY cleaners are often more environmentally friendly. Many commercial cleaners contain harsh chemicals that can be harmful to the environment and your health. DIY solutions are typically made with natural, biodegradable ingredients. Finally, you have complete control over the ingredients in your DIY cleaner, allowing you to avoid allergens or sensitivities.
What kind of vinegar should I use?
White distilled vinegar is the best choice for cleaning windows. It’s inexpensive, readily available, and has a high acidity level, making it effective at cutting through grime and dirt. Avoid using other types of vinegar, such as apple cider vinegar or balsamic vinegar, as they can leave behind a residue or stain your windows.
What is the best ratio of vinegar to water?
A good starting point is a 1:1 ratio of white distilled vinegar to water. However, you can adjust this ratio depending on the severity of the grime on your windows. For lightly soiled windows, you can use a weaker solution, such as 1/4 cup of vinegar to 1 cup of water. For heavily soiled windows, you can use a stronger solution, such as 1/2 cup of vinegar to 1 cup of water. Experiment to find the ratio that works best for your specific needs.
Can I add anything else to the solution?
Yes, you can add a few drops of essential oil to your window cleaning solution for added fragrance and cleaning power. Lemon essential oil is a popular choice for its degreasing properties and refreshing scent. Lavender and tea tree oil are also good options, offering antibacterial benefits. Be sure to use pure essential oils and add only a few drops, as too much can leave a residue.
What kind of cloth should I use?
Microfiber cloths are the best choice for cleaning windows. They are highly absorbent, lint-free, and won’t scratch the glass. Avoid using paper towels, as they can leave behind lint and contribute to streaking. You can also use a squeegee for larger windows or those with hard-to-reach areas.
How do I use a squeegee properly?
To use a squeegee effectively, start by applying the cleaning solution to the window. Then, hold the squeegee at a slight angle and overlap each stroke by about an inch. Wipe the blade of the squeegee after each pass to remove any excess solution or dirt. Work from top to bottom, and use a clean microfiber cloth to wipe up any drips or streaks.
What if I still see streaks after cleaning?
If you still see streaks after cleaning your windows, there are a few things you can try. First, make sure you are using a clean microfiber cloth. A dirty cloth can spread dirt and grime around, causing streaks. Second, try using a different ratio of vinegar to water. If you are using too much vinegar, it can leave behind a residue. Third, make sure you are wiping the blade of your squeegee after each pass. Finally, try cleaning your windows on a cloudy day. Direct sunlight can cause the cleaning solution to dry too quickly, leading to streaks.
Can I use this solution on tinted windows?
While vinegar is generally safe for most window types, it’s always best to test a small, inconspicuous area of your tinted windows first. Some tints can be sensitive to acidic solutions. If you notice any discoloration or damage, discontinue use immediately. You might consider using a milder solution of just water and a small amount of dish soap for tinted windows.
How often should I clean my windows?
The frequency of window cleaning depends on several factors, including your location, the weather, and the amount of traffic near your home. Generally, cleaning your windows every few months is sufficient. However, if you live in a dusty or polluted area, you may need to clean them more often.
Is this DIY cleaner safe for my pets and children?
Yes, this DIY window cleaner is generally safe for pets and children, as it is made with natural ingredients. However, it’s always a good idea to keep cleaning solutions out of reach of children and pets. While vinegar is non-toxic, ingesting large amounts can cause stomach upset. If your pet or child accidentally ingests the cleaning solution, contact your veterinarian or doctor.

Leave a Comment