
Brighten Bathroom Grout Easily and say goodbye to dingy, stained lines! Are you tired of staring at your bathroom grout, wishing it looked as fresh and clean as the day it was installed? I know I have been! It’s amazing how quickly grout can go from sparkling white to a dull, discolored mess, impacting the entire look of your bathroom. But don’t despair, you don’t need to spend a fortune on professional cleaning or harsh chemicals.
For generations, homeowners have sought simple, effective ways to maintain their homes. From ancient Roman bathhouses to modern-day apartments, the challenge of keeping grout clean has persisted. While the materials and methods have evolved, the desire for a pristine and inviting space remains constant. This DIY guide is your answer to achieving that sparkling clean without breaking the bank.
Let’s face it, nobody enjoys scrubbing grout. It’s a tedious, back-breaking chore that often yields disappointing results. But with the right techniques and readily available household ingredients, you can brighten bathroom grout easily and restore its original luster. This article will provide you with simple, step-by-step instructions and proven DIY tricks to tackle even the most stubborn stains. Get ready to transform your bathroom with minimal effort and maximum impact!
Brighten Your Bathroom Grout: A DIY Guide to Sparkling Clean!
Okay, let’s face it: bathroom grout. It’s the bane of every homeowner’s existence. It starts out bright and pristine, but before you know it, it’s a breeding ground for mildew, stains, and general yuckiness. But don’t despair! You don’t need to hire a professional or resort to harsh chemicals. I’m going to show you a simple, effective, and budget-friendly way to brighten your bathroom grout and bring it back to life.
This DIY method uses ingredients you probably already have in your pantry, and it’s surprisingly powerful. Get ready to say goodbye to dingy grout and hello to a sparkling clean bathroom!
What You’ll Need:
Before we dive in, let’s gather our supplies. Here’s what you’ll need for this grout-brightening adventure:
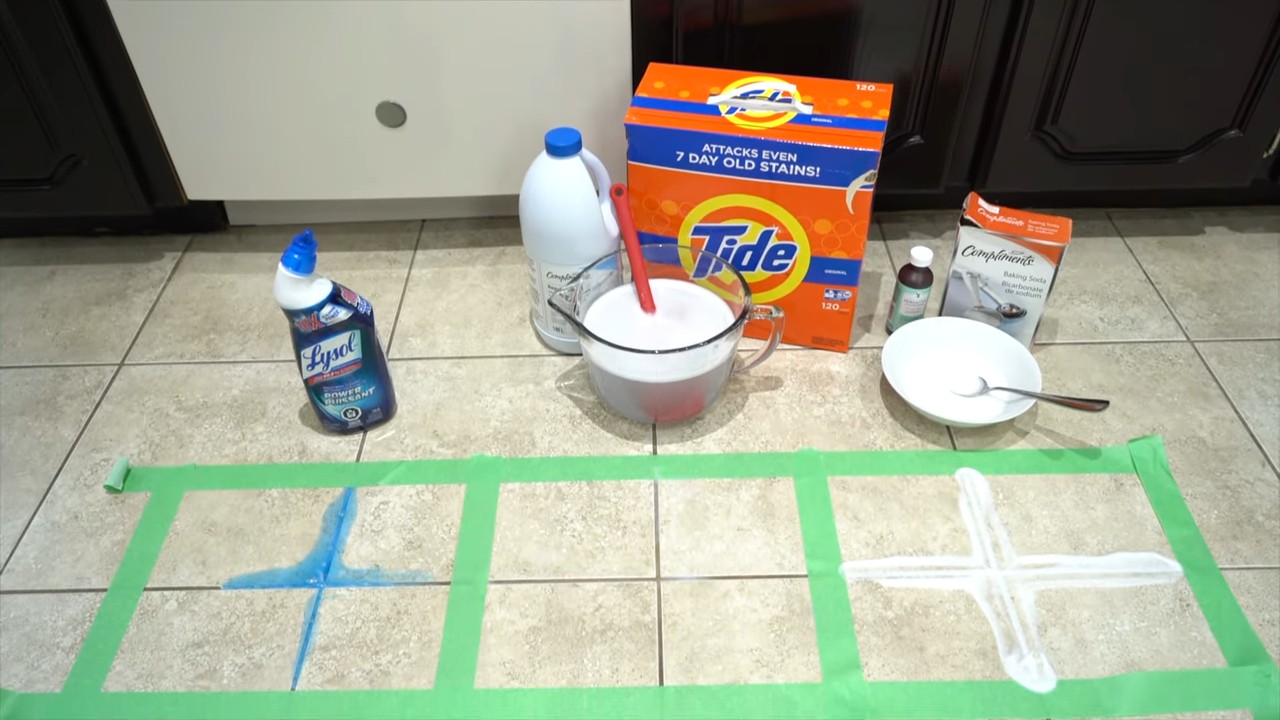
* Baking Soda: This is our gentle abrasive and deodorizer. It helps lift stains and grime without scratching the tile.
* Hydrogen Peroxide (3%): This is a mild bleaching agent and disinfectant. It helps kill mold and mildew and brightens the grout.
* Dish Soap (Optional): A little dish soap can help cut through grease and grime, especially if your grout is heavily soiled. I prefer using a natural dish soap, but any kind will do.
* Spray Bottle: For easy application of the cleaning solution.
* Old Toothbrush or Grout Brush: This is your weapon of choice for scrubbing the grout lines. An old toothbrush works great for smaller areas, while a grout brush is ideal for larger spaces.
* Small Bowl: For mixing the baking soda paste.
* Sponge or Cloth: For wiping away the cleaning solution and rinsing the tile.
* Gloves: To protect your hands from the cleaning solution.
* Eye Protection (Optional): While hydrogen peroxide is generally safe, it’s always a good idea to protect your eyes from splashes.
* Water: For rinsing.
* Paper Towels or Clean Cloths: For drying the tile and grout.
Step-by-Step Instructions:
Now that we have everything we need, let’s get started!
1. Prepare the Area: Before you start cleaning, make sure the bathroom is well-ventilated. Open a window or turn on the exhaust fan. Remove any loose items from the area, such as bath mats, shower curtains, and toiletries. Give the area a quick sweep or vacuum to remove any loose dirt or debris.
2. Mix the Baking Soda Paste: In a small bowl, mix baking soda with just enough hydrogen peroxide to form a thick paste. The consistency should be similar to toothpaste. If you’re using dish soap, add a few drops to the paste. Mix well until everything is combined.
3. Apply the Paste to the Grout: Using your fingers or a small spoon, apply the baking soda paste generously to the grout lines. Make sure to cover all the grout completely. Don’t be afraid to get messy!
4. Let it Sit: Once you’ve applied the paste, let it sit for at least 5-10 minutes. For heavily soiled grout, you can let it sit for up to 30 minutes. The longer it sits, the more time the baking soda and hydrogen peroxide have to work their magic.
5. Scrub the Grout: After the paste has had time to sit, it’s time to scrub! Using your old toothbrush or grout brush, scrub the grout lines vigorously. Pay close attention to areas with stubborn stains or mildew. You’ll likely see the dirt and grime start to lift as you scrub.
6. Rinse Thoroughly: Once you’ve scrubbed all the grout, it’s time to rinse away the cleaning solution. Use a sponge or cloth dampened with clean water to wipe away the baking soda paste. Rinse the sponge or cloth frequently to remove any residue. Make sure to rinse the grout thoroughly to remove all traces of the cleaning solution.
7. Dry the Tile and Grout: After rinsing, dry the tile and grout with paper towels or clean cloths. This will help prevent water spots and mildew growth. You can also use a fan to speed up the drying process.
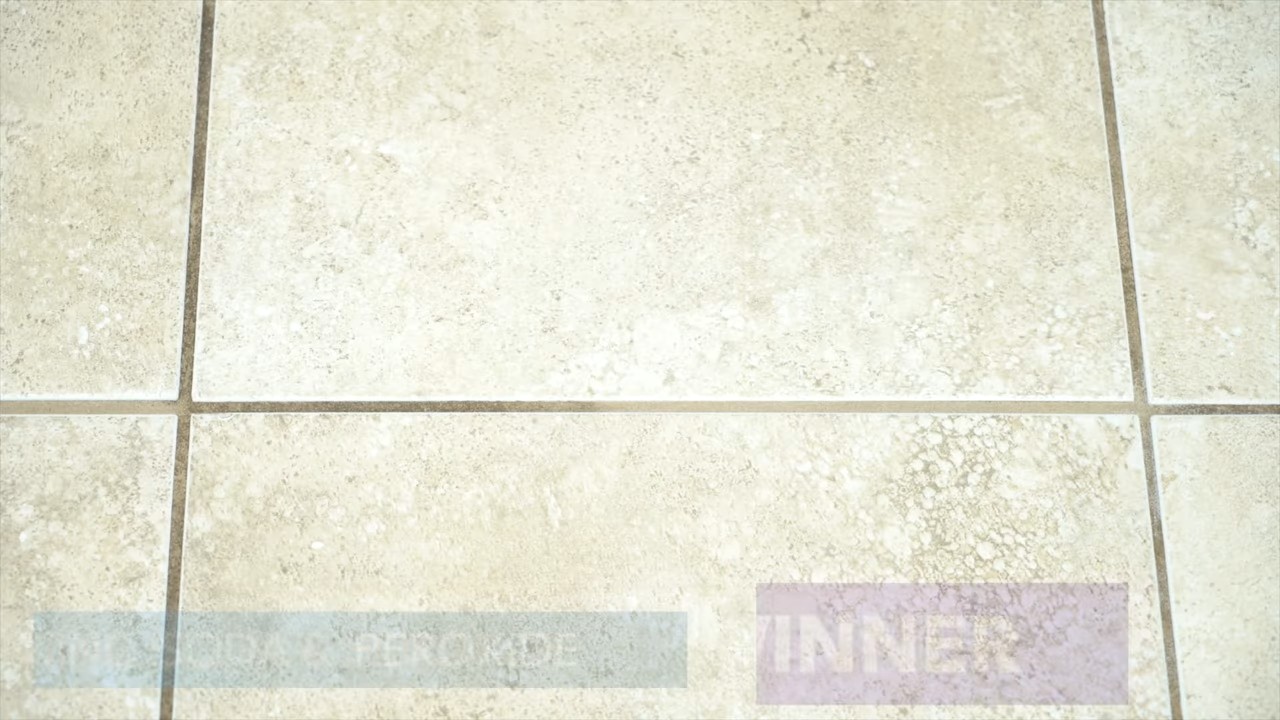
8. Inspect and Repeat (If Necessary): Once the grout is dry, inspect your work. If you’re not satisfied with the results, you can repeat the process. For stubborn stains, you may need to apply the paste and scrub the grout multiple times.
Alternative Cleaning Solution: Hydrogen Peroxide Spray
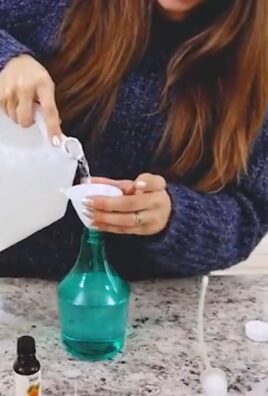
If you prefer a spray-on solution, you can also use a mixture of hydrogen peroxide and water. This method is great for lighter cleaning and maintenance.
1. Mix the Solution: In a spray bottle, mix equal parts hydrogen peroxide and water.
2. Spray the Grout: Spray the grout lines generously with the solution.
3. Let it Sit: Let the solution sit for 5-10 minutes.
4. Scrub the Grout: Scrub the grout lines with a toothbrush or grout brush.
5. Rinse and Dry: Rinse the grout with clean water and dry with paper towels or cloths.
Dealing with Stubborn Stains and Mildew:
Sometimes, you’ll encounter grout stains that are particularly stubborn. Here are a few tips for dealing with them:
* Increase the Concentration of Hydrogen Peroxide: If the 3% hydrogen peroxide isn’t strong enough, you can try using a higher concentration. However, be careful when using stronger solutions, as they can be more irritating to the skin and eyes. Always wear gloves and eye protection when working with stronger chemicals.
* Use a Baking Soda and Vinegar Paste: For really tough stains, you can try a paste made from baking soda and vinegar. Mix the two ingredients together to form a thick paste, apply it to the grout, and let it sit for 15-20 minutes. Then, scrub the grout and rinse thoroughly. Be aware that vinegar is acidic and can damage some types of tile, so test it in an inconspicuous area first.
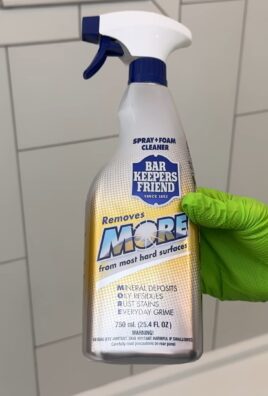
* Try a Commercial Grout Cleaner: If all else fails, you can try a commercial grout cleaner. There are many different grout cleaners available on the market, so choose one that is specifically designed for your type of tile and grout. Follow the instructions on the product label carefully.
Preventing Future Grout Stains:
Once you’ve cleaned your grout, you’ll want to keep it looking its best. Here are a few tips for preventing future grout stains:
* Wipe Up Spills Immediately: The sooner you wipe up spills, the less likely they are to stain the grout.
* Ventilate the Bathroom: Proper ventilation helps prevent mildew growth. Always turn on the exhaust fan or open a window when showering or bathing.
* Seal the Grout: Sealing the grout creates a barrier that prevents water and stains from penetrating. You can purchase grout sealant at most home improvement stores. Apply the sealant according to the manufacturer’s instructions.
* Clean Regularly: Regular cleaning is the best way to prevent grout stains from building up. Wipe down the tile and grout with a mild cleaner every week or two.
Safety Precautions:
While this DIY grout-brightening method is generally safe, it’s important to take a few precautions:
* Wear Gloves: Hydrogen peroxide can irritate the skin, so it’s always a good idea to wear gloves when working with it.
* Protect Your Eyes: While hydrogen peroxide is generally safe, it’s always a good idea to protect your eyes from splashes. Wear safety glasses or goggles when working with it.
* Ventilate the Area: Make sure the bathroom is well-ventilated when cleaning. Open a window or turn on the exhaust fan.
* Test in an Inconspicuous Area: Before applying any cleaning solution to the entire area, test it in an inconspicuous area first to make sure it doesn’t damage the tile or grout.
* Keep Out of Reach of Children and Pets: Store all cleaning supplies out of reach of children and pets.
Enjoy Your Sparkling Clean Grout!
And there you have it! With a little elbow grease and some simple ingredients, you can brighten your bathroom grout and bring it back to life. This DIY method is a great way to save money and avoid harsh chemicals. So, grab your supplies and get ready to transform your bathroom! You’ll be amazed at the difference it makes. Happy cleaning!
Conclusion
So, there you have it! This simple, effective, and budget-friendly DIY trick to brighten bathroom grout easily is a game-changer for anyone tired of dingy, stained grout lines. We’ve walked you through the process, highlighting the ease and accessibility of the ingredients and the straightforward application. But why is this a must-try?
Firstly, consider the cost savings. Commercial grout cleaners, especially those promising dramatic results, can be expensive and often contain harsh chemicals. This DIY solution utilizes common household items, making it a significantly more economical option. Secondly, think about the health benefits. By avoiding harsh chemicals, you’re creating a safer environment for yourself, your family, and even your pets. The ingredients used are generally less irritating and pose a lower risk of respiratory issues or skin sensitivities.
Beyond the practical advantages, this DIY method offers a sense of accomplishment. There’s something incredibly satisfying about transforming a grimy bathroom into a sparkling clean space using your own ingenuity and a little elbow grease. The visible difference is immediate and rewarding, boosting your confidence in your cleaning abilities.
But the benefits don’t stop there. This method is also incredibly versatile. While we’ve focused on bathroom grout, this same technique can be adapted for use on tile floors, kitchen backsplashes, and other areas where grout discoloration is a problem.
Looking for variations? Consider adding a few drops of your favorite essential oil, like tea tree or eucalyptus, to the paste for an added boost of antibacterial power and a refreshing scent. For particularly stubborn stains, you can let the paste sit for a longer period, even overnight, before scrubbing. Just be sure to test a small, inconspicuous area first to ensure no discoloration occurs. Another variation involves using a powered oxygen bleach instead of baking soda for extra stain-fighting power. Again, test in an unseen area first.
We are confident that this DIY grout brightening trick will become a staple in your cleaning routine. It’s simple, effective, and environmentally conscious. But don’t just take our word for it! We urge you to try it out for yourself and witness the transformative power of this simple solution.
Once you’ve given it a go, we’d love to hear about your experience. Share your before-and-after photos, tips, and variations in the comments section below. Let’s create a community of grout-cleaning enthusiasts and help each other achieve sparkling clean homes! Your insights and experiences will undoubtedly inspire others to tackle their own grout challenges and discover the joy of a brighter, cleaner bathroom. So, grab your supplies, roll up your sleeves, and get ready to say goodbye to dingy grout and hello to a sparkling clean bathroom! We can’t wait to see your results!
Frequently Asked Questions (FAQ)
What kind of baking soda should I use?
Plain baking soda (sodium bicarbonate) is what you need. There are no special types required for this cleaning method. The baking soda acts as a mild abrasive, helping to lift dirt and grime from the grout lines. Avoid using baking powder, as it contains other ingredients that are not necessary for cleaning.
How often should I repeat this process?
The frequency depends on how quickly your grout gets dirty and how often you use your bathroom. Generally, repeating this process every 1-3 months should keep your grout looking bright and clean. If you notice stains reappearing quickly, you might need to clean more frequently or consider sealing your grout to prevent future staining. Regular cleaning, even a quick wipe-down after showering, can also help extend the time between deep cleans.
Can I use this method on colored grout?
While this method is generally safe for most grout types, it’s always best to test it on a small, inconspicuous area first, especially if you have colored grout. Some colored grouts may be more susceptible to fading or discoloration. Apply the paste to a small area, let it sit for the recommended time, scrub gently, and rinse thoroughly. If you notice any color change, discontinue use. For colored grout, consider using a gentler cleaning solution specifically designed for colored grout.
What if the stains are really stubborn and won’t come out?
For particularly stubborn stains, you can try a few things. First, let the paste sit on the grout for a longer period, even overnight. This will give the ingredients more time to penetrate and break down the stains. Second, use a stiffer brush or grout brush to scrub the grout lines more vigorously. Be careful not to scrub too hard, as this could damage the grout. Third, consider using a stronger cleaning agent, such as a diluted bleach solution (always test in an inconspicuous area first and wear gloves and eye protection). Finally, if all else fails, you may need to consider re-grouting the area.
Is this method safe for all types of tile?
This method is generally safe for most types of tile, including ceramic, porcelain, and glass. However, some natural stone tiles, such as marble or granite, may be more sensitive to acidic or abrasive cleaners. Always test the paste on a small, inconspicuous area of the tile before applying it to the entire surface. If you’re unsure about the type of tile you have, consult with a tile professional.
What kind of brush should I use?
A small, stiff-bristled brush is ideal for cleaning grout. A grout brush, specifically designed for cleaning grout lines, is the best option. You can find these brushes at most hardware stores or online retailers. An old toothbrush can also work in a pinch, but it may not be as effective for reaching into the grout lines. Avoid using metal brushes, as they can scratch the tile.
Can I use a power scrubber or steam cleaner?
Yes, you can use a power scrubber or steam cleaner to help clean the grout. A power scrubber can help to loosen dirt and grime, while a steam cleaner can help to sanitize the grout and remove stubborn stains. If using a power scrubber, be sure to use a soft brush attachment to avoid damaging the tile or grout. If using a steam cleaner, follow the manufacturer’s instructions carefully.
How can I prevent grout from getting dirty in the future?
Preventing grout from getting dirty in the first place is the best way to keep it looking bright and clean. Here are a few tips:
* Seal your grout: Sealing your grout creates a barrier that prevents dirt, grime, and moisture from penetrating the grout lines. Reapply sealant every 6-12 months, or as recommended by the manufacturer.
* Wipe up spills immediately: Clean up spills as soon as they happen to prevent them from soaking into the grout.
* Ventilate your bathroom: Proper ventilation helps to prevent moisture buildup, which can lead to mold and mildew growth.
* Use a squeegee after showering: Squeegeeing the walls and floor of your shower after each use helps to remove excess water and prevent water stains.
* Regularly clean your bathroom: Regular cleaning, even a quick wipe-down, can help to prevent dirt and grime from building up on the grout.
What are the environmental considerations of this method?
This DIY method is generally considered environmentally friendly, as it uses common household ingredients that are less harmful than many commercial cleaning products. Baking soda is a natural substance, and vinegar is biodegradable. However, it’s still important to dispose of the cleaning solution properly. Avoid pouring large amounts of the solution down the drain, as it could potentially disrupt the balance of your septic system. Instead, dilute the solution with water and pour it onto your lawn or garden.
Is there any safety precautions I should take?
While the ingredients used in this DIY method are generally safe, it’s always a good idea to take some basic safety precautions. Wear gloves to protect your hands from irritation. Avoid getting the cleaning solution in your eyes. If you do get it in your eyes, rinse them thoroughly with water. Ventilate the area well to avoid inhaling any fumes. Keep the cleaning solution out of reach of children and pets. If you have any sensitivities or allergies, test the solution on a small area of skin before using it on a larger surface.

Leave a Comment