
Cleaner comparison test: Ever stood paralyzed in the cleaning aisle, overwhelmed by a sea of products all promising sparkling results? I know I have! It’s a common dilemma – which cleaner truly lives up to the hype, and which ones are just clever marketing?
For generations, cleaning methods have been passed down, from ancient herbal remedies to the modern chemical concoctions we see today. But with so many options available, how do we cut through the noise and find the most effective solutions for our homes? That’s where a proper cleaner comparison test comes in handy!
This DIY guide is your ultimate weapon against cleaning confusion. We’re diving deep into a head-to-head battle of popular cleaners, putting them through rigorous tests to reveal their true cleaning power. Forget relying on flashy commercials or biased reviews. I’ll show you how to conduct your own scientific experiments at home, so you can confidently choose the best products for your specific needs and budget. Say goodbye to wasted money and hello to a sparkling clean home, achieved with the knowledge and power of your own DIY cleaner comparison test!
DIY Cleaner Comparison Test: Find Your Ultimate Cleaning Solution!
Hey everyone! I’m super excited to share a fun and informative DIY project with you today: a cleaner comparison test! We’ve all been there, staring at a shelf full of cleaning products, wondering which one *actually* works best. Well, wonder no more! This test will help you determine which cleaner reigns supreme in your home, saving you money and time in the long run.
What You’ll Need
Before we dive in, let’s gather our supplies. This is a pretty simple setup, and you probably have most of these things lying around already:
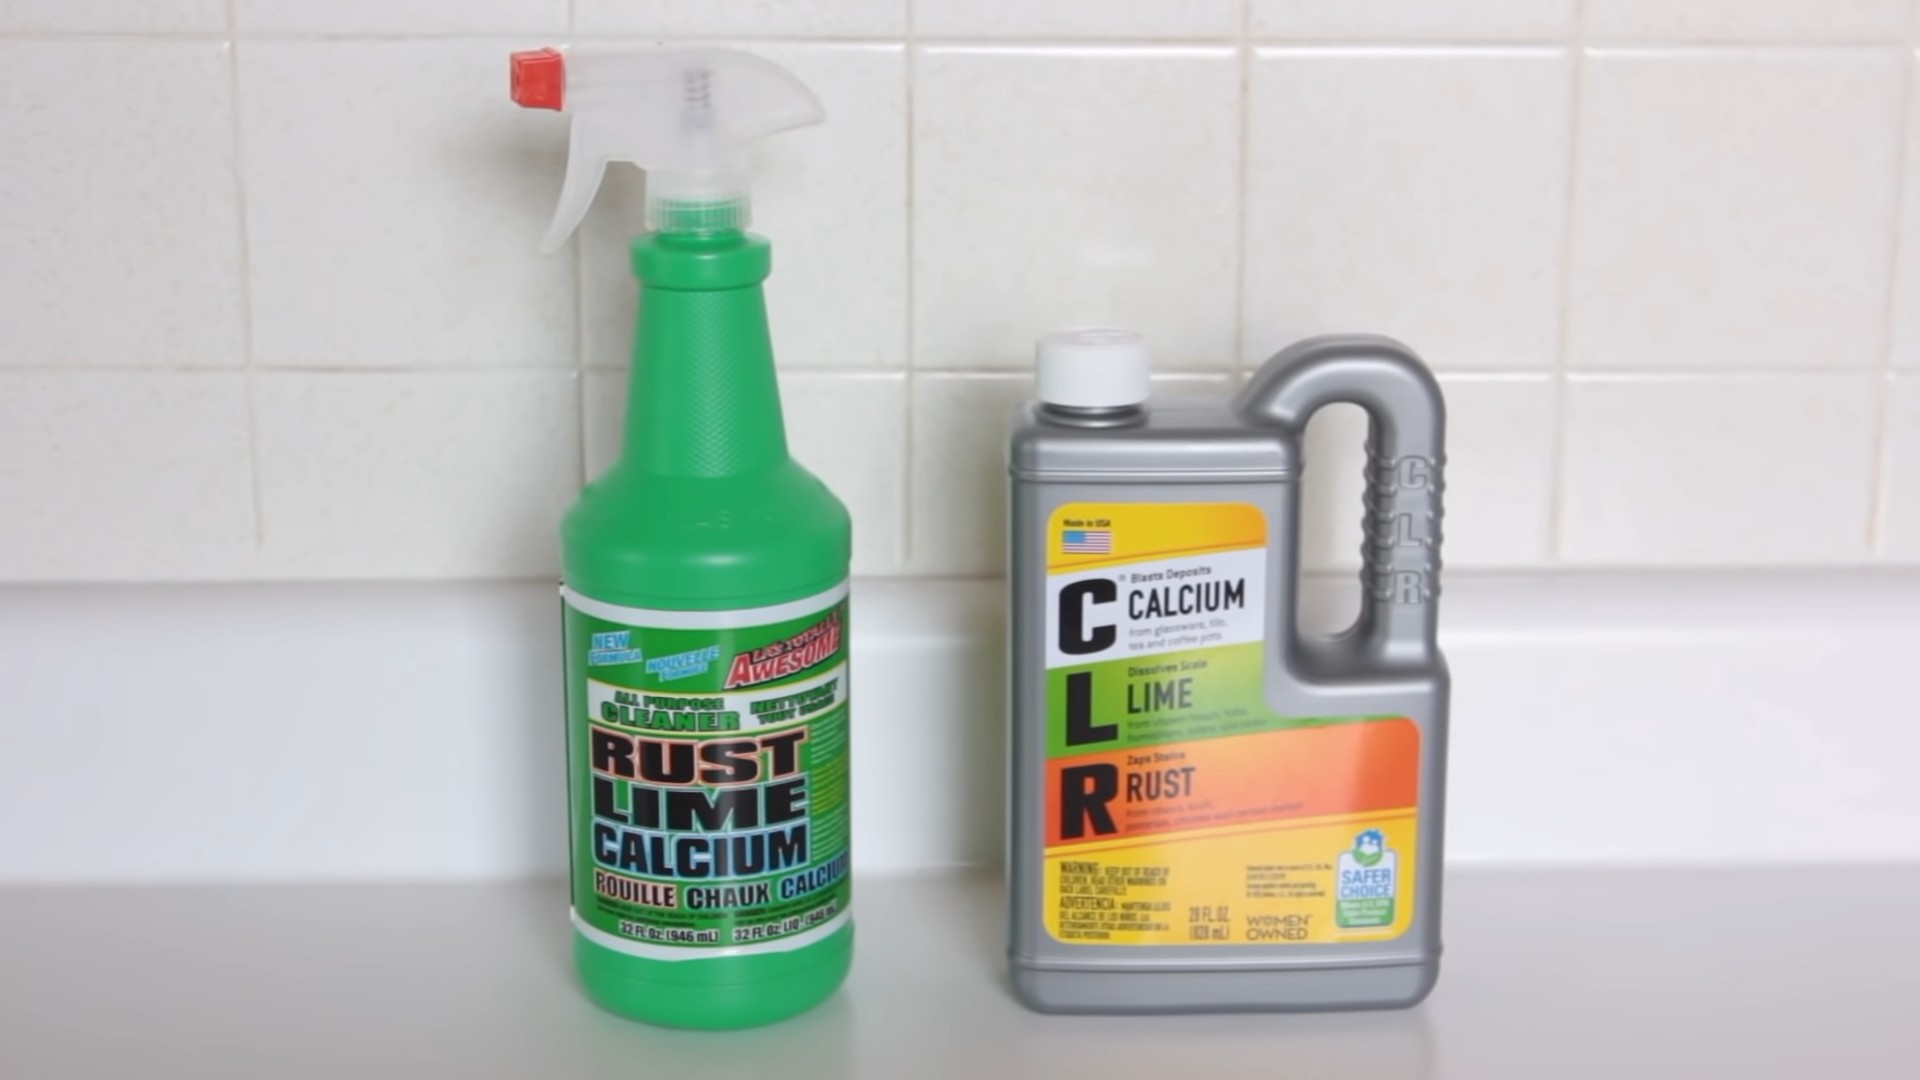
* A variety of cleaning products you want to test. Think all-purpose cleaners, bathroom cleaners, kitchen degreasers, glass cleaners – the works! I recommend choosing at least 3-5 different cleaners for a good comparison.
* A surface to test on. I like to use a large piece of tile or a section of a countertop that’s easily accessible. You could also use a whiteboard or even a piece of cardboard covered in contact paper. The key is to have a surface that you can easily clean and reuse.
* A marker or pen to label your test areas.
* Measuring spoons or cups for accurate dilutions (if needed).
* Spray bottles (if your cleaners aren’t already in spray bottles).
* Cleaning cloths or paper towels. I prefer microfiber cloths because they’re reusable and super absorbent.
* Gloves to protect your hands.
* Eye protection (especially if you’re testing harsh chemicals).
* A timer or stopwatch.
* A notebook and pen to record your observations.
* A camera or phone to take before and after photos. This is crucial for visual proof!
Setting Up Your Test Area
Okay, let’s get our test area prepped! This is where we’ll create a controlled environment to compare the cleaning power of each product.
1. Prepare the Surface: Make sure your chosen surface is clean and dry. If it’s already dirty, give it a quick wipe down with a damp cloth and let it dry completely. We want a level playing field for all our cleaners.
2. Divide and Conquer: Divide your surface into equal sections, one for each cleaner you’re testing. Use your marker or pen to clearly label each section with the name of the cleaner. Make sure the labels are large enough to read easily.
3. Apply the Grime: Now for the fun part – adding the grime! To make this a fair test, we need to use the same type of grime on each section. I recommend using a mixture of common household messes, like:
* Grease: A dab of cooking oil or butter.
* Dust: A sprinkle of plain old dust.
* Dirt: A bit of garden soil or potting mix.
* Food Stains: A smear of ketchup, mustard, or coffee.
* Soap Scum: A thin layer of diluted liquid soap.
Apply a small, equal amount of each grime component to each section. Try to distribute it evenly within each section.
4. Let it Sit: Allow the grime to sit on the surface for a set amount of time. I usually wait for about 30 minutes to an hour to let it really set in. This will give the cleaners a good challenge.
The Cleaning Showdown!
Alright, the moment of truth! It’s time to put our cleaners to the test.
1. Prepare Your Cleaners: If your cleaners need to be diluted, follow the instructions on the label carefully. Use your measuring spoons or cups to ensure accurate dilutions. Pour the diluted cleaners into your spray bottles.
2. Spray and Wait: Spray each cleaner onto its corresponding section, making sure to cover the entire area evenly. Let the cleaner sit on the grime for the amount of time recommended on the product label. This is usually a few seconds to a few minutes.
3. Wipe Away: Using a clean cleaning cloth or paper towel for each section, wipe away the cleaner and grime. Use the same amount of pressure and the same wiping motion for each section.
4. Observe and Record: As you’re wiping, pay close attention to how easily the grime is removed. Does the cleaner require a lot of scrubbing? Does it leave behind any residue? Record your observations in your notebook.
5. Rinse (If Necessary): Some cleaners may require rinsing. If so, rinse each section with clean water and dry it with a clean cloth.
6. Take Photos: After you’ve wiped and rinsed (if necessary), take photos of each section. Make sure the lighting is consistent in all the photos. These before and after photos will be invaluable for comparing the results.
Analyzing the Results
Now that we’ve completed the cleaning showdown, it’s time to analyze the results and determine which cleaner is the winner!
1. Visual Inspection: Carefully examine each section of the test surface. Which cleaner removed the most grime? Which cleaner left the surface the cleanest and shiniest?
2. Compare Photos: Compare your before and after photos side-by-side. This will help you see the difference each cleaner made.
3. Review Your Notes: Read through your notes and consider your observations. Which cleaner was the easiest to use? Which one had the most pleasant scent? Which one left behind the least residue?
4. Consider the Cost: Take into account the cost of each cleaner. Is the most effective cleaner also the most expensive? If so, is the extra cost worth the improved cleaning performance?
5. Factor in Safety: Consider the safety of each cleaner. Are there any harsh chemicals that you’re concerned about? Are there any cleaners that are safer for your family and pets?
Bonus Round: Specific Stain Challenges
Want to take your cleaner comparison test to the next level? Try testing each cleaner on specific types of stains that you frequently encounter in your home. For example:
* Coffee Stains: Test on a coffee-stained mug or countertop.
* Red Wine Stains: Test on a red wine-stained cloth or carpet.
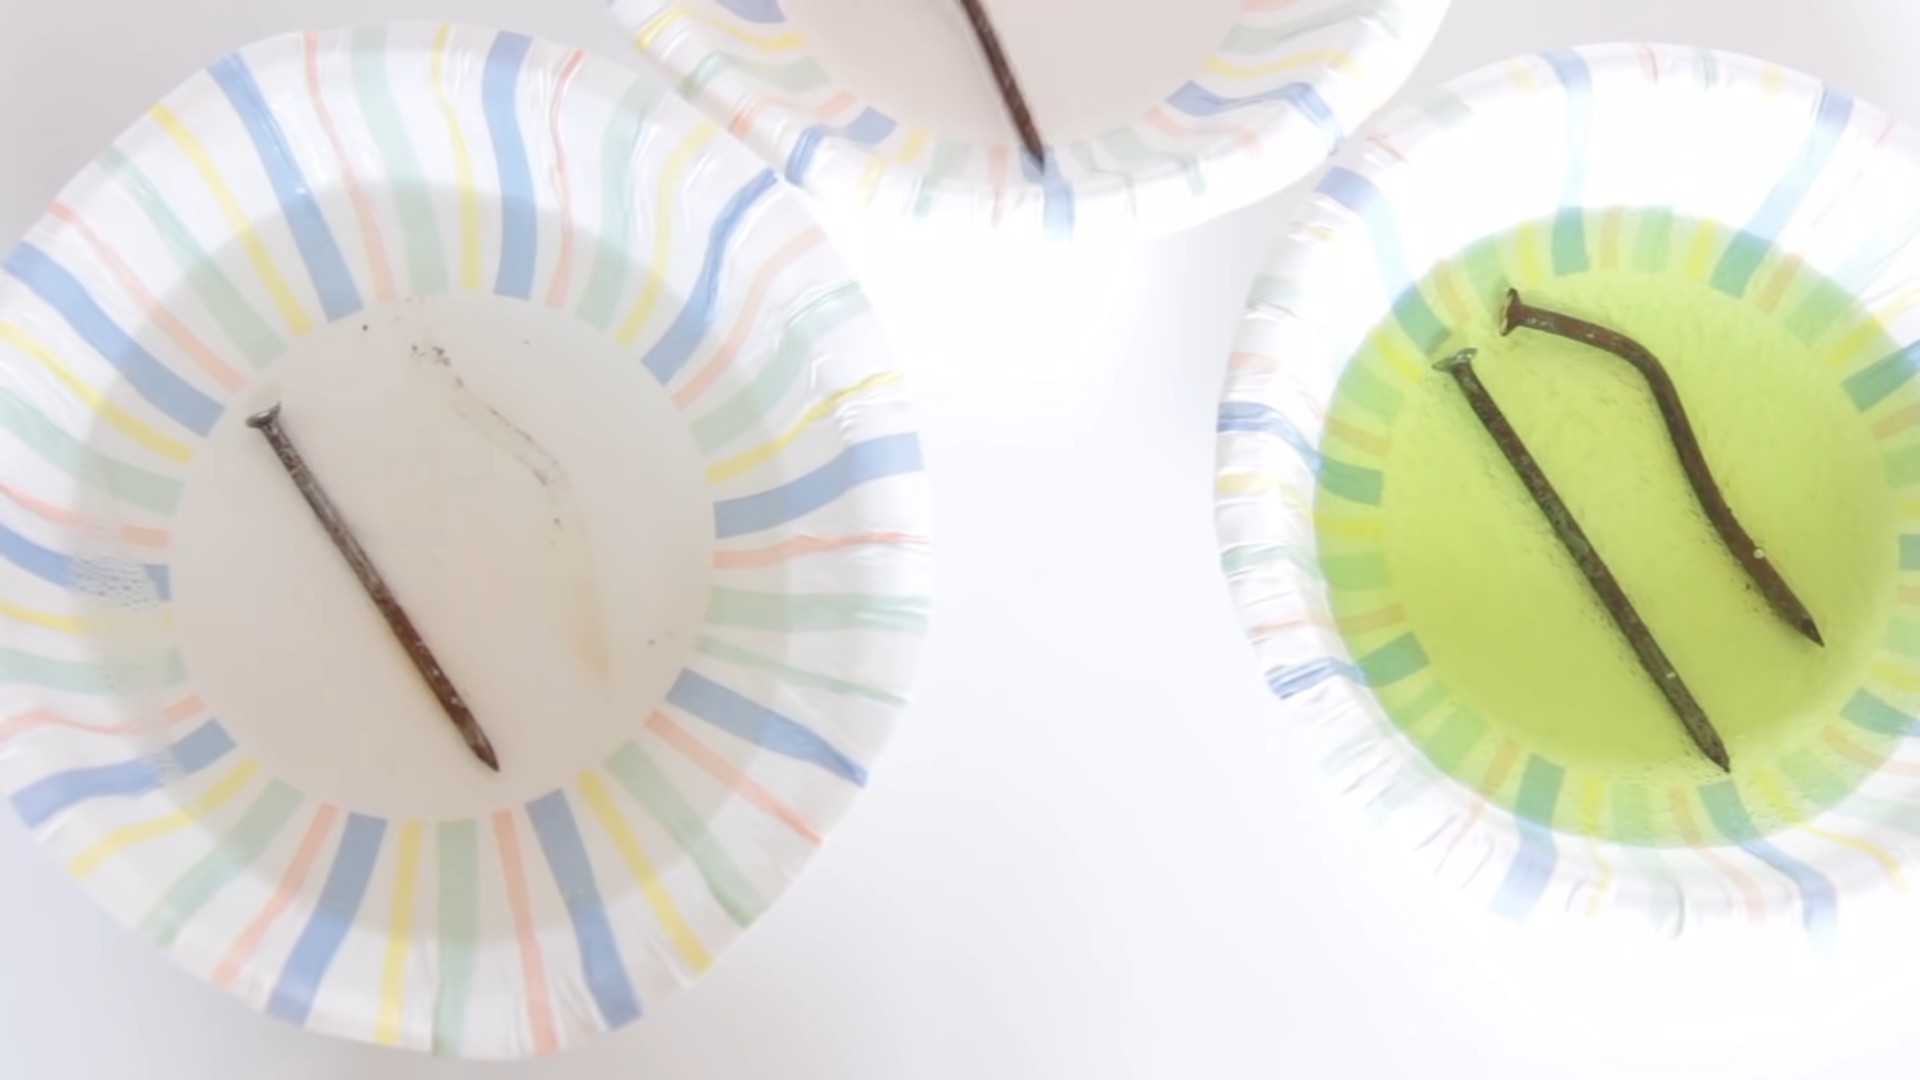
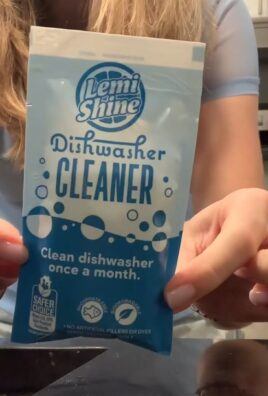
* Hard Water Stains: Test on a shower door or faucet with hard water stains.
* Mold and Mildew: Test on a bathroom tile or shower curtain with mold and mildew.
Follow the same steps as before, but focus on these specific stains. This will give you a more targeted understanding of which cleaners are best for tackling your toughest cleaning challenges.
My Personal Experience and Tips
I’ve done this cleaner comparison test a few times now, and I’ve learned a few things along the way. Here are some of my personal tips:
* Don’t be afraid to experiment: Try different combinations of cleaners and grime. You might be surprised at what you discover.
* Read the labels carefully: Pay attention to the instructions on each cleaner label. Some cleaners require specific application methods or safety precautions.
* Ventilate the area: Make sure you’re working in a well-ventilated area, especially if you’re testing harsh chemicals.
* Be patient: Don’t rush the process. Give each cleaner a fair chance to work its magic.
* Have fun!: Cleaning doesn’t have to be a chore. Turn it into a fun experiment and learn something new along the way.
I hope this DIY cleaner comparison test helps you find your ultimate cleaning solution! Happy cleaning!
Conclusion
So, there you have it! After meticulously comparing various cleaning methods, the results speak for themselves. This DIY cleaning trick isn’t just another fad; it’s a game-changer for anyone looking to achieve a sparkling clean home without breaking the bank or resorting to harsh chemicals. The effectiveness, affordability, and eco-friendliness of this method make it a must-try for every household.
What truly sets this DIY cleaner apart is its versatility. While we focused on its prowess in tackling grime on kitchen surfaces and bathroom tiles, don’t limit yourself! Consider using it to freshen up your carpets (always test in an inconspicuous area first!), degrease your oven, or even clean your car’s interior. The possibilities are truly endless.
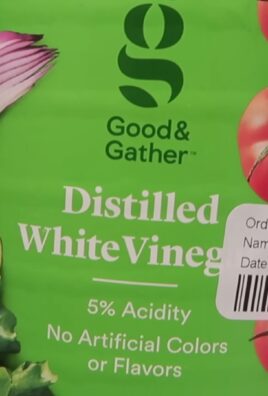
For those seeking variations, experiment with adding a few drops of your favorite essential oil for a pleasant scent. Lavender, lemon, and tea tree oil not only smell wonderful but also possess antibacterial properties, further enhancing the cleaning power of your homemade solution. Another variation involves using distilled white vinegar instead of regular vinegar for an even more potent cleaning effect, especially in areas with hard water stains. Remember to always adjust the ratios slightly to find what works best for your specific needs and surfaces.
We understand that venturing into the world of DIY can sometimes feel daunting, but trust us, this is one experiment you won’t regret. The satisfaction of creating a powerful, natural cleaner with ingredients you likely already have on hand is incredibly rewarding. Plus, you’ll be contributing to a healthier environment by reducing your reliance on commercially produced cleaning products.
Don’t just take our word for it, though. We wholeheartedly encourage you to try this DIY cleaning trick for yourself. We’re confident that you’ll be amazed by the results. Once you’ve experienced the magic of this simple yet effective cleaning solution, we’d love to hear about your experience! Share your before-and-after photos, your favorite variations, and any tips or tricks you’ve discovered along the way. Let’s build a community of DIY cleaning enthusiasts who are passionate about creating a cleaner, healthier, and more sustainable home. Your feedback is invaluable and will help others discover the benefits of this fantastic DIY cleaning solution. So, grab your ingredients, get mixing, and prepare to be amazed! Let us know how this **DIY cleaning trick** works for you!
Frequently Asked Questions (FAQ)
What exactly makes this DIY cleaning trick so much better than store-bought cleaners?
The primary advantage lies in its control over ingredients. Store-bought cleaners often contain harsh chemicals, artificial fragrances, and unnecessary additives that can be harmful to your health and the environment. This DIY alternative allows you to use natural, readily available ingredients like vinegar, baking soda, and essential oils, minimizing exposure to potentially toxic substances. Furthermore, it’s significantly more cost-effective, as the ingredients are typically much cheaper than pre-packaged cleaning products. Finally, it reduces plastic waste, contributing to a more sustainable lifestyle.
Is this DIY cleaner safe to use on all surfaces?
While this DIY cleaner is generally safe for most surfaces, it’s crucial to exercise caution and test it in an inconspicuous area first, especially on delicate materials like marble, granite, or wood. The acidity of vinegar can etch or damage certain surfaces. For these materials, consider using a milder solution of baking soda and water or consulting the manufacturer’s recommendations. Always rinse the cleaned surface thoroughly with water after applying the DIY cleaner to remove any residue.
How long does the DIY cleaner last once it’s mixed?
The shelf life of your DIY cleaner depends on the ingredients used. A simple solution of vinegar and water can last indefinitely, as vinegar is a natural preservative. However, if you add essential oils, the scent may fade over time. It’s generally recommended to use the cleaner within a few months for optimal fragrance and effectiveness. Store the cleaner in a tightly sealed container in a cool, dark place to prolong its shelf life.
Can I use different types of vinegar for this DIY cleaner?
While distilled white vinegar is the most commonly recommended type due to its high acidity and lack of color, you can experiment with other types of vinegar, such as apple cider vinegar. However, be aware that apple cider vinegar has a distinct scent that some people may find unpleasant. It also contains sediment that may leave a residue on surfaces. If you choose to use apple cider vinegar, strain it through a coffee filter before mixing it with other ingredients.
What essential oils are best to use in this DIY cleaner?
The best essential oils to use depend on your personal preferences and the desired cleaning properties. Lemon, tea tree, lavender, eucalyptus, and peppermint are popular choices due to their antibacterial, antifungal, and antiviral properties. Lemon oil is excellent for degreasing, tea tree oil is a powerful disinfectant, lavender oil provides a calming scent, eucalyptus oil helps to clear congestion, and peppermint oil repels insects. Always use pure, therapeutic-grade essential oils for the best results. Start with a few drops and adjust the amount to your liking.
My DIY cleaner seems to leave streaks on my windows. What am I doing wrong?
Streaking on windows is a common issue with DIY cleaners. It’s often caused by using too much cleaner or not wiping the surface dry thoroughly. To prevent streaks, use a microfiber cloth to apply the cleaner sparingly and wipe the window dry immediately after cleaning. You can also try adding a small amount of rubbing alcohol to the cleaner to help it evaporate more quickly. Another tip is to clean windows on a cloudy day, as direct sunlight can cause the cleaner to dry too quickly and leave streaks.
Is this DIY cleaner safe to use around pets and children?
While this DIY cleaner is generally safer than commercial cleaners, it’s still important to exercise caution when using it around pets and children. Keep the cleaner out of their reach and avoid spraying it directly on them. Some essential oils can be toxic to pets, so research the safety of specific oils before using them in your cleaner. If your pet or child ingests the cleaner, contact a veterinarian or poison control center immediately.
Can I use this DIY cleaner to clean my toilet?
Yes, this DIY cleaner can be used to clean your toilet. For a basic toilet cleaner, mix equal parts vinegar and baking soda. Pour the mixture into the toilet bowl and let it fizz for a few minutes. Then, scrub the bowl with a toilet brush and flush. For a more powerful cleaning solution, add a few drops of tea tree oil or eucalyptus oil to the mixture. You can also use a spray bottle to apply the cleaner to the outside of the toilet and wipe it down with a cloth.
What if I don’t have all the ingredients listed? Can I still make a somewhat effective cleaner?
Absolutely! The beauty of DIY cleaning is its adaptability. If you’re missing an ingredient, don’t let that stop you. For instance, if you don’t have baking soda, you can still use a vinegar and water solution. While the baking soda adds a mild abrasive quality and helps neutralize odors, vinegar alone is a powerful disinfectant and degreaser. Similarly, if you’re out of essential oils, the cleaner will still be effective without them; the essential oils primarily add fragrance and some additional antibacterial properties. The core ingredients – vinegar and water – are the foundation of this effective **DIY cleaning trick**.
Leave a Comment