
Cleaning shortcuts – who doesn’t crave them? Let’s be honest, spending hours scrubbing and polishing isn’t exactly anyone’s idea of a good time. For centuries, people have sought clever ways to streamline their cleaning routines. From ancient Roman bathhouses employing ingenious water systems to the Victorian era’s obsession with specialized cleaning tools, the quest for efficiency has always been a driving force.
But in today’s fast-paced world, finding cleaning shortcuts is more crucial than ever. We’re juggling work, family, hobbies, and everything in between. Who has the time to dedicate an entire weekend to deep cleaning? That’s where these DIY cleaning hacks come in! I’m going to share some of my favorite time-saving tricks that will leave your home sparkling without sacrificing your precious free time.
Imagine spending less time scrubbing and more time enjoying the things you love. These aren’t just quick fixes; they’re smart solutions that tackle common cleaning challenges head-on. Get ready to discover how to make your own powerful cleaning solutions, conquer stubborn stains with ease, and maintain a tidy home with minimal effort. Let’s dive in and unlock the secrets to a cleaner, happier, and more relaxed you!
DIY Cleaning Hack: Revive Your Grout with Baking Soda and Vinegar!
Okay, let’s face it, cleaning grout is nobody’s favorite chore. It’s tedious, back-breaking, and those stubborn stains just seem to laugh in the face of ordinary cleaners. But fear not, my friends! I’m going to share my go-to DIY grout cleaning hack that uses ingredients you probably already have in your pantry: baking soda and vinegar! This method is not only effective but also eco-friendly and budget-friendly. Get ready to say goodbye to grimy grout and hello to sparkling clean tiles!
What You’ll Need:
Before we dive in, let’s gather our supplies. Here’s what you’ll need to conquer that dirty grout:
* Baking Soda: This is our gentle abrasive that will help lift dirt and grime.
* White Vinegar: The acidic power of vinegar will react with the baking soda to create a fizzing action that loosens stubborn stains.
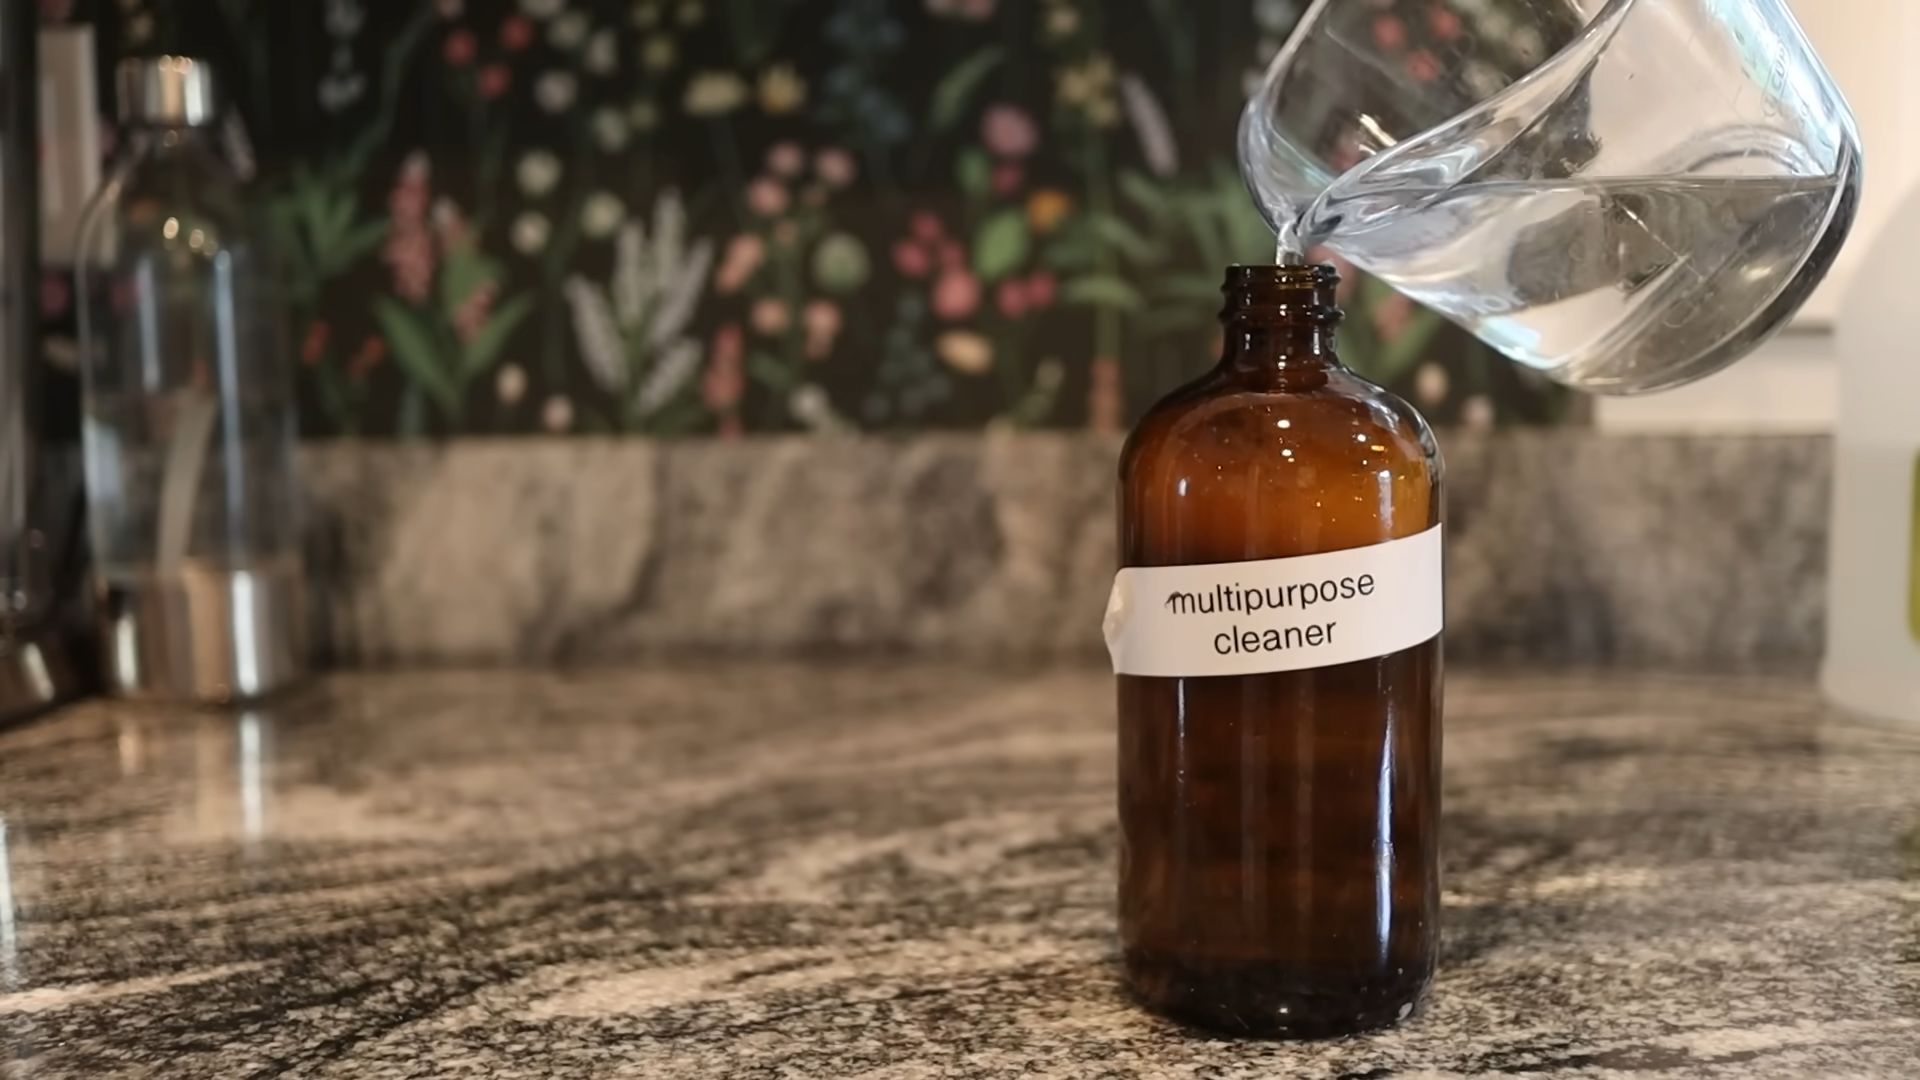
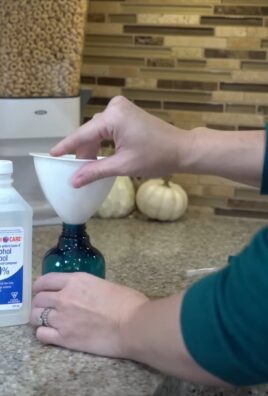
* Spray Bottle: For easy application of the vinegar.
* Old Toothbrush or Grout Brush: A small, stiff-bristled brush is essential for scrubbing the grout lines. An old toothbrush works perfectly, but a grout brush will make the job even easier.
* Warm Water: For rinsing.
* Clean Cloth or Sponge: For wiping away the residue.
* Protective Gloves: To protect your hands from the vinegar and baking soda.
* Eye Protection (Optional): Just in case any splashes occur.
* Small Bowl: For mixing the baking soda paste (optional).
Step-by-Step Instructions:
Alright, let’s get down to business! Follow these steps to transform your grout from drab to fab:
1. Prepare the Area: Before you start, sweep or vacuum the area you’ll be cleaning to remove any loose dirt or debris. This will prevent you from just pushing the dirt around while you scrub.
2. Create a Baking Soda Paste (Optional): While you can apply baking soda directly to the grout, I find that making a paste first helps it adhere better and provides a more concentrated cleaning action. In a small bowl, mix baking soda with a little water until you form a thick paste. The consistency should be similar to toothpaste. If you prefer, you can skip this step and sprinkle dry baking soda directly onto the grout lines.
3. Apply the Baking Soda: Using your fingers (with gloves on, of course!) or a spoon, apply the baking soda paste (or sprinkle the dry baking soda) generously onto the grout lines. Make sure to cover all the grout you want to clean. Don’t be shy – the more baking soda, the better!
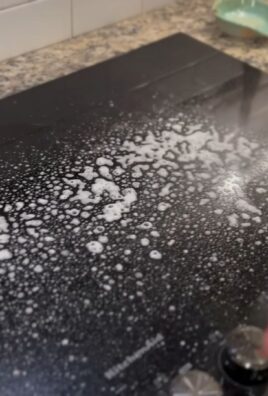
4. Spray with Vinegar: Now for the fun part! Fill your spray bottle with white vinegar and spray it directly onto the baking soda-covered grout. You’ll immediately see a fizzing reaction – this is exactly what we want! The fizzing action helps to loosen the dirt and grime embedded in the grout.
5. Let it Fizz: Allow the baking soda and vinegar mixture to fizz for at least 5-10 minutes. This gives the solution time to penetrate the grout and break down the stains. For heavily soiled grout, you can let it sit for up to 30 minutes. Just keep an eye on it to make sure it doesn’t dry out completely. If it starts to dry, spray a little more vinegar to keep it active.
6. Scrub-a-dub-dub: Grab your old toothbrush or grout brush and get scrubbing! Use firm, circular motions to scrub the grout lines. Pay extra attention to areas with stubborn stains. You’ll likely see the dirt and grime starting to lift as you scrub. Don’t be afraid to put some elbow grease into it!
7. Rinse Thoroughly: Once you’ve scrubbed all the grout lines, it’s time to rinse away the baking soda and vinegar residue. Use warm water and a clean cloth or sponge to wipe down the area. You may need to rinse several times to remove all the residue. Make sure to wring out the cloth or sponge frequently to avoid spreading the dirty water around.
8. Dry and Admire: Finally, dry the area with a clean towel. Step back and admire your sparkling clean grout! You’ll be amazed at the difference.
Tackling Stubborn Stains:
Sometimes, even with the baking soda and vinegar power duo, you might encounter some particularly stubborn stains. Here are a few tips for dealing with those tough spots:
* Hydrogen Peroxide: For extra stain-fighting power, try applying hydrogen peroxide to the grout after scrubbing with baking soda and vinegar. Let it sit for a few minutes, then rinse thoroughly.
* Baking Soda and Bleach Paste: Use caution when working with bleach and always wear gloves and eye protection. In a well-ventilated area, mix baking soda with a small amount of bleach to form a thick paste. Apply the paste to the stained grout, let it sit for 5-10 minutes, then scrub and rinse thoroughly. Never mix bleach with vinegar, as this can create toxic fumes.
* Commercial Grout Cleaners: If all else fails, you can try using a commercial grout cleaner. Be sure to follow the manufacturer’s instructions carefully and test the cleaner in an inconspicuous area first to ensure it doesn’t damage your tiles.
Preventing Future Grout Stains:
Now that your grout is sparkling clean, let’s talk about how to keep it that way! Here are a few tips for preventing future grout stains:
* Seal Your Grout: Sealing your grout creates a protective barrier that prevents dirt and grime from penetrating the grout lines. You can purchase grout sealant at most home improvement stores. Apply the sealant according to the manufacturer’s instructions.
* Wipe Up Spills Immediately: The sooner you wipe up spills, the less likely they are to stain your grout.
* Regular Cleaning: Make it a habit to clean your grout regularly, even if it doesn’t look dirty. A quick wipe-down with a damp cloth or sponge can help prevent dirt and grime from building up.
* Ventilate Your Bathroom: Proper ventilation can help prevent mold and mildew growth in your bathroom, which can stain your grout. Run the exhaust fan during and after showers to remove excess moisture.
Safety First!
Before you start cleaning, it’s important to keep safety in mind:
* Wear Gloves: Protect your hands from the vinegar and baking soda by wearing protective gloves.
* Eye Protection: Consider wearing eye protection to prevent any splashes from getting into your eyes.
* Ventilation: Work in a well-ventilated area, especially if you’re using bleach.
* Test in an Inconspicuous Area: Before applying any cleaning solution to your entire grout area, test it in an inconspicuous area first to ensure it doesn’t damage your tiles.
* Keep Out of Reach of Children and Pets: Store cleaning supplies out of reach of children and pets.
Why This Hack Works: The Science Behind the Sparkle
You might be wondering why this simple baking soda and vinegar trick is so effective. It’s all about the chemistry!
* Baking Soda (Sodium Bicarbonate): Baking soda is a mild alkali. Its slightly abrasive texture helps to physically scrub away dirt and grime without being too harsh on your tiles. It also helps to deodorize.
* Vinegar (Acetic Acid): Vinegar is a mild acid. When it reacts with baking soda, it creates carbon dioxide gas, which is what causes the fizzing. This fizzing action helps to lift dirt and grime from the grout pores. The acidity of the vinegar also helps to dissolve mineral deposits and soap scum.
The combination of the abrasive action of the baking soda and the fizzing action of the vinegar creates a powerful cleaning duo that can tackle even the toughest grout stains.
Beyond Bathrooms: Where Else Can You Use This Hack?
While this cleaning hack is perfect for bathroom grout, it’s also effective in other areas of your home:
* Kitchen Backsplash: Clean the grout behind your kitchen counters to remove grease and food splatters.
* Tile Floors: Use this method to clean the grout on your tile floors in any room.
* Shower Walls: Keep your shower walls sparkling clean by regularly cleaning the grout.
* Entryways: Clean the grout in your entryway to remove dirt and grime tracked in from outside.
Basically, anywhere you have tile and grout, this cleaning hack can work wonders!
Troubleshooting: Common Issues and Solutions
Even with the best instructions, you might run into a few snags. Here are some common issues and how to solve them:
* Grout Still Looks Dirty: If your grout still looks dirty after cleaning, try repeating the process. You may need to scrub a little harder or let the baking soda and vinegar mixture sit for a longer period of time.
* Baking Soda Paste is Too Dry: If your baking soda paste is too dry, add a little more water until you reach the
Conclusion
So, there you have it! This simple yet incredibly effective DIY cleaning shortcut is a game-changer for anyone looking to streamline their cleaning routine and reclaim precious time. We’ve all been there, staring down a mountain of chores, feeling overwhelmed and unmotivated. But with this trick, you can tackle those tasks with renewed energy and efficiency.
The beauty of this method lies in its simplicity and adaptability. It’s not about buying expensive, specialized products or spending hours scrubbing. It’s about leveraging readily available ingredients and a smart approach to achieve sparkling results. Think of it as a cleaning hack that empowers you to take control of your home environment without sacrificing your sanity.
But why is this DIY cleaning shortcut a must-try? Because it’s more than just a cleaning method; it’s an investment in your well-being. A clean and organized home contributes to a sense of calm and clarity, reducing stress and promoting a more positive mindset. By simplifying your cleaning routine, you free up time and energy to focus on the things that truly matter – spending time with loved ones, pursuing your passions, or simply relaxing and recharging.
And the best part? This trick is incredibly versatile. Feel free to experiment with different variations to suit your specific needs and preferences. For example, if you’re dealing with stubborn stains, you might consider adding a bit of baking soda to the mixture for extra scrubbing power. Or, if you prefer a more natural scent, you can incorporate a few drops of your favorite essential oil, such as lemon, lavender, or eucalyptus. The possibilities are endless!
Don’t be afraid to get creative and customize this DIY cleaning shortcut to make it your own. The key is to find what works best for you and your home.
We’re confident that once you try this method, you’ll be amazed by the results. It’s a simple, effective, and affordable way to keep your home clean and fresh without spending hours scrubbing. So, ditch the harsh chemicals and complicated cleaning routines, and embrace this easy and efficient solution.
We encourage you to give this DIY cleaning shortcut a try and see for yourself the difference it can make. And most importantly, we want to hear about your experience! Share your tips, variations, and before-and-after photos in the comments below. Let’s create a community of cleaning enthusiasts who are passionate about simplifying their lives and creating a healthier, happier home environment.
Remember, a clean home is a happy home, and with this DIY cleaning shortcut, you can achieve both with ease. So, go ahead, give it a try, and let us know what you think! We can’t wait to hear from you.
Frequently Asked Questions (FAQs)
What types of surfaces can I use this DIY cleaning shortcut on?
This is a great question! The versatility of this cleaning shortcut is one of its biggest advantages. Generally, it’s safe to use on a wide range of surfaces, including:
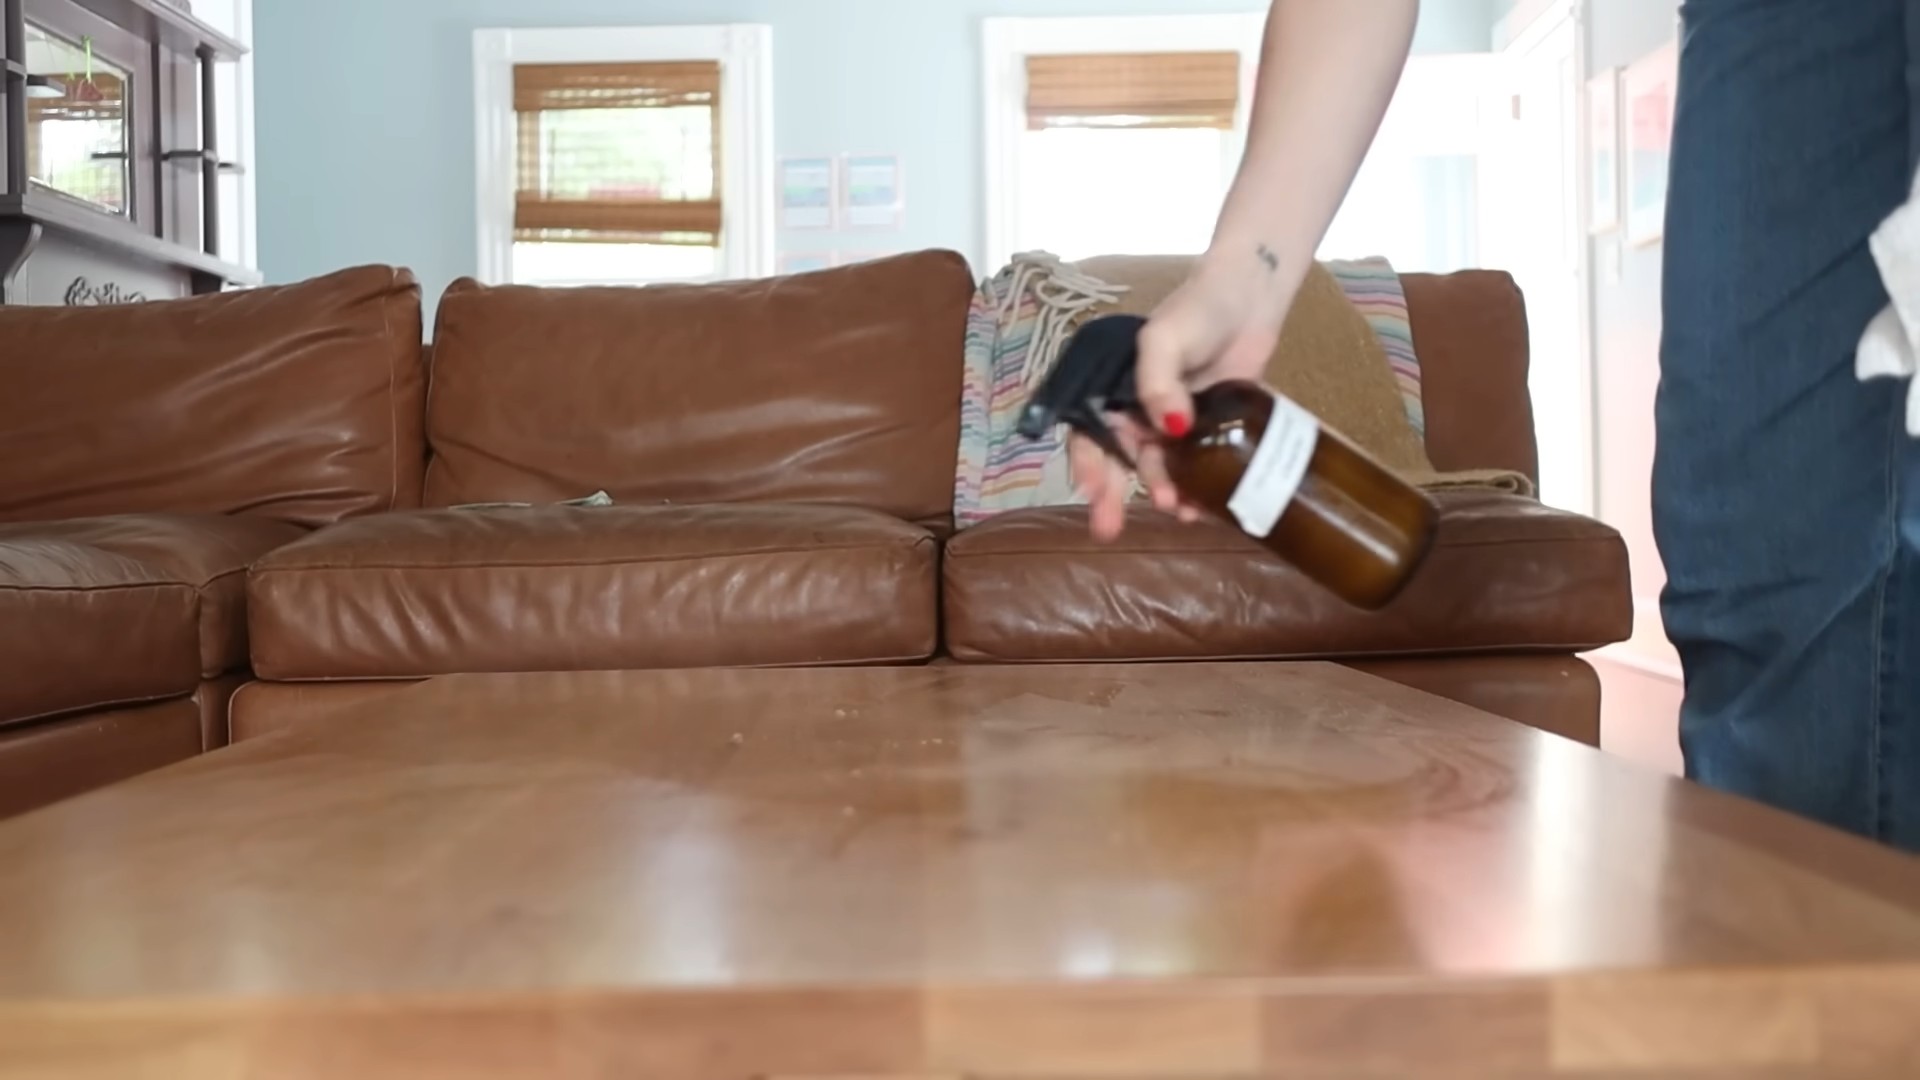
* Kitchen countertops: Granite, quartz, laminate, and tile countertops can all benefit from this cleaning method. However, always test a small, inconspicuous area first, especially with natural stone surfaces, to ensure there’s no discoloration or damage.
* Bathroom surfaces: Sinks, toilets, showers, and bathtubs can be effectively cleaned with this shortcut. It’s particularly useful for removing soap scum and hard water stains.
* Floors: Tile, linoleum, and vinyl floors are generally safe to clean with this method. However, avoid using it on hardwood floors, as excessive moisture can cause damage. For hardwood floors, stick to cleaning products specifically designed for them.
* Appliances: The exterior of appliances like refrigerators, ovens, and dishwashers can be easily cleaned with this shortcut. Just be sure to unplug the appliance before cleaning and avoid getting any liquid inside.
* Windows and mirrors: This method can also be used to clean windows and mirrors, leaving them streak-free and sparkling.
Important Note: Always test a small, hidden area before applying the cleaning solution to the entire surface. This is especially crucial for delicate or sensitive materials.
Can I use this cleaning shortcut on natural stone surfaces like marble or granite?
Cleaning natural stone requires extra caution. While this DIY cleaning shortcut *can* be used on some natural stone surfaces, it’s essential to proceed with care and always test a small, inconspicuous area first. The acidity of some ingredients, like vinegar or lemon juice, can potentially etch or damage certain types of natural stone, particularly marble.
If you’re unsure about the suitability of this method for your natural stone surfaces, it’s best to consult with a professional stone cleaner or refer to the manufacturer’s recommendations. You might also consider using a pH-neutral cleaning solution specifically designed for natural stone.
How often should I use this DIY cleaning shortcut?
The frequency of use depends on your cleaning habits and the level of dirt and grime in your home. For general cleaning, you can use this shortcut once or twice a week. For areas that get dirtier more quickly, like the kitchen or bathroom, you might need to use it more frequently.
However, it’s important to avoid over-cleaning, as this can potentially damage surfaces or strip away protective coatings. Pay attention to the condition of your surfaces and adjust the frequency of cleaning accordingly.
What if I don’t have all the ingredients listed in the recipe? Can I substitute anything?
Absolutely! One of the great things about DIY cleaning is the flexibility to adapt the recipe to what you have on hand. Here are a few possible substitutions:
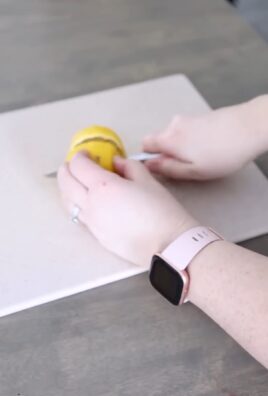
* Vinegar: If you don’t have vinegar, you can try using lemon juice as a substitute. Lemon juice has similar cleaning properties and can also help to deodorize.
* Essential oils: If you don’t have essential oils, you can simply omit them. They’re primarily added for fragrance and don’t significantly impact the cleaning power of the solution.
* Dish soap: Any mild dish soap will work. Choose one that’s gentle on your skin and doesn’t contain harsh chemicals.
Feel free to experiment with different substitutions to find what works best for you.
Is this DIY cleaning shortcut safe for pets and children?
While this DIY cleaning shortcut is generally safer than commercial cleaning products that contain harsh chemicals, it’s still important to take precautions when using it around pets and children.
* Keep out of reach: Store the cleaning solution in a safe place where pets and children cannot access it.
* Ventilation: Ensure adequate ventilation when cleaning to avoid inhaling fumes.
* Rinse thoroughly: After cleaning, rinse surfaces thoroughly with water to remove any residue.
* Supervision: Supervise children and pets while cleaning to prevent them from coming into contact with the solution.
If you have any concerns about the safety of this cleaning shortcut for your pets or children, consult with a veterinarian or pediatrician.
How do I store the leftover cleaning solution?
Store any leftover cleaning solution in a clean, airtight container. Label the container clearly with the contents and date. Keep the container in a cool, dry place away from direct sunlight and heat.
It’s generally best to use the cleaning solution within a few weeks, as the ingredients may start to degrade over time. If the solution becomes cloudy or develops an unusual odor, discard it.
Can I use this DIY cleaning shortcut to remove tough stains?
While this cleaning shortcut is effective for general cleaning, it may not be strong enough to remove tough stains. For stubborn stains, you might need to use a more specialized cleaning solution or technique.
For example, baking soda paste can be effective for removing stains from grout or oven surfaces. Hydrogen peroxide can be used to lighten stains on fabrics. Always test any stain removal method in a small, inconspicuous area first to ensure it doesn’t damage the material.
What are the benefits of using a DIY cleaning shortcut compared to commercial cleaning products?
There are several benefits to using a DIY cleaning shortcut:
* Cost-effective: DIY cleaning solutions are typically much cheaper than commercial cleaning products.
* Environmentally friendly: DIY cleaning solutions often use natural ingredients that are less harmful to the environment.
* Safer for your health: DIY cleaning solutions avoid harsh chemicals that can irritate your skin, eyes, and respiratory system.
* Customizable: You can easily customize DIY cleaning solutions to suit your specific needs and preferences.
* Reduces waste: By making your own cleaning solutions, you can reduce your reliance on single-use plastic bottles.
By embracing DIY cleaning, you can save money, protect the environment, and create a healthier home for yourself and your family.
Leave a Comment