
Shaving Foam Uses and Hacks: Who knew that fluffy cloud of shaving cream hiding in your bathroom cabinet held so much potential beyond just a smooth shave? I certainly didn’t, until I stumbled upon a treasure trove of clever uses that have completely transformed my cleaning routine and even added a touch of whimsy to my DIY projects!
For generations, shaving foam has been a staple in men’s grooming, evolving from simple soaps to the aerosol cans we know today. But its utility extends far beyond the realm of personal care. Think of it as a secret weapon, a multi-purpose marvel just waiting to be unleashed.
In today’s fast-paced world, we’re all looking for ways to simplify our lives, save money, and embrace a little bit of resourcefulness. That’s where these shaving foam uses and hacks come in! From banishing stubborn stains to creating mesmerizing marble art, I’m excited to share some of the most ingenious and unexpected ways to put this everyday product to work. You’ll be amazed at how versatile shaving foam truly is, and how much time and money you can save by using it in creative ways. Get ready to unlock the hidden potential of your shaving cream – you won’t regret it!
Unlock the Unexpected: Shaving Foam Hacks You Need to Know!
Hey there, DIY enthusiasts! Get ready to have your mind blown because today, we’re diving deep into the surprisingly versatile world of shaving foam. Yes, that foamy stuff you use to get a smooth shave is actually a secret weapon for cleaning, stain removal, and even crafting! I’m going to show you some of my favorite shaving foam hacks that will save you time, money, and a whole lot of elbow grease. Let’s get started!
Shaving Foam: More Than Just for Shaving
Before we jump into the hacks, let’s talk about why shaving foam works so well for these unexpected uses. The key is its composition. Most shaving foams contain ingredients like surfactants (which help lift dirt and grime), moisturizers (which prevent drying), and emulsifiers (which help mix oil and water). This combination makes it a surprisingly effective cleaning agent. Plus, it’s generally gentle, so it’s less likely to damage surfaces than harsh chemicals.
Hack #1: Sparkling Clean Mirrors and Windows
Tired of streaks on your mirrors and windows? Shaving foam is your new best friend! This is one of my go-to cleaning tricks.
What you’ll need:
* Shaving foam (any kind will do, but I prefer the foamy kind over gel)
* A clean, lint-free cloth or microfiber towel
* Water (optional)
Step-by-step instructions:
1. Apply the shaving foam: Generously apply a layer of shaving foam to the entire surface of your mirror or window. Don’t be shy!
2. Let it sit: Allow the shaving foam to sit for a minute or two. This gives the surfactants time to break down any dirt, grime, or streaks.
3. Wipe it away: Using your clean cloth or microfiber towel, wipe away the shaving foam in a circular motion.
4. Buff to a shine: If you notice any streaks, use a clean, dry section of your cloth to buff the surface until it’s sparkling clean. You can also lightly dampen the cloth with water for this step if needed.
5. Admire your reflection: Step back and admire your streak-free, crystal-clear mirror or window!
Why this works: The shaving foam gently cleans the glass without leaving behind any residue. Plus, it can even help prevent fogging in your bathroom mirror!
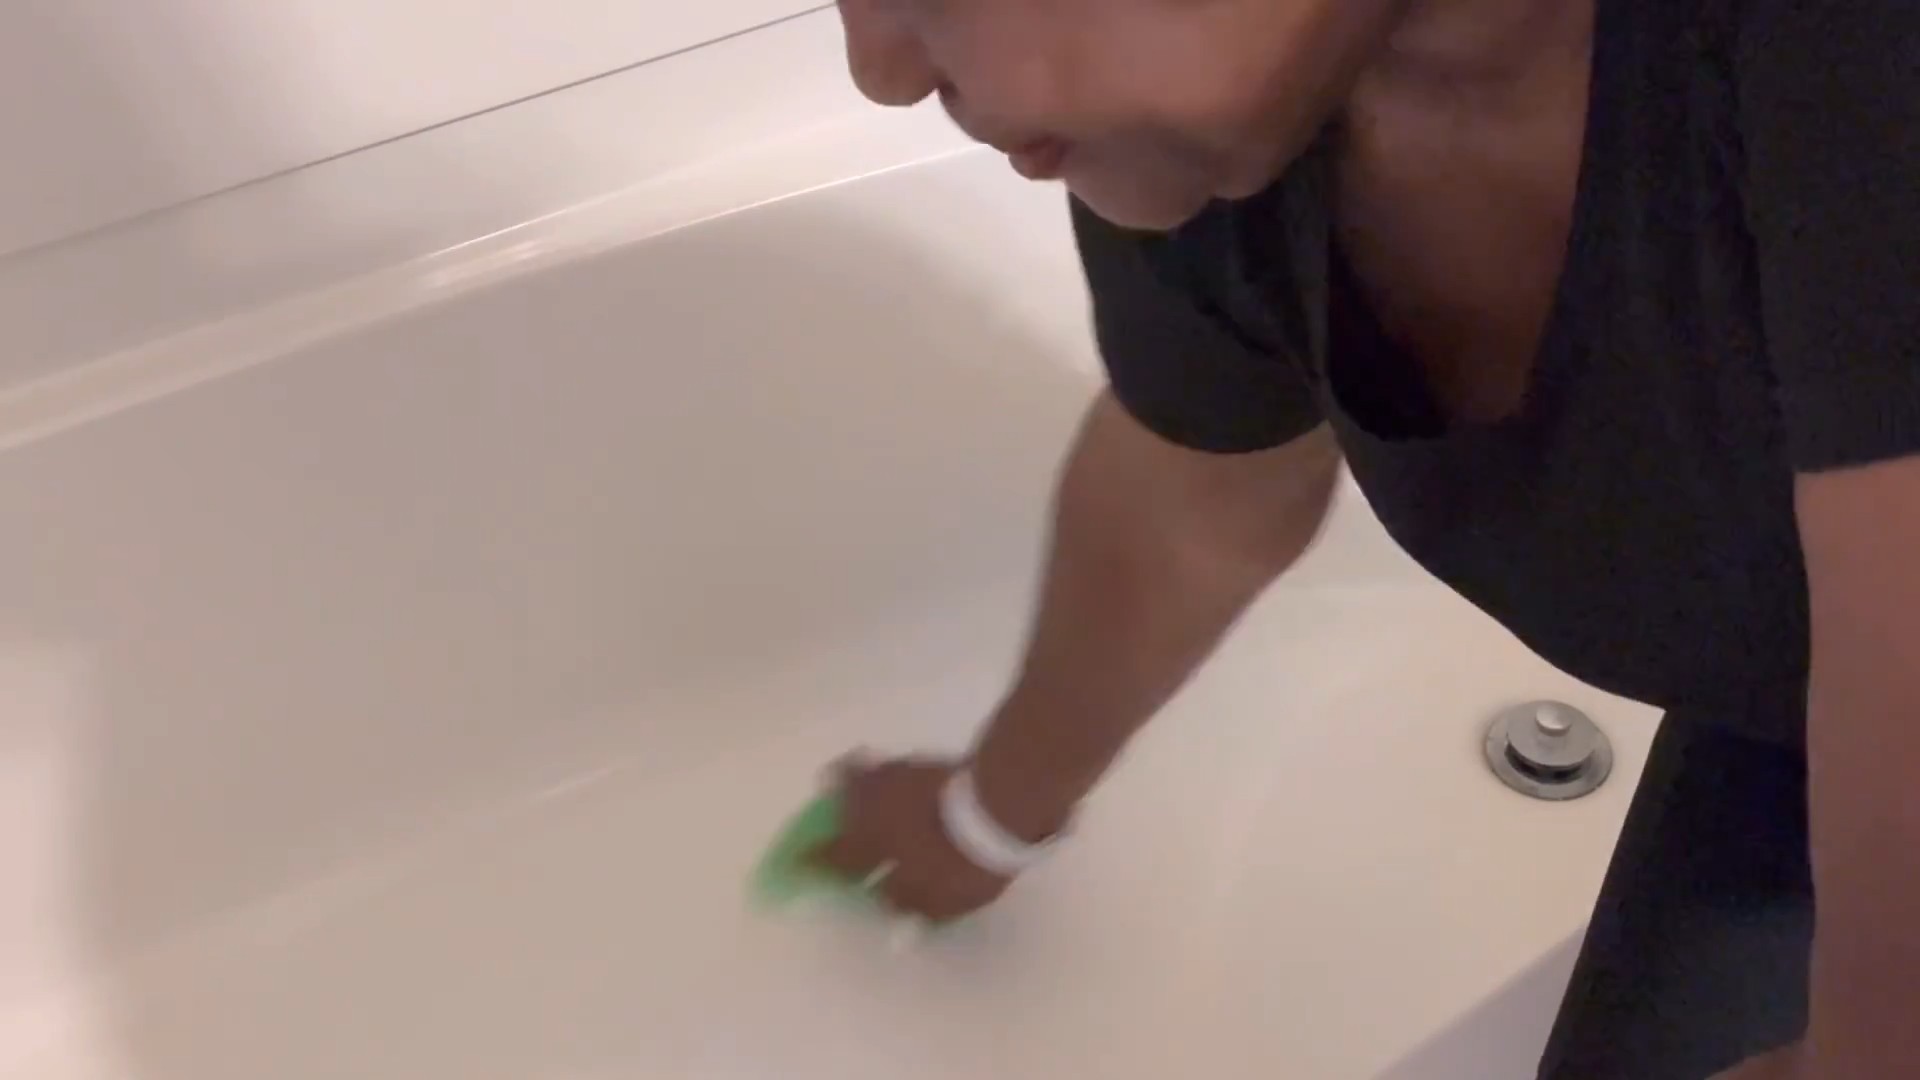
Hack #2: Stain Remover Extraordinaire
Spilled something on your carpet or clothes? Don’t panic! Shaving foam can often come to the rescue. I’ve used this trick on everything from coffee spills to makeup stains.
What you’ll need:
* Shaving foam
* A clean cloth or sponge
* Water
Step-by-step instructions:
1. Act fast: The sooner you treat the stain, the better your chances of removing it completely.
2. Apply the shaving foam: Apply a generous amount of shaving foam directly to the stain.
3. Gently massage: Gently massage the shaving foam into the stain using a clean cloth or sponge. Be careful not to rub too hard, as this could damage the fabric.
4. Let it sit: Allow the shaving foam to sit on the stain for about 15-30 minutes. This gives it time to break down the stain molecules.
5. Blot and rinse: Blot the area with a clean, damp cloth to remove the shaving foam and the stain. Rinse the area with water if necessary.
6. Repeat if needed: If the stain is still visible, repeat the process until it’s gone.
7. Dry thoroughly: Allow the area to dry completely.
Important Note: Always test the shaving foam on an inconspicuous area of the fabric or carpet first to make sure it doesn’t cause any discoloration. This is especially important for delicate fabrics.
Hack #3: DIY Marble Painting
Feeling creative? Shaving foam can be used to create beautiful marbleized effects on paper, fabric, or even ceramics. This is a fun project for kids and adults alike!
What you’ll need:
* Shaving foam
* Food coloring or liquid watercolors
* A shallow dish or tray
* Paper, fabric, or ceramic item to be marbled
* A skewer, toothpick, or other pointed tool
* A scraper (like a ruler or credit card)
* Gloves (optional, but recommended)
Step-by-step instructions:
1. Prepare the shaving foam: Fill your shallow dish or tray with shaving foam.
2. Add the color: Drop small amounts of food coloring or liquid watercolors onto the shaving foam. Use multiple colors for a more vibrant effect.
3. Swirl the colors: Use your skewer, toothpick, or other pointed tool to gently swirl the colors through the shaving foam. Don’t overmix, or the colors will become muddy.
4. Dip your item: Gently press your paper, fabric, or ceramic item onto the surface of the shaving foam. Make sure the entire surface you want to marble is in contact with the foam.
5. Lift and scrape: Carefully lift your item from the shaving foam and use your scraper to remove the excess foam.
6. Let it dry: Allow your marbled item to dry completely.
7. Seal (optional): If you’re marbling a ceramic item, you may want to seal it with a clear sealant to protect the design.
Tips for success:
* Experiment with different color combinations to create unique effects.
* Use a light touch when swirling the colors to avoid overmixing.
* If you’re marbling fabric, be sure to wash and dry it before using it for your project.
Hack #4: Polishing Stainless Steel
Want to give your stainless steel appliances a quick shine? Shaving foam can help with that too!
What you’ll need:
* Shaving foam
* A clean, soft cloth
Step-by-step instructions:
1. Apply the shaving foam: Apply a small amount of shaving foam to your stainless steel appliance.
2. Wipe it down: Use a clean, soft cloth to wipe down the appliance in a circular motion.
3. Buff to a shine: Use a clean, dry section of the cloth to buff the appliance until it’s shiny.
Why this works: The shaving foam helps to remove fingerprints, smudges, and water spots from stainless steel, leaving it looking clean and polished.
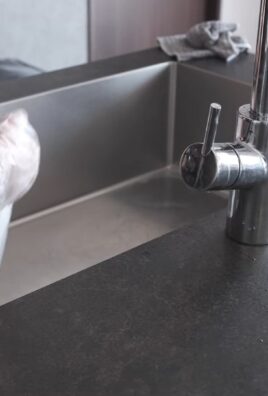
Hack #5: Cleaning Bathroom Fixtures
Shaving foam is great for cleaning chrome bathroom fixtures like faucets and showerheads.
What you’ll need:
* Shaving foam
* A clean cloth or sponge
Step-by-step instructions:
1. Apply the shaving foam: Apply a generous amount of shaving foam to your bathroom fixtures.
2. Let it sit: Allow the shaving foam to sit for a few minutes to loosen any soap scum or hard water stains.
3. Wipe it clean: Use a clean cloth or sponge to wipe the fixtures clean.
4. Rinse with water: Rinse the fixtures with water to remove any remaining shaving foam.
5. Dry with a clean cloth: Dry the fixtures with a clean cloth to prevent water spots.
Bonus Tip: For stubborn hard water stains, you can let the shaving foam sit for a longer period of time, or even overnight.
Hack #6: Soothing Sunburns
Okay, this one might sound a little strange, but trust me, it works! The moisturizing properties of shaving foam can help soothe sunburned skin.
What you’ll need:
* Shaving foam (preferably unscented)
Step-by-step instructions:
1. Apply the shaving foam: Gently apply a thin layer of shaving foam to the sunburned area.
2. Let it sit: Allow the shaving foam to sit for about 15-20 minutes.
3. Rinse with cool water: Rinse the area with cool water.
4. Repeat as needed: You can repeat this process several times a day to help soothe your sunburn.
Important Note: This is not a substitute for proper sun protection. Always wear sunscreen and avoid prolonged sun exposure.
Hack #7: Preventing Foggy Mirrors in the Bathroom
We touched on this earlier, but it’s worth mentioning again! Shaving foam can prevent your bathroom mirror from fogging up after a hot shower.
What you’ll need:
* Shaving foam
* A clean, lint-free cloth
Step-by-step instructions:
1. Apply the shaving foam: Apply a thin layer of shaving foam to your bathroom mirror.
2. Wipe it away: Wipe away the shaving foam with a
Conclusion
So, there you have it! Shaving foam, that humble bathroom staple, is so much more than just a pre-shave necessity. From banishing stubborn stains to creating mesmerizing marble art, its versatility is truly astounding. We’ve explored a range of unexpected uses and hacks that prove shaving foam is a secret weapon for cleaning, crafting, and even car care.
Why is this DIY trick a must-try? Because it’s simple, affordable, and effective. Most of us already have a can of shaving foam lurking in a cabinet, making it readily accessible. Plus, it’s a gentler alternative to harsh chemicals for many cleaning tasks, making it safer for your family and the environment. The marble art projects are a fantastic way to unleash your creativity and create unique, personalized gifts or decorations. And let’s not forget the car cleaning power – a streak-free shine without breaking the bank!
Looking for variations? Absolutely! For stain removal, consider adding a drop or two of lemon juice to the shaving foam for extra brightening power on light-colored fabrics. When cleaning mirrors or windows, use a microfiber cloth for a truly spotless finish. If you’re feeling adventurous with marble art, experiment with different colors of food coloring or liquid watercolors to create stunning effects. You can even try using different types of paper or fabric as your canvas. For car cleaning, ensure the shaving foam is pH neutral to avoid damaging the paint. You can also use a dedicated car detailing brush for hard-to-reach areas.
We’re confident that once you try these shaving foam hacks, you’ll be amazed by the results. It’s a game-changer for household chores, creative projects, and even automotive care. Don’t just take our word for it – give it a try!
We encourage you to experiment with these ideas and discover even more innovative uses for shaving foam. The possibilities are endless! Share your experiences, tips, and tricks in the comments below. We’d love to hear how you’re using this versatile product to simplify your life and unleash your inner DIY enthusiast. Let us know which of these **shaving foam** uses worked best for you, or if you’ve discovered any new ones. Your feedback will help others discover the magic of this everyday item. Happy hacking!
Frequently Asked Questions (FAQs)
1. What type of shaving foam works best for these hacks?
Generally, most types of shaving foam will work for these hacks, but it’s best to use a plain, white, non-gel shaving foam. Gel shaving foams can sometimes leave a sticky residue, especially when used for cleaning or crafting. Look for a basic formula without added fragrances or dyes, as these could potentially stain or react with certain surfaces. For sensitive skin, a hypoallergenic shaving foam is a good option, as it’s less likely to cause irritation. When in doubt, test a small, inconspicuous area first to ensure compatibility.
2. Is shaving foam safe to use on all surfaces?
While shaving foam is generally safe, it’s always a good idea to test it on a small, hidden area before applying it to a larger surface, especially when cleaning delicate materials like leather, silk, or painted walls. Avoid using shaving foam on electronics or surfaces that are sensitive to moisture. For car interiors, check the manufacturer’s recommendations before using any cleaning product, including shaving foam. If you’re unsure, consult a professional cleaner or detailer.
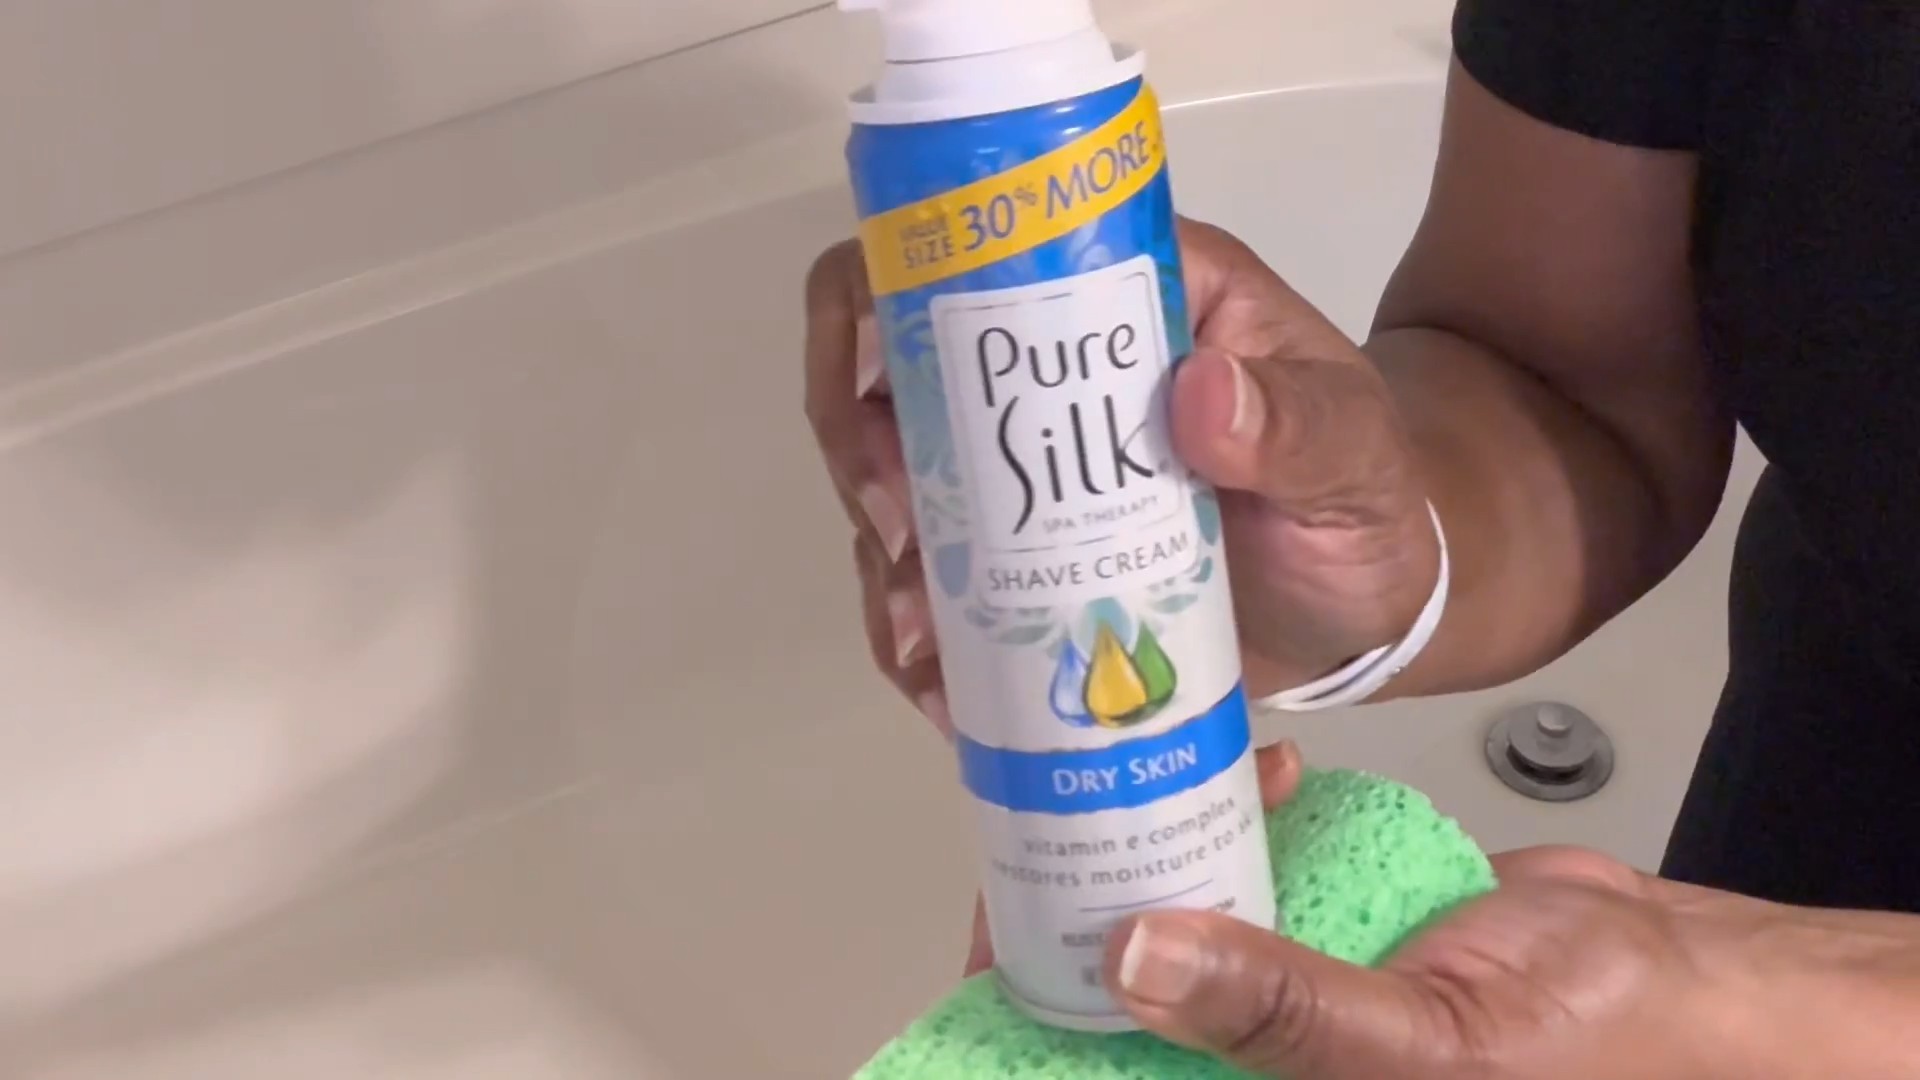
3. Can I use shaving cream instead of shaving foam?
While shaving cream and shaving foam are similar, they are not exactly the same. Shaving cream typically has a richer, more moisturizing formula than shaving foam. While you can technically use shaving cream for some of these hacks, it might leave a slightly greasy residue, especially on surfaces like mirrors or windows. Shaving foam is generally preferred because it’s lighter and easier to rinse off. However, if you only have shaving cream on hand, you can try using it sparingly and rinsing thoroughly.
4. How do I remove shaving foam residue?
Removing shaving foam residue is usually quite simple. For most surfaces, a damp cloth or sponge will do the trick. Wipe the area thoroughly to remove any remaining foam. For stubborn residue, you can use a mild soap and water solution. Rinse the area with clean water and dry it with a clean cloth. For fabrics, you may need to launder the item as usual after applying shaving foam for stain removal.
5. Can shaving foam really remove stains? What types of stains does it work best on?
Yes, shaving foam can be surprisingly effective at removing certain types of stains. It works best on fresh, water-based stains like food spills, makeup, and ink. The surfactants in shaving foam help to lift the stain from the fabric fibers. To use shaving foam for stain removal, apply a generous amount to the stain, let it sit for a few minutes, and then blot it with a clean cloth. Repeat as needed until the stain is gone. For tougher stains, you may need to pre-treat the area with a stain remover before applying shaving foam.
6. How long should I leave shaving foam on a mirror or window before wiping it off?
When using shaving foam to clean mirrors or windows, apply a thin, even layer to the surface. Let it sit for about 1-2 minutes to allow the foam to loosen any dirt or grime. Then, wipe it off with a clean, dry microfiber cloth. The microfiber cloth will help to prevent streaks and leave a sparkling clean finish.
7. Is shaving foam safe for children to use for marble art?
While shaving foam is generally safe, it’s important to supervise children when they’re using it for marble art. Ensure they don’t ingest the shaving foam or get it in their eyes. Use non-toxic food coloring or liquid watercolors to color the shaving foam. It’s also a good idea to have children wear aprons or old clothes to protect their clothing from stains.
8. Can I use shaving foam to clean my car’s interior?
Yes, you can use shaving foam to clean certain parts of your car’s interior, such as the dashboard, seats, and carpets. However, it’s important to use a pH-neutral shaving foam to avoid damaging the materials. Test a small, inconspicuous area first to ensure compatibility. Apply a small amount of shaving foam to the area, let it sit for a few minutes, and then wipe it off with a clean, damp cloth. For carpets, you may need to vacuum the area after cleaning to remove any remaining residue. Avoid using shaving foam on leather seats or other delicate surfaces.
9. Does the scent of the shaving foam linger after using it for cleaning?
The scent of the shaving foam may linger slightly after using it for cleaning, but it usually dissipates quickly. If you’re sensitive to fragrances, you can use an unscented shaving foam. You can also open windows or use a fan to ventilate the area and help the scent dissipate faster.
10. Where can I find more information about DIY cleaning and crafting hacks?
There are many online resources where you can find more information about DIY cleaning and crafting hacks. You can search for articles and videos on websites like Pinterest, YouTube, and home improvement blogs. You can also find helpful tips and advice in books and magazines dedicated to DIY projects. Remember to always research and test any new cleaning or crafting hack before applying it to a larger area.
Leave a Comment