
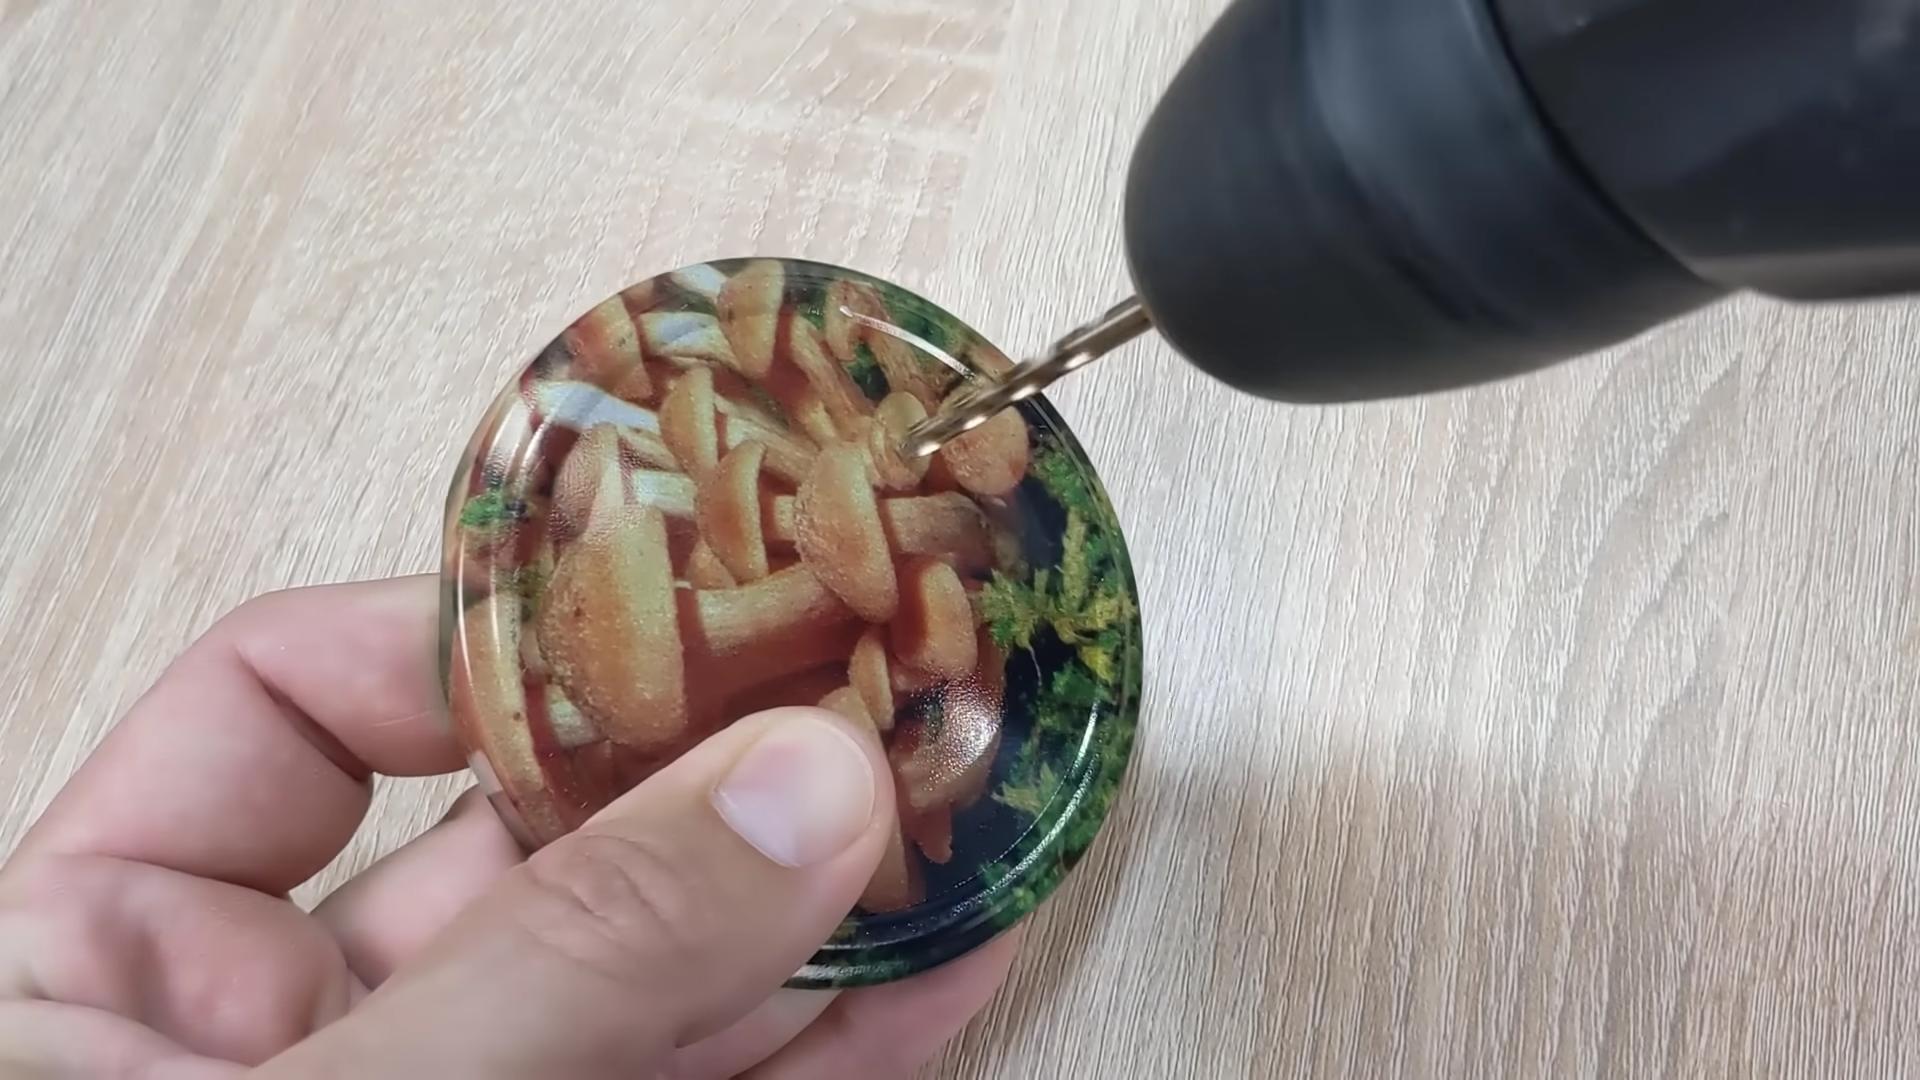
DIY fixes and hacks are your secret weapon to a smoother, more efficient home life! Ever feel like your house is conspiring against you? A leaky faucet, a squeaky door, a stubborn stain 鈥?it’s a never-ending battle, right? But what if I told you that you could conquer these everyday annoyances with simple, clever solutions that won’t break the bank?
For generations, resourceful individuals have relied on ingenuity and readily available materials to tackle household problems. Think of your grandparents patching up clothes or repurposing old containers 鈥?this spirit of self-reliance is deeply ingrained in our culture. It’s about more than just saving money; it’s about taking pride in your home and mastering the art of problem-solving.
In today’s fast-paced world, we often reach for expensive solutions or call in professionals for even the smallest issues. But with a little know-how, you can become your own home improvement hero! This article is packed with DIY fixes and hacks that will empower you to tackle common household problems with confidence. From quick cleaning solutions to clever organizational tips, I’m going to share my favorite tricks that will save you time, money, and a whole lot of frustration. So, grab your toolbox (or maybe just a rubber band!), and let’s get started!
DIY Magic: Transforming Old T-Shirts into Stylish Tote Bags
Hey there, fellow DIY enthusiasts! Ever find yourself drowning in a sea of old t-shirts, each holding a memory but taking up valuable closet space? Well, I’ve got the perfect solution: let’s transform those forgotten fabrics into trendy and eco-friendly tote bags! This project is super easy, requires minimal sewing (or even no sewing at all!), and is a fantastic way to reduce waste. Plus, you’ll end up with a unique bag that reflects your personal style. Let’s dive in!
What You’ll Need:
Before we get started, gather your supplies. Here’s what you’ll need:
* An old t-shirt (the larger the shirt, the larger the bag)
* Sharp scissors or a rotary cutter
* A ruler or measuring tape (optional, but helpful for precision)
* Fabric marker or chalk (optional, for marking cut lines)
* Sewing machine (optional, for a more durable bag)
* Thread (if sewing)
* Pins (if sewing)
* Iron and ironing board (optional, for a crisper finish)
* Cardboard or a cutting mat (to protect your work surface)
* Embellishments (optional, like fabric paint, buttons, or patches)
Choosing Your T-Shirt:
The key to a great tote bag starts with the right t-shirt. Consider these factors:
* **Size:** A larger t-shirt will naturally create a larger tote bag. Think about what you’ll primarily use the bag for 鈥?groceries, books, or everyday essentials?
* **Fabric:** Cotton t-shirts are the easiest to work with, but blends can also work well. Avoid overly stretchy or delicate fabrics.
* **Design:** The design on the t-shirt will become part of your bag’s aesthetic. Choose a shirt with a graphic you love or a solid color for a more minimalist look.
* **Condition:** While we’re repurposing, avoid shirts with large holes or stains in prominent areas. Small imperfections can often be worked around.
No-Sew Tote Bag Method:
This method is perfect for beginners or anyone who wants a quick and easy project. It relies on tying knots to create the bag’s bottom.
Step 1: Prepare Your T-Shirt
1. Lay your t-shirt flat on your work surface. Smooth out any wrinkles.
2. If your t-shirt has sleeves, cut them off along the seam. You can discard the sleeves or save them for another craft project.
3. Cut off the neckline. You can cut straight across or create a wider, more open neckline. I usually cut about 3-4 inches down from the collar. Be careful to cut through both layers of fabric.
Step 2: Create the Fringe
1. Turn the t-shirt inside out. This will hide the knots on the inside of the bag.
2. Using your scissors or rotary cutter, cut strips along the bottom edge of the t-shirt. These strips should be about 3-4 inches long and about 1 inch wide. The more strips you cut, the stronger your bag will be.
3. Make sure you cut through both layers of fabric.
Step 3: Tie the Knots
1. Take two adjacent strips and tie them together in a tight knot.
2. Repeat this process all the way around the bottom edge of the t-shirt.
3. For extra security, tie a second knot on top of the first knot.
4. Once you’ve tied all the knots in the first row, tie the adjacent knots together in a second row. This will create a more secure and closed bottom for your bag.
Step 4: Finishing Touches
1. Turn the bag right side out.
2. Inspect the bottom of the bag to make sure all the knots are secure.
3. Trim any uneven fringe if desired.
4. Your no-sew tote bag is now ready to use!
Sewn Tote Bag Method:
This method requires a sewing machine but creates a more durable and professional-looking tote bag.
Step 1: Prepare Your T-Shirt
1. Lay your t-shirt flat on your work surface. Smooth out any wrinkles.
2. If your t-shirt has sleeves, cut them off along the seam. You can discard the sleeves or save them for another craft project.
3. Cut off the neckline. You can cut straight across or create a wider, more open neckline. I usually cut about 3-4 inches down from the collar. Be careful to cut through both layers of fabric.
Step 2: Sew the Bottom Seam
1. Turn the t-shirt inside out.
2. Pin the bottom edge of the t-shirt together, making sure the edges are aligned.
3. Using your sewing machine, sew a straight seam along the bottom edge of the t-shirt. Use a seam allowance of about 1/2 inch.
4. Backstitch at the beginning and end of the seam to secure the stitches.
5. For extra durability, you can sew a second seam next to the first seam.
Step 3: Box the Corners (Optional)
Boxing the corners will give your tote bag a more structured bottom.
1. Flatten one of the bottom corners of the bag so that the side seam and the bottom seam are aligned. This will create a triangle shape.
2. Measure down from the point of the triangle to create the desired depth of your bag’s bottom. I usually measure about 2-3 inches.
3. Draw a line across the triangle at your measured point.
4. Pin along the line and sew a straight seam across the triangle.
5. Cut off the excess fabric about 1/2 inch from the seam.
6. Repeat this process for the other corner of the bag.
Step 4: Finishing Touches
1. Turn the bag right side out.
2. Press the seams with an iron for a crisper finish.
3. Topstitch along the top edge of the bag for a more polished look. This will also help to prevent the fabric from fraying.
4. Your sewn tote bag is now ready to use!
Adding Handles (For Both Methods):
While the t-shirt itself provides handles, you can add more durable or stylish handles using fabric scraps or purchased webbing.
1. **Fabric Handles:** Cut two strips of fabric (from the t-shirt sleeves or another fabric) to your desired handle length and width. Fold the long edges of each strip towards the center and press. Fold the strip in half lengthwise and press again. Sew along all edges to create a sturdy handle. Attach the handles to the inside of the bag, reinforcing the stitching for strength.
2. **Webbing Handles:** Purchase webbing in your desired color and width. Cut two pieces to your desired handle length. Attach the webbing handles to the inside of the bag, reinforcing the stitching for strength. I like to use a zig-zag stitch for extra security.
Embellishing Your Tote Bag:
Now for the fun part 鈥?personalizing your tote bag! Here are some ideas:
* **Fabric Paint:** Use fabric paint to add designs, patterns, or quotes to your bag. Stencils can be helpful for creating precise designs.
* **Buttons:** Sew on buttons in various sizes and colors for a whimsical touch.
* **Patches:** Iron-on or sew-on patches are a great way to add personality to your bag.
* **Embroidery:** If you’re skilled in embroidery, add intricate designs to your bag.
* **Pom-poms or Tassels:** Attach pom-poms or tassels to the handles for a playful look.
* **Tie-Dye:** Before cutting and sewing, tie-dye the t-shirt for a unique and colorful bag.
Tips and Tricks:
* **Reinforce Stress Points:** Pay extra attention to reinforcing the seams and handle attachments, as these are the areas that will experience the most stress.
* **Use a Walking Foot:** If you’re sewing with thicker fabrics, a walking foot can help to feed the fabric evenly through your sewing machine.
* **Pre-Wash Your Fabric:** Pre-washing your t-shirt will help to prevent shrinkage after you’ve made your bag.
* **Experiment with Different T-Shirt Designs:** Don’t be afraid to get creative with your t-shirt choices. Stripes, patterns, and graphics can all add unique flair to your tote bag.
* **Practice on Scrap Fabric:** If you’re new to sewing, practice your stitches on scrap fabric before working on your tote bag.
I hope you enjoyed this DIY tutorial! Transforming old t-shirts into stylish tote bags is a rewarding and eco-friendly project. So, gather your supplies, unleash your creativity, and start crafting your own unique tote bags today! Happy crafting!
Conclusion
So, there you have it! This DIY fix isn’t just a temporary solution; it’s a game-changer that can save you time, money, and a whole lot of frustration. We’ve walked you through the process, highlighting the simplicity and effectiveness of this approach. The beauty of this particular DIY fix lies in its adaptability. It’s not a one-size-fits-all solution, but rather a foundation upon which you can build and customize to perfectly suit your specific needs and circumstances.
Think of it as a starting point for your own creative problem-solving. For example, if you’re dealing with a slightly different issue, consider modifying the materials or techniques we’ve outlined. Perhaps you need a stronger adhesive? Experiment with different types until you find one that provides the necessary hold. Or maybe you want to add a decorative element to your fix? Go for it! Personalize it to reflect your style and preferences.
One variation we’ve found particularly useful is incorporating [mention a specific material or technique related to the DIY fix]. This adds an extra layer of durability and can be especially helpful in high-stress areas. Another option is to [mention another specific material or technique related to the DIY fix], which can improve the aesthetic appeal of the repair. Don’t be afraid to experiment and see what works best for you.
Ultimately, the goal is to empower you to take control of your repairs and maintenance. This DIY fix is a testament to the fact that you don’t always need to rely on expensive professionals or complicated solutions. With a little ingenuity and the right guidance, you can tackle a wide range of problems yourself.
We wholeheartedly encourage you to give this DIY fix a try. We’re confident that you’ll be impressed with the results. Not only will you save money and time, but you’ll also gain a sense of accomplishment and self-reliance.
But the journey doesn’t end here! We want to hear about your experiences. Did you find this DIY fix helpful? Did you encounter any challenges? Did you come up with any creative variations of your own? Share your stories, tips, and photos in the comments section below. Your feedback will not only help us improve our instructions but will also inspire other readers to embrace the power of DIY. Let’s build a community of resourceful individuals who are passionate about fixing things themselves! Remember, mastering this **DIY fix** is just the beginning. There’s a whole world of DIY possibilities waiting to be explored. So, grab your tools, unleash your creativity, and get ready to transform your home and your life, one fix at a time.
Frequently Asked Questions (FAQ)
What if I don’t have all the exact materials listed?
That’s perfectly alright! One of the great things about DIY is its flexibility. While we recommend using the specified materials for optimal results, you can often substitute them with similar items you already have on hand. For example, if you don’t have [specific material], you could try using [alternative material] as a replacement. Just be sure to consider the properties of the substitute material and how it might affect the overall outcome. If you’re unsure, it’s always a good idea to test the substitute material on a small, inconspicuous area first. Remember, safety is paramount, so always wear appropriate protective gear when working with unfamiliar materials.
How long will this DIY fix last?
The longevity of this DIY fix depends on several factors, including the quality of the materials used, the severity of the initial damage, and the amount of stress the repaired area is subjected to. In general, you can expect this fix to last for [estimated timeframe, e.g., several months to a year or more]. However, it’s important to regularly inspect the repaired area for any signs of wear and tear. If you notice any cracks, loosening, or other damage, it’s best to address it promptly to prevent further deterioration. Applying a sealant or protective coating can also help extend the lifespan of the fix.
Is this DIY fix suitable for all skill levels?
Yes, this DIY fix is designed to be accessible to individuals of all skill levels, from beginners to experienced DIYers. We’ve provided clear, step-by-step instructions and detailed illustrations to guide you through the process. However, if you’re completely new to DIY, it’s always a good idea to start with a simpler project first to build your confidence and familiarize yourself with basic tools and techniques. If you encounter any difficulties along the way, don’t hesitate to consult online resources, watch tutorial videos, or ask for help from a more experienced friend or family member. Remember, everyone starts somewhere, and with a little practice, you’ll be surprised at what you can accomplish.
What safety precautions should I take when performing this DIY fix?
Safety should always be your top priority when undertaking any DIY project. Before you begin, make sure you have a clear understanding of the potential hazards involved and take appropriate precautions to protect yourself. This may include wearing safety glasses, gloves, and a dust mask. Ensure that your work area is well-ventilated and free from clutter. When using power tools, always follow the manufacturer’s instructions and wear appropriate hearing protection. If you’re working with chemicals or adhesives, read the product labels carefully and follow all safety guidelines. And most importantly, never attempt a DIY project if you’re feeling tired, distracted, or under the influence of alcohol or drugs.
Can I use this DIY fix on [specific material or surface]?
This DIY fix is generally suitable for use on a variety of materials and surfaces, including [list of common materials/surfaces]. However, it’s always a good idea to test the fix on a small, inconspicuous area first to ensure that it adheres properly and doesn’t cause any damage or discoloration. If you’re working with a particularly delicate or sensitive material, you may need to adjust the technique or use a different type of adhesive. If you’re unsure whether this fix is appropriate for your specific application, it’s best to consult with a professional or do some additional research online.
What if the DIY fix doesn’t work?
While we’re confident that this DIY fix will be successful in most cases, there’s always a chance that it might not work perfectly. If you encounter any problems, don’t get discouraged! Take a step back, reassess the situation, and try to identify the cause of the issue. Perhaps you need to adjust the technique, use a different type of adhesive, or reinforce the repair with additional materials. If you’ve tried everything and the fix still isn’t holding, it may be necessary to seek professional assistance. However, before you give up, remember that DIY is all about experimentation and learning from your mistakes. Even if the fix isn’t perfect, you’ll still gain valuable experience and knowledge that you can apply to future projects.
Leave a Comment