
DIY pumpkin drip system: Sounds a little crazy, right? But trust me, this simple and fun project can be a game-changer for your garden! For centuries, gardeners have sought innovative ways to efficiently water their plants. From ancient irrigation systems in Mesopotamia to the ingenious methods used by indigenous cultures, the quest for the perfect watering solution is a tale as old as time.
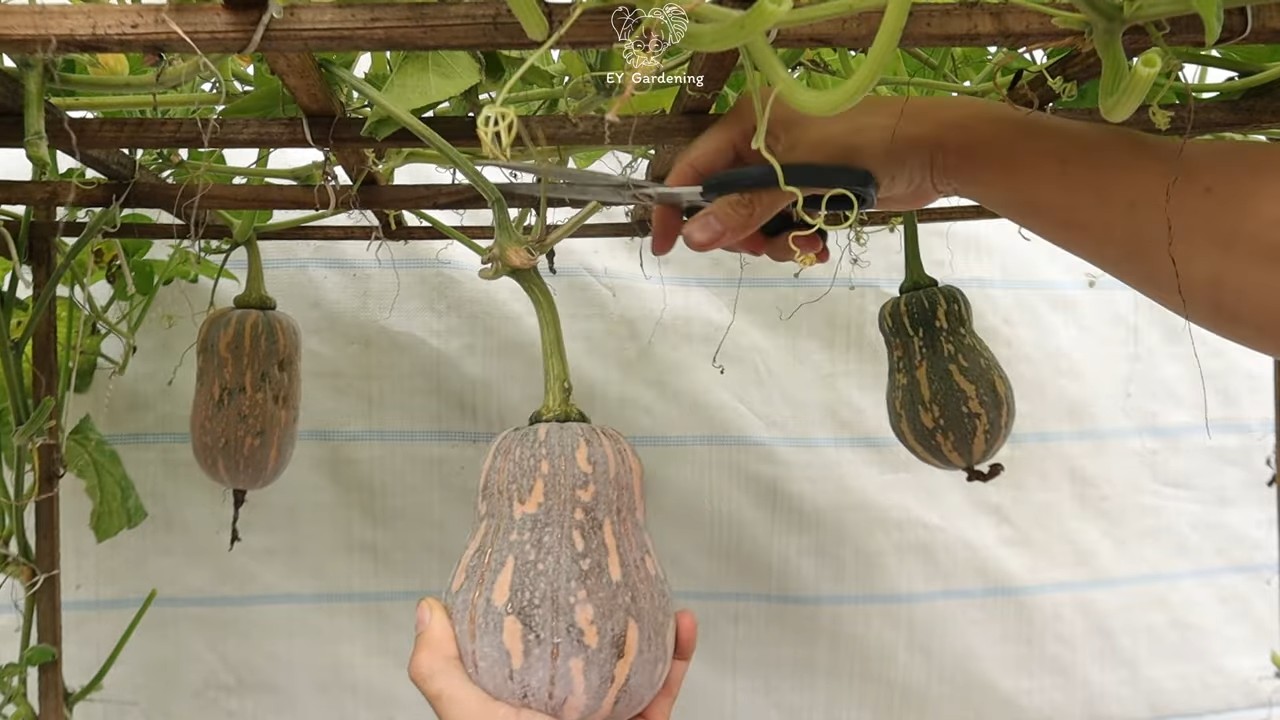
But why a pumpkin? Well, beyond being a festive fall icon, pumpkins are naturally porous, allowing water to seep slowly into the soil. This creates a localized, consistent watering system that’s perfect for thirsty plants like tomatoes, peppers, and even other pumpkins! Plus, it’s a fantastic way to repurpose those pumpkins after Halloween, giving them a second life and reducing waste.
I know what you’re thinking: “Is this really necessary?” Absolutely! Inconsistent watering can lead to blossom end rot, stunted growth, and overall unhappy plants. A DIY pumpkin drip system provides a slow, steady release of water directly to the roots, minimizing water waste and maximizing plant health. So, ditch the guesswork and embrace this quirky, effective, and eco-friendly gardening hack. Let’s get started and turn those leftover pumpkins into garden superheroes!
DIY Pumpkin Drip System: Water Your Plants with Spooky Style!
Hey there, fellow plant lovers and DIY enthusiasts! Are you tired of constantly watering your plants, especially during those hot summer months? And are you looking for a fun, festive way to do it? Well, I’ve got just the project for you: a DIY pumpkin drip system! This project is not only practical but also adds a touch of Halloween charm to your garden. Plus, it’s a great way to repurpose those pumpkins after the spooky season is over. Let’s get started!
What You’ll Need
Before we dive into the step-by-step instructions, let’s gather all the necessary materials. Here’s a comprehensive list:
* A Large Pumpkin: Choose a pumpkin that’s big enough to hold a decent amount of water. The bigger, the better, as it will water your plants for a longer period. I recommend a carving pumpkin, as they tend to have thinner walls, making them easier to work with.
* Drip Irrigation Tubing: You’ll need enough tubing to reach from the pumpkin to the plants you want to water. I suggest using ¼-inch tubing, as it’s flexible and easy to work with. You can find this at most garden supply stores.
* Drip Emitters: These little devices regulate the flow of water from the tubing. Choose emitters with a flow rate that suits your plants’ needs. Some plants need more water than others, so do a little research beforehand.
* Drill with Various Drill Bits: You’ll need a drill to create holes in the pumpkin for the tubing and emitters. Make sure you have a variety of drill bit sizes on hand, as you may need to adjust the size of the holes.
* Knife or Pumpkin Carving Kit: For carving the pumpkin and creating the opening for filling it with water. A serrated knife works best.
* Gloves: To protect your hands from the pumpkin guts. Trust me, you’ll want these!
* Measuring Tape: To measure the distance between the pumpkin and your plants.
* Waterproof Sealant (Optional): To seal any cracks or leaks in the pumpkin. This will help prolong the life of your drip system.
* Small Rocks or Gravel: To place at the bottom of the pumpkin to prevent the tubing from clogging.
* Filter Fabric or Cheesecloth: To cover the opening of the pumpkin and prevent debris from entering the water.
* Watering Can or Hose: To fill the pumpkin with water.
Step-by-Step Instructions
Alright, let’s get our hands dirty and build this awesome pumpkin drip system!
1. Prepare the Pumpkin:
* First, lay down some newspaper or a drop cloth to protect your work surface.
* Using your knife or pumpkin carving kit, carefully cut a large opening at the top of the pumpkin, similar to how you would carve a jack-o’-lantern. Make sure the opening is large enough to easily fill the pumpkin with water.
* Remove all the seeds and pulp from inside the pumpkin. Scrape the walls clean to prevent mold growth. This is where the gloves come in handy!
* Let the pumpkin dry out for a few hours, or even overnight, to help prevent it from rotting too quickly.
2. Drill the Holes:
* Decide where you want the drip irrigation tubing to exit the pumpkin. I recommend placing it near the bottom, as this will allow gravity to do its work.
* Using your drill and a drill bit that’s slightly smaller than the diameter of your drip irrigation tubing, carefully drill a hole through the pumpkin wall at the chosen location.
* If you plan to use multiple drip emitters, drill additional holes for each emitter. Space them out evenly around the base of the pumpkin.
3. Install the Drip Irrigation Tubing:
* Carefully insert one end of the drip irrigation tubing into the hole you drilled. You may need to wiggle it a bit to get it through.
* If the fit is too loose, you can use a small amount of waterproof sealant to secure the tubing in place.
* Measure the distance from the pumpkin to each plant you want to water. Cut the drip irrigation tubing to the appropriate length for each plant.
4. Attach the Drip Emitters:
* At the end of each drip irrigation tubing, attach a drip emitter. Make sure the emitter is securely fastened to the tubing.
* If you drilled separate holes for the emitters, insert the emitters directly into the holes. Again, you may need to use a small amount of waterproof sealant to secure them in place.
5. Prepare the Inside of the Pumpkin:
* Place a layer of small rocks or gravel at the bottom of the pumpkin. This will help prevent the drip irrigation tubing from clogging with debris.
* Cover the opening of the pumpkin with filter fabric or cheesecloth. This will further prevent debris from entering the water. Secure the fabric with a rubber band or string.
6. Test the System:
* Fill the pumpkin with water using a watering can or hose.
* Observe the drip emitters to make sure they are working properly. Adjust the flow rate of the emitters as needed.
* Check for any leaks in the pumpkin or around the tubing and emitters. If you find any leaks, apply waterproof sealant to the affected areas.
7. Position the Pumpkin and Tubing:
* Place the pumpkin in a central location in your garden, close to the plants you want to water.
* Run the drip irrigation tubing to each plant, making sure the emitters are positioned near the base of the plant.
* You can use small stakes or rocks to hold the tubing in place.
Tips and Tricks for Success
Here are a few extra tips to help you get the most out of your DIY pumpkin drip system:
* Choose the Right Pumpkin: As I mentioned earlier, a carving pumpkin is generally easier to work with. However, you can also use a decorative pumpkin if you prefer. Just make sure it’s large enough to hold a sufficient amount of water.
* Consider the Weather: On hot, sunny days, your plants will need more water than on cooler, cloudy days. Adjust the flow rate of the drip emitters accordingly.
* Monitor the Water Level: Check the water level in the pumpkin regularly and refill it as needed.
* Prevent Clogging: To prevent the drip emitters from clogging, use filtered water whenever possible. You can also clean the emitters periodically with a small brush or needle.
* Extend the Life of Your Pumpkin: To help your pumpkin last longer, you can apply a coat of waterproof sealant to the inside and outside of the pumpkin. You can also place the pumpkin in a shady spot to protect it from the sun.
* Get Creative with Decoration: Don’t be afraid to get creative with decorating your pumpkin! You can carve it with a spooky design, paint it with bright colors, or add other embellishments.
* Think About Drainage: If you live in an area with heavy rainfall, consider drilling a few small drainage holes in the bottom of the pumpkin to prevent it from becoming waterlogged.
* Consider a Stand: Depending on the size of your pumpkin, you might want to consider placing it on a stand to elevate it and make it easier to access. This will also help prevent the bottom of the pumpkin from rotting.
* Winterize Your System: When the weather starts to get cold, be sure to drain the water from your pumpkin drip system and store it in a dry place. This will prevent the tubing and emitters from freezing and cracking.
* Experiment with Different Emitters: There are many different types of drip emitters available, each with its own unique flow rate and spray pattern. Experiment with different emitters to find the ones that work best for your plants.
Troubleshooting Common Issues
Even with the best planning, you might encounter a few hiccups along the way. Here’s how to troubleshoot some common issues:
* No Water Flow: If no water is flowing from the drip emitters, check the following:
* Make sure the pumpkin is filled with water.
* Check for clogs in the tubing or emitters.
* Ensure the emitters are properly attached to the tubing.
* Verify that the water source is turned on (if you’re using a hose connection).
* Uneven Water Flow: If some emitters are dripping more than others, try these solutions:
* Adjust the flow rate of the emitters individually.
* Make sure the tubing is not kinked or blocked.
* Check for differences in elevation between the emitters.
* Leaks: If you notice leaks around the pumpkin, tubing, or emitters:
* Apply waterproof sealant to the affected areas.
* Tighten any loose connections.
* Replace any damaged tubing or emitters.
* Pumpkin Rotting: To slow down the rotting process
Conclusion
So, there you have it! Transforming an ordinary pumpkin into a self-watering drip system is not just a fun fall activity; it’s a genuinely effective and eco-friendly way to keep your plants thriving. We’ve explored how this simple, sustainable solution can provide consistent hydration, reduce water waste, and even add a touch of seasonal charm to your garden or indoor plant collection.
Why is this DIY pumpkin drip system a must-try? Because it’s a win-win! You’re repurposing a seasonal item that might otherwise end up in the compost, reducing your environmental impact, and providing your plants with a slow, steady release of water that encourages healthy root growth. Forget the guesswork of manual watering; this system takes the stress out of plant care, especially during busy periods or when you’re away from home.
But the beauty of this project lies in its adaptability. Feel free to experiment with different pumpkin sizes to suit the needs of various plants. Smaller pumpkins are perfect for individual potted herbs or succulents, while larger pumpkins can provide sustained hydration for larger plants or even small garden beds. Consider adding a layer of cheesecloth or fine mesh inside the pumpkin to further filter the water and prevent soil from clogging the drainage holes.
For those looking to add a little extra flair, consider carving decorative patterns into the pumpkin’s surface. Just be mindful not to compromise the structural integrity of the pumpkin, especially around the base. You can also paint the pumpkin with non-toxic, weather-resistant paint to match your garden decor or add a personal touch.
Beyond the practical benefits, creating a DIY pumpkin drip system is a fantastic way to connect with nature and embrace the spirit of the season. It’s a project that can be enjoyed by the whole family, offering a hands-on learning experience about plant care, sustainability, and resourcefulness.
We are confident that once you experience the ease and effectiveness of this DIY project, you’ll be hooked. The consistent moisture levels, reduced water waste, and the sheer novelty of a pumpkin-powered watering system make it a truly worthwhile endeavor.
So, grab a pumpkin, gather your tools, and get ready to transform your plant care routine. Don’t be afraid to get creative and personalize your drip system to suit your specific needs and preferences.
We wholeheartedly encourage you to try this DIY pumpkin drip system and witness the positive impact it has on your plants and your gardening experience. And most importantly, we want to hear about your results! Share your photos, tips, and experiences with us in the comments below or on social media using #PumpkinDripSystem. Let’s inspire others to embrace sustainable gardening practices and celebrate the bounty of the season. We can’t wait to see what you create!
Frequently Asked Questions
How long will a pumpkin drip system last?
The lifespan of your DIY pumpkin drip system depends on several factors, including the size of the pumpkin, the climate, and the type of soil it’s in contact with. Generally, a small to medium-sized pumpkin will last anywhere from two to four weeks. Larger pumpkins can last longer, potentially up to six weeks or more. Keep an eye on the pumpkin for signs of decomposition, such as softening, mold growth, or a foul odor. Once the pumpkin starts to break down significantly, it’s time to replace it with a fresh one. You can extend the life of your pumpkin by keeping it out of direct sunlight and ensuring good air circulation around it.
What type of pumpkin is best for a drip system?
The best type of pumpkin for a drip system is a mature, firm pumpkin with a thick rind. Pie pumpkins, also known as sugar pumpkins, are a good choice because they are typically smaller and denser than carving pumpkins. However, you can use any type of pumpkin as long as it’s in good condition and free from blemishes or soft spots. Avoid using pumpkins that are already showing signs of decay, as they will break down more quickly and may attract pests. Consider the size of your plants and the amount of water they need when choosing a pumpkin size.
How do I prevent the pumpkin from rotting too quickly?
Several strategies can help prevent your pumpkin from rotting too quickly. First, ensure the pumpkin is clean and dry before you start. Wipe it down with a damp cloth to remove any dirt or debris. Second, avoid placing the pumpkin in direct sunlight, as this can accelerate decomposition. Third, ensure good air circulation around the pumpkin to prevent moisture buildup. You can also try applying a thin layer of petroleum jelly or beeswax to the cut edges of the pumpkin to seal them and prevent moisture loss. Finally, consider using a copper penny or a small piece of copper wire inside the pumpkin. Copper has natural antifungal properties that can help inhibit mold growth.
Can I use this system for all types of plants?
While a DIY pumpkin drip system can be beneficial for many types of plants, it’s not suitable for all. Plants that prefer consistently moist soil, such as ferns, impatiens, and vegetables like tomatoes and peppers, will generally thrive with this system. However, plants that prefer drier conditions, such as succulents, cacti, and herbs like rosemary and lavender, may suffer from overwatering. Consider the specific water needs of your plants before using a pumpkin drip system. You can also adjust the number and size of the drainage holes to control the amount of water released.
How do I know if the pumpkin is providing enough water?
The best way to determine if your pumpkin drip system is providing enough water is to monitor the soil moisture levels around your plants. Use your finger to check the soil a few inches below the surface. If the soil feels dry, the pumpkin may not be releasing enough water. If the soil feels soggy, the pumpkin may be releasing too much water. Adjust the number and size of the drainage holes accordingly. You can also observe your plants for signs of overwatering or underwatering, such as wilting, yellowing leaves, or stunted growth.
What if the drainage holes get clogged?
Clogged drainage holes are a common issue with pumpkin drip systems, especially if you’re using soil that contains a lot of clay or organic matter. To prevent clogging, consider lining the inside of the pumpkin with a layer of cheesecloth or fine mesh to filter the water. If the holes do get clogged, you can use a small skewer, toothpick, or needle to gently clear them. Be careful not to enlarge the holes too much, as this can increase the water flow. Regularly inspect the drainage holes and clear them as needed to ensure consistent water release.
Can I add fertilizer to the water in the pumpkin?
Yes, you can add diluted liquid fertilizer to the water in the pumpkin to provide your plants with extra nutrients. However, it’s important to use a balanced fertilizer and dilute it according to the manufacturer’s instructions. Avoid using concentrated fertilizers, as they can burn the roots of your plants. Start with a small amount of fertilizer and gradually increase it as needed. Monitor your plants for signs of nutrient deficiencies or excesses, such as yellowing leaves, stunted growth, or leaf burn.
Is this system safe for pets?
Generally, a DIY pumpkin drip system is safe for pets, but it’s important to take a few precautions. Ensure that the pumpkin is placed in a location where your pets cannot easily access it and knock it over. Avoid using any toxic paints or coatings on the pumpkin that your pets might ingest. If you’re using fertilizer in the water, make sure it’s a pet-safe formula and that your pets cannot drink the water directly from the pumpkin. Monitor your pets for any signs of illness or allergic reactions after being around the pumpkin drip system.
What do I do with the pumpkin after it’s no longer usable?
Once your pumpkin drip system has reached the end of its lifespan, you can compost it! Pumpkin is an excellent source of organic matter and nutrients for your compost pile. Remove any non-compostable materials, such as paint or decorations, and chop the pumpkin into smaller pieces to speed up the decomposition process. Add the pumpkin to your compost pile along with other organic materials, such as leaves, grass clippings, and vegetable scraps. Turn the compost pile regularly to ensure proper aeration and moisture levels. Within a few months, the pumpkin will break down into rich, nutrient-rich compost that you can use to enrich your garden soil.
Leave a Comment