
Grow Dill Indoors? Absolutely! Imagine having fresh, fragrant dill readily available, even when the snow is falling outside. No more sad, wilted bunches from the grocery store – just vibrant, flavorful dill whenever your recipe calls for it. For centuries, dill has been cherished not only for its culinary uses but also for its medicinal properties. Ancient Egyptians used it to soothe digestive issues, and Romans believed it brought good fortune.
Today, we might not be warding off evil spirits with dill, but we can certainly elevate our cooking and well-being. But why should you bother learning how to grow dill indoors? Well, for starters, it gives you complete control over the growing environment, protecting your precious herbs from pests, diseases, and unpredictable weather. Plus, let’s be honest, there’s something incredibly satisfying about nurturing a plant from seed to harvest, especially when it provides such a delicious and versatile ingredient.
In this DIY guide, I’m going to share my tried-and-true secrets for successfully growing dill indoors, even if you don’t have a green thumb. We’ll cover everything from choosing the right container and soil to providing optimal light and watering. Get ready to unlock the secrets to a thriving indoor dill garden and enjoy the fresh, aromatic flavor of homegrown dill all year round!
Growing Swiss Chard Indoors: A Beginner’s Guide
Hey there, fellow plant enthusiasts! Ever thought about growing your own vibrant, nutritious Swiss chard right inside your home? It’s easier than you might think, and trust me, the satisfaction of harvesting your own greens is totally worth it. I’ve been growing Swiss chard indoors for a while now, and I’m excited to share my tips and tricks with you. Let’s get started!
What You’ll Need
Before we dive into the nitty-gritty, let’s gather our supplies. Here’s a list of everything you’ll need to successfully grow Swiss chard indoors:
* Seeds: Choose a variety of Swiss chard you like. ‘Bright Lights’ is a popular choice for its colorful stems, but ‘Fordhook Giant’ is also a reliable option.
* Containers: You’ll need pots or containers that are at least 6-8 inches deep. Good drainage is crucial, so make sure your containers have drainage holes.
* Potting Mix: Use a high-quality potting mix that’s well-draining and rich in nutrients. Avoid using garden soil, as it can compact and hinder growth.
* Grow Lights (Optional but Recommended): While Swiss chard can tolerate some shade, it thrives with plenty of light. If you don’t have a sunny window, invest in a grow light.
* Watering Can or Spray Bottle: For gentle watering.
* Fertilizer: A balanced liquid fertilizer will help keep your chard happy and healthy.
* Seed Starting Tray (Optional): For starting seeds indoors before transplanting.
* Small Shovel or Trowel: For transplanting seedlings.
Getting Started: Planting Your Swiss Chard
Okay, now that we have everything we need, let’s get our hands dirty!
1. Starting Seeds: You have two options here: direct sowing or starting seeds indoors. I personally prefer starting seeds indoors because it gives me more control over the germination process.
* Starting Indoors: Fill your seed starting tray with potting mix. Moisten the soil gently. Sow the seeds about ½ inch deep and cover them lightly with soil. Place the tray in a warm location (around 70-75°F) and keep the soil consistently moist. You can cover the tray with a plastic dome or plastic wrap to help retain moisture. Once the seedlings emerge (usually within 5-10 days), remove the cover and place them under a grow light or in a sunny window.
* Direct Sowing: If you’re direct sowing, fill your containers with potting mix. Moisten the soil. Sow the seeds about ½ inch deep and cover them lightly with soil. Water gently and keep the soil consistently moist. Place the containers in a location that receives at least 6 hours of sunlight per day (or under a grow light).
2. Thinning Seedlings: Once your seedlings have developed a few sets of true leaves (the leaves that look like miniature versions of adult chard leaves), it’s time to thin them out. This means removing some of the seedlings so that the remaining ones have enough space to grow. Aim for about 2-3 inches between plants. Don’t just pull them out! Gently snip the unwanted seedlings at the soil line with scissors.
3. Transplanting (If Starting Indoors): Once your seedlings are a few inches tall and have a good root system, it’s time to transplant them into their final containers. Gently remove the seedlings from the seed starting tray, being careful not to damage the roots. Dig a small hole in the potting mix in your container and place the seedling in the hole. Gently pat the soil around the seedling. Water thoroughly.
Caring for Your Swiss Chard
Now that your Swiss chard is planted, it’s time to provide it with the care it needs to thrive.
1. Light: Swiss chard needs at least 6 hours of sunlight per day. If you don’t have a sunny window, use a grow light. Position the grow light a few inches above the plants and keep it on for 12-14 hours per day.
2. Watering: Water your Swiss chard regularly, keeping the soil consistently moist but not waterlogged. Check the soil moisture by sticking your finger into the soil. If the top inch of soil feels dry, it’s time to water. Avoid overwatering, as this can lead to root rot.
3. Fertilizing: Feed your Swiss chard with a balanced liquid fertilizer every 2-3 weeks. Follow the instructions on the fertilizer label. I like to use a fertilizer that’s specifically formulated for leafy greens.
4. Temperature: Swiss chard prefers temperatures between 60-75°F. Avoid exposing your plants to extreme temperatures.
5. Humidity: Swiss chard prefers moderate humidity. If your home is very dry, you can increase the humidity around your plants by placing a tray of water near them or using a humidifier.
6. Pest Control: Keep an eye out for pests such as aphids, spider mites, and whiteflies. If you spot any pests, you can try spraying them with insecticidal soap or neem oil. You can also manually remove pests by hand.
Harvesting Your Swiss Chard
The best part! You can start harvesting your Swiss chard when the leaves are about 6-8 inches long.
1. Harvesting Individual Leaves: The “cut and come again” method is perfect for Swiss chard. Simply harvest the outer leaves, leaving the inner leaves to continue growing. This will allow you to harvest your chard for several weeks or even months.
2. Harvesting the Whole Plant: If you want to harvest the entire plant, cut it off at the base, about an inch above the soil line.
3. Storage: Freshly harvested Swiss chard can be stored in the refrigerator for up to a week. Wrap the leaves in a damp paper towel and place them in a plastic bag.
Troubleshooting
Even with the best care, you might encounter some problems along the way. Here are a few common issues and how to address them:
* Yellowing Leaves: This could be a sign of overwatering, underwatering, or nutrient deficiency. Check the soil moisture and adjust your watering accordingly. If the soil is consistently moist, you might be overwatering. If the soil is dry, you might be underwatering. If you suspect a nutrient deficiency, fertilize your plants with a balanced liquid fertilizer.
* Leggy Growth: This is usually a sign of insufficient light. Make sure your plants are receiving at least 6 hours of sunlight per day or are under a grow light.
* Pests: As mentioned earlier, keep an eye out for pests and treat them promptly.
* Slow Growth: This could be due to a variety of factors, including insufficient light, poor soil, or lack of nutrients. Make sure your plants are receiving enough light, are planted in a high-quality potting mix, and are being fertilized regularly.
Choosing the Right Swiss Chard Variety
While growing techniques remain largely the same, selecting the right variety can enhance your indoor gardening experience. Here are a few popular and reliable Swiss chard varieties suitable for indoor cultivation:
* ‘Bright Lights’: This is probably the most popular variety, and for good reason! ‘Bright Lights’ boasts a stunning array of stem colors, including red, yellow, orange, pink, and white. It’s not just pretty; it’s also delicious and relatively compact, making it ideal for containers.
* ‘Fordhook Giant’: As the name suggests, this variety produces large, dark green leaves with thick, white stems. It’s known for its excellent flavor and productivity. While it can get quite large, you can manage its size by harvesting leaves regularly.
* ‘Lucullus’: This is an heirloom variety with crinkled, light green leaves and thick, white stems. It’s known for its mild flavor and heat tolerance.
* ‘Ruby Red’: If you’re looking for a variety with vibrant red stems and dark green leaves, ‘Ruby Red’ is a great choice. It’s not only beautiful but also packed with nutrients.
Extra Tips for Success
Here are a few extra tips to help you succeed in growing Swiss chard indoors:
* Rotate Your Plants: If you’re growing your chard near a window, rotate the containers regularly to ensure that all sides of the plants receive equal amounts of light.
* Pinch Off Flower Stalks: Swiss chard is a biennial, meaning it will eventually produce flower stalks. Once flower stalks appear, the leaves will become bitter. To prolong the harvest, pinch off the flower stalks as soon as you see them.
* Succession Planting: To ensure a continuous harvest, sow new seeds every few weeks. This is called succession planting.
* Cleanliness is Key: Keep your growing area clean to prevent the spread of pests and diseases. Remove any dead or decaying

Conclusion
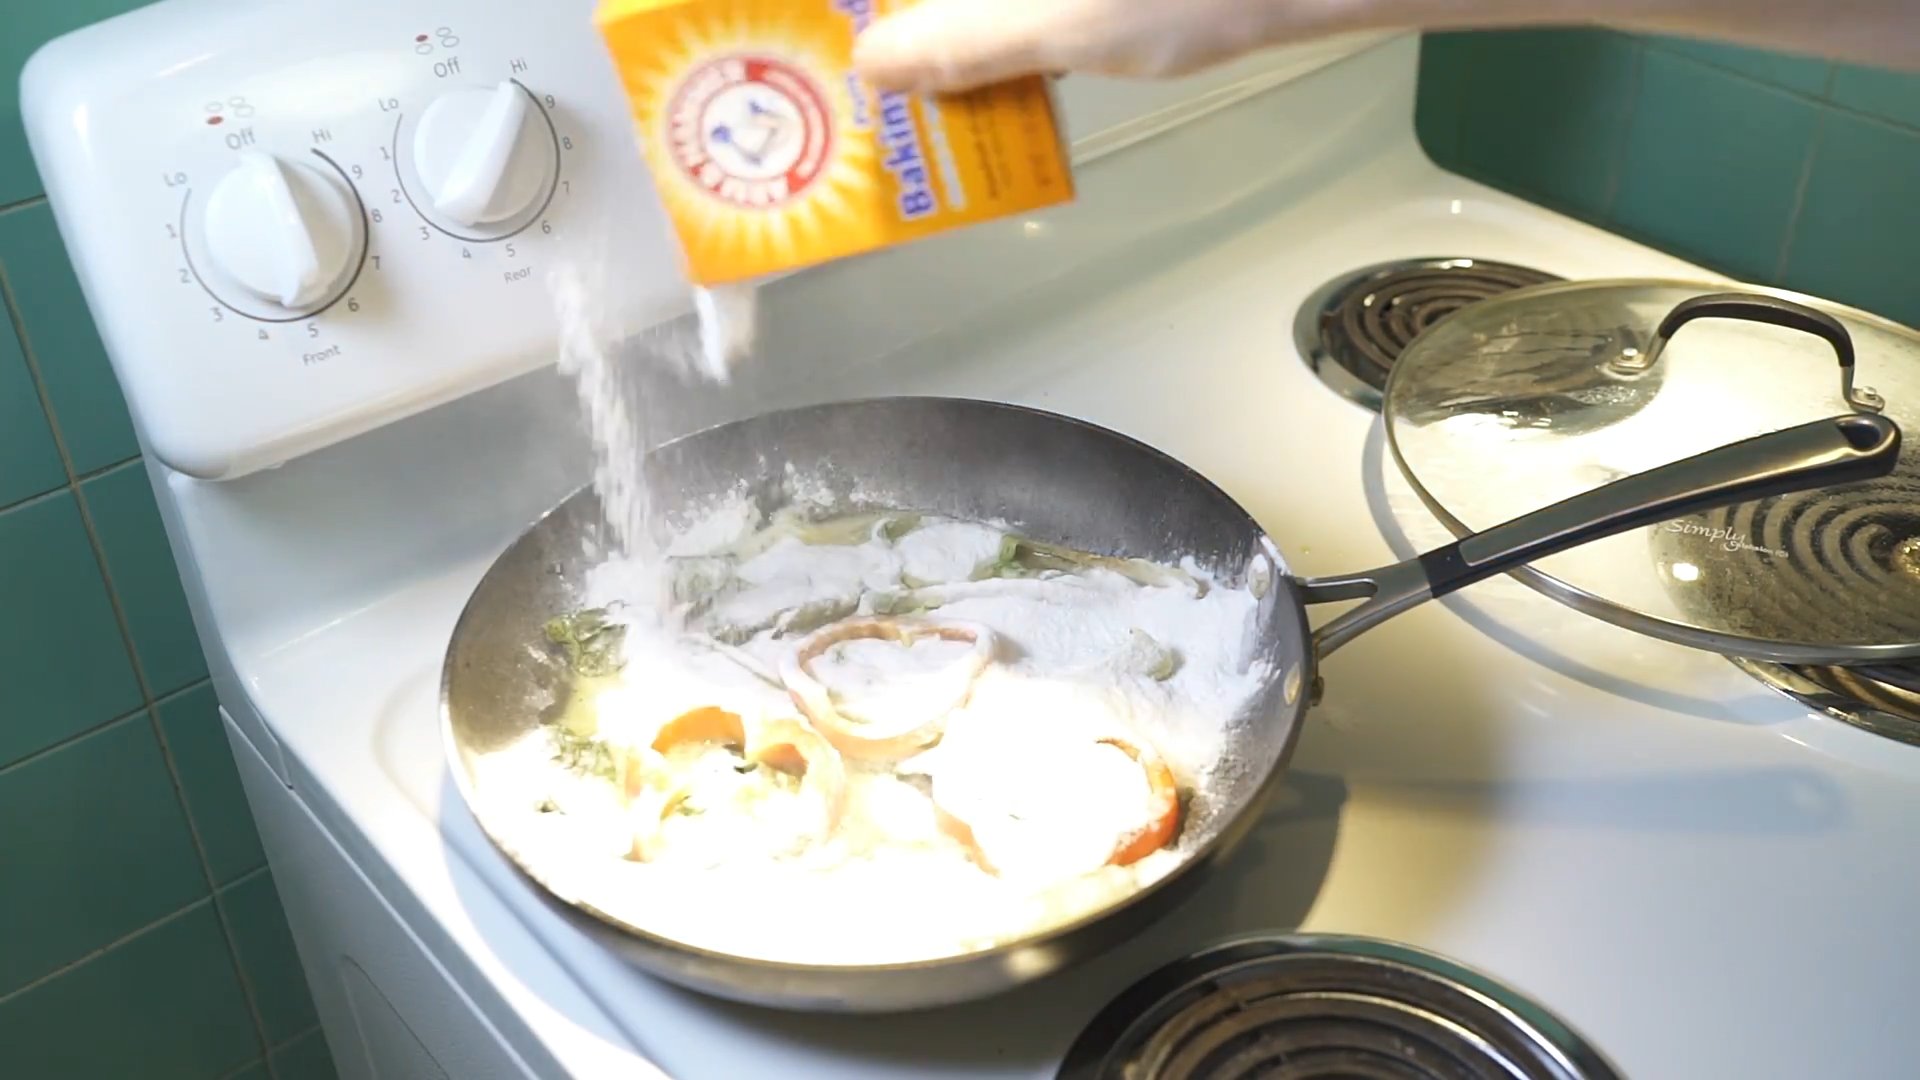
So, there you have it! Unlocking the power of baking soda goes far beyond just baking. From revitalizing your home to enhancing your personal care routine, this simple, inexpensive ingredient is a true multi-tasker. We’ve explored a range of applications, demonstrating how baking soda uses can significantly simplify your daily life and reduce your reliance on harsh chemicals.
The beauty of these DIY tricks lies in their adaptability. Feel free to experiment with the suggested variations to find what works best for you and your specific needs. For instance, if you’re using baking soda as a facial scrub and have sensitive skin, try mixing it with honey or yogurt for added soothing properties. If you’re tackling a particularly stubborn stain, consider creating a paste with a bit of vinegar for extra cleaning power (but always test in an inconspicuous area first!).
Beyond the specific applications we’ve discussed, remember that baking soda is a fantastic deodorizer. Place an open box in your refrigerator, pantry, or even your car to absorb unwanted odors. You can also sprinkle it in your shoes or carpets before vacuuming to freshen them up. The possibilities are truly endless!
We firmly believe that incorporating these baking soda uses into your daily routine will not only save you money but also contribute to a healthier and more sustainable lifestyle. By opting for natural, DIY solutions, you’re reducing your exposure to potentially harmful chemicals and minimizing your environmental impact.
We encourage you to try these DIY tricks and discover the amazing versatility of baking soda for yourself. Don’t be afraid to get creative and experiment with different combinations and applications. And most importantly, we want to hear about your experiences! Share your successes, your challenges, and any unique ways you’ve found to use baking soda in the comments below. Your insights could inspire others to embrace the power of this incredible ingredient and transform their own daily routines. Let’s build a community of baking soda enthusiasts and unlock even more of its hidden potential together! We are confident that once you start exploring these baking soda uses, you’ll wonder how you ever lived without it!
Frequently Asked Questions (FAQs)
What exactly is baking soda, and is it safe to use?
Baking soda, also known as sodium bicarbonate (NaHCO3), is a naturally occurring mineral compound. It’s a mild alkali, which means it can neutralize acids. It is generally considered safe for most people when used as directed. However, it’s important to avoid ingesting large quantities, as it can disrupt electrolyte balance. If you have any underlying health conditions or concerns, it’s always best to consult with your doctor before using baking soda internally. For external use, it’s generally safe, but it’s always a good idea to do a patch test on a small area of skin before applying it more widely, especially if you have sensitive skin.
Can I use baking powder instead of baking soda for these DIY tricks?
No, baking powder and baking soda are not interchangeable. Baking soda is pure sodium bicarbonate, while baking powder contains baking soda plus an acidifying agent (like cream of tartar) and a drying agent. Baking powder is used as a leavening agent in baking, while baking soda requires an acidic ingredient (like vinegar or lemon juice) to activate its leavening properties. Using baking powder instead of baking soda in these DIY tricks will likely not produce the desired results. The chemical reactions are different, and the intended effects will be compromised. Always use baking soda when the recipe or instructions specifically call for it.
How should I store baking soda to keep it fresh and effective?
To maintain the freshness and effectiveness of your baking soda, store it in an airtight container in a cool, dry place. Moisture and air can cause baking soda to clump and lose its potency. A pantry or cupboard away from heat sources is ideal. If you’re using baking soda to absorb odors in your refrigerator or freezer, replace the open box every three months, or sooner if it starts to absorb too many odors. You can then use the old baking soda for cleaning purposes around the house.
Are there any surfaces or materials that I should avoid using baking soda on?
While baking soda is generally safe for most surfaces, there are a few exceptions. Avoid using it on delicate surfaces like gold-plated items, as it can scratch them. It’s also not recommended for use on aluminum, as it can cause discoloration. When cleaning marble or granite countertops, use baking soda sparingly and with caution, as it can dull the finish over time. Always test baking soda on an inconspicuous area first before applying it to a larger surface, especially if you’re unsure about its compatibility.
Can I use baking soda to whiten my teeth? Is it safe for my enamel?
Baking soda can be used as a mild abrasive to help remove surface stains from teeth, leading to a temporary whitening effect. However, it’s important to use it sparingly and gently, as excessive use can erode tooth enamel over time. It’s also important to note that baking soda will not change the natural color of your teeth; it only removes surface stains. If you’re concerned about the health of your enamel, consult with your dentist before using baking soda as a teeth whitener. They can advise you on the best and safest methods for achieving a brighter smile. Consider using it no more than once or twice a week, and always rinse your mouth thoroughly after use.
I tried using baking soda to unclog my drain, but it didn’t work. What else can I try?
Baking soda and vinegar can be an effective natural drain cleaner for minor clogs. However, for more stubborn clogs, you may need to try other methods. First, make sure you’ve followed the instructions correctly: pour a cup of baking soda down the drain, followed by a cup of vinegar. Let it fizz for 30 minutes, then flush with hot water. If this doesn’t work, you can try using a plunger or a drain snake to physically remove the clog. For severe clogs, you may need to call a professional plumber. Avoid using harsh chemical drain cleaners, as they can damage your pipes and are harmful to the environment.
Can baking soda help with heartburn or acid reflux?
Baking soda can provide temporary relief from heartburn or acid reflux by neutralizing stomach acid. However, it’s important to use it sparingly and not as a long-term solution. Mix half a teaspoon of baking soda with a glass of water and drink it slowly. Be aware that baking soda is high in sodium, so it’s not recommended for people on low-sodium diets. Frequent or excessive use of baking soda for heartburn can lead to electrolyte imbalances and other health problems. If you experience frequent heartburn or acid reflux, consult with your doctor to determine the underlying cause and receive appropriate treatment.
Is there a difference between baking soda and washing soda? Can I use them interchangeably?
Yes, there is a significant difference between baking soda (sodium bicarbonate) and washing soda (sodium carbonate). Washing soda is much more alkaline than baking soda and is a stronger cleaning agent. While baking soda is safe for many uses, including some personal care applications, washing soda is primarily used for laundry and heavy-duty cleaning. You should never use washing soda internally or on your skin. Do not use them interchangeably. Always use the specific ingredient called for in the recipe or instructions. Using washing soda instead of baking soda in these DIY tricks could be harmful.


Leave a Comment