
Genius Cleaning Hacks – who doesn’t want them? Let’s be honest, cleaning isn’t exactly anyone’s favorite pastime. It’s often seen as a chore, a necessary evil standing between us and a sparkling, stress-free home. But what if I told you that cleaning could be less of a drag and more of a breeze? What if I shared secrets that transform tedious tasks into quick, satisfying wins?
For centuries, people have sought clever ways to maintain their homes. From ancient Roman bathhouses meticulously scrubbed with natural ingredients to Victorian-era housekeepers armed with elbow grease and homemade solutions, the quest for cleanliness is deeply ingrained in our history. These time-tested methods, often passed down through generations, highlight the enduring human desire for a tidy and healthy living space.
In today’s fast-paced world, time is a precious commodity. We’re all juggling work, family, and personal commitments, leaving little room for hours spent scrubbing and polishing. That’s where these genius cleaning hacks come in! They’re designed to save you time, money, and energy, allowing you to reclaim your weekends and enjoy a cleaner, more comfortable home without the overwhelming effort. I’m excited to share these simple yet effective tricks that will revolutionize your cleaning routine and leave you wondering why you didn’t discover them sooner!
Genius Cleaning Hacks to Make Your Life Easier!
Okay, friends, let’s dive into some seriously game-changing cleaning hacks that will save you time, money, and a whole lot of elbow grease. I’ve tried and tested these myself, and trust me, they work wonders! Get ready to transform your cleaning routine.
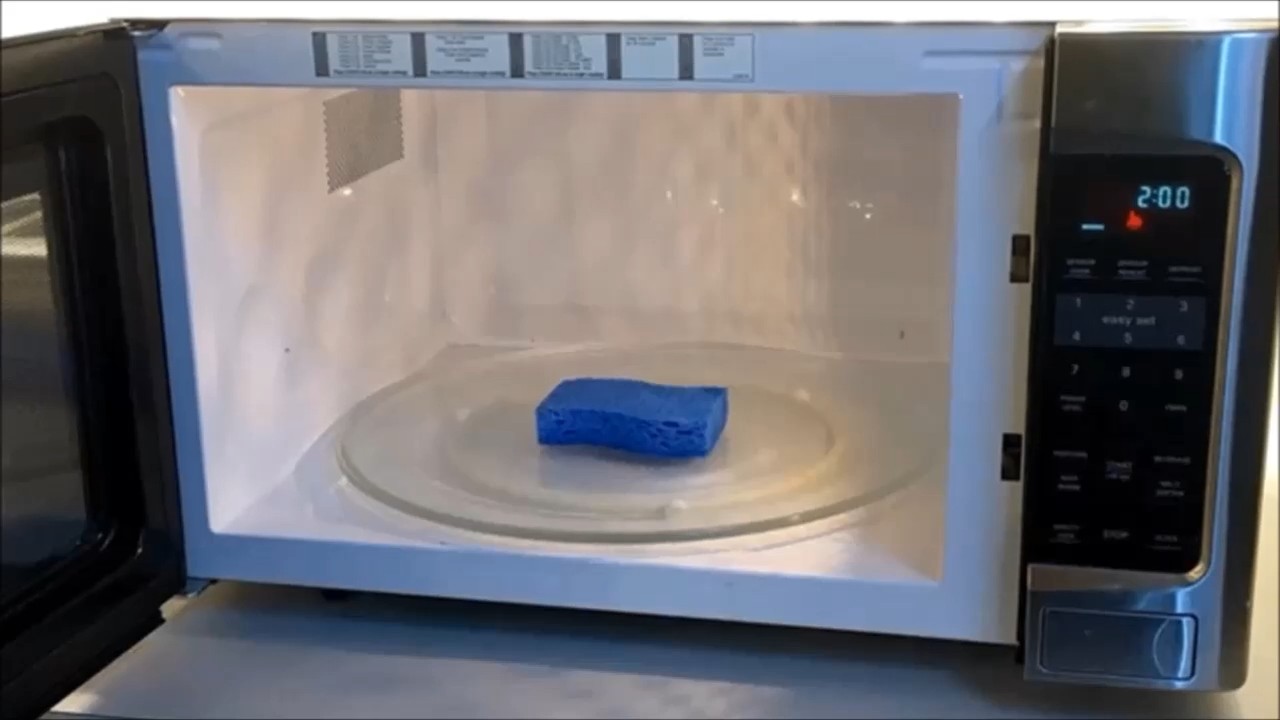
Cleaning Your Microwave Like a Pro
Is your microwave looking like a Jackson Pollock painting gone wrong? Don’t worry, we’ve all been there. This hack uses the power of steam and citrus to loosen up all that baked-on gunk.
What you’ll need:
* A microwave-safe bowl
* 1 cup of water
* 1 lemon or lime, cut in half
* A clean sponge or cloth
Step-by-step instructions:
1. Prep the Citrus Solution: Fill the microwave-safe bowl with 1 cup of water. Squeeze the juice from the lemon or lime halves into the water. Then, drop the squeezed halves into the bowl as well. The citrus oils are key to breaking down the grime.
2. Microwave Magic: Place the bowl in the microwave and heat on high for 3-5 minutes. You want the water to boil and create a good amount of steam. The steam will soften the splatters and food residue.
3. Steam Soak: Once the timer goes off, don’t open the microwave immediately! Let the bowl sit inside for another 5 minutes. This allows the steam to really work its magic.
4. Wipe Away the Mess: Carefully remove the bowl (it will be hot!). Use a clean sponge or cloth to wipe down the inside of the microwave. You’ll be amazed at how easily the grime comes off. For stubborn spots, you might need a little extra elbow grease, but it should be significantly easier than scrubbing without the steam.
5. Final Touches: Remove the turntable and wash it separately with soap and water. Wipe down the exterior of the microwave with a damp cloth.
Unclogging Drains Without Harsh Chemicals
Clogged drains are a major annoyance, and those chemical drain cleaners can be harsh on your pipes and the environment. This natural solution is effective and much gentler.
What you’ll need:
* 1 cup of baking soda
* 2 cups of white vinegar
* Boiling water
Step-by-step instructions:
1. Baking Soda Blast: Pour 1 cup of baking soda down the clogged drain. Try to get as much of it down the drain as possible.
2. Vinegar Volcano: Immediately follow the baking soda with 2 cups of white vinegar. You’ll hear a fizzing sound – that’s the chemical reaction working to break down the clog.
3. Let it Fizz: Let the mixture fizz and bubble for at least 30 minutes, or even better, overnight. This gives the baking soda and vinegar time to dissolve the clog.
4. Boiling Water Flush: After the waiting period, carefully pour a pot of boiling water down the drain. The hot water will help flush away the loosened debris.
5. Repeat if Necessary: If the drain is still clogged, repeat the process. For particularly stubborn clogs, you might need to use a plunger after the boiling water flush.
Cleaning Your Showerhead for Better Water Pressure
A clogged showerhead can significantly reduce water pressure and make your showers less enjoyable. This simple hack will restore your showerhead to its former glory.
What you’ll need:
* A plastic bag (sandwich bag or larger, depending on the size of your showerhead)
* White vinegar
* A rubber band or twist tie
* An old toothbrush or small brush
Step-by-step instructions:
1. Vinegar Bath: Fill the plastic bag with enough white vinegar to completely submerge the showerhead.
2. Secure the Bag: Carefully attach the bag to the showerhead, making sure the showerhead is fully immersed in the vinegar. Use a rubber band or twist tie to secure the bag tightly around the showerhead’s neck.
3. Soak Overnight: Let the showerhead soak in the vinegar overnight (at least 8 hours). This allows the vinegar to dissolve mineral deposits and buildup.
4. Remove and Scrub: Remove the bag and discard the vinegar. Use an old toothbrush or small brush to scrub away any remaining mineral deposits from the showerhead’s nozzles.
5. Flush the Showerhead: Turn on the shower and let the water run for a few minutes to flush out any remaining vinegar and debris.
6. Shine Time: Wipe down the showerhead with a clean cloth to remove any water spots.
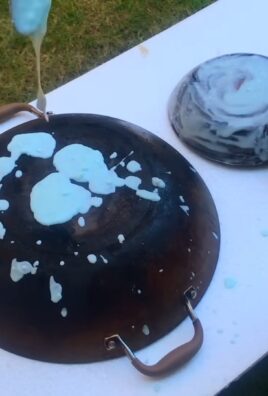
Making Your Stainless Steel Shine
Stainless steel appliances can be beautiful, but they’re also notorious for showing fingerprints and smudges. This simple solution will leave your stainless steel sparkling.
What you’ll need:
* White vinegar
* Olive oil
* Two clean microfiber cloths
Step-by-step instructions:
1. Vinegar Wipe Down: Lightly dampen one of the microfiber cloths with white vinegar. Wipe down the stainless steel appliance in the direction of the grain. This will remove fingerprints, smudges, and water spots.
2. Olive Oil Polish: Pour a small amount of olive oil onto the second clean microfiber cloth. Buff the stainless steel appliance in the direction of the grain. The olive oil will create a protective barrier and leave a beautiful shine.
3. Buff to Perfection: Use a clean, dry portion of the microfiber cloth to buff away any excess olive oil. This will prevent the appliance from feeling greasy.
Cleaning Your Grout Like a Pro
Dirty grout can make your entire bathroom or kitchen look dingy. This powerful cleaning paste will restore your grout to its original color.
What you’ll need:
* Baking soda
* Hydrogen peroxide
* An old toothbrush or grout brush
* Water (optional)
Step-by-step instructions:
1. Create the Paste: In a small bowl, mix baking soda and hydrogen peroxide to form a thick paste. The consistency should be similar to toothpaste. If the paste is too thick, add a small amount of water.
2. Apply the Paste: Apply the paste to the grout lines using your fingers or a small spatula. Make sure to cover all the grout lines thoroughly.
3. Let it Sit: Let the paste sit on the grout for at least 5-10 minutes. For heavily soiled grout, you can let it sit for up to 30 minutes.
4. Scrub Away: Use an old toothbrush or grout brush to scrub the grout lines. Apply firm pressure and scrub in a back-and-forth motion. You’ll see the dirt and grime start to lift away.
5. Rinse and Repeat: Rinse the area with water to remove the paste and loosened dirt. If necessary, repeat the process for stubborn stains.
6. Dry and Admire: Dry the area with a clean cloth. Admire your sparkling clean grout!
Freshening Up Your Mattress
Your mattress can accumulate dust mites, dead skin cells, and odors over time. This simple freshening-up routine will keep your mattress clean and comfortable.
What you’ll need:
* Baking soda
* Essential oil (optional, such as lavender or eucalyptus)
* A vacuum cleaner with a hose attachment
* A sieve or shaker
Step-by-step instructions:
1. Strip the Bed: Remove all bedding, including sheets, blankets, and pillows. Wash the bedding according to the care instructions.
2. Baking Soda Sprinkle: In a bowl, mix baking soda with a few drops of your favorite essential oil (optional). The essential oil will add a pleasant scent to your mattress.
3. Even Distribution: Use a sieve or shaker to evenly distribute the baking soda mixture over the entire surface of the mattress.
4. Let it Absorb: Let the baking soda sit on the mattress for at least 30 minutes, or even better, for several hours. The baking soda will absorb odors and moisture.
5. Vacuum Thoroughly: Use a vacuum cleaner with a hose attachment to thoroughly vacuum the entire surface of the mattress. Make sure to get into all the crevices and corners.
6. Flip and Repeat: Flip the mattress over and repeat the process on the other side.
7. Fresh Bedding: Put on fresh, clean bedding. Enjoy your freshly cleaned and refreshed mattress!
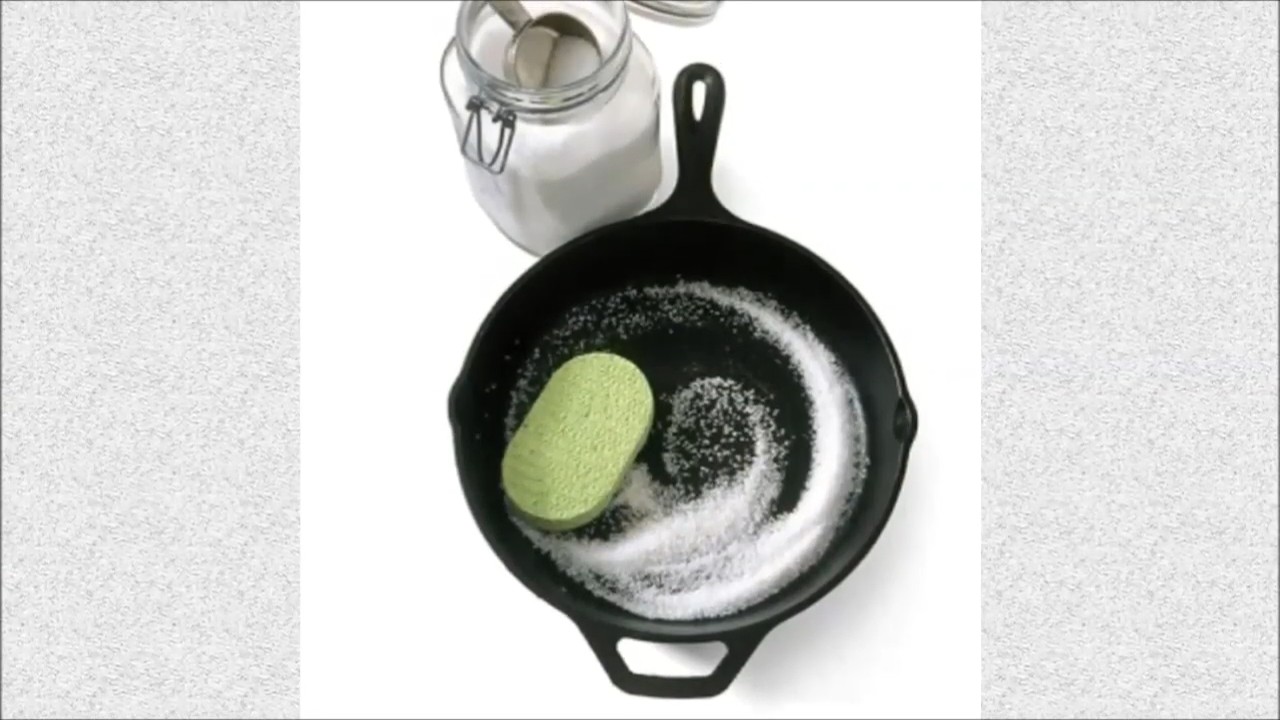
Cleaning Burnt Food from Pots and Pans
Burnt food stuck to the bottom of your pots and pans? Don’t throw them away! This simple trick can save your cookware.
What you’ll need:
* Water
* Baking soda
* Dish soap
* A scouring pad or sponge
Step-by-step instructions:
1. Soak the
Conclusion
So, there you have it! This genius cleaning hack isn’t just another chore on your to-do list; it’s a game-changer that will revolutionize how you approach cleaning. We’ve shown you how simple it is to transform everyday items into powerful cleaning agents, saving you money and reducing your reliance on harsh chemicals. The beauty of this method lies in its versatility and adaptability.
Think about it: no more running to the store for specialized cleaners. No more deciphering complicated ingredient lists. With this DIY approach, you’re in control, creating customized solutions tailored to your specific needs and preferences.
But the benefits extend beyond mere convenience. By embracing this cleaning hack, you’re also making a conscious choice to be more environmentally friendly. You’re reducing plastic waste, minimizing your exposure to potentially harmful chemicals, and contributing to a healthier home and planet. It’s a win-win situation!
This is more than just a cleaning tip; it’s a lifestyle shift. It’s about empowering yourself to take control of your cleaning routine and create a space that is both sparkling clean and safe for you and your loved ones.
Feeling adventurous? Consider these variations:
* **For a citrus boost:** Add a few drops of your favorite citrus essential oil, like lemon or orange, to your cleaning solution for an extra burst of freshness and added cleaning power. Citrus oils are known for their degreasing and disinfecting properties.
* **For stubborn stains:** Pre-treat stubborn stains with a paste made from baking soda and water before applying your DIY cleaner. Let the paste sit for a few minutes before wiping it away.
* **For a deeper clean:** For heavily soiled areas, allow the cleaning solution to sit for a longer period of time before wiping it away. This will give the ingredients more time to penetrate and break down dirt and grime.
* **Infuse with Herbs:** Add fresh herbs like rosemary or thyme to your cleaning solution for a natural fragrance and potential antibacterial benefits. Simply steep the herbs in hot water for a few minutes before adding the water to your cleaning mixture.
We are confident that once you try this genius cleaning hack, you’ll be amazed by the results. It’s effective, affordable, and environmentally friendly – what more could you ask for?
Don’t just take our word for it, though. We encourage you to give it a try and see for yourself the difference it can make in your home. Share your experiences with us in the comments below! We’d love to hear your tips, variations, and success stories. Let’s build a community of savvy cleaners who are passionate about creating healthy and happy homes.
So, grab your supplies, put on your cleaning gloves, and get ready to experience the magic of this genius cleaning hack. You won’t be disappointed!
Frequently Asked Questions
Here are some frequently asked questions to help you get the most out of this genius cleaning hack:
What surfaces can I use this DIY cleaner on?
This DIY cleaner is generally safe for use on a wide variety of surfaces, including countertops, sinks, toilets, showers, floors, and appliances. However, it’s always a good idea to test it on an inconspicuous area first, especially on delicate surfaces like wood or natural stone. Avoid using it on surfaces that are sensitive to acidity, such as marble or granite, unless you dilute the solution significantly. When in doubt, consult the manufacturer’s instructions for your specific surface.
How long will the DIY cleaning solution last?
The shelf life of your DIY cleaning solution will depend on the ingredients you use. Solutions made with fresh ingredients, such as citrus peels or herbs, will typically last for a shorter period of time than those made with shelf-stable ingredients like vinegar or baking soda. As a general rule, it’s best to use your DIY cleaning solution within one to two weeks. Store it in a cool, dark place to prolong its shelf life. If you notice any changes in color, odor, or consistency, discard the solution and make a fresh batch.
Can I use essential oils other than lemon or orange?
Absolutely! Feel free to experiment with different essential oils to find your favorite scent and cleaning properties. Lavender, tea tree, eucalyptus, and peppermint are all popular choices for cleaning. Lavender has a calming scent and antibacterial properties, tea tree is a powerful disinfectant, eucalyptus is great for cutting through grease, and peppermint has a refreshing aroma. Just be sure to use pure, therapeutic-grade essential oils for the best results. Also, be mindful of potential allergies or sensitivities when choosing essential oils.
Is this DIY cleaner safe for pets and children?
While this DIY cleaner is generally safer than many commercial cleaning products, it’s still important to take precautions when using it around pets and children. Keep the solution out of their reach and avoid spraying it directly on them. If your pet or child accidentally ingests the cleaner, contact your veterinarian or poison control center immediately. Always supervise children when they are helping with cleaning tasks. Consider using milder ingredients, such as diluted vinegar or baking soda, if you have concerns about safety.
How do I get rid of lingering odors after cleaning?
If you’re concerned about lingering odors after cleaning, there are several things you can do. First, make sure to ventilate the area well by opening windows and doors. You can also place a bowl of baking soda in the room to absorb odors. Another option is to simmer a pot of water with citrus peels or spices like cinnamon and cloves to create a natural air freshener. For persistent odors, consider using an enzymatic cleaner, which breaks down the source of the odor.
What if the DIY cleaner doesn’t remove a stain completely?
Some stains are more stubborn than others and may require additional treatment. For grease stains, try applying a paste of baking soda and water to the stain and letting it sit for a few minutes before wiping it away. For water stains, try rubbing the area with a cut lemon or a mixture of vinegar and water. For ink stains, try blotting the stain with rubbing alcohol. Always test any stain removal method on an inconspicuous area first to ensure that it doesn’t damage the surface.
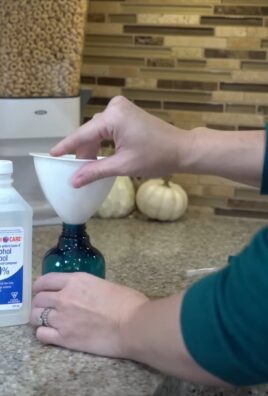
Can I use this DIY cleaner in a spray bottle?
Yes, this DIY cleaner can be easily used in a spray bottle. Make sure to use a clean, empty spray bottle that has not been used for any other cleaning products. Label the bottle clearly with the contents to avoid confusion. When spraying the cleaner, hold the bottle a few inches away from the surface and spray evenly. Wipe the surface clean with a damp cloth or sponge.
How often should I use this DIY cleaner?
The frequency of use will depend on your cleaning needs and habits. For general cleaning, you can use this DIY cleaner as often as you would use any other cleaning product. For heavily soiled areas, you may need to use it more frequently. Pay attention to the condition of your surfaces and adjust your cleaning schedule accordingly. Regular cleaning with this DIY cleaner can help prevent the buildup of dirt and grime, making your cleaning tasks easier in the long run.
What are the benefits of using a DIY cleaner over commercial cleaners?
There are many benefits to using a DIY cleaner over commercial cleaners. DIY cleaners are typically more affordable, environmentally friendly, and safer for your health. They allow you to control the ingredients and avoid harsh chemicals, fragrances, and dyes that can be found in commercial cleaners. DIY cleaners can also be customized to meet your specific cleaning needs and preferences. By making your own cleaning products, you can reduce your reliance on plastic packaging and contribute to a more sustainable lifestyle.
Leave a Comment