
Grow Cape Gooseberry at Home? Absolutely! Imagine plucking sweet, tangy bursts of sunshine right from your own backyard. That’s the magic of growing Cape Gooseberries, also known as golden berries or physalis, and I’m here to show you how surprisingly easy it is. For centuries, these little golden gems have been enjoyed around the world, from their origins in South America to becoming a beloved treat in European gardens.
But why should you bother with this DIY project? Well, store-bought Cape Gooseberries can be expensive and sometimes hard to find. Plus, nothing beats the flavor of a freshly picked, sun-ripened fruit. I’ve found that growing them myself not only saves money but also provides a rewarding connection to nature.
This article is packed with simple, effective tricks and hacks that will guide you through every step, from seed to harvest. Whether you’re a seasoned gardener or a complete beginner, I’ll share my personal experiences and proven techniques to help you successfully grow Cape Gooseberry at Home. Get ready to transform your garden into a golden berry paradise!
Growing Cape Gooseberries: A DIY Guide to Golden Goodness
Hey there, fellow gardening enthusiasts! Ever wanted to grow your own little bursts of sunshine? I’m talking about Cape Gooseberries, also known as Golden Berries or Physalis peruviana. These tangy-sweet fruits, encased in their papery lanterns, are not only delicious but also surprisingly easy to cultivate at home. I’m going to walk you through everything you need to know to get started, from seed to harvest. Let’s get our hands dirty!
Choosing Your Growing Method: Seeds vs. Seedlings
Before we dive into the nitty-gritty, let’s decide how you want to start your Cape Gooseberry journey. You have two main options:
* Starting from Seeds: This is the more economical option, and it gives you a wider variety of cultivars to choose from. However, it requires a bit more patience and attention, as you’ll need to germinate the seeds and nurture the seedlings.
* Buying Seedlings: If you’re short on time or just want a head start, buying established seedlings from a nursery is a great option. Just make sure to choose healthy-looking plants with vibrant green leaves.
I personally prefer starting from seeds because I love the whole process of watching them sprout and grow. But either way works!
Section 1: Starting from Seeds (My Preferred Method!)
If you’re like me and love the satisfaction of growing from seed, here’s how to do it:
What You’ll Need:
* Cape Gooseberry seeds (easily found online or at garden centers)
* Seed starting trays or small pots
* Seed starting mix (a light, well-draining soil mix)
* Spray bottle with water
* Clear plastic wrap or a humidity dome
* Warm, sunny location or grow lights
Step-by-Step Instructions:
1. Sowing the Seeds: Fill your seed starting trays or pots with the seed starting mix. Gently press the soil down to create a level surface. Sprinkle the Cape Gooseberry seeds evenly over the soil. They are tiny, so don’t overcrowd them. I usually aim for about 2-3 seeds per cell or pot.
2. Covering the Seeds: Lightly cover the seeds with a thin layer of seed starting mix. You don’t want to bury them too deep, as they need light to germinate. A very light dusting is perfect.
3. Watering: Gently mist the soil with water using a spray bottle. You want to moisten the soil without disturbing the seeds. Avoid pouring water directly onto the seeds, as this can wash them away.
4. Creating a Humid Environment: Cover the seed starting trays or pots with clear plastic wrap or a humidity dome. This will help to create a warm, humid environment that is ideal for germination.
5. Providing Warmth and Light: Place the seed starting trays or pots in a warm, sunny location or under grow lights. Cape Gooseberry seeds need warmth to germinate, ideally between 70-80°F (21-27°C). If you’re using grow lights, keep them on for about 14-16 hours per day.
6. Monitoring and Watering: Check the soil moisture daily. Keep the soil consistently moist, but not soggy. Mist with water as needed. Remove the plastic wrap or humidity dome for a few hours each day to allow for air circulation and prevent fungal growth.
7. Germination: Cape Gooseberry seeds typically germinate within 1-3 weeks. Be patient! Once the seedlings emerge, remove the plastic wrap or humidity dome completely.
8. Thinning the Seedlings: Once the seedlings have developed their first true leaves (the second set of leaves that appear after the initial seed leaves), thin them out to one seedling per cell or pot. Choose the strongest, healthiest-looking seedling and gently snip off the others at the soil line.
9. Hardening Off: Before transplanting the seedlings outdoors, you’ll need to harden them off. This process gradually acclimates the seedlings to outdoor conditions. Start by placing the seedlings outdoors in a sheltered location for a few hours each day, gradually increasing the amount of time they spend outdoors over the course of a week or two. Protect them from direct sunlight and strong winds during this process.
Section 2: Transplanting Your Cape Gooseberry Plants
Whether you started from seed or bought seedlings, transplanting is a crucial step.
What You’ll Need:
* Your Cape Gooseberry seedlings or purchased plants
* Garden gloves
* Trowel or small shovel
* Well-draining soil (amend with compost for added nutrients)
* Watering can or hose
* Optional: Stakes or cages for support
Step-by-Step Instructions:
1. Choosing the Right Location: Cape Gooseberries thrive in full sun, meaning at least 6-8 hours of direct sunlight per day. They also need well-draining soil. Avoid planting them in areas where water tends to pool.
2. Preparing the Soil: Before transplanting, prepare the soil by loosening it with a trowel or small shovel. Amend the soil with compost or other organic matter to improve drainage and fertility.
3. Digging the Holes: Dig holes that are slightly larger than the root balls of your seedlings or plants. Space the holes about 2-3 feet apart to allow for adequate growth.
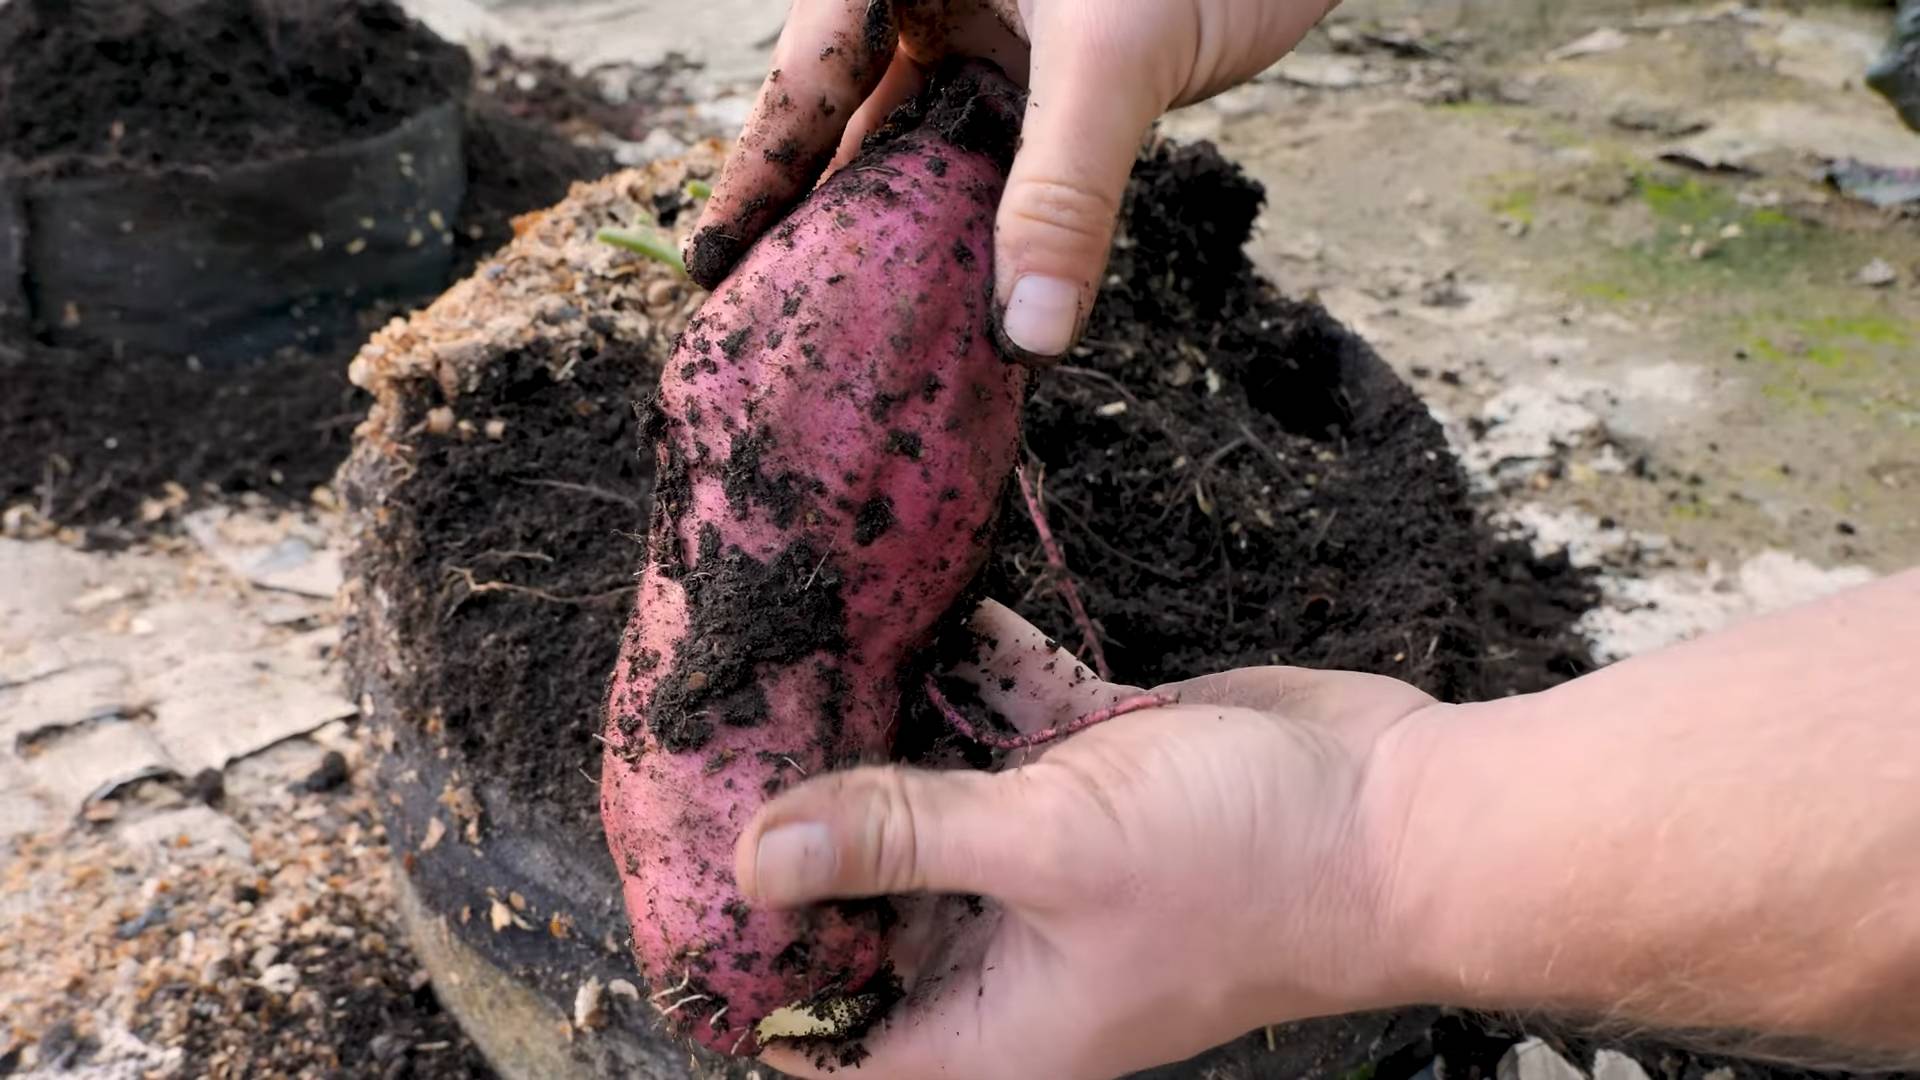
4. Removing the Plants from Their Containers: Gently remove the seedlings or plants from their containers. If the roots are tightly bound, gently loosen them with your fingers.
5. Planting the Plants: Place the plants in the holes, making sure that the top of the root ball is level with the surrounding soil. Backfill the holes with soil, gently firming it around the plants.
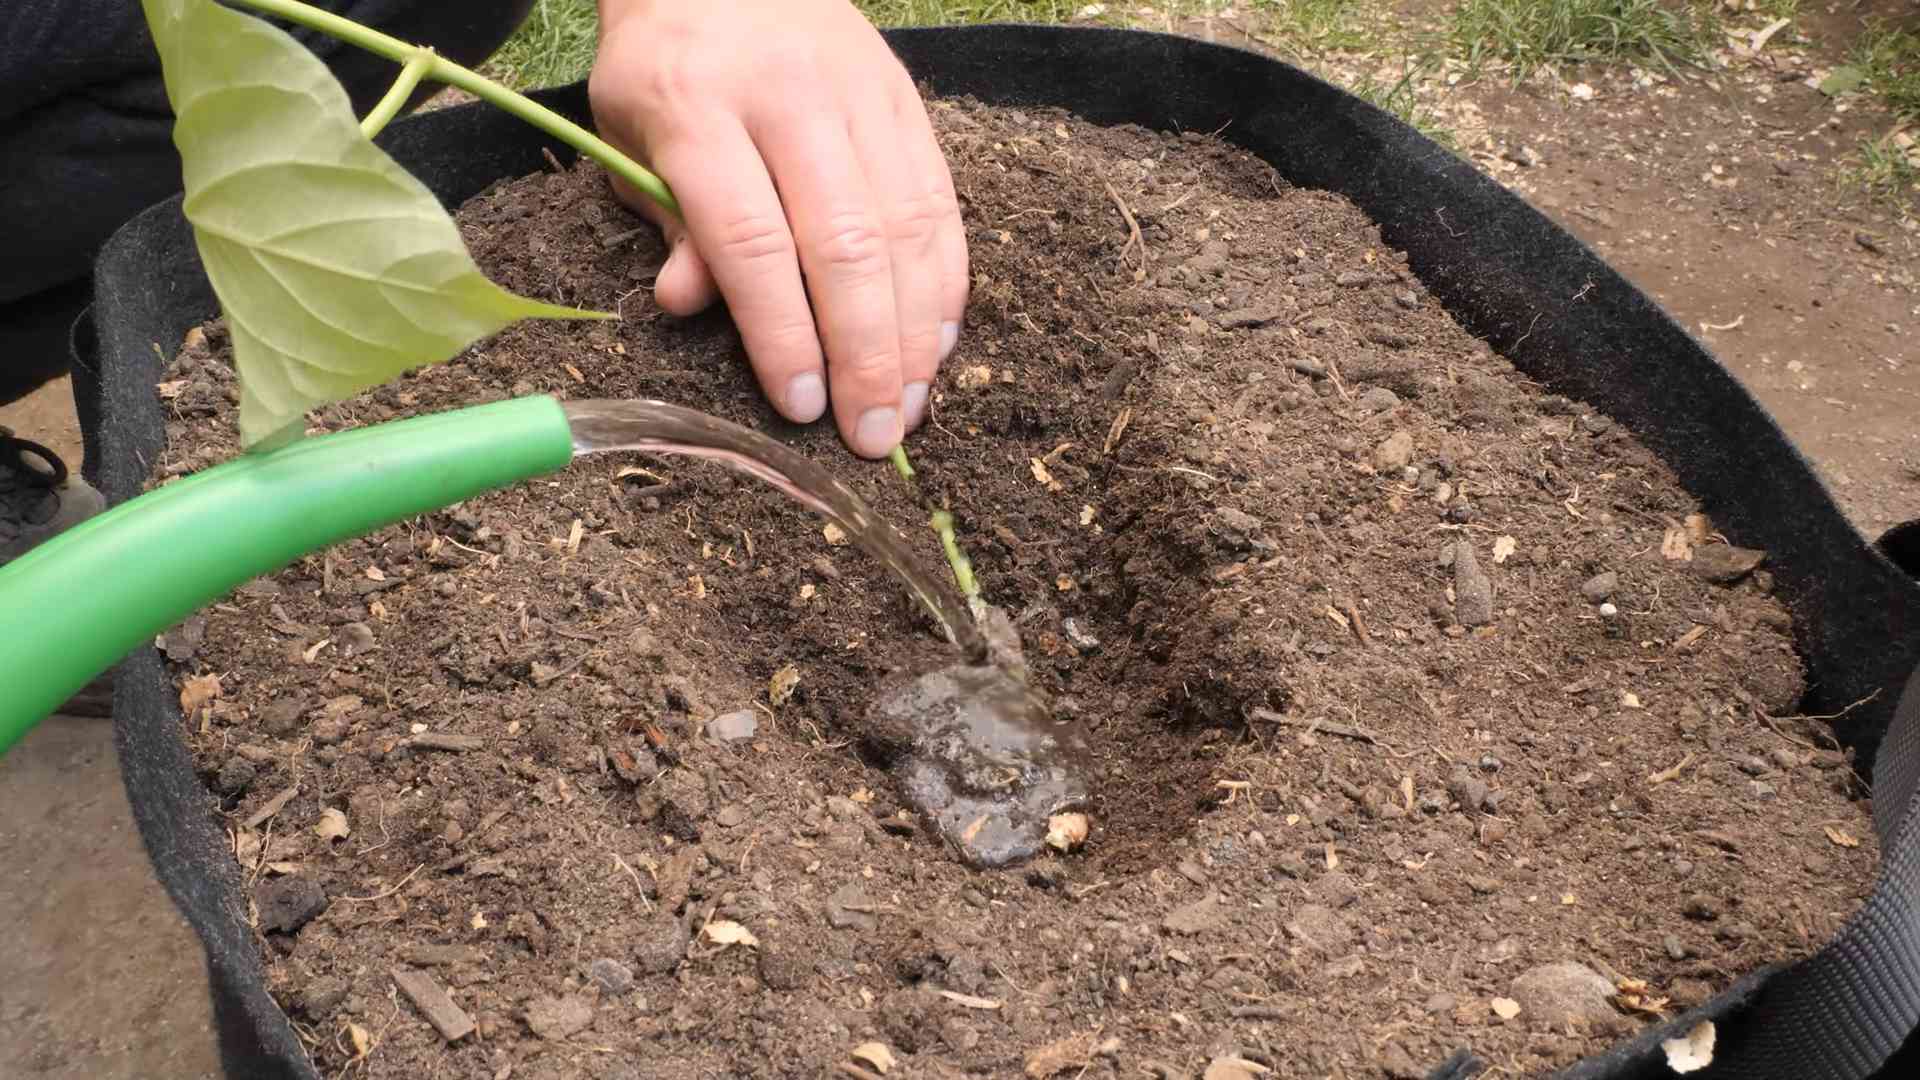
6. Watering Thoroughly: Water the plants thoroughly after transplanting. This will help to settle the soil and encourage root growth.
7. Adding Support (Optional): Cape Gooseberry plants can become quite bushy and may need support, especially when they are laden with fruit. You can use stakes or cages to provide support and prevent the plants from falling over. I find this especially helpful in windy areas.
Section 3: Caring for Your Cape Gooseberry Plants
Now that your plants are in the ground, it’s time to provide them with the care they need to thrive.
What You’ll Need:
* Watering can or hose
* Fertilizer (organic or balanced)
* Garden gloves
* Pruning shears (optional)
* Mulch (optional)
Step-by-Step Instructions:
1. Watering: Water your Cape Gooseberry plants regularly, especially during dry periods. Aim to keep the soil consistently moist, but not soggy. Water deeply and less frequently, rather than shallowly and often. I usually water deeply once or twice a week, depending on the weather.
2. Fertilizing: Fertilize your Cape Gooseberry plants every few weeks with a balanced fertilizer or an organic fertilizer such as compost tea or fish emulsion. Follow the instructions on the fertilizer label. Avoid over-fertilizing, as this can lead to excessive vegetative growth and reduced fruit production.
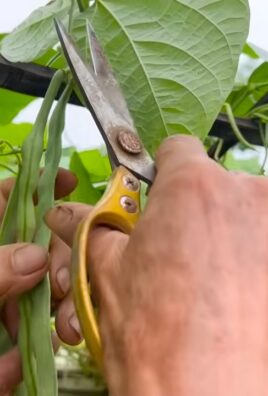
3. Pruning (Optional): Pruning is not essential for Cape Gooseberries, but it can help to improve air circulation and light penetration, which can lead to increased fruit production. If you choose to prune, remove any dead, damaged, or crossing branches. You can also prune the plants to maintain a desired shape and size. I usually do a light pruning in late winter or early spring.
4. Mulching (Optional): Mulching around your Cape Gooseberry plants can help to retain moisture, suppress weeds, and regulate soil temperature. Use organic mulch such as straw, wood chips, or shredded leaves.
5. Pest and Disease Control: Cape Gooseberries are generally resistant to pests and diseases, but they can occasionally be affected by aphids, whiteflies, or fungal diseases. Monitor your plants regularly for signs of pests or diseases. If you notice any problems, treat them promptly with an appropriate insecticide or fungicide. I prefer to use organic pest control methods whenever possible.
Section 4: Harvesting Your Golden Bounty
The most rewarding part of growing Cape Gooseberries is, of course, harvesting the delicious fruit!
What You’ll Need:
* Your ripe Cape Gooseberries
* Basket or container
Step-by-Step Instructions:
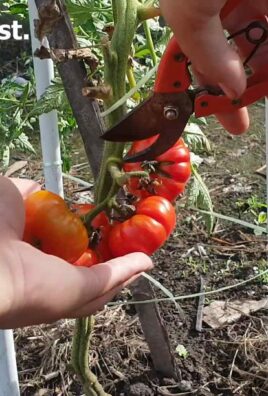
1. Knowing When to Harvest: Cape Gooseberries are ready to harvest when the papery husks turn brown and dry, and the fruit inside turns a golden-yellow color. The husks will often drop to the ground when the fruit is ripe.
2. Harvesting the Fruit: Gently pluck the ripe Cape Gooseberries from the plants. You can also shake the plants to dislodge any ripe fruit that is ready to fall.
3. Storing the Fruit: Cape Gooseberries can be stored in their husks at room temperature for several weeks. For longer storage, you can refriger
Conclusion
So, there you have it! Growing Cape Gooseberries at home is not only achievable, but it’s also a deeply rewarding experience. Forget relying solely on expensive, often underwhelming, store-bought options. With a little patience and the right approach, you can cultivate your own supply of these delightful golden berries, bursting with tangy-sweet flavor, right in your backyard or even on your balcony.
Why is this DIY trick a must-try? Because it puts you in control. You know exactly what goes into your plants – no mystery pesticides or questionable growing practices. You get the satisfaction of nurturing something from seed to fruit, and the unparalleled freshness of harvesting your own produce. Plus, let’s be honest, there’s a certain bragging right that comes with serving homemade Cape Gooseberry jam or adding freshly picked berries to your summer salads.
But the benefits extend beyond just taste and bragging rights. Growing your own Cape Gooseberries is a sustainable choice, reducing your carbon footprint by minimizing transportation and packaging. It’s also a fantastic way to connect with nature, learn about plant life cycles, and even get some gentle exercise in the process.
Ready to take your Cape Gooseberry cultivation to the next level? Consider these variations and suggestions:
* Vertical Gardening: If space is limited, explore vertical gardening techniques. Cape Gooseberries can thrive in hanging baskets or stacked planters, adding a touch of greenery and deliciousness to even the smallest spaces.
* Companion Planting: Enhance your Cape Gooseberry patch by incorporating companion plants like basil or marigolds. These can help deter pests and attract beneficial insects, creating a healthier and more productive growing environment.
* Different Varieties: While the common Cape Gooseberry (Physalis peruviana) is a great starting point, explore other varieties like ‘Goldie’ or ‘Giant’ for different flavor profiles and fruit sizes.
* Preserving Your Harvest: Don’t let your bounty go to waste! Experiment with making Cape Gooseberry jam, chutney, or even drying the berries for a sweet and chewy snack.
* Seed Saving: Save seeds from your best-performing plants to ensure a continuous supply of high-quality Cape Gooseberries year after year.
Ultimately, the best way to discover the joys of growing Cape Gooseberries at home is to simply dive in and give it a try. Don’t be afraid to experiment, learn from your mistakes, and adapt your approach based on your local climate and growing conditions.
We’re confident that you’ll find the experience incredibly rewarding. So, grab some seeds or seedlings, prepare your soil, and get ready to enjoy the delicious fruits of your labor. And most importantly, we want to hear about your journey! Share your experiences, tips, and photos with us in the comments below. Let’s build a community of passionate Cape Gooseberry growers and inspire others to embrace the joys of homegrown goodness. We can’t wait to see what you create!
Frequently Asked Questions (FAQ)
What is the best time to start growing Cape Gooseberries?
The best time to start growing Cape Gooseberries depends on your climate. In warmer regions with mild winters, you can start seeds indoors as early as late winter or early spring. In colder climates, it’s best to wait until after the last frost to transplant seedlings outdoors. Starting seeds indoors 6-8 weeks before the last expected frost is generally a good rule of thumb. This gives the seedlings a head start and allows them to establish themselves before the warmer weather arrives.
How much sunlight do Cape Gooseberries need?
Cape Gooseberries thrive in full sun, requiring at least 6-8 hours of direct sunlight per day. While they can tolerate some partial shade, especially in hotter climates, insufficient sunlight can lead to leggy growth, reduced fruit production, and smaller, less flavorful berries. Choose a location in your garden that receives ample sunlight throughout the day to ensure optimal growth and fruit development.
What type of soil is best for growing Cape Gooseberries?
Cape Gooseberries prefer well-draining soil that is rich in organic matter. A slightly acidic to neutral soil pH (around 6.0 to 7.0) is ideal. Before planting, amend your soil with compost, well-rotted manure, or other organic materials to improve drainage, fertility, and water retention. Avoid heavy clay soils, as they can become waterlogged and hinder root growth. If you have clay soil, consider growing your Cape Gooseberries in raised beds or containers with a well-draining potting mix.
How often should I water my Cape Gooseberry plants?
Water your Cape Gooseberry plants regularly, especially during dry periods. The soil should be kept consistently moist but not waterlogged. Water deeply whenever the top inch of soil feels dry to the touch. Avoid overhead watering, as this can increase the risk of fungal diseases. Instead, water at the base of the plant, using a soaker hose or drip irrigation system. During hot weather, you may need to water more frequently.
Do Cape Gooseberries need fertilizer?
Cape Gooseberries benefit from regular fertilization, especially during the growing season. Use a balanced fertilizer with equal amounts of nitrogen, phosphorus, and potassium (e.g., 10-10-10) or a fertilizer specifically formulated for tomatoes or other fruiting plants. Apply fertilizer according to the package instructions, typically every 4-6 weeks. Avoid over-fertilizing, as this can lead to excessive vegetative growth at the expense of fruit production.
How do I protect my Cape Gooseberry plants from pests and diseases?
Cape Gooseberries are generally relatively pest and disease-resistant, but they can be susceptible to certain problems. Common pests include aphids, whiteflies, and spider mites. Control these pests with insecticidal soap, neem oil, or by introducing beneficial insects like ladybugs. Fungal diseases like powdery mildew and leaf spot can also affect Cape Gooseberries, especially in humid conditions. Prevent these diseases by ensuring good air circulation, avoiding overhead watering, and applying a fungicide if necessary.
When are Cape Gooseberries ripe and ready to harvest?
Cape Gooseberries are ripe when the papery husk surrounding the fruit turns from green to a light tan or brown and the fruit inside is a golden yellow or orange color. The husk will also become dry and papery. The ripe fruits will often drop from the plant, making harvesting easy. Gently squeeze the husk to check if the fruit is soft and plump. If it is, it’s ready to be picked.
How do I store Cape Gooseberries?
Cape Gooseberries can be stored in their husks at room temperature for several weeks. For longer storage, refrigerate them in their husks in a plastic bag or container. They can also be frozen for several months. To freeze, spread the berries in a single layer on a baking sheet and freeze until solid. Then, transfer them to a freezer bag or container.
Can I grow Cape Gooseberries in containers?
Yes, Cape Gooseberries are well-suited for container gardening. Choose a large container (at least 12 inches in diameter) with drainage holes. Use a well-draining potting mix and provide regular watering and fertilization. Container-grown Cape Gooseberries may require more frequent watering than those grown in the ground, especially during hot weather.
Are Cape Gooseberries related to tomatoes?
Yes, Cape Gooseberries are members of the nightshade family (Solanaceae), which also includes tomatoes, peppers, eggplants, and potatoes. This means they share similar growing requirements and can be susceptible to some of the same pests and diseases. However, Cape Gooseberries are generally more tolerant of cooler temperatures and less demanding than tomatoes.
Leave a Comment