
Grow Celery at Home? Absolutely! Imagine stepping into your garden and snipping fresh, crisp celery stalks whenever you need them. No more limp, store-bought celery that’s been sitting in the fridge for days! This isn’t just a dream; it’s a deliciously achievable reality with a few simple DIY tricks.
Celery, with its refreshing crunch, has been enjoyed for centuries. Originating in the Mediterranean, it was initially valued for its medicinal properties before becoming a culinary staple. From ancient Roman feasts to modern-day crudités platters, celery has consistently held a place at the table. But why rely on grocery stores when you can cultivate your own supply?
Let’s face it, buying celery can be frustrating. You often end up with more than you need, and it wilts quickly. Plus, there’s the satisfaction of nurturing something from seed to harvest! That’s where these DIY home gardening tricks come in. I’m going to share some easy-to-follow methods that will empower you to grow celery at home, even if you have limited space or gardening experience. Get ready to enjoy the freshest, most flavorful celery you’ve ever tasted, all thanks to your own green thumb!
Grow Your Own Celery: A Beginner’s Guide
Hey there, fellow gardening enthusiasts! Ever thought about growing your own celery? It’s surprisingly easy and rewarding, and nothing beats the fresh, crisp taste of homegrown celery. I’m going to walk you through the whole process, from starting seeds to harvesting your crunchy stalks. Let’s get started!
Choosing Your Celery Variety
First things first, let’s talk celery varieties. There are a few popular choices, each with its own characteristics:
* ‘Utah Improved’: This is a classic, reliable variety known for its tall, crisp stalks and good flavor. It’s a great choice for beginners.
* ‘Golden Self-Blanching’: This variety is unique because it naturally blanches (turns pale yellow) as it grows, resulting in a milder flavor. It’s a bit more challenging to grow than ‘Utah Improved’, but the unique flavor is worth it for some.
* ‘Giant Red’: If you’re looking for something a little different, try ‘Giant Red’. It has beautiful reddish-purple stalks and a slightly stronger flavor.
I personally recommend starting with ‘Utah Improved’ if you’re new to growing celery. It’s the most forgiving and easiest to find.
Starting Celery Seeds Indoors
Celery seeds are tiny and need a head start indoors, especially if you live in a cooler climate. I usually start mine about 10-12 weeks before the last expected frost.
1. Gather Your Supplies: You’ll need:
* Celery seeds
* Seed starting trays or small pots
* Seed starting mix (a fine, sterile soil mix)
* Spray bottle filled with water
* Heat mat (optional, but helpful)
* Grow lights (optional, but recommended)
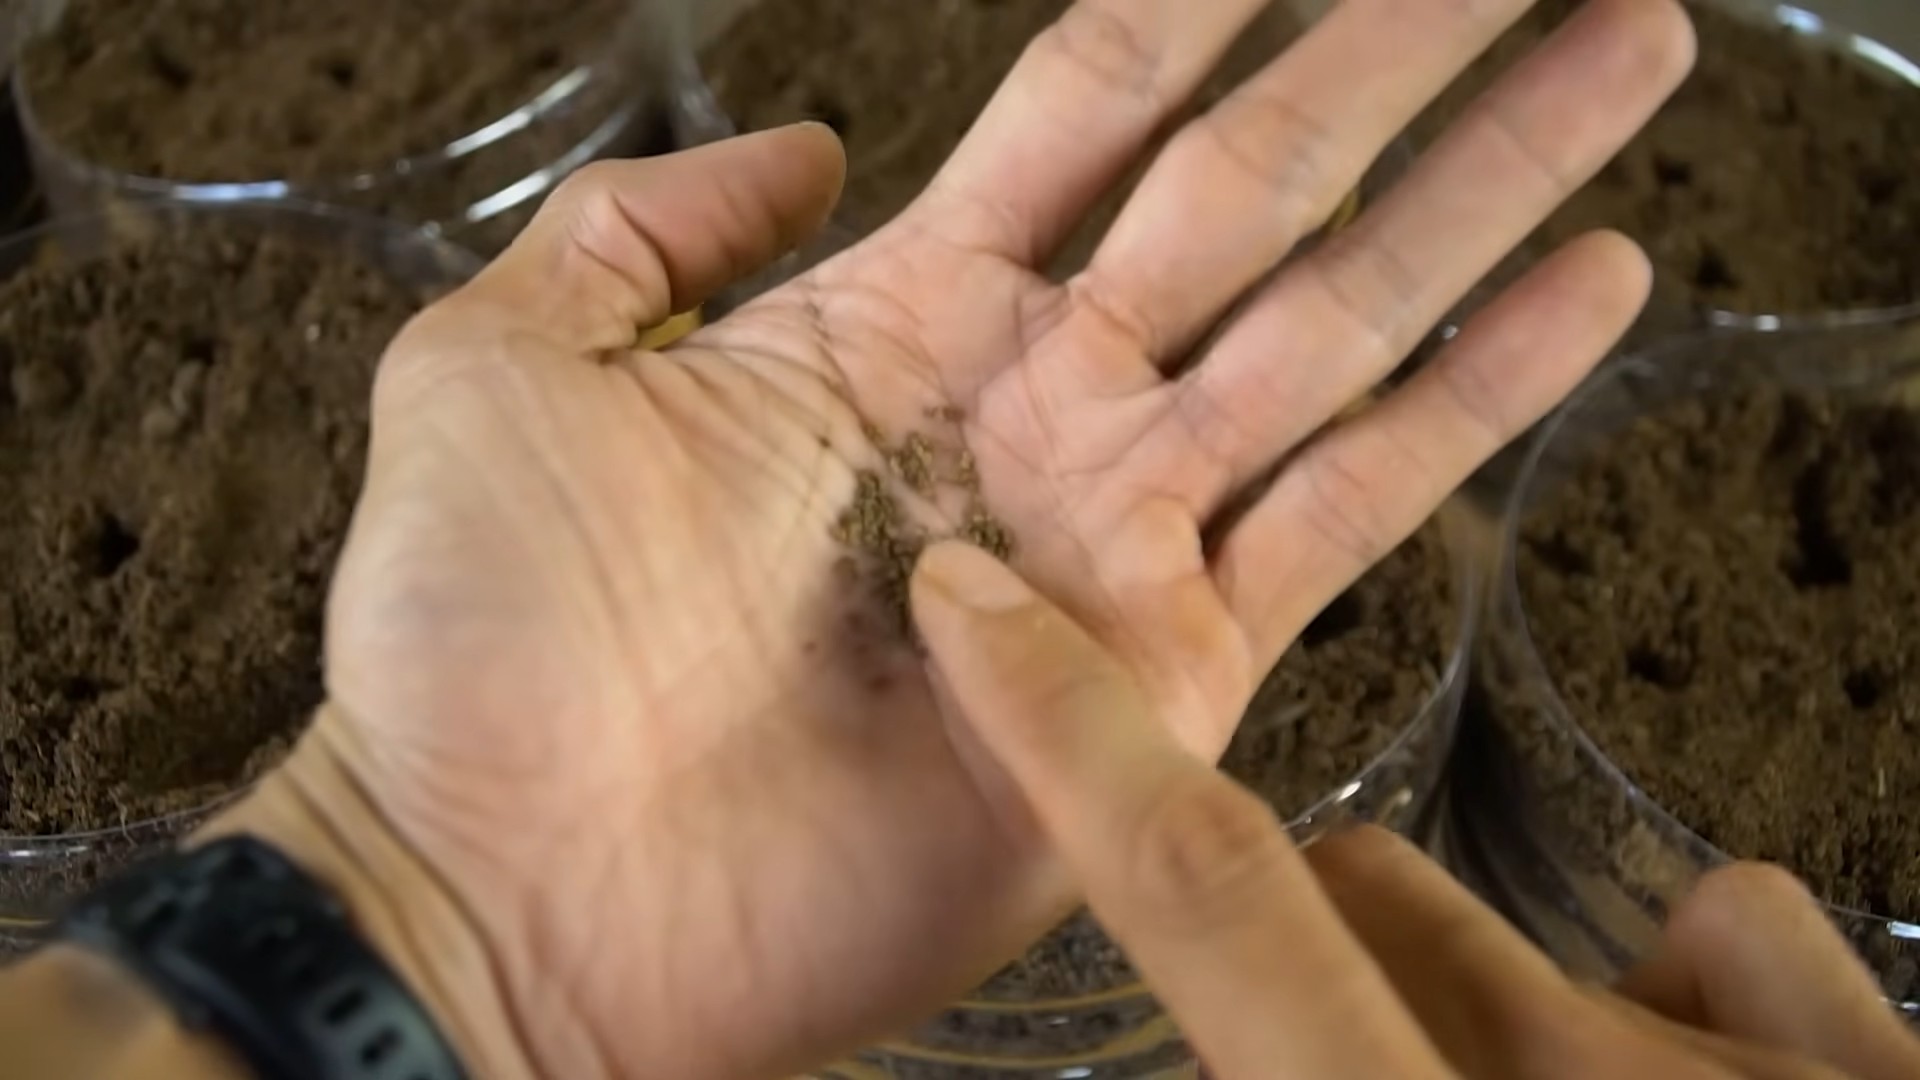
2. Sow the Seeds: Celery seeds need light to germinate, so don’t bury them too deep.
* Moisten the seed starting mix thoroughly.
* Sprinkle the seeds thinly over the surface of the soil.
* Gently press the seeds into the soil.
* Don’t cover them with soil.
3. Provide Moisture and Warmth: Celery seeds need consistent moisture and warmth to germinate.
* Mist the seeds with water using a spray bottle.
* Cover the seed starting tray with a clear plastic dome or plastic wrap to create a humid environment.
* Place the tray on a heat mat if you have one. The ideal temperature for germination is around 70-75°F (21-24°C).
* If you don’t have a heat mat, place the tray in a warm location.
4. Provide Light: Once the seeds germinate (usually in 10-14 days), remove the plastic cover and provide plenty of light.
* Place the seedlings under grow lights or in a very sunny window.
* If using grow lights, keep them a few inches above the seedlings.
5. Water Regularly: Keep the soil consistently moist, but not soggy.
* Water from the bottom by placing the tray in a shallow dish of water and allowing the soil to absorb the water.
* Avoid overwatering, which can lead to damping off (a fungal disease that kills seedlings).
6. Thin the Seedlings: Once the seedlings have a few true leaves (the second set of leaves), thin them out so that they are spaced about 1-2 inches apart.
* Use small scissors to snip off the weaker seedlings at the soil line.
* Don’t try to pull them out, as this can disturb the roots of the remaining seedlings.
Transplanting Celery Seedlings
After the last frost has passed and the soil has warmed up, it’s time to transplant your celery seedlings outdoors. Celery needs a long growing season, so make sure you’re planting them in a location that gets at least 6 hours of sunlight per day.
1. Harden Off the Seedlings: Before transplanting, you need to “harden off” the seedlings to acclimate them to outdoor conditions.
* Gradually expose the seedlings to outdoor conditions over a period of 7-10 days.
* Start by placing them in a sheltered location for a few hours each day, gradually increasing the amount of time they spend outdoors.
* Protect them from strong winds and direct sunlight during the hardening off process.
2. Prepare the Soil: Celery needs rich, well-drained soil.
* Amend the soil with plenty of compost or well-rotted manure.
* Celery also prefers a slightly acidic soil pH (around 6.0-6.5). You can test your soil pH with a soil testing kit.
3. Transplant the Seedlings:
* Space the seedlings about 8-10 inches apart in rows that are 18-24 inches apart.
* Dig a hole that is slightly larger than the root ball of the seedling.
* Gently remove the seedling from its pot and place it in the hole.
* Backfill the hole with soil and gently firm the soil around the base of the plant.
* Water thoroughly after transplanting.
4. Mulch the Plants: Mulching helps to retain moisture, suppress weeds, and regulate soil temperature.
* Apply a layer of organic mulch, such as straw or shredded leaves, around the base of the plants.
Caring for Your Celery Plants
Celery needs consistent moisture and nutrients to thrive. Here’s how to keep your plants happy and healthy:
1. Water Regularly: Celery needs consistently moist soil, especially during hot, dry weather.
* Water deeply and regularly, aiming for about 1-2 inches of water per week.
* Avoid overhead watering, which can lead to fungal diseases.
* Use a soaker hose or drip irrigation to water the plants at the base.
2. Fertilize Regularly: Celery is a heavy feeder and needs regular fertilization.
* Apply a balanced fertilizer (such as 10-10-10) every 2-3 weeks.
* You can also use a liquid fertilizer, such as fish emulsion or seaweed extract.
3. Control Weeds: Weeds can compete with celery plants for water and nutrients.
* Hand-pull weeds regularly.
* Mulching can also help to suppress weeds.
4. Blanching (Optional): Blanching celery stalks makes them milder and more tender.
* About 2-3 weeks before harvest, you can blanch the stalks by excluding light from them.
* There are several ways to blanch celery:
* Mounding soil: Mound soil around the base of the plants, leaving the top leaves exposed.
* Wrapping: Wrap the stalks with newspaper, cardboard, or burlap.
* Self-blanching varieties: Choose a self-blanching variety, which naturally blanches as it grows.
5. Pest and Disease Control: Celery is generally pest-resistant, but it can be susceptible to certain pests and diseases.
* Celery leaf tier: This pest can damage the leaves of celery plants. Handpick the caterpillars or use an organic insecticide, such as Bacillus thuringiensis (Bt).
* Early blight and late blight: These fungal diseases can cause leaf spots and stem lesions. Improve air circulation by spacing plants properly and avoid overhead watering. Apply a fungicide if necessary.
* Pink rot: This fungal disease can cause the stalks to rot. Avoid overwatering and ensure good drainage.
Harvesting Your Celery
Celery is typically ready to harvest about 80-100 days after transplanting.
1. Check for Maturity: The stalks should be at least 8 inches tall and thick enough to snap easily.
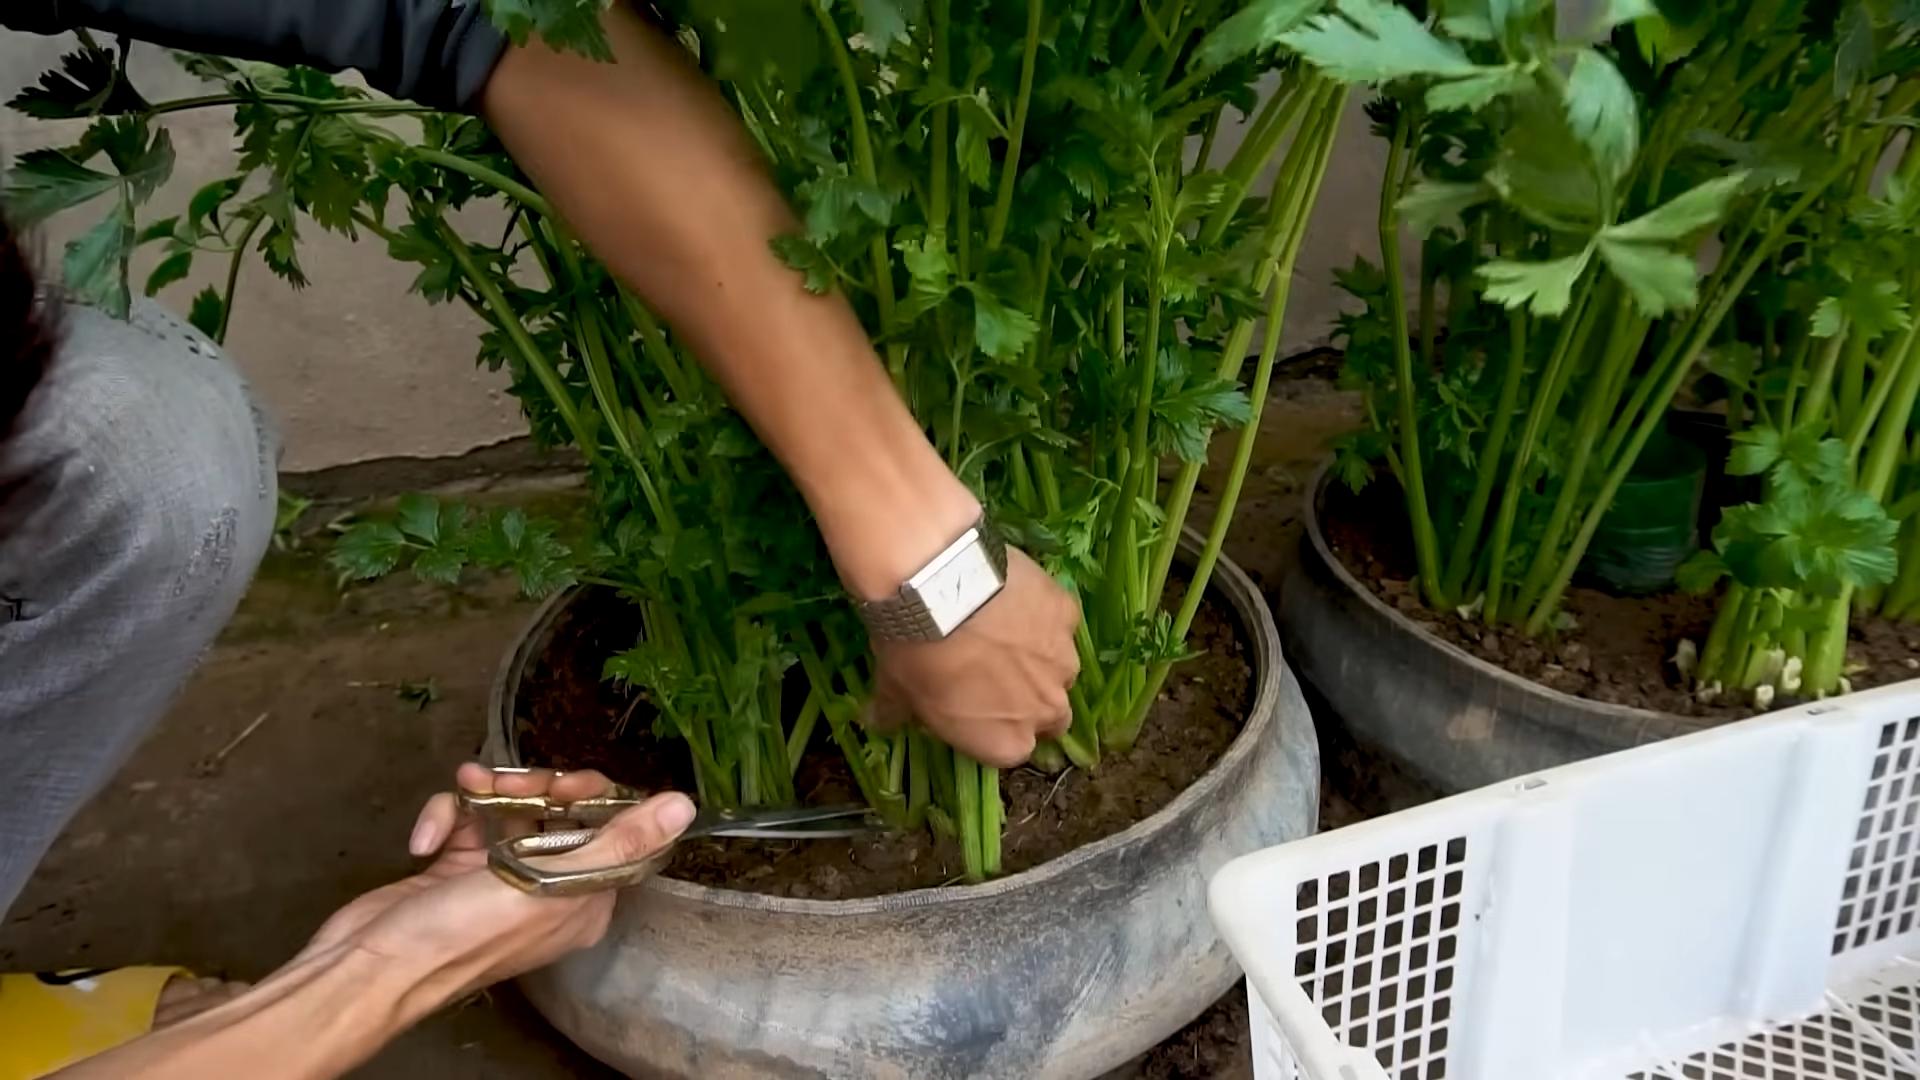
2. Harvesting:
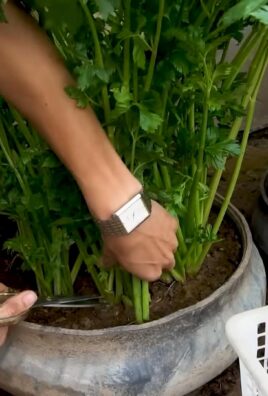
* You can harvest the entire plant at once by cutting it off at the base with a sharp knife.
* Alternatively, you can harvest individual stalks as needed by cutting them off at the base.
3. Storing Celery:
* Store celery in the refrigerator for up to 2 weeks.
* Wrap the celery in a damp paper towel and place it in a plastic bag.
Troubleshooting
Even with the best care, you might encounter some challenges when growing celery. Here are a few common problems and how to fix them:
* Bolting (premature flowering): This can happen if celery plants are exposed to cold temperatures or stress. Choose bolt-resistant varieties and provide consistent care.
* Bitter taste: This can be caused by lack of water or nutrients. Water and fertilize regularly.
* Stringy stalks: This can be caused by lack of water or nutrients. Water
Conclusion
So, there you have it! Growing celery at home from kitchen scraps is not just a fun experiment; it’s a sustainable way to reduce food waste, enjoy fresh, crisp celery, and connect with the natural world, even if you only have a windowsill. This simple DIY trick transforms what would otherwise be tossed in the compost bin into a thriving plant, offering a continuous supply of this versatile vegetable.
Why is this a must-try? Because it’s incredibly easy, cost-effective, and rewarding. You don’t need a green thumb or extensive gardening knowledge to succeed. With just a celery base, some water, and a little patience, you can witness the magic of regeneration firsthand. Imagine the satisfaction of harvesting celery stalks that you nurtured from a discarded piece! Plus, think of the money you’ll save by reducing your grocery store trips for this kitchen staple.
But the benefits extend beyond mere convenience and cost savings. Growing your own celery allows you to control the growing environment, ensuring that your celery is free from harmful pesticides and chemicals. You’ll have access to organic, fresh celery whenever you need it, adding a burst of flavor and nutrients to your meals.
Looking for variations? Absolutely! Once your celery plant is established, you can experiment with different growing mediums. Try transplanting it into a larger pot filled with nutrient-rich soil or even directly into your garden bed if you have the space. You can also explore different celery varieties. While the grocery store celery works perfectly for this method, you might want to try growing heirloom varieties or those specifically bred for home gardens. Consider companion planting too! Celery thrives alongside other vegetables like tomatoes, onions, and cabbage, creating a mutually beneficial ecosystem in your garden.
Don’t be afraid to experiment with different fertilizers. While celery isn’t a heavy feeder, a diluted organic fertilizer can boost its growth and flavor. Look for fertilizers rich in nitrogen, phosphorus, and potassium. Remember to follow the instructions on the fertilizer packaging to avoid over-fertilizing.
We wholeheartedly encourage you to give this DIY trick a try. It’s a fantastic project for individuals, families, and classrooms alike. It’s a great way to teach children about plant life cycles, sustainability, and the importance of reducing food waste.
Once you’ve successfully grown your own celery, we’d love to hear about your experience! Share your photos, tips, and tricks on social media using relevant hashtags. Let’s create a community of home gardeners who are passionate about growing their own food and reducing their environmental impact. Your success story might inspire others to embark on their own celery-growing adventure! So, grab that celery base, get your hands dirty, and prepare to be amazed by the power of nature. Happy growing!
Frequently Asked Questions (FAQ)
How long does it take to grow celery from a base?
The initial regrowth from the celery base, where you see new leaves emerging, typically takes about 1-2 weeks. Transplanting to soil and growing to a harvestable size can take anywhere from 2-4 months, depending on growing conditions like sunlight, temperature, and soil quality. Be patient; it’s a process that rewards observation and care.
What kind of water should I use?
Tap water is generally fine, but if your tap water is heavily chlorinated, it’s best to let it sit out for 24 hours before using it to allow the chlorine to dissipate. Filtered water is also a good option. Avoid using softened water, as it can contain high levels of sodium, which can be harmful to plants.
How much sunlight does celery need?
Celery thrives in partial to full sunlight, requiring at least 6 hours of direct sunlight per day. If you’re growing your celery indoors, place it near a sunny window, preferably one that faces south or west. If you don’t have enough natural light, you can supplement with a grow light.
What kind of soil is best for growing celery?
Celery prefers well-draining, nutrient-rich soil with a slightly acidic to neutral pH (6.0-7.0). A good potting mix amended with compost or aged manure is ideal. You can also add perlite or vermiculite to improve drainage. Avoid heavy clay soils, as they can become waterlogged and inhibit root growth.
How often should I water my celery plant?
Celery needs consistent moisture to thrive. Water your plant regularly, keeping the soil consistently moist but not waterlogged. Check the soil moisture level daily, and water when the top inch of soil feels dry to the touch. Avoid letting the soil dry out completely, as this can stress the plant and affect its growth.
How do I know when my celery is ready to harvest?
Celery is ready to harvest when the stalks are at least 6-8 inches long and have a firm, crisp texture. You can harvest individual stalks as needed, or you can harvest the entire plant at once. To harvest, simply cut the stalks at the base of the plant with a sharp knife.
Can I grow celery indoors year-round?
Yes, you can grow celery indoors year-round, provided you have adequate light and temperature. Place your celery plant near a sunny window or under a grow light, and maintain a consistent temperature between 60-70°F (15-21°C). Be sure to water regularly and fertilize as needed.
What are some common problems when growing celery, and how can I fix them?
Some common problems include:
* **Yellowing leaves:** This can be caused by overwatering, underwatering, nutrient deficiencies, or pests. Adjust your watering schedule, fertilize with a balanced fertilizer, and inspect your plant for pests.
* **Stunted growth:** This can be caused by poor soil quality, insufficient sunlight, or pests. Transplant your celery into a larger pot with fresh potting mix, provide more sunlight, and inspect your plant for pests.
* **Pests:** Celery can be susceptible to pests like aphids, spider mites, and celery leaf tiers. Inspect your plant regularly and treat with insecticidal soap or neem oil if necessary.
Can I eat the celery leaves?
Yes, celery leaves are edible and have a similar flavor to the stalks, although they can be slightly more bitter. You can use them in salads, soups, stews, or as a garnish. They’re also a great addition to smoothies and juices.
Is growing celery from a base truly sustainable?
Yes, growing celery from a base is a sustainable practice because it reduces food waste and minimizes the need to purchase celery from the grocery store, which often involves transportation and packaging. It’s a small but meaningful step towards a more environmentally friendly lifestyle.

Leave a Comment