
Grow Celery at Home: A Beginner’s Guide to Crunchy, Homegrown Goodness
Have you ever dreamt of biting into a crisp, juicy stalk of celery, knowing you grew it yourself, right there in your backyard? Well, that dream can become a reality! This article is your complete guide to Grow Celery at Home, offering simple, effective DIY tricks and hacks to cultivate this versatile vegetable from the comfort of your own home.
For centuries, celery has held a place in culinary traditions across the globe, from ancient Roman feasts to modern-day salads. Its refreshing taste and nutritional benefits have made it a staple in kitchens worldwide. But what if you could bypass the supermarket and enjoy the freshest, most flavorful celery imaginable? That’s the power of home gardening, and specifically, learning how to grow celery at home.
Why Grow Your Own Celery?
There are many reasons why you should consider this rewarding endeavor. Firstly, homegrown celery boasts unparalleled freshness and flavor. Store-bought celery often loses its crispness and vibrant taste during transportation and storage. Secondly, growing your own allows you to control the growing process, ensuring your celery is free from pesticides and other harmful chemicals. Finally, the satisfaction of nurturing a plant from seed to harvest is incredibly rewarding, a true testament to your green thumb!
Whether you have a sprawling garden or just a small balcony, this guide will equip you with the knowledge and techniques to successfully grow celery at home. Get ready to embark on this exciting journey and discover the joy of harvesting your own delicious, homegrown celery!
Growing Celery From Scraps: A Complete Guide
I love celery, but buying it regularly can get expensive. So I decided to try growing my own from scraps! It’s surprisingly easy, and incredibly rewarding. Here’s how I did it, and how you can too.
Phase 1: Preparing Your Celery Scrap
- Choose the right celery: Select a bunch of celery with firm, healthy stalks. Avoid any that are wilting or showing signs of rot.
- Cut the base: You need about an inch or two of the base of the celery stalk, where the roots would normally grow. Make a clean, straight cut. This is the part we’ll be using to regrow the celery.
- Remove the outer leaves: Gently peel away the outer leaves from the base. You want to expose the pale, inner part of the celery base. This helps the roots to develop more easily.
- Rinse thoroughly: Give your celery base a good rinse under cold water to remove any dirt or debris.
Phase 2: Getting Your Celery Growing
- Choose your container: You can use a shallow dish, a small pot, or even a jar. Make sure it’s clean and has drainage holes (or you can add some pebbles at the bottom for drainage). A wide, shallow container works best as the roots spread out.
- Add water: Fill your container with about an inch of water. The water level should just barely cover the base of the celery. Don’t submerge the entire base, as this can lead to rot.
- Place the celery base: Carefully place the prepared celery base in the water, ensuring that the cut end is fully submerged. The base should sit comfortably in the water without tipping over.
- Find a sunny spot: Place your container in a sunny location. Celery needs plenty of sunlight to grow well. A south-facing windowsill is ideal. However, avoid direct, intense sunlight, especially during the hottest part of the day, as this can scorch the leaves.
- Change the water: This is crucial! Change the water every day or every other day. Stale water can promote bacterial growth and rot. Use fresh, cool water each time.
Phase 3: Observing and Nurturing Your Celery
- Watch for root growth: Within a few days, you should start to see small roots emerging from the base of the celery. This is a great sign that your celery is taking root!
- Monitor water levels: Keep a close eye on the water level and replenish it as needed. The water should always be just barely covering the base.
- Observe for signs of rot: Regularly check the celery base for any signs of rot or discoloration. If you notice any, immediately remove the affected parts and change the water. You might need to start again with a fresh celery base if the rot is extensive.
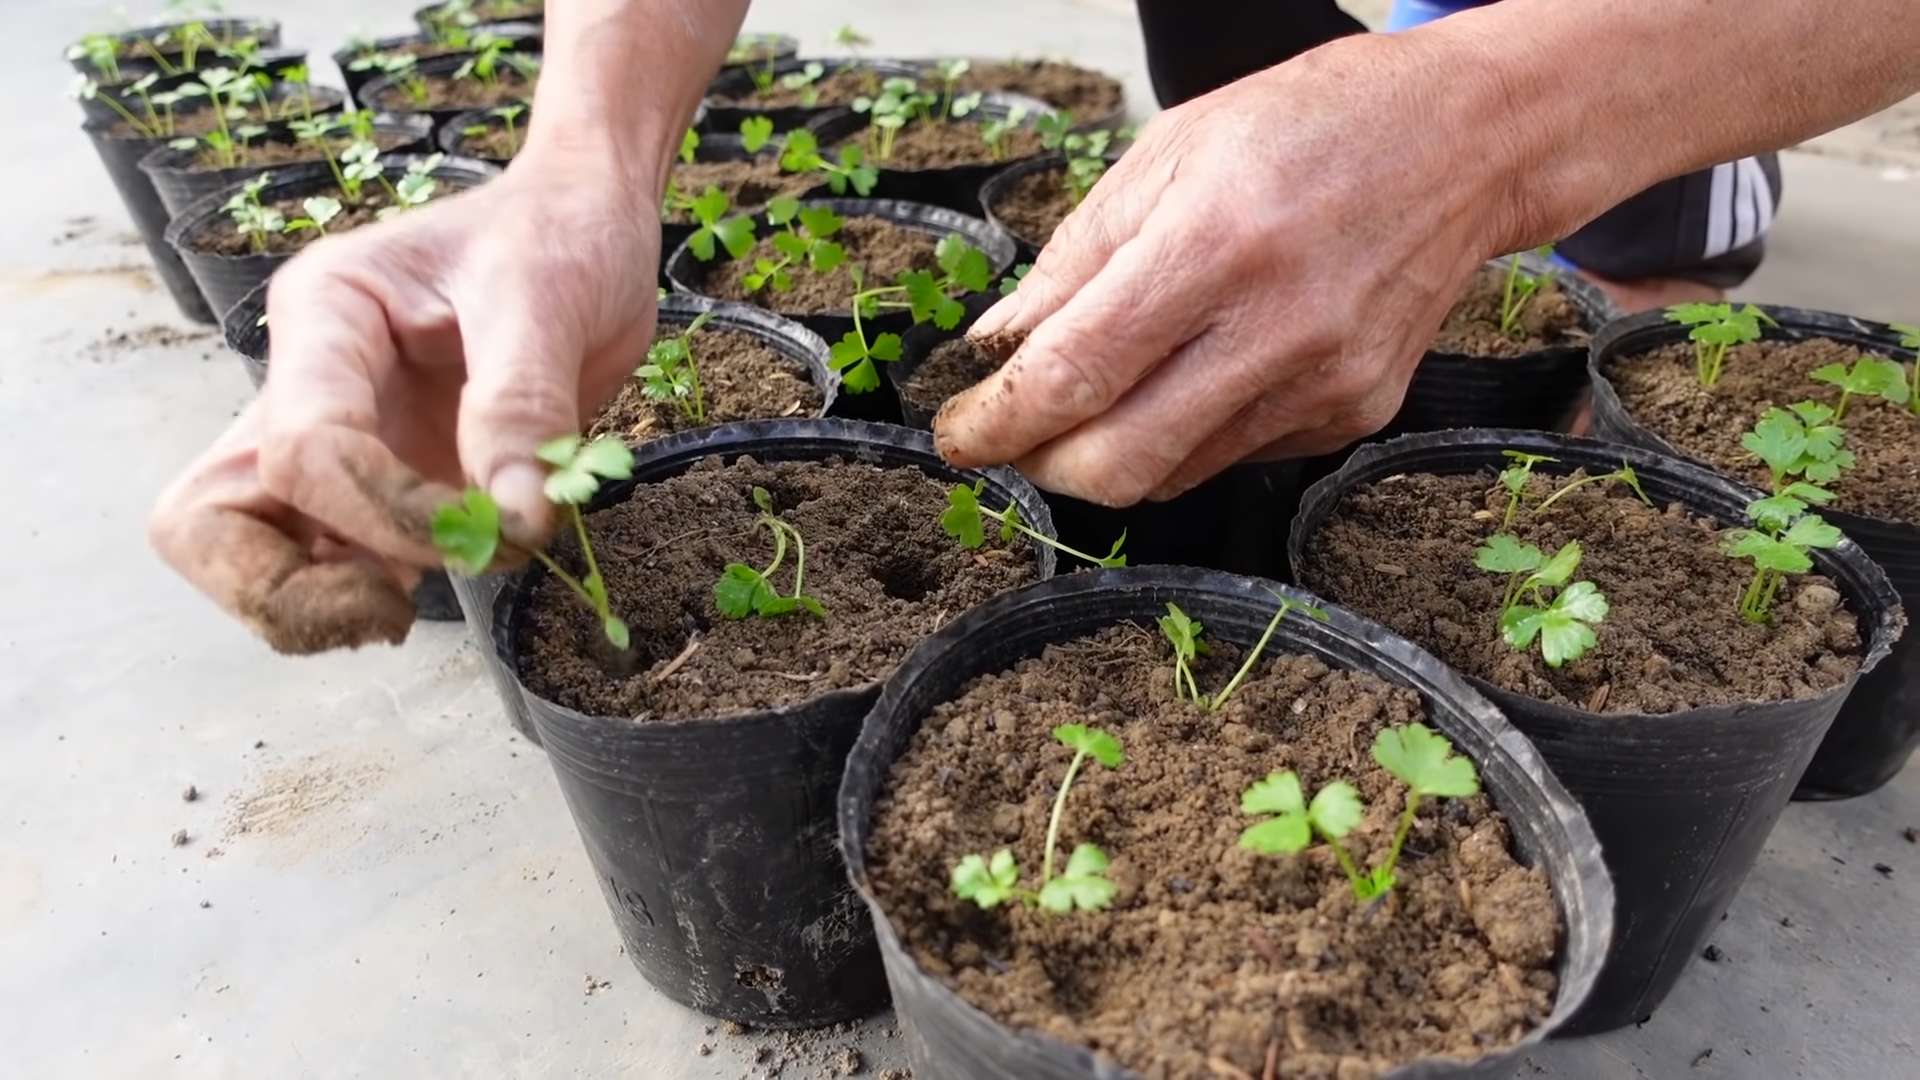
- Transplanting (optional): Once the roots are well-established (about 2-3 inches long), you can transplant your celery into a larger pot or directly into your garden. Use a well-draining potting mix or garden soil. Make sure the soil is moist but not waterlogged.
Phase 4: Growing Your Celery to Maturity
- Sunlight and watering: Continue to provide plenty of sunlight and water regularly. The soil should be consistently moist but not soggy. Overwatering can lead to root rot, while underwatering will stunt growth.
- Fertilizing: Once your celery is established in its new home (pot or garden), you can start fertilizing it every few weeks with a balanced liquid fertilizer. Follow the instructions on the fertilizer packaging carefully.
- Pest and disease control: Keep an eye out for pests like aphids or slugs. Treat any infestations promptly using organic pest control methods. Also, be vigilant for fungal diseases, which can be prevented by ensuring good air circulation and avoiding overwatering.
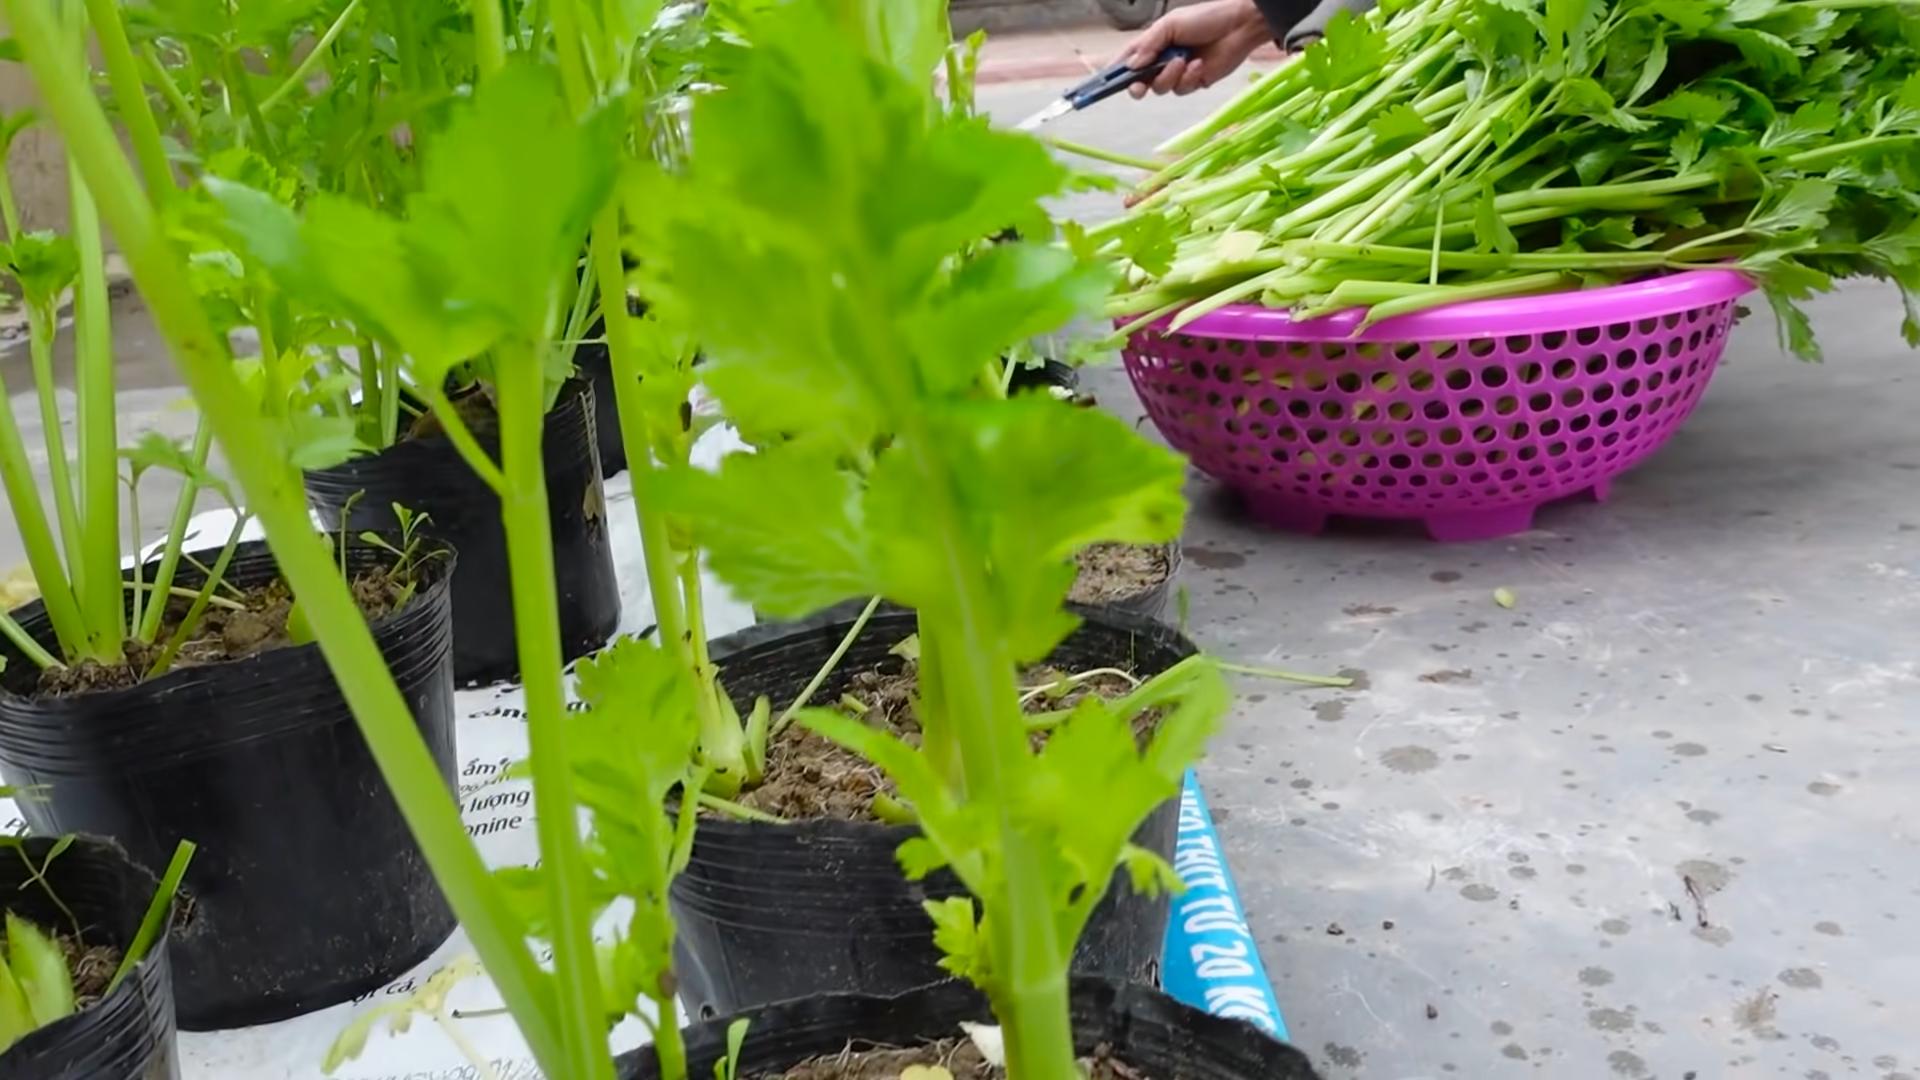
- Harvesting: Depending on the variety of celery and growing conditions, it can take several months for your celery to mature. You can start harvesting individual stalks once they reach a desirable size. Harvesting encourages further growth from the base.
- Ongoing care: Even after harvesting, continue to water and fertilize your celery plant to encourage further growth. You might be able to harvest multiple times from a single plant.
Troubleshooting
Problem: Celery base is rotting
Solution:
Change the water immediately. Remove any rotten parts. Ensure good air circulation around the base. Consider using a fresh celery base.
Problem: Celery is not growing
Solution:
Ensure it’s getting enough sunlight. Check the water level regularly. Make sure the water is fresh. Consider adding a small amount of fertilizer once roots are established.
Problem: Leaves are yellowing
Solution:
This could indicate overwatering or underwatering. Adjust your watering schedule accordingly. Check for nutrient deficiencies and fertilize if needed.
Growing celery from scraps is a fun and rewarding experience. With a little patience and care, you can enjoy fresh, homegrown celery all year round! Remember to always observe your plants and adjust your care accordingly. Happy growing!
Conclusion
So there you have it – a simple, yet incredibly rewarding method for growing your own celery at home! This DIY trick isn’t just about saving money on groceries; it’s about experiencing the satisfaction of nurturing a plant from its humble beginnings to a crisp, flavorful stalk ready for your next meal. Growing celery at home allows you to control the quality, freshness, and even the variety of celery you enjoy. Forget limp, tasteless store-bought celery; this method ensures you always have access to vibrant, perfectly crisp stalks, bursting with flavor. The entire process is surprisingly easy, requiring minimal effort and resources, making it perfect for beginner gardeners and seasoned green thumbs alike. Beyond the delicious results, growing your own celery connects you to the natural world, offering a rewarding and educational experience for the whole family. This simple technique transforms a mundane kitchen chore into a fun and fulfilling project. Don’t just take our word for it – try it yourself and discover the joy of harvesting your own homegrown celery! Share your experiences and photos with us – we’d love to see your thriving celery plants and hear about your culinary creations featuring this fresh, homegrown ingredient. We encourage you to experiment with different varieties of celery seeds and explore various growing methods to find what works best for you and your environment. Remember, the key is patience and consistent care, and the rewards are well worth the effort. This simple DIY method for growing celery at home is a must-try for anyone who appreciates fresh, flavorful produce and the satisfaction of growing their own food.
Frequently Asked Questions
Can I grow celery from the base of a store-bought stalk?
Yes, you absolutely can! This is the method detailed in our article. Simply select a firm, healthy celery base with some leaves still attached, place it in a shallow dish of water, and watch it grow! However, keep in mind that celery grown from a store-bought base might not produce as many stalks as celery grown from seed. It’s a great way to get started quickly, but for a larger, more sustained harvest, starting from seed is recommended.
What type of soil is best for growing celery?
Celery thrives in loose, well-drained soil rich in organic matter. A soil mix specifically designed for vegetables is ideal. Ensure the soil is consistently moist but not waterlogged, as soggy soil can lead to root rot. Adding compost or other organic materials to your soil will improve its drainage and fertility, creating the perfect environment for healthy celery growth.
How much sunlight does celery need?
Celery prefers partial shade, meaning about 4-6 hours of direct sunlight per day. Too much direct sun can scorch the leaves, while too little sun can result in weak, leggy growth. Observe your celery plants; if the leaves appear wilted or yellowed, they may be getting too much sun. If the growth is slow and spindly, they may need more sunlight. Adjust the location of your celery plants accordingly to find the perfect balance.
How often should I water my celery?
Consistent moisture is crucial for healthy celery growth. Water your celery regularly, keeping the soil consistently moist but not soggy. The frequency of watering will depend on factors such as temperature, humidity, and the type of container you are using. Check the soil moisture regularly by sticking your finger a couple of inches into the soil. If the soil feels dry, it’s time to water. Avoid letting the soil completely dry out, as this can stress the plant and affect its growth.
How long does it take to grow celery?
The time it takes to harvest celery depends on the method you use and the variety you choose. If you are growing celery from seed, it can take anywhere from 70 to 100 days to reach maturity. Growing celery from a store-bought base will yield results much faster, typically within a few weeks, but the harvest will be smaller. Be patient, and you will be rewarded with delicious, homegrown celery.
What can I do with my homegrown celery?
The possibilities are endless! Use your homegrown celery in soups, stews, salads, and stir-fries. Chop it up for celery sticks with your favorite dip, or add it to your favorite sandwiches and wraps. The fresh, vibrant flavor of homegrown celery elevates any dish. Experiment with different recipes and discover new ways to enjoy this versatile vegetable. Don’t be afraid to get creative and incorporate your homegrown celery into your favorite culinary creations.
What should I do if my celery plants are showing signs of disease or pests?
Regularly inspect your celery plants for any signs of disease or pests. Common problems include fungal diseases like leaf spot and pests like aphids. If you notice any problems, take immediate action. Remove affected leaves and consider using organic pest control methods, such as insecticidal soap or neem oil. Maintaining good air circulation around your plants can help prevent fungal diseases. Early detection and prompt action are key to keeping your celery plants healthy and productive. Remember to always research the best methods for dealing with specific issues before applying any treatment.
Can I grow celery in a pot or container?
Absolutely! Growing celery in containers is a great option, especially if you have limited space. Choose a pot that is at least 12 inches deep and wide to allow for adequate root development. Ensure the pot has drainage holes to prevent waterlogging. Use a well-draining potting mix and follow the same care instructions as for celery grown in the ground. Container-grown celery is a perfect choice for balconies, patios, or even windowsills. This makes growing your own celery accessible to everyone, regardless of the size of their garden.


Leave a Comment