
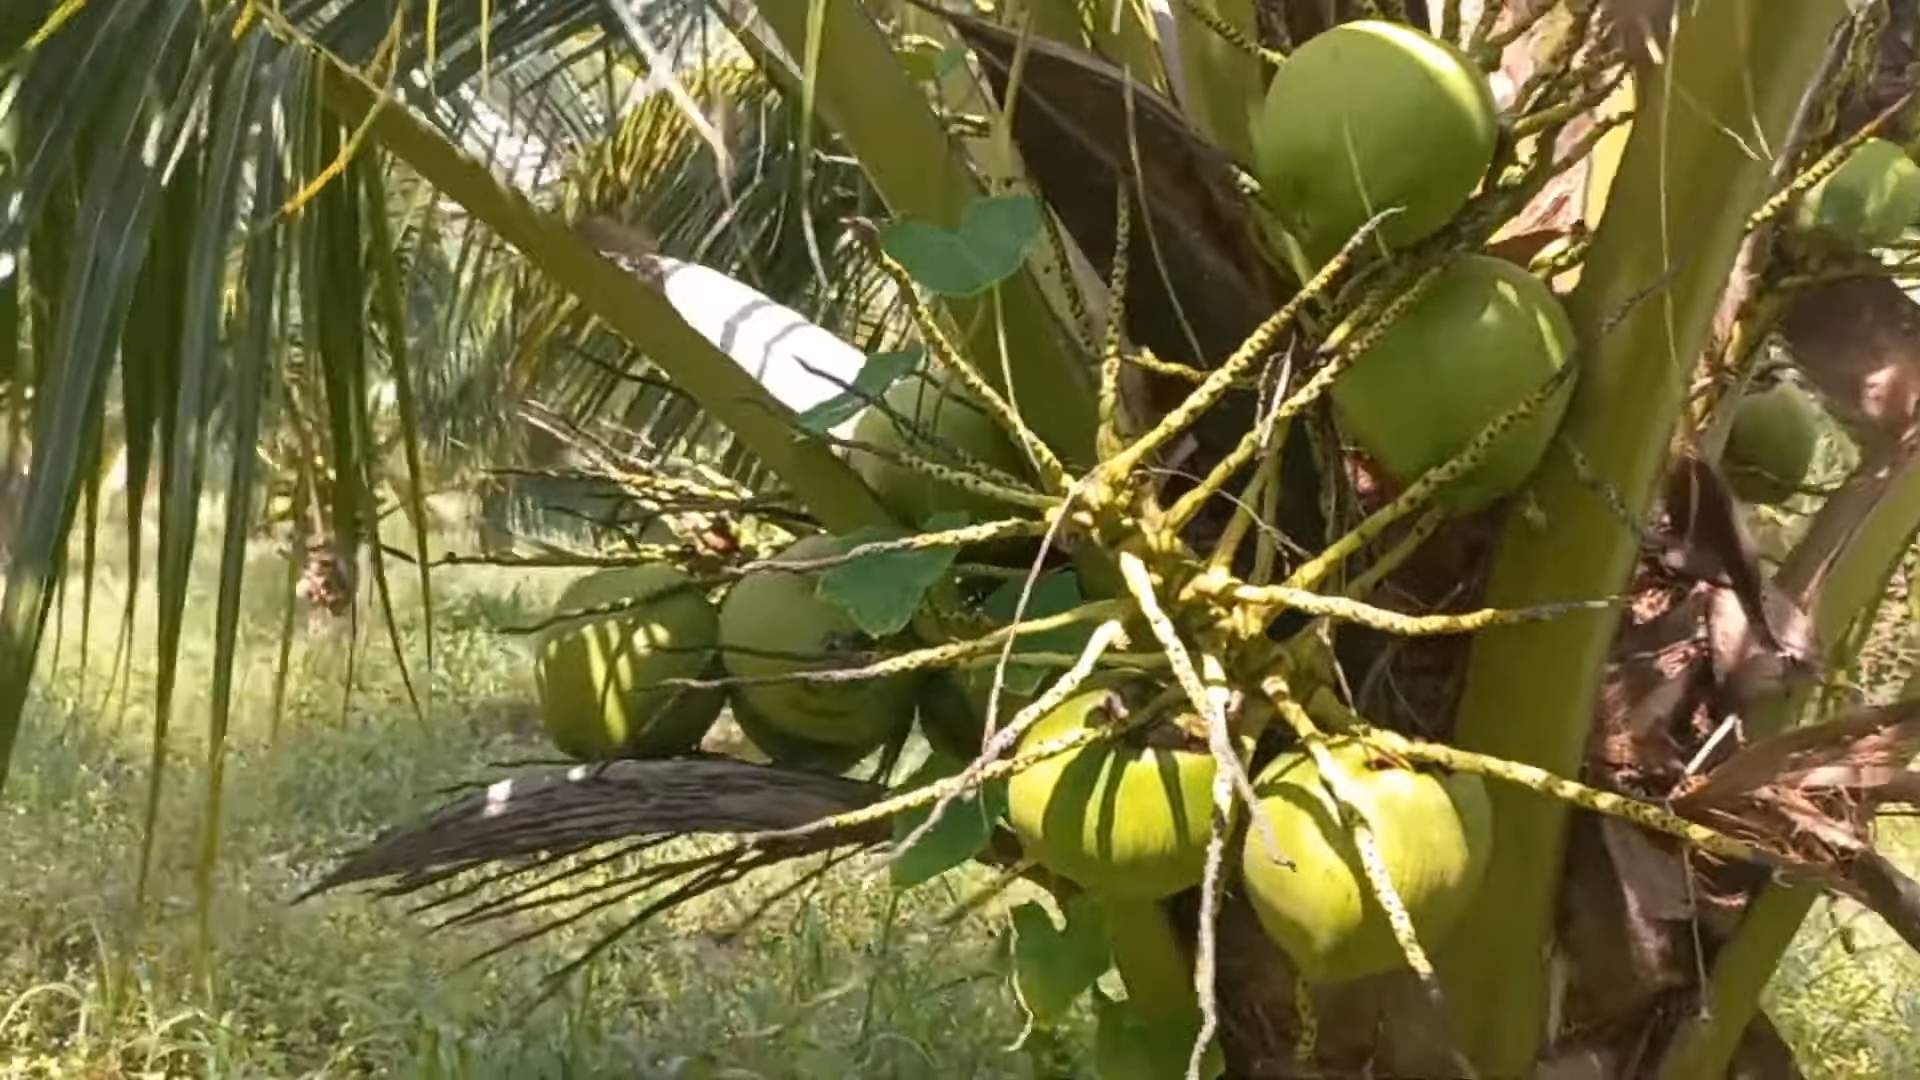
Grow Coconut Tree at Home? Absolutely! Imagine sipping fresh coconut water straight from a tree you nurtured yourself. It sounds like a tropical dream, right? Well, it’s more achievable than you might think! For centuries, the coconut palm has been a symbol of tropical paradise, providing sustenance, shelter, and a touch of exotic beauty to cultures around the globe. From the shores of Southeast Asia to the islands of the Caribbean, the coconut tree holds a special place in the hearts and traditions of many.
But you don’t need to live on a tropical island to enjoy the benefits of this amazing tree. I’m here to show you some simple, yet effective, DIY tricks and hacks that will help you grow coconut tree at home, even if you have limited space or a less-than-perfect climate.
Why is this DIY project so important? Because growing your own food, even something as seemingly exotic as a coconut, is incredibly rewarding. It connects you to nature, reduces your reliance on store-bought produce, and adds a unique touch of greenery to your living space. Plus, who wouldn’t want to impress their friends with a homegrown coconut? So, let’s dive in and discover the secrets to successfully cultivating your very own coconut palm!
Growing Your Own Coconut Tree: A DIY Guide
Okay, so you want to grow a coconut tree at home? Awesome! It might seem like a tropical dream, but with a little patience and the right know-how, you can totally make it happen. I’m going to walk you through everything you need to know, from choosing the right coconut to nurturing your little palm into a thriving tree. Let’s get started!
Choosing the Right Coconut
This is the most crucial step, believe me. You can’t just grab any coconut from the grocery store and expect it to sprout. We need a mature, viable coconut.
* Look for a Mature Coconut: This means a coconut that’s still in its husk. The husk is that fibrous outer layer. Avoid the ones that are already husked and cleaned, as they’re less likely to germinate.
* Shake Test: Give the coconut a good shake. You should hear water sloshing around inside. This indicates that the coconut is fresh and hasn’t dried out. No water sound? Skip it.
* Weight Matters: A good coconut will feel heavy for its size. This means it’s full of water and nutrients, which are essential for germination.
* Avoid Damage: Inspect the husk for any cracks, bruises, or signs of mold. A healthy husk means a healthy coconut inside.
* Source Wisely: If possible, get your coconut from a local farmer’s market or a nursery that specializes in tropical plants. They’ll be more likely to have coconuts that are suitable for planting.
Preparing the Coconut for Germination
Now that you’ve got your perfect coconut, it’s time to get it ready to sprout. This involves creating the ideal environment for root development.
* Soaking the Coconut: This helps to rehydrate the husk and encourages germination.
1. Fill a large bucket or container with lukewarm water.
2. Submerge the coconut completely in the water.
3. Let it soak for 2-3 days, changing the water daily to prevent bacterial growth.
* Choosing a Germination Medium: You have a couple of options here. I prefer using a mix of coco coir and perlite, but you can also use well-draining potting soil.
* Coco Coir and Perlite: This mix provides excellent drainage and aeration, which is crucial for root development. Use a 50/50 ratio.
* Potting Soil: If you choose potting soil, make sure it’s a well-draining mix. Avoid heavy clay soils, as they can become waterlogged and rot the coconut.
* Preparing the Germination Container: You’ll need a large container with drainage holes. A 5-gallon bucket or a large pot works well.
1. Fill the container with your chosen germination medium.
2. Water the medium thoroughly until it’s evenly moist but not soggy.
Planting the Coconut
Alright, time to get our hands dirty! This is where the magic happens.
1. Positioning the Coconut: Lay the coconut horizontally on top of the germination medium. The “eyes” (the three small indentations on one end of the coconut) should be facing upwards. One of these “eyes” is where the sprout will emerge.
2. Burying the Coconut: Gently push the coconut into the medium, burying about one-third to one-half of its body. Leave the top portion exposed.
3. Watering: Water the coconut thoroughly after planting. Keep the medium consistently moist, but avoid overwatering. You don’t want the coconut sitting in standing water.
4. Creating a Humid Environment: Coconuts thrive in humid conditions. You can create a mini-greenhouse effect by placing a clear plastic bag over the container. Make sure to poke a few holes in the bag for ventilation.
5. Finding the Right Location: Place the container in a warm, sunny location. Coconuts need plenty of sunlight to germinate and grow. Aim for at least 6-8 hours of direct sunlight per day. A south-facing window is ideal if you’re growing indoors.
Caring for Your Germinating Coconut
Patience is key here. It can take anywhere from 3 to 6 months for a coconut to germinate, so don’t get discouraged if you don’t see results right away.
* Watering: Check the moisture level of the medium regularly. Water when the top inch feels dry to the touch. Avoid letting the medium dry out completely.
* Humidity: Maintain a high humidity level around the coconut. If you’re using a plastic bag, make sure to mist the inside of the bag regularly. You can also use a humidifier to increase the humidity in the surrounding area.
* Temperature: Keep the temperature consistently warm, ideally between 80-90掳F (27-32掳C). Coconuts are tropical plants and need warm temperatures to thrive.
* Ventilation: Ensure good air circulation around the coconut. Remove the plastic bag for a few hours each day to allow for ventilation. This will help prevent fungal growth.
* Pest Control: Keep an eye out for pests, such as spider mites or mealybugs. If you notice any pests, treat them with an appropriate insecticide or insecticidal soap.
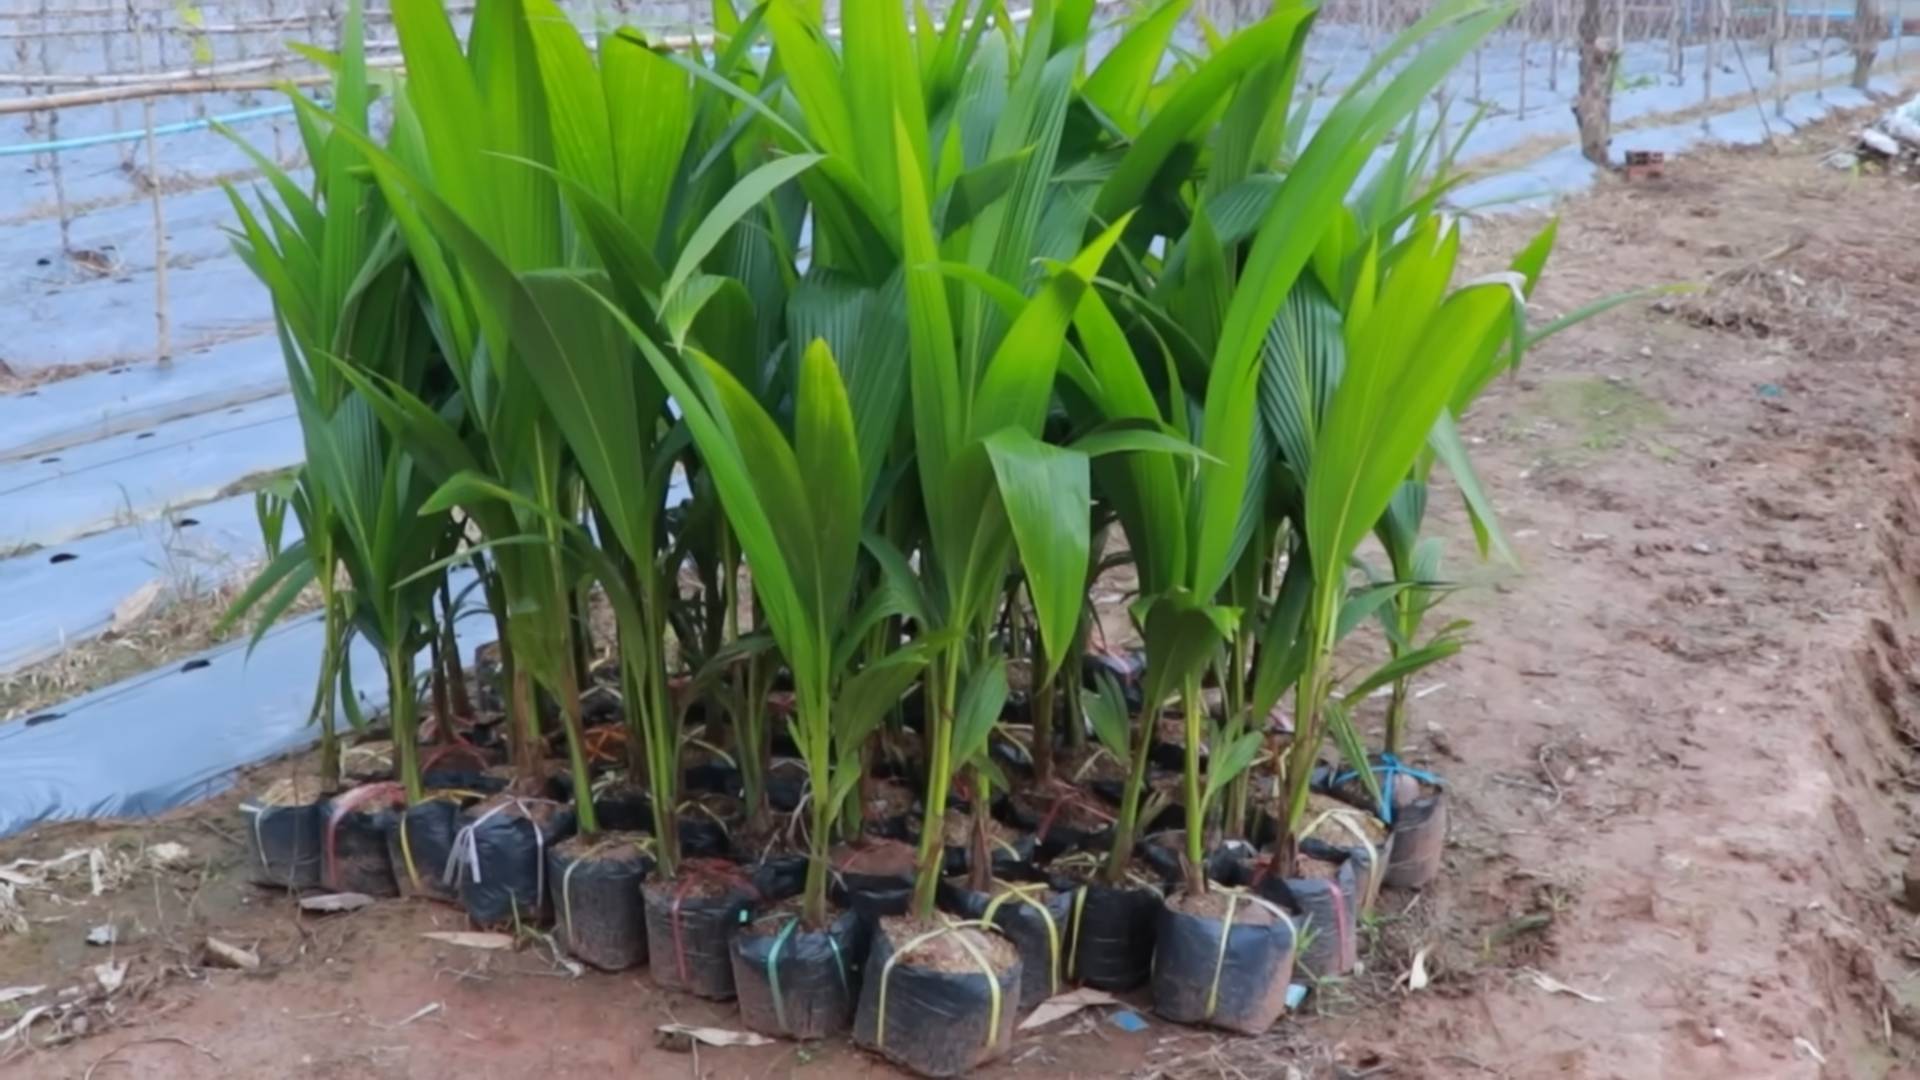
Transplanting Your Coconut Seedling
Once your coconut seedling has developed a few leaves and a strong root system, it’s time to transplant it into a larger pot.
1. Choosing a Pot: Select a large pot with drainage holes. A 10-gallon pot is a good starting size.
2. Preparing the Potting Mix: Use a well-draining potting mix that’s rich in organic matter. A mix of potting soil, compost, and perlite works well.
3. Removing the Seedling: Gently remove the coconut seedling from the germination container. Be careful not to damage the roots.
4. Planting the Seedling: Place the seedling in the center of the pot and fill the pot with potting mix. Make sure the top of the coconut is still partially exposed.
5. Watering: Water the seedling thoroughly after transplanting.
6. Fertilizing: Fertilize the seedling with a balanced fertilizer every 2-3 months. Follow the instructions on the fertilizer label.
Caring for Your Coconut Tree
Now that your coconut tree is growing, it’s important to provide it with the right care to ensure its continued health and growth.
* Sunlight: Coconuts need plenty of sunlight. Place your tree in a location that receives at least 6-8 hours of direct sunlight per day.
* Watering: Water your tree regularly, especially during the growing season. Allow the soil to dry out slightly between waterings.
* Fertilizing: Fertilize your tree with a balanced fertilizer every 2-3 months.
* Pruning: Prune away any dead or damaged leaves.
* Pest Control: Keep an eye out for pests and diseases. Treat any problems promptly.
* Temperature: Coconuts thrive in warm temperatures. Protect your tree from frost and freezing temperatures. If you live in a cold climate, you may need to bring your tree indoors during the winter months.
* Repotting: As your tree grows, you’ll need to repot it into a larger container. Repot your tree every 1-2 years, or when it becomes root-bound.
Dealing with Challenges
Growing a coconut tree isn’t always easy. Here are some common challenges you might encounter and how to deal with them:
* Slow Germination: As I mentioned earlier, coconut germination can take a long time. Be patient and don’t give up! Make sure you’re providing the right conditions (warmth, humidity, moisture) and the coconut should eventually sprout.
* Rotting Coconut: If the coconut starts to rot, it’s usually due to overwatering or poor drainage. Make sure the medium is well-draining and avoid letting the coconut sit in standing water. If the rot is severe, you may need to discard the coconut and start over.
* Yellowing Leaves: Yellowing leaves can be a sign of nutrient deficiency. Fertilize your tree with a balanced fertilizer to provide it with the nutrients it needs.
* Pest Infestations: Coconuts can be susceptible to pests such as spider mites, mealybugs, and scale. Inspect your tree regularly for pests and treat any infestations promptly with an appropriate insecticide or insecticidal soap.
* Lack of Sunlight: Coconuts need plenty of sunlight to thrive. If your tree isn’t getting enough sunlight, it may become leggy and weak. Move your tree to a sunnier location or supplement with artificial light.
Important Considerations for Indoor Growing
If you’re growing your coconut tree indoors, there are a few extra things to keep in mind:
*
Conclusion
So, there you have it! Growing your own coconut tree at home might seem like a tropical dream reserved for those living in sun-drenched climates, but with a little patience, the right techniques, and this comprehensive guide, it’s an achievable reality for almost anyone. We’ve walked you through selecting the perfect coconut, preparing it for germination, nurturing its early growth, and finally, transplanting it to its permanent home.
Why is this DIY trick a must-try? Beyond the sheer satisfaction of nurturing a plant from seed to sapling, growing a coconut tree offers a unique connection to nature. Imagine harvesting your own coconuts, enjoying fresh coconut water straight from the source, and adding a touch of tropical paradise to your living space. It’s a rewarding experience that brings a piece of the tropics right to your doorstep. Plus, it’s a fantastic conversation starter!
But the benefits don’t stop there. Growing your own coconut tree is also an environmentally conscious choice. You’re contributing to carbon sequestration, promoting biodiversity, and reducing your reliance on commercially grown coconuts, which often involve long-distance transportation and potential environmental impacts.
Looking for variations? Consider experimenting with different coconut varieties. While the common coconut is a great starting point, you might explore dwarf varieties that are better suited for container growing or those known for their sweeter water or thicker meat. You can also tailor the soil mix to your specific climate and growing conditions. For example, if you live in a particularly dry area, adding more water-retentive materials like peat moss or coco coir can be beneficial. If you live in a colder climate, consider using a grow light to supplement natural sunlight, especially during the winter months.
Another variation is to explore different propagation methods. While we focused on germinating the whole coconut, some gardeners have success with rooting coconut sprouts that have already begun to emerge. This can be a faster method, but it requires careful handling to avoid damaging the delicate roots.
Remember, patience is key. Growing a coconut tree from seed takes time and dedication. Don’t be discouraged if you don’t see immediate results. Keep providing the right conditions 鈥?warmth, moisture, and sunlight 鈥?and your coconut will eventually sprout and thrive.
We are confident that with this guide, you can successfully cultivate your own coconut tree at home. We encourage you to embark on this exciting journey and experience the joy of watching your own tropical paradise flourish.
Now, we want to hear from you! Have you tried growing a coconut tree at home? What challenges did you face? What successes did you celebrate? Share your experiences, tips, and photos in the comments below. Let’s create a community of coconut tree enthusiasts and learn from each other. Don’t forget to share this article with your friends and family who might be interested in this rewarding DIY project. Let’s spread the joy of growing your own coconut tree!
Frequently Asked Questions (FAQ)
How long does it take for a coconut to sprout?
Germination time for a coconut can vary significantly depending on several factors, including the freshness of the coconut, the temperature, and the humidity levels. Generally, it can take anywhere from 2 to 6 months for a coconut to sprout. Some may sprout sooner, while others may take even longer. Maintaining consistent warmth and moisture is crucial for successful germination. Don’t give up if you don’t see results immediately; patience is key!
What is the best type of coconut to use for growing a tree?
The best type of coconut to use is a mature, brown coconut that still has its husk intact. Look for coconuts that feel heavy for their size, indicating they contain plenty of water. Shake the coconut to listen for the water sloshing inside; this confirms it’s still fresh. Avoid coconuts that are cracked, damaged, or show signs of mold. Freshness is paramount for successful germination. Coconuts purchased from local markets or directly from coconut vendors are often the best choice.
What kind of soil is best for growing a coconut tree?
Coconut trees thrive in well-draining soil that is rich in organic matter. A good soil mix would include a combination of potting soil, sand, and perlite or vermiculite. The sand helps with drainage, while the perlite or vermiculite improves aeration and prevents the soil from becoming compacted. Adding compost or well-rotted manure to the mix will provide essential nutrients for the growing tree. Avoid heavy clay soils, as they can retain too much water and lead to root rot. The ideal pH level for coconut trees is slightly acidic to neutral (around 6.0 to 7.0).
How much sunlight does a coconut tree need?
Coconut trees are sun-loving plants and require plenty of sunlight to thrive. Aim for at least 6 to 8 hours of direct sunlight per day. If you are growing your coconut tree indoors, place it near a sunny window or supplement with a grow light. Insufficient sunlight can lead to stunted growth and yellowing leaves. Rotate the tree regularly to ensure all sides receive adequate sunlight.
How often should I water my coconut tree?
Watering frequency depends on several factors, including the climate, the soil type, and the size of the tree. Generally, water your coconut tree when the top inch of soil feels dry to the touch. Avoid overwatering, as this can lead to root rot. During the growing season (spring and summer), you may need to water more frequently than during the dormant season (fall and winter). Ensure the pot has good drainage to prevent water from accumulating at the bottom.
What are some common problems when growing coconut trees and how can I fix them?
Some common problems include:
* **Yellowing leaves:** This can be caused by insufficient sunlight, nutrient deficiencies, or overwatering. Ensure the tree receives adequate sunlight, fertilize with a balanced fertilizer, and adjust your watering schedule accordingly.
* **Root rot:** This is caused by overwatering and poor drainage. Ensure the soil is well-draining and avoid letting the tree sit in standing water.
* **Pests:** Coconut trees can be susceptible to pests such as spider mites, scale, and mealybugs. Inspect your tree regularly and treat any infestations with insecticidal soap or neem oil.
* **Slow growth:** This can be caused by insufficient sunlight, nutrient deficiencies, or cold temperatures. Provide adequate sunlight, fertilize regularly, and ensure the tree is kept in a warm environment.
Can I grow a coconut tree indoors permanently?
While it’s possible to start a coconut tree indoors, it can be challenging to grow it to full maturity in an indoor environment. Coconut trees require a lot of space, sunlight, and humidity, which can be difficult to replicate indoors. Dwarf varieties are better suited for indoor growing, but even they will eventually outgrow their containers. If you live in a climate with warm summers, you can move your coconut tree outdoors during the warmer months and bring it back indoors during the winter.
What kind of fertilizer should I use for my coconut tree?
Use a balanced fertilizer specifically formulated for palm trees or tropical plants. Look for a fertilizer with a ratio of 8-2-12, which indicates the percentage of nitrogen, phosphorus, and potassium, respectively. Coconut trees require higher levels of potassium than other nutrients. Fertilize your coconut tree every 2-3 months during the growing season (spring and summer). Follow the instructions on the fertilizer package for proper application rates.
How do I protect my coconut tree from cold weather?
Coconut trees are sensitive to cold temperatures and can be damaged by frost. If you live in a climate with cold winters, you will need to take precautions to protect your tree. If your tree is in a container, bring it indoors to a warm, sunny location. If your tree is planted in the ground, wrap the trunk with burlap or blankets to insulate it from the cold. You can also mulch around the base of the tree to help protect the roots. Consider using a frost cloth to cover the entire tree during periods of extreme cold.
When can I expect my coconut tree to produce coconuts?
It typically takes 6 to 10 years for a coconut tree grown from seed to begin producing coconuts. The exact time frame depends on the variety of coconut, the climate, and the growing conditions. Dwarf varieties tend to produce coconuts sooner than tall varieties. Be patient and continue to provide your tree with the proper care, and eventually, you will be rewarded with your own homegrown coconuts!
Leave a Comment