
Grow mushrooms at home? Absolutely! Imagine harvesting fresh, delicious mushrooms right from your own kitchen, ready to elevate your next culinary masterpiece. It sounds like something out of a fairytale, doesn’t it? But trust me, it’s more achievable than you think, and this DIY guide will show you how!
For centuries, mushroom cultivation has been a revered practice, particularly in Eastern cultures. From ancient Chinese medicinal traditions to the sophisticated truffle farms of Europe, the art of growing fungi has always been shrouded in a bit of mystery and a whole lot of deliciousness. Now, you can bring that ancient wisdom into your own home.
In today’s world, where we’re all striving for sustainability and fresh, healthy food, learning to grow mushrooms at home is more relevant than ever. Store-bought mushrooms can be expensive and often lack the vibrant flavor of freshly harvested ones. Plus, knowing exactly where your food comes from and how it’s grown gives you peace of mind. This DIY trick not only saves you money but also provides a rewarding connection to nature and a delicious, nutritious addition to your diet. So, let’s dive in and unlock the secrets to cultivating your own mushroom bounty!
Grow Your Own Gourmet Mushrooms at Home: A Beginner’s Guide
Okay, mushroom lovers, let’s get down to business! I’m going to walk you through how to grow your own delicious mushrooms right in your home. Forget those expensive grocery store prices – fresh, homegrown mushrooms are just a few steps away. We’ll focus on growing oyster mushrooms, as they’re relatively easy for beginners and incredibly rewarding.
What You’ll Need: The Mushroom Growing Shopping List
Before we dive in, let’s gather our supplies. This is crucial for a smooth and successful mushroom growing experience.
* Oyster Mushroom Spawn: This is the “seed” of your mushrooms. You can find it online or at a local gardening supply store. Make sure it’s a reputable source!
* Substrate: This is what your mushrooms will grow on. Straw is a great option for oyster mushrooms. You can also use coffee grounds, but we’ll stick with straw for this guide.
* Large Plastic Bags or Buckets: These will be our growing containers. Make sure they’re clean!
* Spray Bottle: For misting the mushrooms.
* Hydrogen Peroxide (3%): For sterilizing the straw.
* Lime (Agricultural Lime): Also for sterilizing the straw.
* Large Pot or Container: For pasteurizing the straw.
* Thermometer: To monitor the temperature of the straw during pasteurization.
* Gloves: To keep everything clean and sterile.
* Drill or Knife: To create ventilation holes in the bags or buckets.
* Rubbing Alcohol: To sterilize your tools.
* A Clean Workspace: Essential for preventing contamination.
Phase 1: Preparing the Substrate (Straw)
This is arguably the most important step. Contamination is the enemy of mushroom growing, so we need to make sure our straw is as clean as possible.
1. Chop the Straw: Using scissors or a knife, chop the straw into smaller pieces, about 2-3 inches long. This will make it easier for the mushroom mycelium (the “roots” of the mushroom) to colonize.
2. Pasteurize the Straw: This process kills off any competing organisms that could hinder mushroom growth. There are a couple of ways to do this:
* Hot Water Pasteurization: This is the method I prefer.
1. Fill your large pot or container with water.
2. Add the chopped straw.
3. Add 1/4 cup of hydrogen peroxide and 1/4 cup of lime to the water. This will help to further sterilize the straw.
4. Heat the water to 160-180°F (71-82°C). Use your thermometer to monitor the temperature.
5. Maintain this temperature for 60-90 minutes. This is crucial for killing off unwanted organisms.
6. Carefully drain the hot water from the straw. You can use a colander or a large strainer. Be careful, it’s hot!
7. Let the straw cool down completely. It should be cool enough to handle with your bare hands. This usually takes several hours. The straw should be moist, but not dripping wet. Squeeze a handful – a few drops of water should come out.
* Cold Water Lime Bath: This is a less energy-intensive method, but it takes longer.
1. Fill a large container with cold water.
2. Add 1 cup of agricultural lime per 10 gallons of water.
3. Add the chopped straw to the lime water.
4. Soak the straw for 12-24 hours.
5. Drain the lime water from the straw.
6. Rinse the straw thoroughly with clean water.
7. Let the straw drain and cool down completely. Again, it should be moist, but not dripping wet.
Phase 2: Inoculating the Substrate
Now for the fun part – introducing the mushroom spawn to the prepared straw!
1. Clean Your Workspace: Wipe down your work surface with rubbing alcohol. This will help to prevent contamination.
2. Prepare Your Growing Container: If you’re using plastic bags, make sure they’re clean. If you’re using buckets, drill several 1/4-inch holes around the sides for ventilation. These holes will allow air to circulate and prevent the buildup of carbon dioxide.
3. Layer the Straw and Spawn: This is where the magic happens.
1. Start with a layer of straw at the bottom of your container.
2. Sprinkle a layer of mushroom spawn over the straw.
3. Add another layer of straw.
4. Sprinkle another layer of spawn.
5. Continue layering straw and spawn until your container is full.
6. Make sure the final layer is straw.
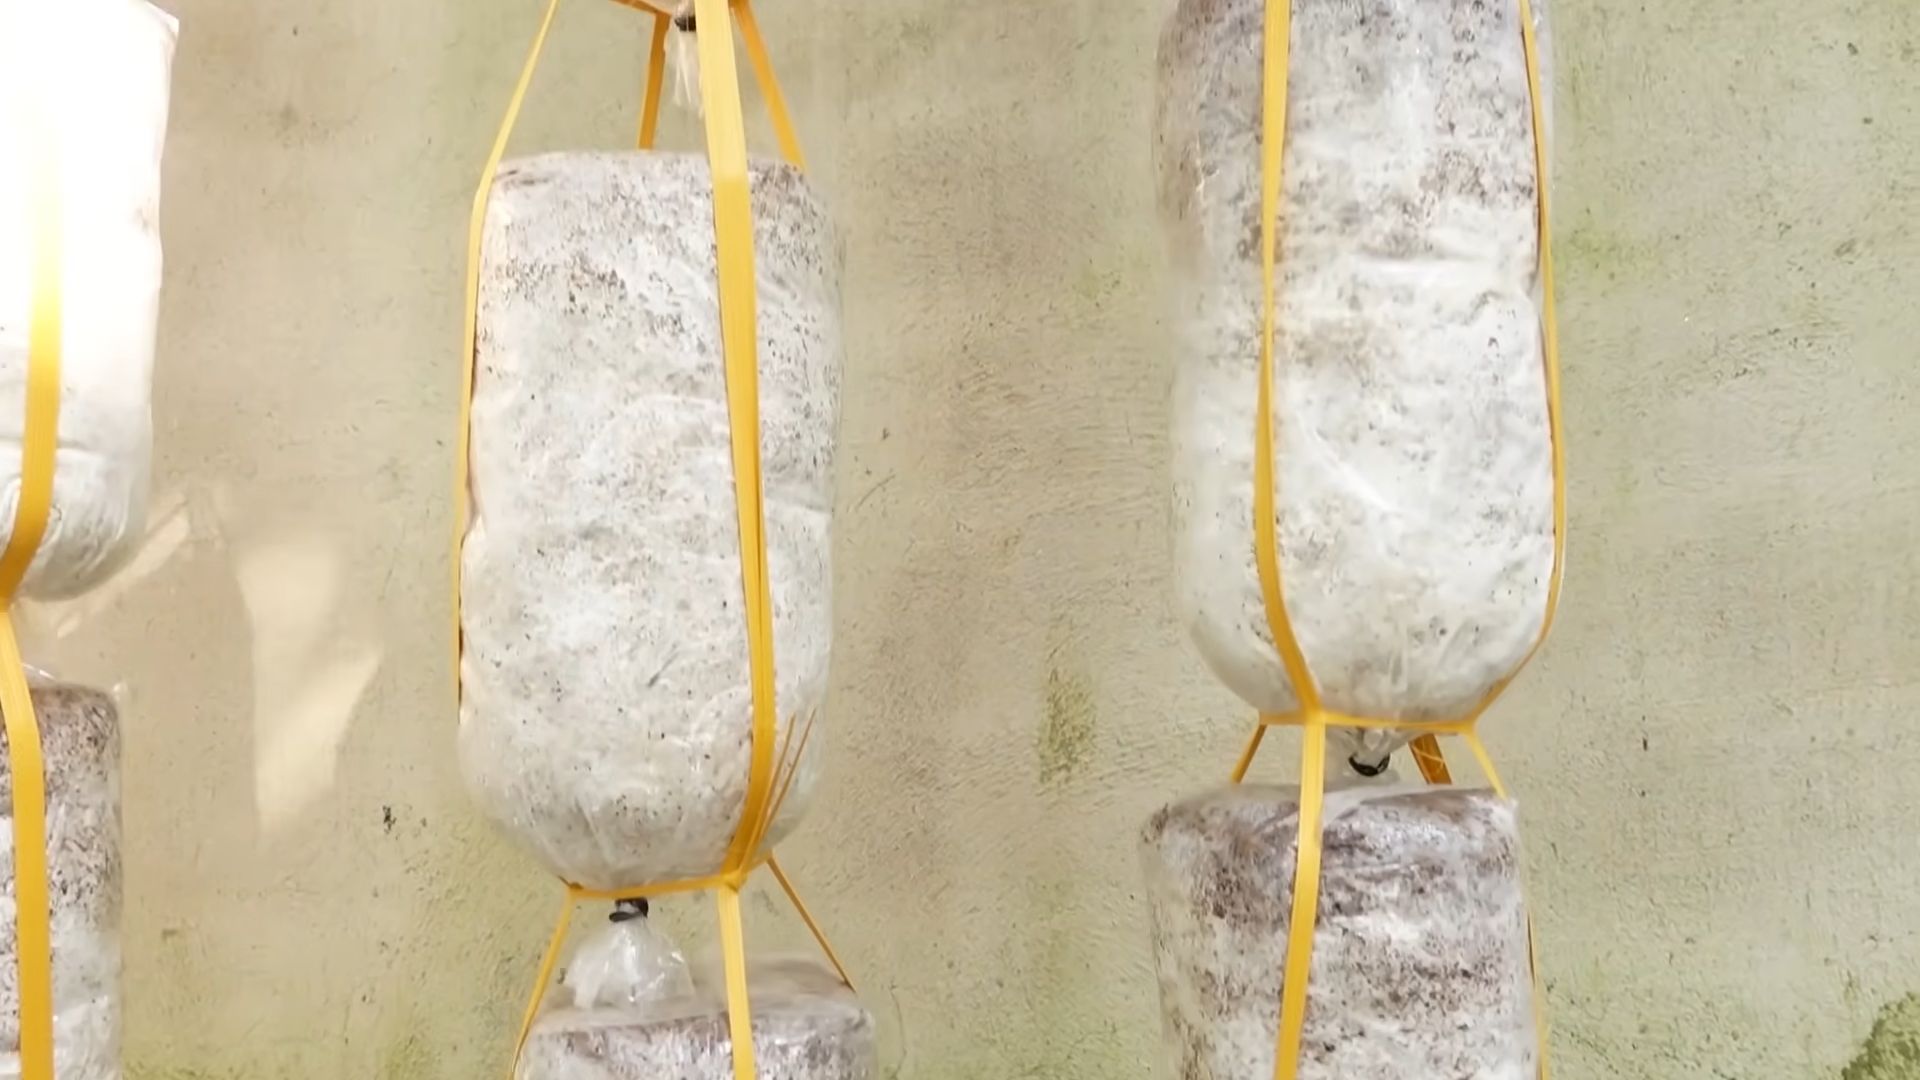
4. Seal the Container: If you’re using plastic bags, tie them tightly with a zip tie or string. If you’re using buckets, place a lid on top, but don’t seal it completely. You want some air circulation.
Phase 3: Incubation
This is the waiting game. The mycelium needs time to colonize the straw.
1. Find a Suitable Location: Place your inoculated container in a dark, cool, and humid location. A basement, closet, or spare room works well. The ideal temperature is between 65-75°F (18-24°C).
2. Monitor the Colonization: Check on your container every few days. You should start to see white, fuzzy growth (the mycelium) spreading throughout the straw. This process usually takes 2-3 weeks.
3. Maintain Humidity: If the straw starts to dry out, mist it lightly with water. You want to keep it moist, but not soaking wet.
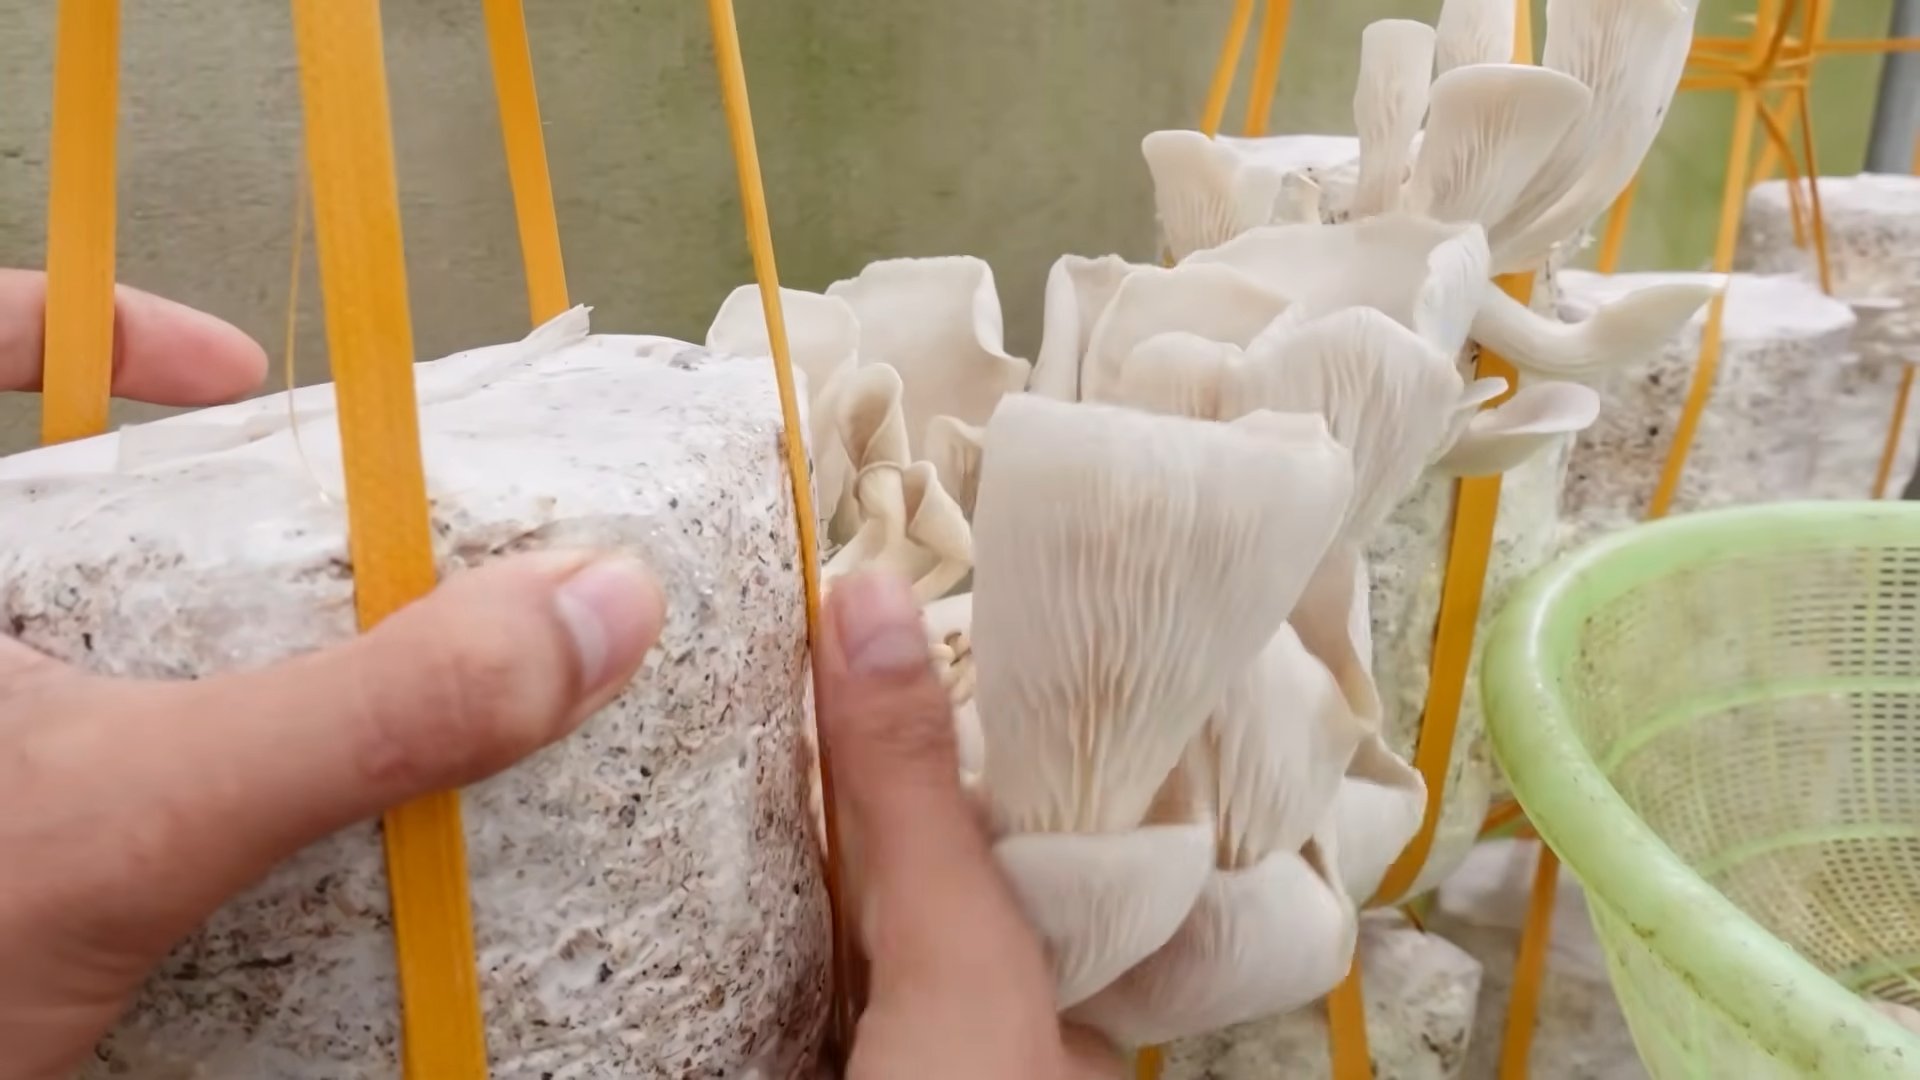
Phase 4: Fruiting
The moment we’ve all been waiting for – mushroom formation!
1. Introduce Light and Fresh Air: Once the straw is fully colonized (completely covered in white mycelium), it’s time to introduce light and fresh air. Move your container to a location with indirect light. A north-facing window is ideal.
2. Increase Humidity: Oyster mushrooms need high humidity to fruit. Mist the container regularly with water, several times a day. You can also place a humidity tent over the container. A clear plastic bag with holes poked in it works well.
3. Monitor for Pinning: After a few days, you should start to see small mushroom “pins” forming. These are the baby mushrooms!
4. Harvest Your Mushrooms: The mushrooms will grow rapidly. Harvest them when the caps are fully formed, but before they start to release spores (you’ll see a powdery substance on the caps). To harvest, simply twist the mushrooms off the substrate.
Phase 5: Subsequent Flushes
Congratulations, you’ve harvested your first flush of mushrooms! But the fun doesn’t have to end there. You can usually get several flushes of mushrooms from the same substrate.
1. Soak the Substrate: After harvesting, soak the substrate in cold water for 12-24 hours. This will rehydrate the mycelium and encourage another flush of mushrooms.
2. Drain and Repeat: Drain the water and return the container to its fruiting location. Repeat the misting and monitoring process.
3. Enjoy Multiple Harvests: You can usually get 2-3 flushes of mushrooms from the same substrate. After that, the substrate will be depleted of nutrients and you’ll need to start a new batch.
Troubleshooting: Common Problems and Solutions
Even with the best preparation, you might encounter some problems along the way. Here are a few common issues and how to address them:
* Contamination: If you see green, black, or other colored mold growing on the substrate, it’s contaminated. Unfortunately, there’s not much you can do at this point. Dispose of the contaminated substrate and start over with a fresh batch. Prevention is key! Make sure to sterilize your straw properly and work in a clean environment.
* Slow Colonization: If the mycelium is growing slowly, it could be due to low temperature or low humidity. Make sure the temperature is within the ideal range (65-75°F) and mist the substrate regularly to maintain humidity.
* No Pinning: If the substrate is fully colonized but you’re not seeing any pins, it could be due to lack of light or fresh air. Move the container to a location with indirect light and make sure there’s adequate ventilation.
* Small Mushrooms: If the mushrooms are small and stunted, it could be due to low humidity or lack of nutrients. Increase the humidity by misting more frequently and consider adding a small amount
Conclusion
So, there you have it! Cultivating your own mushrooms at home isn’t just a quirky project; it’s a rewarding journey that connects you to the natural world and provides you with a sustainable source of fresh, delicious food. We’ve walked you through the process, demystifying the steps and highlighting the ease with which you can transform a simple space into a thriving mushroom farm.
Why is this DIY trick a must-try? Because it empowers you to take control of your food source, reduces your reliance on commercially grown options (often shipped long distances), and allows you to enjoy varieties of mushrooms that are rarely found in supermarkets. Imagine the satisfaction of harvesting your own oyster mushrooms, shiitakes, or even lion’s mane, knowing that you nurtured them from start to finish. The flavor and texture of homegrown mushrooms are simply unparalleled, offering a culinary experience that store-bought varieties can’t match.
Beyond the practical benefits, growing mushrooms at home is an incredibly educational and therapeutic activity. It’s a fascinating glimpse into the world of fungi, teaching you about their life cycle, their role in the ecosystem, and their incredible nutritional value. It’s also a mindful practice that encourages patience, observation, and a deeper appreciation for the interconnectedness of life.
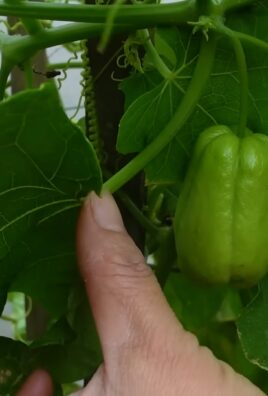
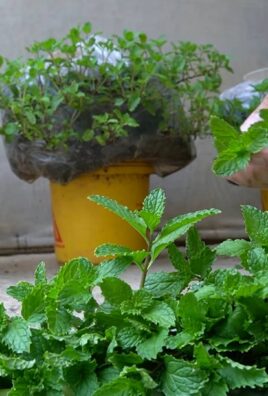
Looking for variations? Absolutely! Experiment with different substrates like straw, coffee grounds, or hardwood sawdust to see which works best for your chosen mushroom species. Try different growing containers, from simple buckets to elaborate fruiting chambers. Consider adding companion plants to your mushroom garden to create a more diverse and balanced ecosystem. You can even explore different inoculation methods, such as using mushroom plugs or liquid cultures. The possibilities are endless!
Don’t be intimidated by the process. Start small, choose an easy-to-grow variety like oyster mushrooms, and follow the instructions carefully. With a little patience and attention, you’ll be amazed at how quickly you can harvest your first crop.
We wholeheartedly encourage you to embark on this exciting adventure of growing mushrooms at home. It’s a sustainable, rewarding, and delicious way to connect with nature and enhance your culinary experiences.
Now, we want to hear from you! Have you tried growing mushrooms at home before? What were your successes and challenges? Share your experiences, tips, and photos in the comments below. Let’s build a community of mushroom enthusiasts and learn from each other. Your insights could inspire others to take the plunge and discover the magic of homegrown mushrooms. Let’s cultivate a world where fresh, sustainable food is accessible to everyone, one mushroom at a time. Remember, mastering the art of growing mushrooms at home is a skill that will keep on giving.
Frequently Asked Questions (FAQ)
What are the easiest types of mushrooms to grow at home for beginners?
Oyster mushrooms are widely considered the easiest mushrooms to grow for beginners. They are fast-growing, relatively forgiving of environmental fluctuations, and can thrive on a variety of substrates, including straw, coffee grounds, and even cardboard. Shiitake mushrooms are another good option, although they require a bit more patience as they take longer to fruit. Button mushrooms, the kind you typically find in supermarkets, are more challenging to grow at home due to their specific environmental requirements.
What kind of space do I need to grow mushrooms at home?
The amount of space you need depends on the scale of your operation. For a small, hobby-level setup, a closet, basement corner, or even a shaded balcony can suffice. The key is to provide a dark, humid environment with good ventilation. A dedicated grow tent can be helpful for controlling temperature and humidity, but it’s not essential for beginners. Remember to consider the vertical space as well, as some mushroom varieties can grow quite tall.
What is the best substrate to use for growing mushrooms?
The best substrate depends on the type of mushroom you’re growing. Oyster mushrooms thrive on straw, coffee grounds, and cardboard. Shiitake mushrooms prefer hardwood sawdust or logs. Button mushrooms require a composted substrate. It’s crucial to research the specific substrate requirements of your chosen mushroom species to ensure optimal growth. Sterilizing or pasteurizing the substrate is also essential to eliminate competing molds and bacteria.
How long does it take to grow mushrooms at home?
The time it takes to grow mushrooms varies depending on the species and the growing conditions. Oyster mushrooms can fruit in as little as 2-3 weeks after inoculation. Shiitake mushrooms typically take several months to fruit, especially when grown on logs. Button mushrooms can take 4-6 weeks to fruit. Factors such as temperature, humidity, and light can also affect the fruiting time.
How do I maintain the humidity levels for growing mushrooms?
Maintaining adequate humidity is crucial for successful mushroom cultivation. You can increase humidity by misting the growing area regularly with water, using a humidifier, or placing a tray of water near the mushrooms. Covering the growing container with a plastic bag or dome can also help retain moisture. Monitor the humidity levels with a hygrometer and adjust accordingly. Aim for a humidity level of 80-90% for most mushroom species.
How do I know when my mushrooms are ready to harvest?
The signs of maturity vary depending on the mushroom species. Oyster mushrooms are ready to harvest when the caps are fully formed and the edges are still slightly curled downwards. Shiitake mushrooms are ready when the caps have flattened out and the gills are visible. Button mushrooms are ready when the caps are closed and the veil is still intact. Harvest mushrooms before they release their spores, as this can reduce their quality and flavor.
What are some common problems when growing mushrooms at home and how can I fix them?
Common problems include contamination, slow growth, and lack of fruiting. Contamination can be prevented by sterilizing or pasteurizing the substrate and maintaining a clean growing environment. Slow growth can be caused by low temperatures, inadequate humidity, or insufficient light. Lack of fruiting can be caused by improper substrate, poor ventilation, or lack of a fruiting trigger (such as a temperature drop). Research the specific requirements of your chosen mushroom species and adjust the growing conditions accordingly.
Can I reuse the substrate after harvesting mushrooms?
Yes, you can often get multiple flushes (harvests) from the same substrate. After harvesting the first flush, soak the substrate in water for a few hours to rehydrate it. Then, return it to the growing environment and wait for the next flush to appear. The number of flushes you can get depends on the mushroom species and the quality of the substrate. Eventually, the substrate will become depleted of nutrients and will need to be replaced. You can then compost the spent substrate and use it to enrich your garden soil.
Are there any safety precautions I should take when growing mushrooms at home?
Always wash your hands thoroughly before and after handling mushrooms or substrate. Avoid inhaling mushroom spores, as they can cause allergic reactions in some people. Cook mushrooms thoroughly before eating them, as some species can be toxic when raw. If you are unsure about the identity of a mushroom, do not eat it. Consult with a mycologist or experienced mushroom grower for identification.
Leave a Comment