
Grow Red Radishes Winter? Absolutely! Imagine the vibrant pop of color and the peppery crunch of freshly harvested red radishes brightening up your winter meals. It might seem like a summer crop, but with a few clever tricks, you can enjoy these delightful root vegetables even when the snow is falling.
For centuries, root vegetables like radishes have been a staple in diets across the globe, providing essential nutrients during colder months when other produce is scarce. From ancient Egypt to medieval Europe, radishes were prized for their hardiness and ability to thrive in less-than-ideal conditions. Now, you can tap into that same resilience and bring a touch of spring to your winter table.
Why bother learning how to grow red radishes winter? Well, for starters, store-bought radishes often lack the crispness and flavor of homegrown ones. Plus, gardening is a fantastic way to connect with nature, reduce stress, and enjoy the satisfaction of nurturing something from seed to table. In this article, I’m going to share some simple, DIY tricks and hacks that will help you successfully cultivate these peppery gems, even when Jack Frost is nipping at your nose. Get ready to discover the secrets to a bountiful winter radish harvest!
Growing Winter Radishes Yourself: How to Succeed Even in the Cold Season!
Hey garden friends! Who says you can’t enjoy a fresh salad in the winter? I’ll show you how you can grow crisp, red radishes yourself even in the cold season. Don’t worry, it’s easier than you think! With a few tips and tricks, you can look forward to a delicious harvest even in winter.
What you need for growing winter radishes:
- Radish seeds: Choose a variety that is suitable for growing in a greenhouse or under fleece. “Raxe” or “French Breakfast” are good options.
- Seed starting mix or vegetable soil: A loose, nutrient-rich soil is important for growth.
- Planters: Pots, window boxes, or seed trays – whatever you like best! Ensure they have good drainage.
- Mini-greenhouse or fleece: To protect the radishes from frost. A windowsill with plenty of light will also do.
- Watering can with a fine rose: For gentle watering.
- Optional: A grow light, if there isn’t enough natural light.
Step-by-Step Guide: Growing Radishes in Winter
1. Preparing the Planters:
- First, I thoroughly clean my planters. I remove old soil and rinse them with hot water – this helps prevent diseases.
- Then I fill the containers with seed starting mix or vegetable soil. Leave about 2-3 cm (about 1 inch) of space at the top.
- Lightly press the soil down and moisten it with the watering can. It should be damp, but not wet.
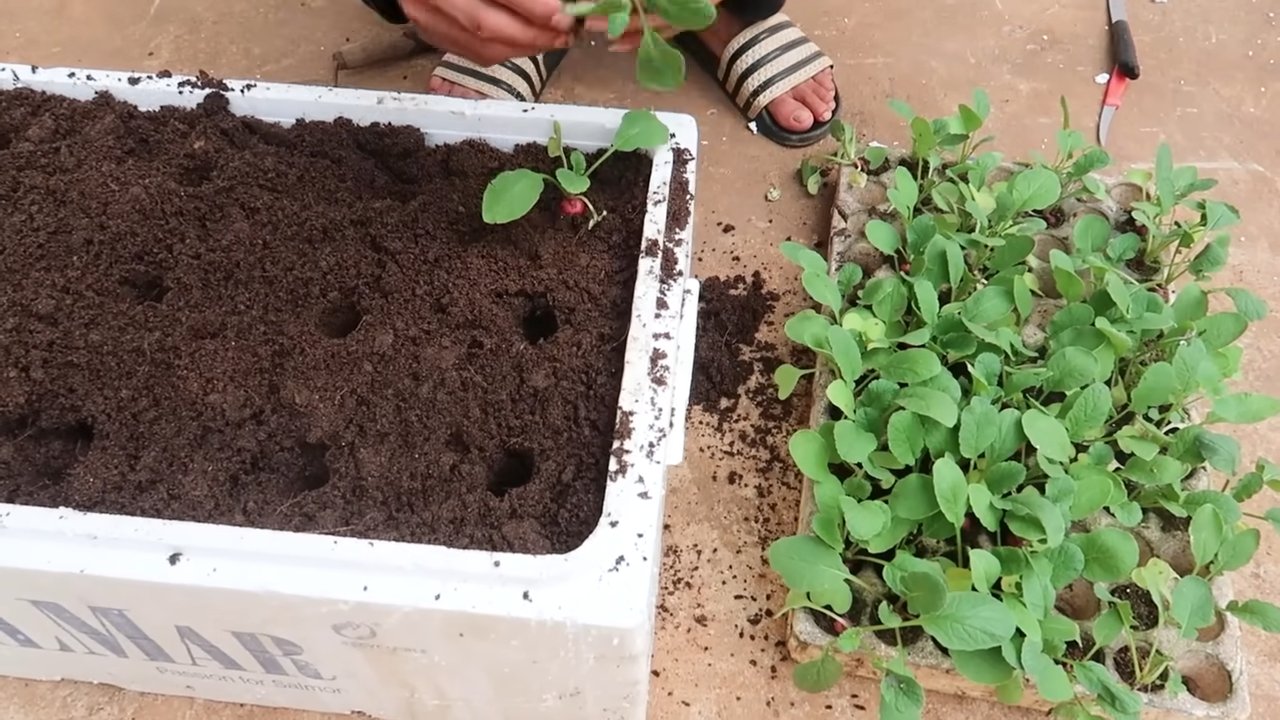
2. Sowing the Radish Seeds:
- I distribute the radish seeds evenly on the soil. Make sure they are not too close together, otherwise they will compete for light and nutrients. A distance of about 2-3 cm (about 1 inch) between the seeds is ideal.
- Next, I cover the seeds with a thin layer of soil (approx. 0.5 cm / 0.2 inches).
- Gently moisten the soil again.
3. The Right Location:
- Now comes the most important part: the location! Radishes need a lot of light, especially in winter. A bright spot on a windowsill, in a mini-greenhouse, or under a grow light is perfect.
- The temperature should ideally be between 10 and 20 degrees Celsius (50-68°F).
4. Caring for the Radishes:
- Watering: The soil should always be slightly moist, but avoid waterlogging! I water my radishes every few days, as needed.
- Ventilating: If you are using a mini-greenhouse, you should ventilate it regularly to prevent mold.
- Fertilizing: Radishes don’t need much fertilizer. If you like, you can use a low-concentration organic liquid fertilizer after about two weeks.
- Checking: Watch out for pests like aphids. If necessary, you can rinse them off with a gentle stream of water or use an organic pesticide.
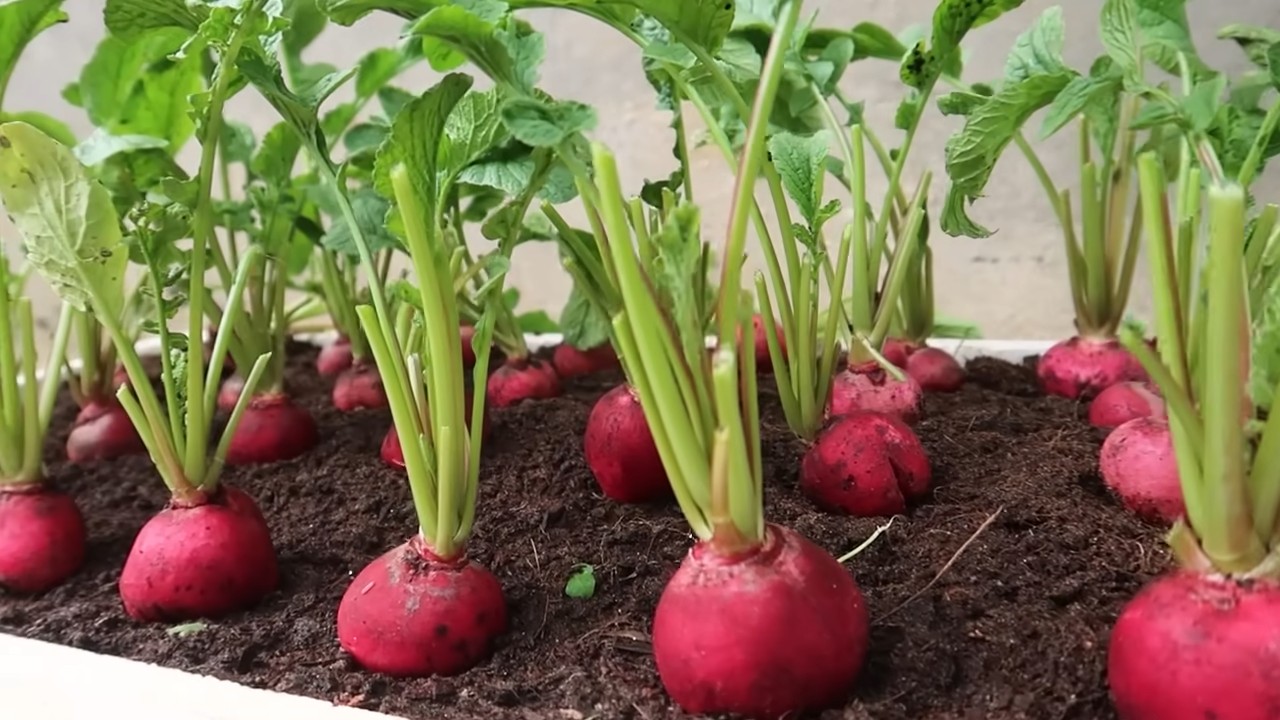
5. Harvest Time:
- Yay, harvest time is here! Radishes are usually ready to harvest after 4-6 weeks.
- I harvest them when they have reached the desired size. Simply pull them gently out of the soil.
- They taste best fresh from the garden!
Additional Tips for Successful Winter Cultivation:
- Variety Selection: As already mentioned, certain radish varieties are better suited for winter growing. Inform yourself about the characteristics of the respective variety before buying.
- Light: Light is often scarce in winter. A grow light can help to promote growth.
- Temperature: Ensure a constant temperature. Avoid extreme temperature fluctuations.
- Ventilation: Good ventilation is important to prevent mold.
- Pests: Check your radishes regularly for pests.
Common Problems and Solutions:
- Radishes don’t get big: This can be due to too little light, sowing too densely, or a lack of nutrients. Provide sufficient light, thin out the plants, and fertilize if necessary.
- Radishes are splitting: This often happens with irregular watering. Ensure the soil has consistent moisture.
- Radishes are too spicy: This can be due to dryness or too much sun. Water regularly and protect the plants from direct sunlight.
- Mold growth: Ensure good ventilation and avoid waterlogging.
A few more ideas for using your winter radishes:
- In a salad: Classic and delicious!
- As a raw snack: Simply crunch on them plain.
- On bread: A treat with butter and salt!
- In soups and stews: For a spicy note.
- Pickled: A great side dish for meat and fish.
Radishes in a Pot on the Balcony: A Detailed Guide
If you don’t have a garden, that’s no problem! Radishes can also be grown wonderfully in a pot on the balcony. Here is a detailed guide:
1. Choosing the Right Pot:
- I choose a pot with a diameter of at least 20 cm (8 inches) and a depth of at least 15 cm (6 inches). This gives the radishes enough space to grow.
- Make sure the pot has drainage holes so excess water can run off.
2. Preparing the Pot:
- I place a layer of clay shards or expanded clay at the bottom of the pot to improve drainage.
- Then I fill the pot with seed starting mix or vegetable soil. Leave about 2-3 cm (about 1 inch) of space at the top.
- Lightly press the soil down and moisten with the watering can.
3. Sowing the Radish Seeds:
- I distribute the radish seeds evenly on the soil. A distance of about 2-3 cm (about 1 inch) between seeds is ideal.
- Next, I cover the seeds with a thin layer of soil (approx. 0.5 cm / 0.2 inches).
- Gently moisten the soil again.
4. The Right Location on the Balcony:
- Radishes need a lot of light, even on the balcony. A sunny or partially shaded spot is ideal.
- Make sure the pot is protected from strong winds.
5. Caring for Radishes on the Balcony:
- Watering: The soil should always be slightly moist, but avoid waterlogging! I water my radishes every few days, as needed.
- Fertilizing: Radishes don’t need much fertilizer. If you like, you can use a low-concentration organic liquid fertilizer after about two weeks.
- Checking: Watch out for pests like aphids. If necessary, you can rinse them off with a gentle stream of water or use an organic pesticide.
6. Harvest Time on the Balcony:
- Yay, harvest time is here! Radishes are usually ready to harvest after 4-6 weeks.
- I harvest them when they have reached the desired size. Simply pull them gently out of the soil.
- They taste best fresh from the balcony!
Growing Radishes in a Greenhouse: How to do it Professionally
Those with a greenhouse can further optimize radish cultivation in winter.
Conclusion
So, there you have it! Growing red radishes in winter might seem like a gardening dream reserved for warmer climates, but with a little ingenuity and this simple DIY trick, you can enjoy the crisp, peppery bite of homegrown radishes even when the snow is falling. This method isn’t just about defying the cold; it’s about extending your growing season, reducing your reliance on store-bought produce, and experiencing the immense satisfaction of nurturing life from seed to table, even in the depths of winter.
Why is this DIY approach a must-try? Because it’s accessible, affordable, and incredibly rewarding. You don’t need a fancy greenhouse or specialized equipment. With readily available materials and a few minutes of your time, you can create a microclimate that protects your radishes from frost and allows them to thrive. Imagine the delight of adding fresh, vibrant radishes to your winter salads, soups, and snacks, knowing that you grew them yourself, despite the weather outside.
But don’t stop there! This DIY technique is incredibly versatile. Experiment with different containers – try repurposing plastic storage bins or even old tires (cleaned thoroughly, of course!). You can also adjust the type of covering you use based on your local climate. In milder winter areas, a simple layer of horticultural fleece might suffice, while colder regions might benefit from a double layer or even a sheet of clear plastic over the fleece for added insulation.
Consider companion planting to further enhance your radish crop. Carrots and lettuce are excellent companions for radishes, as they can help deter pests and improve soil health. You can also experiment with different varieties of radishes. While the classic red radish is a great starting point, explore other options like French Breakfast radishes, with their mild flavor and elongated shape, or even black Spanish radishes, which offer a more intense, pungent taste.
The key to success with this DIY method is observation and adaptation. Keep a close eye on your radishes, monitoring their growth and adjusting the amount of ventilation and watering as needed. Remember that even in winter, radishes need sunlight to thrive, so choose a location that receives at least six hours of direct sunlight per day. If natural sunlight is limited, consider supplementing with grow lights.
We are confident that this DIY trick will transform your winter gardening experience. It’s a simple, effective, and sustainable way to enjoy fresh, homegrown radishes year-round. So, grab your seeds, gather your materials, and get ready to embark on a rewarding winter gardening adventure.
Now, we want to hear from you! Try this DIY method for growing red radishes in winter and share your experiences with us. What worked well? What challenges did you encounter? What variations did you try? Your feedback will help us refine this technique and inspire other gardeners to embrace the joys of winter gardening. Share your photos, tips, and stories in the comments below. Let’s create a community of winter radish growers and prove that fresh, homegrown produce is possible, no matter the season!
Frequently Asked Questions (FAQ)
What is the best time to start growing red radishes in winter using this DIY method?
The ideal time to start depends on your local climate and the severity of your winters. Generally, you can begin planting radish seeds indoors or in your protected outdoor setup about 4-6 weeks before your first expected frost. This allows the radishes to establish themselves before the coldest temperatures arrive. If you live in a region with very harsh winters, you might consider starting the seeds indoors and transplanting them into your DIY setup once they are a few weeks old. Remember to check your local frost dates for the most accurate timing.
What kind of soil is best for growing red radishes in winter?
Radishes prefer well-drained, loose soil that is rich in organic matter. A sandy loam soil is ideal. Before planting, amend your soil with compost or well-rotted manure to improve drainage and fertility. Avoid heavy clay soils, as they can become waterlogged and hinder radish growth. If you are growing radishes in containers, use a high-quality potting mix specifically formulated for vegetables. Ensure the soil pH is between 6.0 and 7.0 for optimal growth.
How much sunlight do red radishes need in winter?
Even in winter, radishes need plenty of sunlight to thrive. Aim for at least six hours of direct sunlight per day. If you are growing radishes indoors or in a location with limited sunlight, consider supplementing with grow lights. LED grow lights are an energy-efficient option that provides the full spectrum of light needed for healthy plant growth. Position the grow lights a few inches above the radish seedlings and adjust the height as they grow.
How often should I water my red radishes in winter?
Watering frequency will depend on the temperature and humidity levels in your growing environment. Generally, radishes need consistent moisture but should not be overwatered. Check the soil moisture regularly by sticking your finger about an inch into the soil. If the soil feels dry to the touch, it’s time to water. Water deeply but infrequently, allowing the soil to dry out slightly between waterings. Avoid overhead watering, as this can lead to fungal diseases.
How do I protect my red radishes from frost in winter?
The DIY method described in the article provides a basic level of frost protection. However, if you experience particularly cold temperatures, you may need to take additional measures. Consider adding an extra layer of insulation to your setup, such as a blanket or tarp. You can also use a cold frame or mini-greenhouse to provide even greater protection. If you are growing radishes in containers, you can easily move them indoors during periods of extreme cold.
What are some common pests and diseases that affect red radishes in winter, and how can I prevent them?
Common pests that can affect radishes include flea beetles, aphids, and root maggots. To prevent flea beetles, cover your radishes with row covers. Aphids can be controlled with insecticidal soap or neem oil. Root maggots can be prevented by practicing crop rotation and using diatomaceous earth around the base of the plants. Common diseases that can affect radishes include damping-off and white rust. To prevent these diseases, ensure good air circulation, avoid overwatering, and use disease-resistant varieties.
How long does it take for red radishes to mature in winter?
Radishes are relatively fast-growing vegetables, even in winter. Depending on the variety and growing conditions, radishes typically mature in 3-6 weeks. Check the seed packet for specific maturity times. You can harvest radishes when they reach the desired size, usually about 1 inch in diameter.
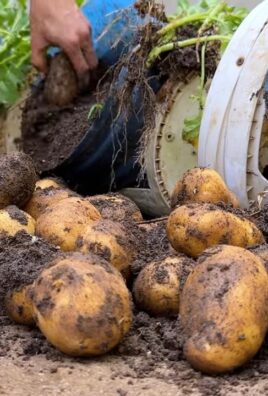
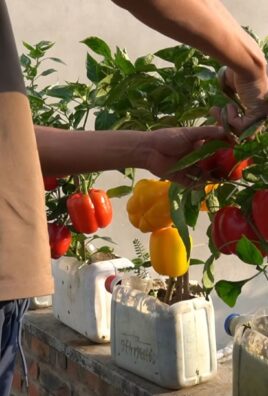
Can I grow other vegetables using this DIY winter gardening method?
Yes, this DIY method can be adapted to grow other cool-season vegetables, such as spinach, lettuce, kale, and arugula. The key is to choose vegetables that are tolerant of cold temperatures and require similar growing conditions to radishes. Experiment with different varieties and adjust your setup as needed to provide the optimal environment for each vegetable.
What are some creative ways to use my homegrown red radishes in winter?
Beyond adding them to salads, radishes can be used in a variety of creative ways. Try roasting them with olive oil and herbs for a warm and flavorful side dish. Add them to soups and stews for a peppery kick. Pickle them for a tangy and refreshing snack. You can even use radish greens in salads or sauté them as a side dish. Don’t be afraid to experiment and discover new ways to enjoy your homegrown radishes.
How do I know when my red radishes are ready to harvest?
The best way to determine if your radishes are ready to harvest is to check their size and shape. They should be firm and plump, and about 1 inch in diameter. You can also gently pull one radish to check its size and maturity. If it’s the right size and shape, the rest of the radishes are likely ready to harvest as well. Harvest radishes promptly once they are mature, as they can become woody and bitter if left in the ground too long.
Leave a Comment