
Balcony Chili Plant Growing – ever dreamt of spicing up your meals with fresh chilies grown right outside your kitchen door? I know I have! There’s something incredibly satisfying about nurturing a plant from seed to fiery fruit, especially when space is at a premium. For centuries, chilies have been prized not only for their culinary kick but also for their medicinal properties, playing a significant role in various cultures around the globe. From ancient Aztec civilizations to modern-day kitchens, the chili pepper’s journey is a testament to its enduring appeal.
But let’s face it, not everyone has a sprawling garden. That’s where the magic of balcony gardening comes in! This DIY guide is your passport to successfully growing vibrant chili plants, even if all you have is a small outdoor space. We’ll explore simple yet effective techniques to maximize your yield and overcome common challenges. Imagine the joy of harvesting your own chilies, knowing exactly where they came from and how they were grown.
With the right know-how, balcony chili plant growing can be surprisingly easy and rewarding. So, ditch the store-bought chilies and get ready to embark on a flavorful adventure! I’m here to guide you every step of the way, from choosing the right varieties to troubleshooting common problems. Let’s transform your balcony into a chili paradise!
Growing Chili Peppers on Your Balcony: A Spicy DIY Guide
Hey there, fellow chili enthusiast! Dreaming of fresh, fiery peppers right outside your door? You’ve come to the right place. I’m going to walk you through everything you need to know to successfully grow chili peppers on your balcony, even if you’re a complete beginner. Get ready to add some serious spice to your life!
Choosing the Right Chili Variety
Before we dive into the nitty-gritty, let’s talk about chili varieties. Not all peppers are created equal, and some are definitely better suited for balcony growing than others. Consider these factors:
* Size: Balconies usually have limited space, so compact varieties are your best bet. Think about bushier plants rather than sprawling vines.
* Sunlight: How much sun does your balcony get? Some chilies thrive in full sun, while others prefer partial shade.
* Heat Level: From mild to scorching, chili peppers come in a wide range of heat levels. Choose varieties you’ll actually enjoy eating!
* Growing Season: Consider your local climate and growing season. Some chilies mature faster than others.
Here are a few balcony-friendly chili varieties I recommend:
* Thai Chili: These are small, prolific, and pack a punch! They do well in containers and love the sun.
* Jalapeño: A classic for a reason! Jalapeños are relatively easy to grow and offer a moderate level of heat.
* Serrano: Similar to jalapeños but with a bit more kick. They’re also quite productive in containers.
* Habanero: If you’re a heat seeker, habaneros are a must-try. Just be prepared for some serious spice! They need plenty of sun and warmth.
* Cayenne: These long, slender peppers are great for drying and making chili powder. They’re relatively easy to grow and quite prolific.
* ‘Patio Fire’ Chili: As the name suggests, this variety is specifically bred for container growing. It’s compact, ornamental, and produces a good yield of moderately hot peppers.
Gathering Your Supplies
Okay, now that you’ve chosen your chili variety, let’s gather the necessary supplies. Here’s what you’ll need:
* Chili Seeds or Seedlings: You can start from seed or buy seedlings from a local nursery. Seedlings will give you a head start.
* Containers: Choose pots that are at least 12 inches in diameter. Make sure they have drainage holes! Fabric pots are also a great option as they allow for better aeration.
* Potting Mix: Use a high-quality potting mix specifically formulated for containers. Avoid using garden soil, as it can compact and drain poorly.
* Fertilizer: Chili peppers are heavy feeders, so you’ll need a good fertilizer. I recommend a balanced fertilizer (e.g., 10-10-10) or one specifically formulated for tomatoes and peppers.
* Watering Can or Hose: For watering your plants, of course!
* Gardening Gloves: To protect your hands.
* Trowel: For planting and transplanting.
* Optional:
* Plant Markers: To label your chili varieties.
* Support Stakes: For taller varieties that may need support.
* Pruning Shears: For trimming and shaping your plants.
* Spray Bottle: For misting your plants and applying foliar fertilizer.
Planting Your Chili Peppers
Alright, let’s get our hands dirty! Here’s how to plant your chili peppers:
Starting from Seed (Optional)
1. Sow Seeds Indoors (6-8 weeks before the last frost): Fill seed trays or small pots with seed-starting mix. Sow seeds about ¼ inch deep.
2. Keep Soil Moist and Warm: Cover the trays with a plastic dome or plastic wrap to retain moisture. Place them in a warm location (around 70-80°F) or use a heat mat.
3. Provide Light: Once the seeds germinate (usually within 7-14 days), remove the cover and provide plenty of light. A sunny windowsill or grow lights will work.
4. Transplant Seedlings: Once the seedlings have a few sets of true leaves, transplant them into larger pots.
Planting Seedlings
1. Prepare the Container: Fill your chosen container with potting mix, leaving a few inches of space at the top.
2. Remove Seedling from Pot: Gently squeeze the sides of the seedling’s pot to loosen the roots. Carefully remove the seedling.
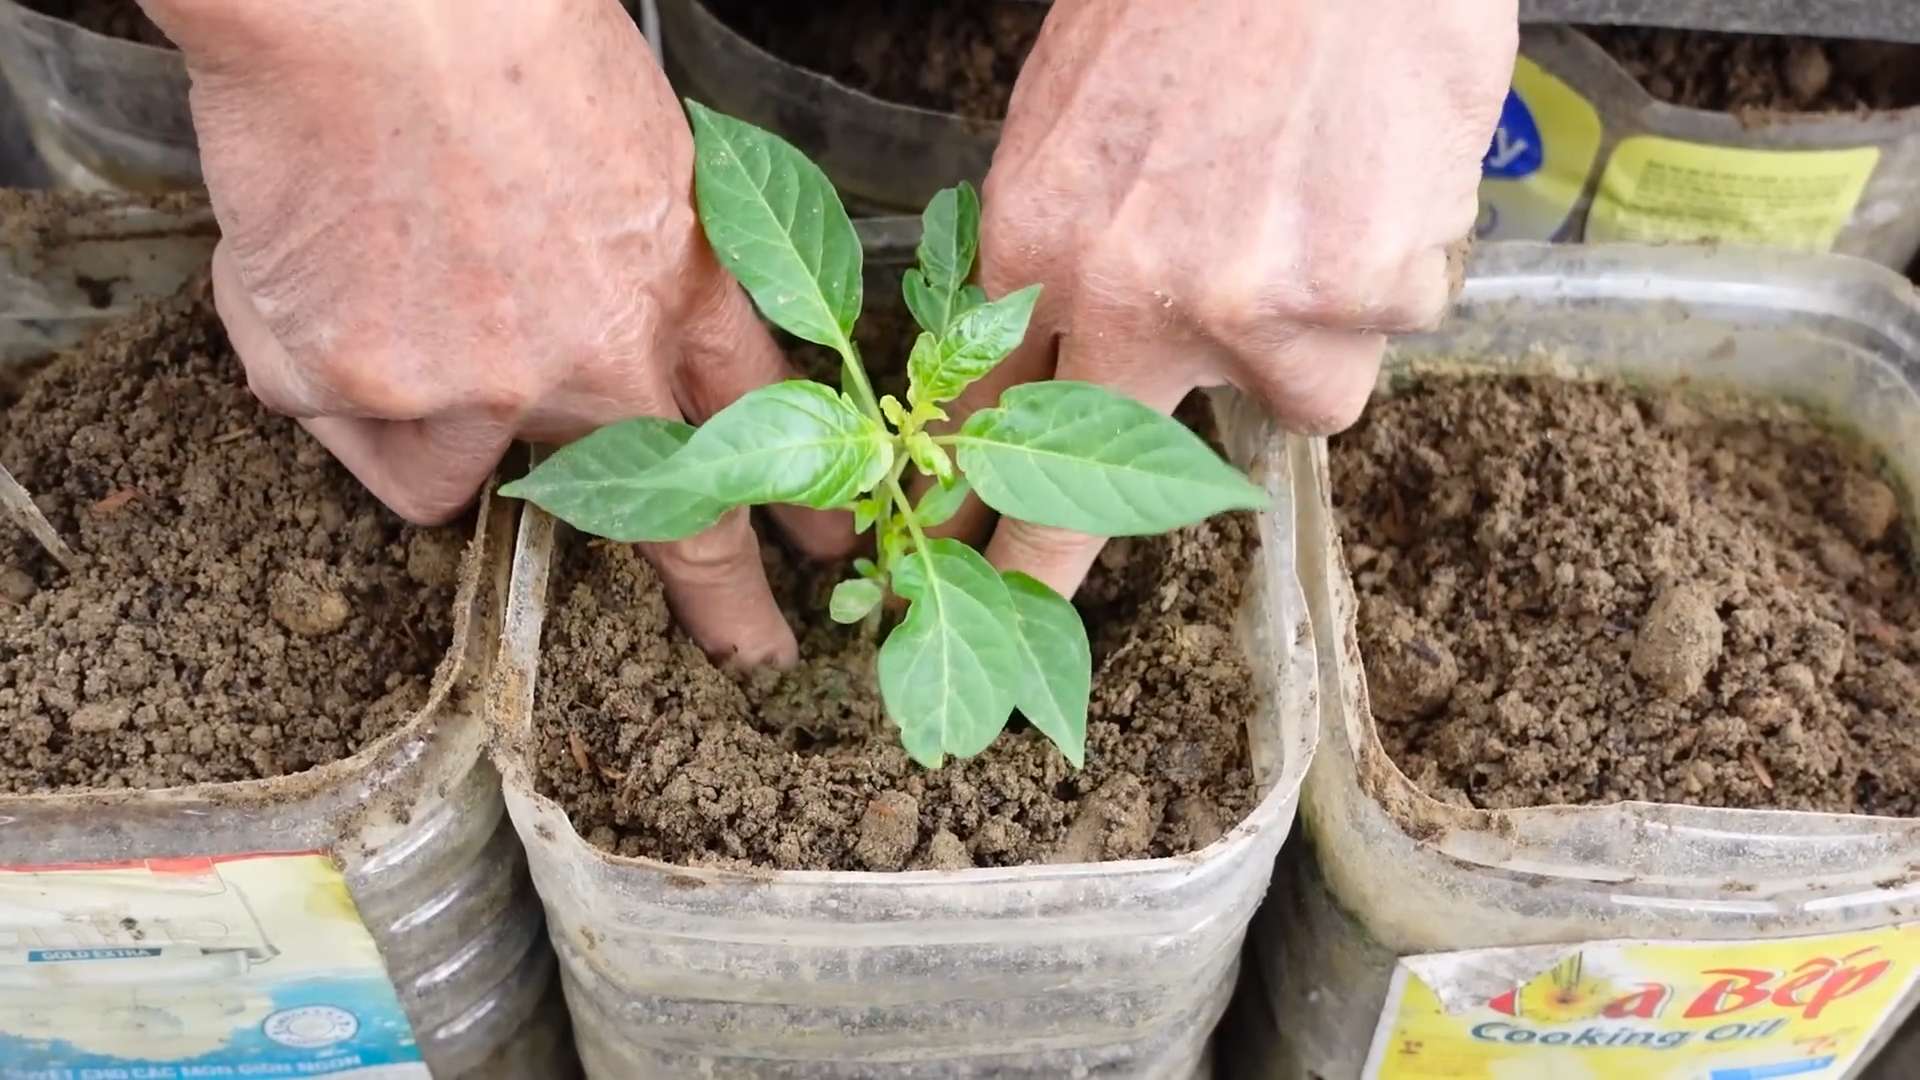
3. Plant the Seedling: Dig a hole in the potting mix that’s large enough to accommodate the seedling’s root ball. Place the seedling in the hole and gently backfill with potting mix.
4. Water Thoroughly: Water the newly planted seedling thoroughly to help settle the soil.
5. Add Support (If Needed): If you’re growing a taller variety, insert a support stake near the seedling.
Caring for Your Chili Plants
Now that your chili peppers are planted, it’s time to provide them with the care they need to thrive.
1. Sunlight: Chili peppers need at least 6-8 hours of sunlight per day. Place your containers in the sunniest spot on your balcony. If your balcony doesn’t get enough sun, consider using grow lights.
2. Watering: Water your chili plants regularly, especially during hot weather. The soil should be consistently moist but not waterlogged. Check the soil moisture by sticking your finger into the soil. If the top inch feels dry, it’s time to water.
3. Fertilizing: Feed your chili plants every 2-3 weeks with a balanced fertilizer or one specifically formulated for tomatoes and peppers. Follow the instructions on the fertilizer package. You can also use a foliar fertilizer (sprayed directly onto the leaves) for a quick boost.
4. Pruning: Pruning isn’t essential, but it can help to improve air circulation and encourage bushier growth. Remove any yellowing or dead leaves. You can also pinch off the tips of the branches to encourage more branching.
5. Pest Control: Keep an eye out for pests like aphids, spider mites, and whiteflies. If you spot any pests, treat them with insecticidal soap or neem oil. You can also try hand-picking the pests off the plants.
6. Pollination: Chili peppers are self-pollinating, but you can help them along by gently shaking the plants or using a small brush to transfer pollen from one flower to another. This is especially important if you’re growing your plants indoors or in a sheltered location.
7. Temperature: Chili peppers prefer warm temperatures (70-85°F). Protect your plants from frost and cold temperatures. If you live in a colder climate, you may need to bring your plants indoors during the winter.
Harvesting Your Chili Peppers
The most exciting part! Harvesting your chili peppers is a rewarding experience.
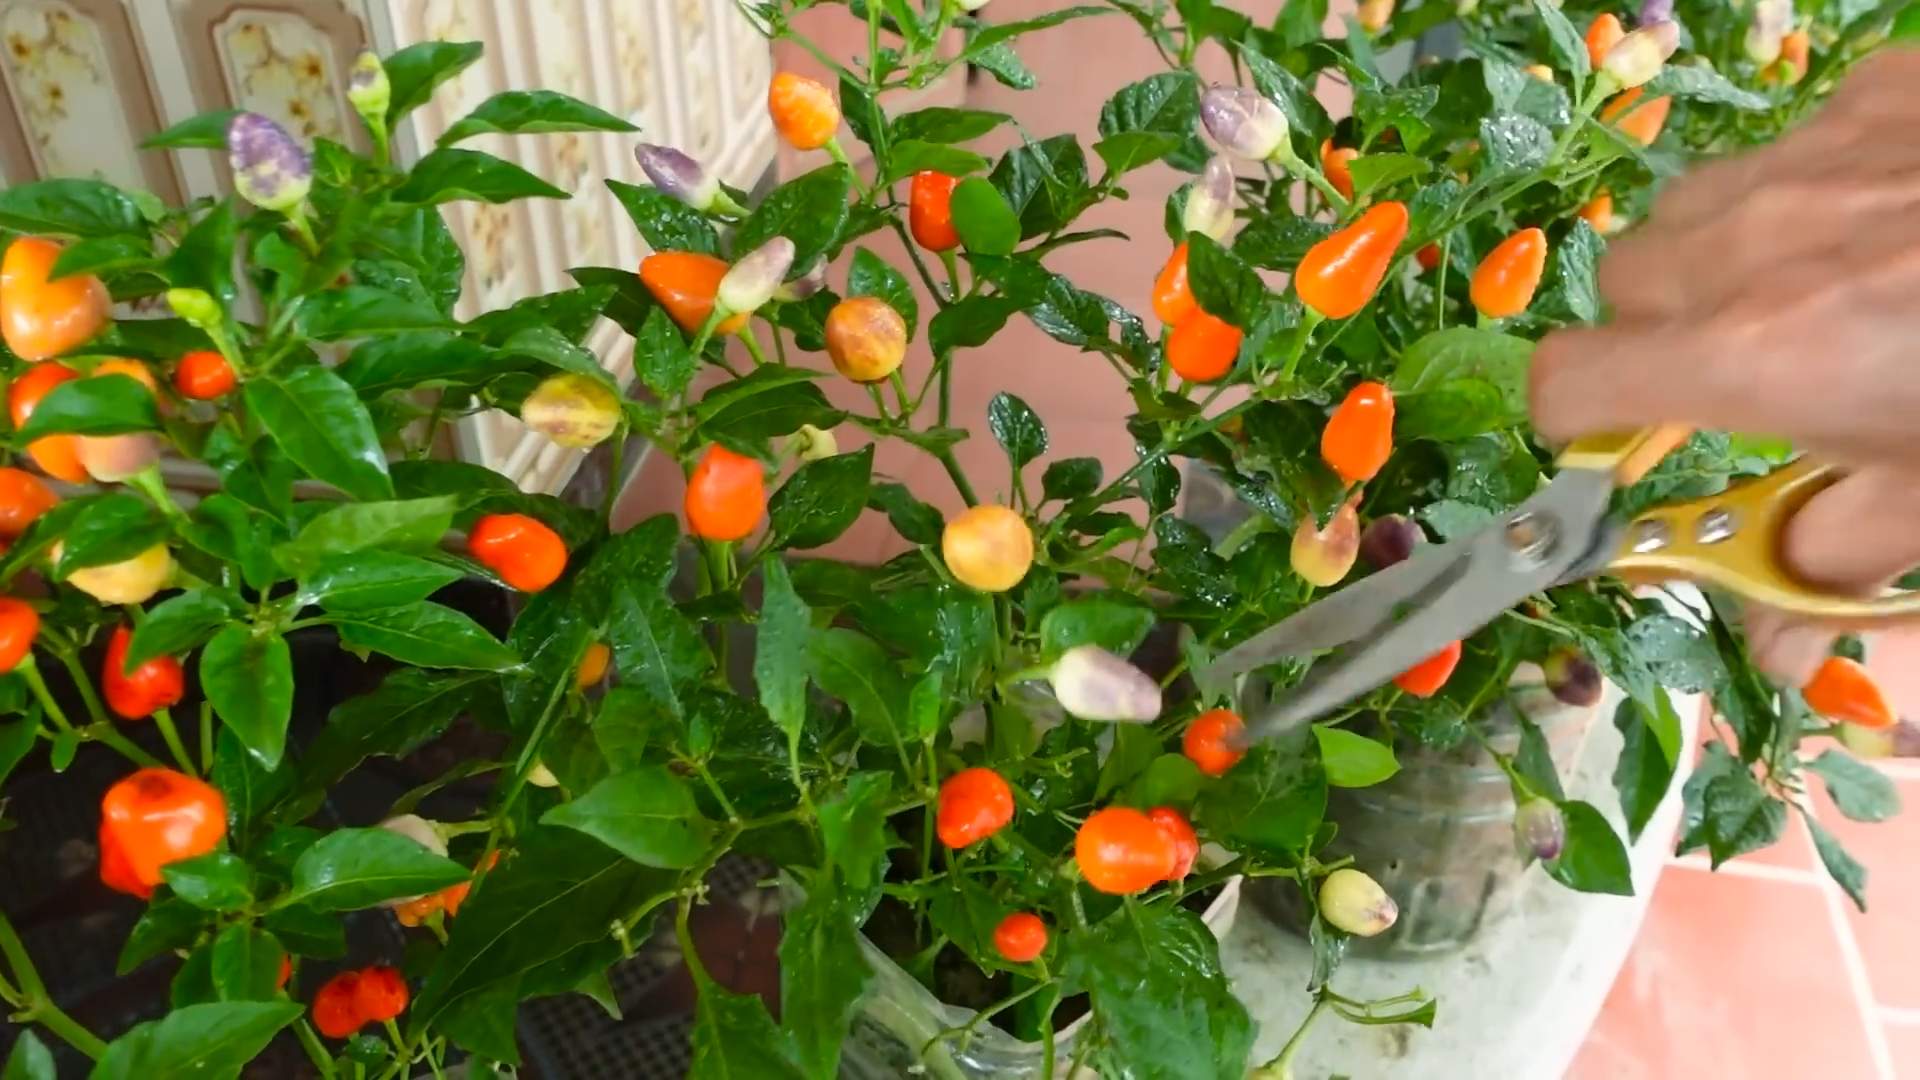
1. Maturity: Chili peppers are typically ready to harvest when they reach their mature color (usually red, yellow, or orange, depending on the variety). They should also be firm to the touch.
2. Harvesting Technique: Use pruning shears or scissors to cut the peppers from the plant. Be careful not to damage the plant.
3. Storage: Fresh chili peppers can be stored in the refrigerator for up to a week. You can also dry them, freeze them, or pickle them for longer storage.
Troubleshooting
Even with the best care, you might encounter some problems along the way. Here are a few common issues and how to address them:
* Yellowing Leaves: This can be caused by overwatering, underwatering, nutrient deficiencies, or pests. Check the soil moisture and adjust your watering accordingly. Fertilize your plants regularly. Inspect for pests and treat them as needed.
* Blossom Drop: This is when the flowers fall off the plant without producing fruit. It can be caused by temperature stress (too hot or
Hey there, fellow chili enthusiast! Dreaming of fresh, fiery peppers right outside your door? You’ve come to the right place. I’m going to walk you through everything you need to know to successfully grow chili peppers on your balcony, even if you’re a complete beginner. Get ready to add some serious spice to your life!
Choosing the Right Chili Variety
Before we dive into the nitty-gritty, let’s talk about chili varieties. Not all peppers are created equal, and some are definitely better suited for balcony growing than others. Consider these factors:
* Size: Balconies usually have limited space, so compact varieties are your best bet. Think about bushier plants rather than sprawling vines.
* Sunlight: How much sun does your balcony get? Some chilies thrive in full sun, while others prefer partial shade.
* Heat Level: From mild to scorching, chili peppers come in a wide range of heat levels. Choose varieties you’ll actually enjoy eating!
* Growing Season: Consider your local climate and growing season. Some chilies mature faster than others.
Here are a few balcony-friendly chili varieties I recommend:
* Thai Chili: These are small, prolific, and pack a punch! They do well in containers and love the sun.
* Jalapeño: A classic for a reason! Jalapeños are relatively easy to grow and offer a moderate level of heat.
* Serrano: Similar to jalapeños but with a bit more kick. They’re also quite productive in containers.
* Habanero: If you’re a heat seeker, habaneros are a must-try. Just be prepared for some serious spice! They need plenty of sun and warmth.
* Cayenne: These long, slender peppers are great for drying and making chili powder. They’re relatively easy to grow and quite prolific.
* ‘Patio Fire’ Chili: As the name suggests, this variety is specifically bred for container growing. It’s compact, ornamental, and produces a good yield of moderately hot peppers.
Gathering Your Supplies
Okay, now that you’ve chosen your chili variety, let’s gather the necessary supplies. Here’s what you’ll need:
* Chili Seeds or Seedlings: You can start from seed or buy seedlings from a local nursery. Seedlings will give you a head start.
* Containers: Choose pots that are at least 12 inches in diameter. Make sure they have drainage holes! Fabric pots are also a great option as they allow for better aeration.
* Potting Mix: Use a high-quality potting mix specifically formulated for containers. Avoid using garden soil, as it can compact and drain poorly.
* Fertilizer: Chili peppers are heavy feeders, so you’ll need a good fertilizer. I recommend a balanced fertilizer (e.g., 10-10-10) or one specifically formulated for tomatoes and peppers.
* Watering Can or Hose: For watering your plants, of course!
* Gardening Gloves: To protect your hands.
* Trowel: For planting and transplanting.
* Optional:
* Plant Markers: To label your chili varieties.
* Support Stakes: For taller varieties that may need support.
* Pruning Shears: For trimming and shaping your plants.
* Spray Bottle: For misting your plants and applying foliar fertilizer.
Planting Your Chili Peppers
Alright, let’s get our hands dirty! Here’s how to plant your chili peppers:
Starting from Seed (Optional)
1. Sow Seeds Indoors (6-8 weeks before the last frost): Fill seed trays or small pots with seed-starting mix. Sow seeds about ¼ inch deep.
2. Keep Soil Moist and Warm: Cover the trays with a plastic dome or plastic wrap to retain moisture. Place them in a warm location (around 70-80°F) or use a heat mat.
3. Provide Light: Once the seeds germinate (usually within 7-14 days), remove the cover and provide plenty of light. A sunny windowsill or grow lights will work.
4. Transplant Seedlings: Once the seedlings have a few sets of true leaves, transplant them into larger pots.
Planting Seedlings
1. Prepare the Container: Fill your chosen container with potting mix, leaving a few inches of space at the top.
2. Remove Seedling from Pot: Gently squeeze the sides of the seedling’s pot to loosen the roots. Carefully remove the seedling.
3. Plant the Seedling: Dig a hole in the potting mix that’s large enough to accommodate the seedling’s root ball. Place the seedling in the hole and gently backfill with potting mix.
4. Water Thoroughly: Water the newly planted seedling thoroughly to help settle the soil.
5. Add Support (If Needed): If you’re growing a taller variety, insert a support stake near the seedling.
Caring for Your Chili Plants
Now that your chili peppers are planted, it’s time to provide them with the care they need to thrive.
1. Sunlight: Chili peppers need at least 6-8 hours of sunlight per day. Place your containers in the sunniest spot on your balcony. If your balcony doesn’t get enough sun, consider using grow lights.
2. Watering: Water your chili plants regularly, especially during hot weather. The soil should be consistently moist but not waterlogged. Check the soil moisture by sticking your finger into the soil. If the top inch feels dry, it’s time to water.
3. Fertilizing: Feed your chili plants every 2-3 weeks with a balanced fertilizer or one specifically formulated for tomatoes and peppers. Follow the instructions on the fertilizer package. You can also use a foliar fertilizer (sprayed directly onto the leaves) for a quick boost.
4. Pruning: Pruning isn’t essential, but it can help to improve air circulation and encourage bushier growth. Remove any yellowing or dead leaves. You can also pinch off the tips of the branches to encourage more branching.
5. Pest Control: Keep an eye out for pests like aphids, spider mites, and whiteflies. If you spot any pests, treat them with insecticidal soap or neem oil. You can also try hand-picking the pests off the plants.
6. Pollination: Chili peppers are self-pollinating, but you can help them along by gently shaking the plants or using a small brush to transfer pollen from one flower to another. This is especially important if you’re growing your plants indoors or in a sheltered location.
7. Temperature: Chili peppers prefer warm temperatures (70-85°F). Protect your plants from frost and cold temperatures. If you live in a colder climate, you may need to bring your plants indoors during the winter.
Harvesting Your Chili Peppers
The most exciting part! Harvesting your chili peppers is a rewarding experience.
1. Maturity: Chili peppers are typically ready to harvest when they reach their mature color (usually red, yellow, or orange, depending on the variety). They should also be firm to the touch.
2. Harvesting Technique: Use pruning shears or scissors to cut the peppers from the plant. Be careful not to damage the plant.
3. Storage: Fresh chili peppers can be stored in the refrigerator for up to a week. You can also dry them, freeze them, or pickle them for longer storage.
Troubleshooting
Even with the best care, you might encounter some problems along the way. Here are a few common issues and how to address them:
* Yellowing Leaves: This can be caused by overwatering, underwatering, nutrient deficiencies, or pests. Check the soil moisture and adjust your watering accordingly. Fertilize your plants regularly. Inspect for pests and treat them as needed.
* Blossom Drop: This is when the flowers fall off the plant without producing fruit. It can be caused by temperature stress (too hot or too cold), inconsistent watering, or lack of pollination. Ensure consistent watering and try to maintain a stable temperature.
* Stunted Growth: This can be caused by poor soil, lack of sunlight, or pests. Use a high-quality potting mix and provide plenty of sunlight. Inspect for pests and treat them as needed.
* Pest Infestations: Aphids, spider mites, and whiteflies are common pests of chili peppers. Treat them with insecticidal soap or neem oil. You can also try hand-picking the pests off the plants.
Enjoying Your Homegrown Chili Peppers
Congratulations! You’ve successfully grown chili peppers on your balcony. Now it’s time to enjoy the fruits (or should I say, peppers?) of
Conclusion
So, there you have it! Transforming your balcony into a vibrant chili pepper paradise is not only achievable but also incredibly rewarding. We’ve walked you through the essential steps, from selecting the right chili varieties to nurturing your plants for a bountiful harvest. But why is this DIY balcony chili plant growing adventure a must-try?
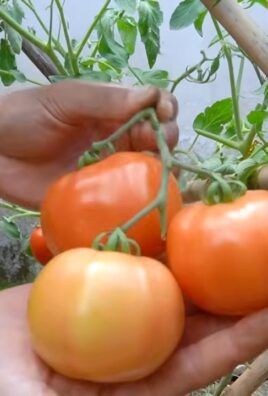
Firstly, imagine the sheer satisfaction of harvesting your own fresh, fiery chilies, grown with your own two hands, just steps from your kitchen. No more last-minute grocery store runs for that crucial ingredient! You’ll have a constant supply of organic, flavorful chilies, ready to spice up your meals whenever the mood strikes.
Secondly, balcony chili plant growing is a fantastic way to connect with nature, even in the heart of the city. Tending to your plants provides a calming and therapeutic experience, a welcome escape from the hustle and bustle of daily life. Watching your tiny seedlings sprout and flourish into mature, chili-laden plants is a truly magical process.
Thirdly, it’s a sustainable and eco-friendly choice. By growing your own chilies, you’re reducing your carbon footprint associated with transporting produce from distant farms. Plus, you can control the growing environment, ensuring your chilies are free from harmful pesticides and chemicals.
But the beauty of this DIY project lies in its adaptability. Feel free to experiment with different chili varieties to find your perfect heat level and flavor profile. Why not try growing some milder Anaheim peppers alongside some scorching Scotch Bonnets? Or perhaps explore some ornamental chili varieties for a splash of color and visual interest?
Consider companion planting to further enhance your balcony garden. Basil, for instance, is known to repel pests and improve the flavor of chilies. Marigolds can also help deter unwanted insects.
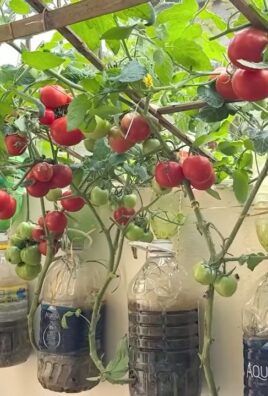
For those with limited space, vertical gardening is an excellent option. Utilize hanging baskets, stacked planters, or even repurposed pallets to maximize your growing area.
And don’t forget about the power of upcycling! Old yogurt containers, plastic bottles, or even tin cans can be transformed into charming and eco-friendly planters.
We wholeheartedly encourage you to embark on this exciting journey of balcony chili plant growing. It’s a rewarding experience that will bring flavor, beauty, and a touch of nature to your urban oasis.
Once you’ve harvested your first batch of homegrown chilies, we’d love to hear about your experience! Share your photos, tips, and favorite chili recipes with us in the comments section below. Let’s create a community of balcony chili growers and inspire others to embrace the joys of homegrown spice! What are you waiting for? Get planting!
Frequently Asked Questions (FAQ)
What are the best chili varieties to grow on a balcony?
The best chili varieties for balcony growing are those that are compact and well-suited to container gardening. Some excellent choices include:
* **Jalapeño:** A classic choice, known for its moderate heat and versatility.
* **Serrano:** Slightly hotter than jalapeños, with a bright, fresh flavor.
* **Thai Chili:** Small but mighty, these chilies pack a serious punch.
* **Cayenne:** A popular choice for making chili powder and hot sauce.
* **Habanero:** For those who crave extreme heat, habaneros are a must-try.
* **Poblano:** Milder and larger, perfect for stuffing or roasting.
* **Anaheim:** Very mild and flavorful, great for adding a subtle kick to dishes.
* **Ornamental Chilies:** These varieties are grown for their colorful fruits and compact size, adding visual appeal to your balcony. Examples include ‘Black Pearl’ and ‘Purple Flash’.
Consider the amount of sunlight your balcony receives when choosing your chili varieties. Some chilies, like habaneros, thrive in full sun, while others, like jalapeños, can tolerate partial shade.
How much sunlight do chili plants need?
Chili plants generally need at least 6-8 hours of direct sunlight per day to thrive. However, some varieties can tolerate partial shade, especially during the hottest part of the day. If your balcony doesn’t receive enough sunlight, you can supplement with grow lights.
What type of soil is best for growing chili plants in containers?
Use a well-draining potting mix specifically formulated for container gardening. Avoid using garden soil, as it can become compacted and doesn’t drain well in containers. A good potting mix should contain a blend of peat moss, perlite, and vermiculite. You can also add some compost to enrich the soil with nutrients.
How often should I water my chili plants?
Water your chili plants regularly, especially during hot and dry weather. The soil should be kept consistently moist, but not waterlogged. Check the soil moisture by sticking your finger about an inch into the soil. If it feels dry, it’s time to water. Avoid overwatering, as this can lead to root rot.
Do chili plants need fertilizer?
Yes, chili plants benefit from regular fertilization. Use a balanced fertilizer (e.g., 10-10-10) or a fertilizer specifically formulated for vegetables. Fertilize every 2-4 weeks during the growing season. You can also use organic fertilizers like compost tea or fish emulsion.
How do I protect my chili plants from pests and diseases?
Inspect your chili plants regularly for signs of pests and diseases. Common pests include aphids, spider mites, and whiteflies. You can control these pests with insecticidal soap, neem oil, or by handpicking them off the plants. Diseases like powdery mildew and fungal leaf spots can be prevented by providing good air circulation and avoiding overwatering.
When should I harvest my chilies?
Harvest your chilies when they have reached their mature color and size. The color will vary depending on the variety. For example, jalapeños are typically harvested when they are dark green, while habaneros are harvested when they are orange or red. Use scissors or pruning shears to cut the chilies from the plant, leaving a small stem attached.
Can I overwinter my chili plants?
Yes, you can overwinter your chili plants indoors to keep them alive for the next growing season. Before the first frost, prune back the plants and move them to a bright, sunny location indoors. Water sparingly during the winter months and fertilize only occasionally.
How do I save seeds from my chili plants?
To save seeds from your chili plants, allow the chilies to fully ripen on the plant. Once they are ripe, cut them open and remove the seeds. Spread the seeds out on a paper towel to dry completely. Once dry, store the seeds in an airtight container in a cool, dark place.
My chili plant is producing flowers, but no fruit. What could be the problem?
There are several reasons why your chili plant might be producing flowers but no fruit. One common reason is lack of pollination. Chili plants are self-pollinating, but they may need some help from wind or insects to transfer pollen. You can hand-pollinate your plants by gently shaking the flowers or using a small paintbrush to transfer pollen from one flower to another. Other possible causes include insufficient sunlight, overwatering, underwatering, or nutrient deficiencies.
Leave a Comment