
Growing Green Onions from Scraps: It sounds almost too good to be true, right? Imagine never having to buy green onions again! I’m here to tell you, it’s not only possible, but surprisingly easy. This simple DIY trick will transform your kitchen scraps into a never-ending supply of fresh, flavorful green onions, ready to elevate your culinary creations.
The practice of regrowing vegetables from scraps isn’t new. For generations, resourceful gardeners have found ways to minimize waste and maximize their yields. It’s a testament to the resilience of nature and our innate desire to connect with the earth. Think of it as a modern take on victory gardens, bringing a touch of self-sufficiency and sustainability right into your home.
In today’s world, where grocery bills seem to climb higher every week, learning how to growing green onions from scraps is more relevant than ever. Not only will you save money, but you’ll also reduce your environmental impact by minimizing food waste. Plus, there’s something incredibly satisfying about nurturing new life from something you would have otherwise thrown away. So, are you ready to ditch the grocery store green onions and embark on this rewarding and eco-friendly adventure with me? Let’s get started!
Growing Green Onions From Scraps: A DIY Guide to Endless Flavor
Hey there, fellow food lovers and budget-conscious gardeners! I’m so excited to share one of my favorite kitchen hacks with you: growing green onions from scraps. It’s incredibly easy, saves you money, and provides a constant supply of fresh flavor for your meals. Seriously, once you start doing this, you’ll wonder why you ever bought green onions at the store!
Here’s the lowdown on how to turn those leftover green onion bottoms into a thriving, flavorful garden right in your kitchen.
What You’ll Need
Before we dive in, let’s gather our supplies. The beauty of this project is that you probably already have most of what you need!
* **Green Onion Scraps:** This is the star of the show! You’ll need the white bulb ends of your green onions, with about an inch or two of the green stalks still attached. The roots don’t need to be perfect, but the more roots you have, the better your chances of success.
* **A Glass or Jar:** Any small glass or jar will do. I often use old jam jars or even repurposed yogurt containers. Just make sure it’s tall enough to hold the green onion scraps upright.
* **Water:** Tap water is perfectly fine.
* **Potting Soil (Optional):** While you can grow green onions entirely in water, transplanting them to soil will result in thicker, more robust growth.
* **A Small Pot (Optional):** If you plan to transplant your green onions to soil, you’ll need a small pot with drainage holes.
* **Scissors or a Knife:** For trimming the green onions as they grow.
* **A Sunny Spot:** Green onions need sunlight to thrive, so find a bright windowsill or countertop.
Phase 1: Water Propagation – Getting Started
This is where the magic begins! We’re going to coax those little scraps into sprouting new roots and shoots.
1. **Prepare the Green Onion Scraps:** After you’ve used the green parts of your green onions in your cooking, don’t throw away the white ends! Gently rinse them under cool water to remove any dirt or debris.
2. **Place the Scraps in Water:** Fill your glass or jar with enough water to cover the white bulb ends of the green onions, but leave the green stalks exposed. You don’t want the green parts to be submerged, as this can cause them to rot.
3. **Find a Sunny Spot:** Place the glass or jar on a sunny windowsill or countertop. Green onions need at least 6 hours of sunlight per day to grow well. If you don’t have a sunny spot, you can use a grow light.
4. **Change the Water Regularly:** This is crucial! Change the water every one to two days to prevent bacteria from growing and to provide fresh nutrients to the green onions. I usually do this every morning while I’m making my coffee.
5. **Observe and Wait:** Within a few days, you should start to see new roots emerging from the bottom of the bulbs and new green shoots growing from the top. It’s so exciting to watch them grow!
Phase 2: Continued Growth in Water (Optional)
You can absolutely continue to grow your green onions in water indefinitely. They won’t get as thick as they would in soil, but they’ll still provide a steady supply of fresh greens.
1. **Maintain Water Level:** Keep the water level consistent, ensuring that the roots are always submerged.
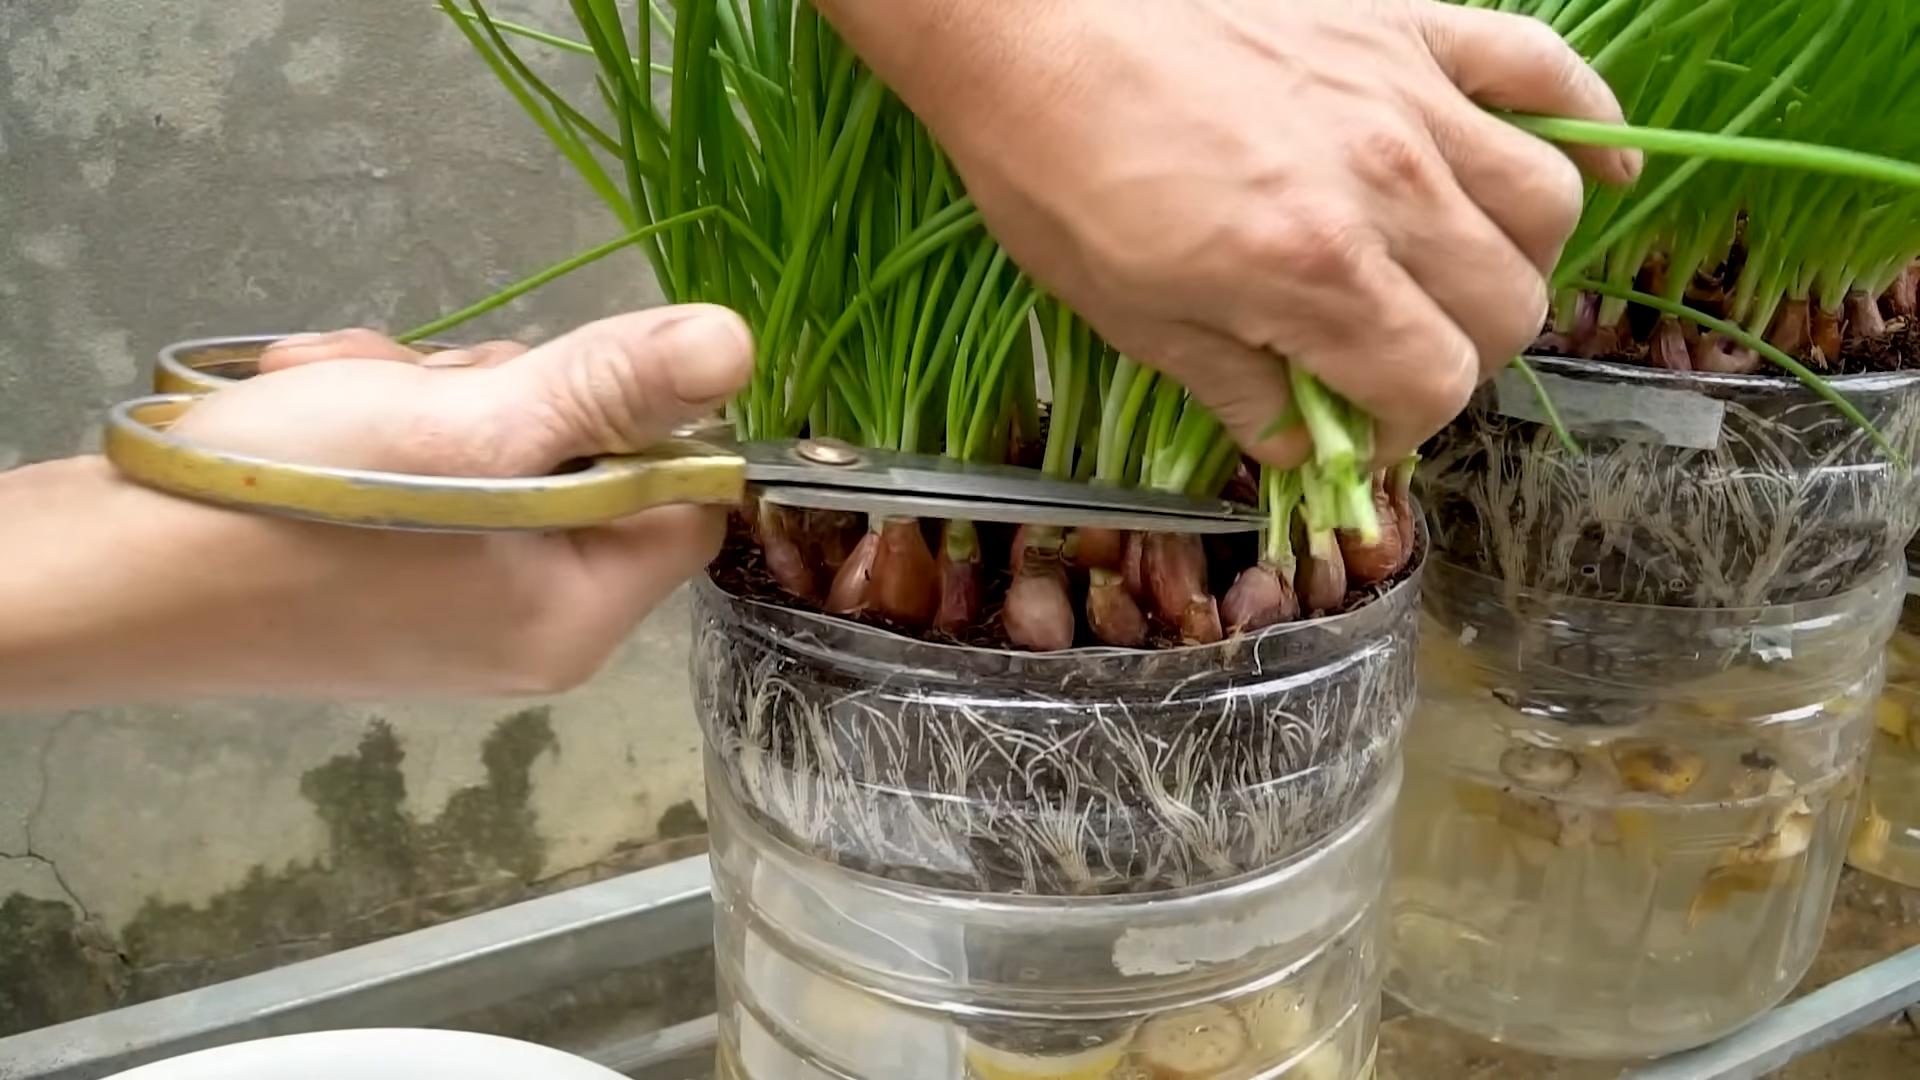
2. **Harvest Regularly:** As the green shoots grow, you can harvest them by snipping them off with scissors. Cut them as close to the base as possible, leaving about an inch or two of green stalk. This will encourage new growth.
3. **Fertilize (Optional):** If you want to give your green onions a boost, you can add a few drops of liquid fertilizer to the water every couple of weeks. Be sure to dilute the fertilizer according to the package instructions.
Phase 3: Transplanting to Soil (For Bigger, Better Green Onions)
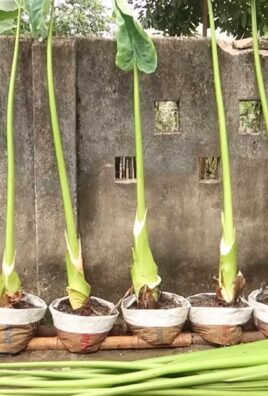
If you want to take your green onion growing to the next level, transplanting them to soil is the way to go. This will allow them to develop thicker stalks and a more robust flavor.
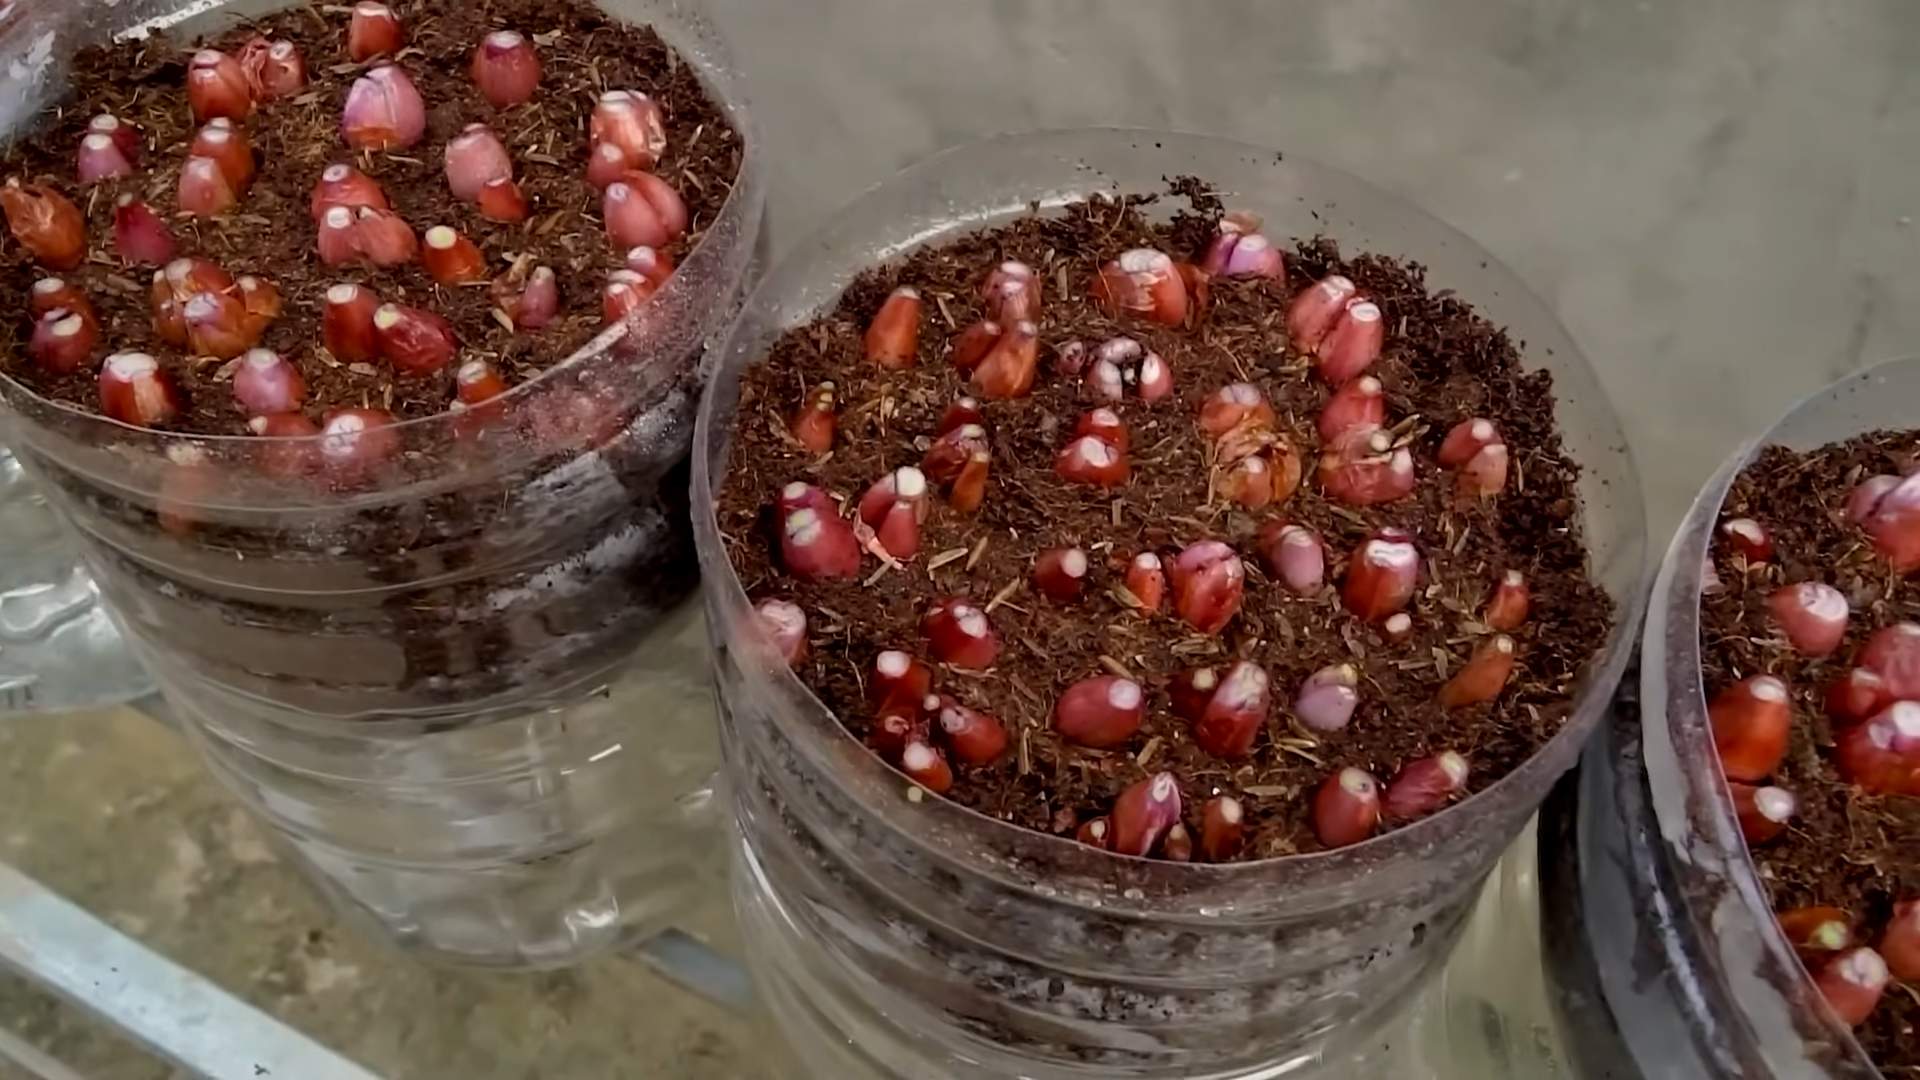
1. **Prepare the Pot:** Fill your small pot with well-draining potting soil. Make a small hole in the center of the soil.
2. **Gently Remove from Water:** Carefully remove the green onion scraps from the water. Be gentle, as the roots can be delicate.
3. **Plant the Green Onions:** Place the green onion scraps in the hole in the soil, making sure that the white bulb ends are buried and the green stalks are exposed. Gently pat the soil around the base of the green onions to secure them.
4. **Water Thoroughly:** Water the soil thoroughly until it is evenly moist.
5. **Find a Sunny Spot:** Place the pot on a sunny windowsill or countertop.
6. **Water Regularly:** Keep the soil consistently moist, but not soggy. Water when the top inch of soil feels dry to the touch.
7. **Fertilize (Optional):** You can fertilize your green onions every few weeks with a balanced liquid fertilizer.
Phase 4: Harvesting and Enjoying Your Homegrown Green Onions
The best part! Harvesting your own green onions is incredibly satisfying.
1. **Harvesting from Water:** As mentioned before, simply snip off the green shoots with scissors, leaving about an inch or two of green stalk.
2. **Harvesting from Soil:** You can harvest the green shoots in the same way as you would from water-grown green onions. Alternatively, you can harvest the entire plant by gently pulling it out of the soil. If you harvest the entire plant, you can replant another green onion scrap in its place.
3. **Enjoy!** Use your homegrown green onions in all your favorite dishes! They’re delicious in salads, soups, stir-fries, dips, and as a garnish for just about anything.
Troubleshooting Tips
Even with the best intentions, sometimes things don’t go exactly as planned. Here are a few common issues you might encounter and how to fix them:
* **Green Onions Turning Yellow:** This could be a sign of overwatering, underwatering, or lack of sunlight. Make sure the soil is well-draining and that the green onions are getting enough sunlight. Adjust your watering schedule as needed.
* **Green Onions Rotting:** This is usually caused by bacteria in the water. Make sure to change the water regularly and avoid getting the green stalks wet.
* **Slow Growth:** This could be due to lack of sunlight, nutrients, or water. Make sure the green onions are getting enough sunlight and water, and consider fertilizing them.
Extra Tips for Success
* Experiment with Different Varieties: There are many different varieties of green onions, each with its own unique flavor and texture. Try growing different varieties to see which ones you like best.
* Successive Planting: To ensure a continuous supply of green onions, start new scraps every few weeks. This way, you’ll always have some ready to harvest.
* Don’t Overcrowd: If you’re planting multiple green onion scraps in the same pot, make sure to give them enough space to grow. Overcrowding can lead to stunted growth and disease.
* Pest Control: Green onions are generally pest-resistant, but occasionally they may be attacked by aphids or other small insects. If you notice any pests, you can spray them with a mild solution of soapy water.
* Consider Hydroponics: If you’re feeling adventurous, you can try growing your green onions hydroponically. This involves growing them in a nutrient-rich solution without soil. There are many different hydroponic systems available, ranging from simple DIY setups to more sophisticated commercial systems.
Growing green onions from scraps is a fun, easy, and rewarding project that anyone can do. It’s a great way to reduce food waste, save money, and enjoy fresh, flavorful green onions all year round. So go ahead, give it a try! I promise you won’t be disappointed. Happy growing!
Conclusion
So, there you have it! Growing green onions from scraps isn’t just a fun little experiment; it’s a game-changer for your kitchen garden and your wallet. Imagine never having to buy green onions again, always having a fresh supply ready to snip and add that vibrant, oniony kick to your dishes. This simple DIY trick transforms kitchen waste into a continuous source of flavor, reducing food waste and saving you money – a win-win!
The beauty of this method lies in its simplicity and sustainability. It requires minimal effort, space, and resources. You don’t need a sprawling garden or fancy equipment; a glass of water and a sunny windowsill are all you need to embark on this green onion adventure.
Beyond the basic method, there’s room for experimentation. Try different varieties of onions – shallots, scallions, or even leeks – to see which ones thrive best in your indoor garden. You can also experiment with different growing mediums. While water works perfectly well, you can eventually transplant your green onions into a pot of soil for even more robust growth and flavor. Consider adding a diluted liquid fertilizer every few weeks to give them an extra boost.
Don’t be afraid to get creative! You can even use repurposed containers like mason jars, old mugs, or even plastic bottles to house your growing green onions. This adds a touch of personality to your indoor garden and further reduces waste.
But the real magic happens when you start using your homegrown green onions in your cooking. Sprinkle them over salads, stir-fries, soups, and tacos. Use them as a garnish for grilled meats or fish. Add them to omelets, quiches, or dips. The possibilities are endless! The fresh, vibrant flavor of homegrown green onions is simply unmatched.
This method of growing green onions from scraps is more than just a way to save money; it’s a way to connect with your food, appreciate the cycle of growth, and add a touch of green to your indoor space. It’s a small act of sustainability that can have a big impact.
We wholeheartedly encourage you to try this DIY trick. It’s easy, rewarding, and incredibly satisfying. Once you experience the joy of harvesting your own fresh green onions, you’ll never look at onion scraps the same way again.
And we want to hear about your experience! Share your photos, tips, and stories with us in the comments below. Let us know what varieties you’ve tried, what dishes you’ve used your homegrown green onions in, and any challenges you’ve encountered along the way. Together, we can create a community of green onion growers and inspire others to embrace this simple and sustainable practice. So, grab those onion scraps, find a sunny spot, and get growing! Let’s all enjoy the benefits of fresh, homegrown green onions.
Frequently Asked Questions (FAQ)
How long does it take for green onions to regrow from scraps?
Typically, you’ll start to see noticeable regrowth within a few days, usually 3-5 days. The speed of regrowth depends on factors like the variety of green onion, the amount of sunlight it receives, and the temperature. Warmer temperatures generally promote faster growth. Within a week or two, you should have enough new growth to start harvesting. Remember to only cut off the green parts, leaving about an inch or two of the white base intact to continue the regrowth cycle.
What’s the best way to harvest the regrown green onions?
The best way to harvest is to use clean scissors or a sharp knife to snip off the green parts of the onion, leaving about 1-2 inches of the white base and roots intact. This allows the green onion to continue regrowing. Avoid pulling the entire onion out of the water or soil, as this will stop the regrowth process. Harvest only what you need, and the plant will continue to produce more green onions.
Can I grow green onions from scraps in soil instead of water?
Yes, absolutely! While starting them in water is a great way to initiate root growth, you can definitely transplant them into soil for more robust growth. Once you see healthy roots developing in the water (usually after a week or so), you can carefully plant the green onion base in a pot filled with well-draining potting soil. Make sure to bury the white part of the onion and leave the green part exposed. Water regularly, keeping the soil moist but not waterlogged. Growing in soil can result in thicker, more flavorful green onions.
How often should I change the water when growing green onions in water?
It’s recommended to change the water every 1-2 days. This helps prevent the water from becoming cloudy or stagnant, which can lead to bacterial growth and potentially harm the green onion. Fresh water provides the roots with the oxygen they need to thrive. When changing the water, gently rinse the roots to remove any debris or buildup.
What kind of sunlight do green onions need to regrow?
Green onions thrive in bright, indirect sunlight. A windowsill that receives several hours of sunlight per day is ideal. Avoid placing them in direct, intense sunlight, as this can scorch the leaves. If you don’t have a sunny windowsill, you can supplement with a grow light.
Can I use any type of onion scraps to regrow green onions?
While you can technically try regrowing other types of onions, green onions (also known as scallions) are the most successful and easiest to regrow from scraps. Other types of onions, like yellow or red onions, may sprout, but they are less likely to produce usable green onions. Shallots and leeks can also be regrown similarly to green onions.
My green onions are turning yellow. What am I doing wrong?
Yellowing leaves can indicate a few potential problems. First, check the water. If it’s cloudy or stagnant, change it immediately. Yellowing can also be a sign of nutrient deficiency. If you’re growing in water, try adding a diluted liquid fertilizer specifically formulated for vegetables. If you’re growing in soil, make sure the soil is well-draining and that you’re not overwatering. Overwatering can lead to root rot, which can also cause yellowing. Finally, ensure your green onions are receiving enough sunlight.
How long can I keep regrowing green onions from the same base?
With proper care, you can regrow green onions from the same base for several weeks, even months. However, the regrowth will eventually slow down, and the quality of the green onions may decline. When this happens, it’s time to start with a fresh set of scraps.
Are there any pests or diseases that affect regrowing green onions?
Generally, regrowing green onions indoors is relatively pest-free. However, you may occasionally encounter aphids or spider mites. If you notice any pests, you can try rinsing the green onions with water or using an insecticidal soap. Diseases are less common, but root rot can occur if the water is stagnant or the soil is waterlogged. Ensure proper drainage and change the water regularly to prevent root rot.
Can I freeze the regrown green onions for later use?
Yes, you can definitely freeze the regrown green onions. Wash and dry them thoroughly, then chop them into small pieces. Spread the chopped green onions in a single layer on a baking sheet lined with parchment paper and freeze for a few hours. Once frozen, transfer them to a freezer bag or container. This prevents them from clumping together and makes it easier to use only what you need. Frozen green onions can be stored in the freezer for several months.
Leave a Comment