
Growing Rutabagas and Swedes might sound like a challenge reserved for seasoned gardeners, but trust me, it’s easier than you think! Have you ever dreamt of pulling your own earthy, sweet root vegetables straight from your backyard, ready to roast, mash, or add to a hearty stew? This DIY guide will unlock the secrets to cultivating these often-overlooked gems, even if you’re a complete beginner.
Rutabagas and Swedes, also known as Swedish turnips, have a rich history, dating back to the 17th century. They were a staple food in colder climates, providing essential nutrients throughout the winter months. Think of them as the unsung heroes of the root vegetable world! But in today’s world, we often rely on grocery stores, missing out on the incredible satisfaction (and flavor!) of growing our own food.
That’s where this DIY guide comes in. Growing Rutabagas and Swedes at home not only provides you with fresh, organic produce, but it also connects you to the earth and offers a rewarding sense of accomplishment. Plus, let’s be honest, store-bought rutabagas can sometimes be a bit bland. By growing your own, you can control the flavor and ensure you’re getting the most delicious, nutrient-packed vegetables possible. So, grab your gardening gloves, and let’s get started on this exciting journey!
Growing Rutabagas and Swedes: A DIY Guide for Bountiful Harvests
Okay, let’s dive into the wonderful world of growing rutabagas and swedes! These root vegetables are incredibly rewarding to cultivate, offering delicious and nutritious harvests that can last you through the winter. I’m going to walk you through everything you need to know, from preparing your soil to storing your bounty.
Understanding Rutabagas and Swedes
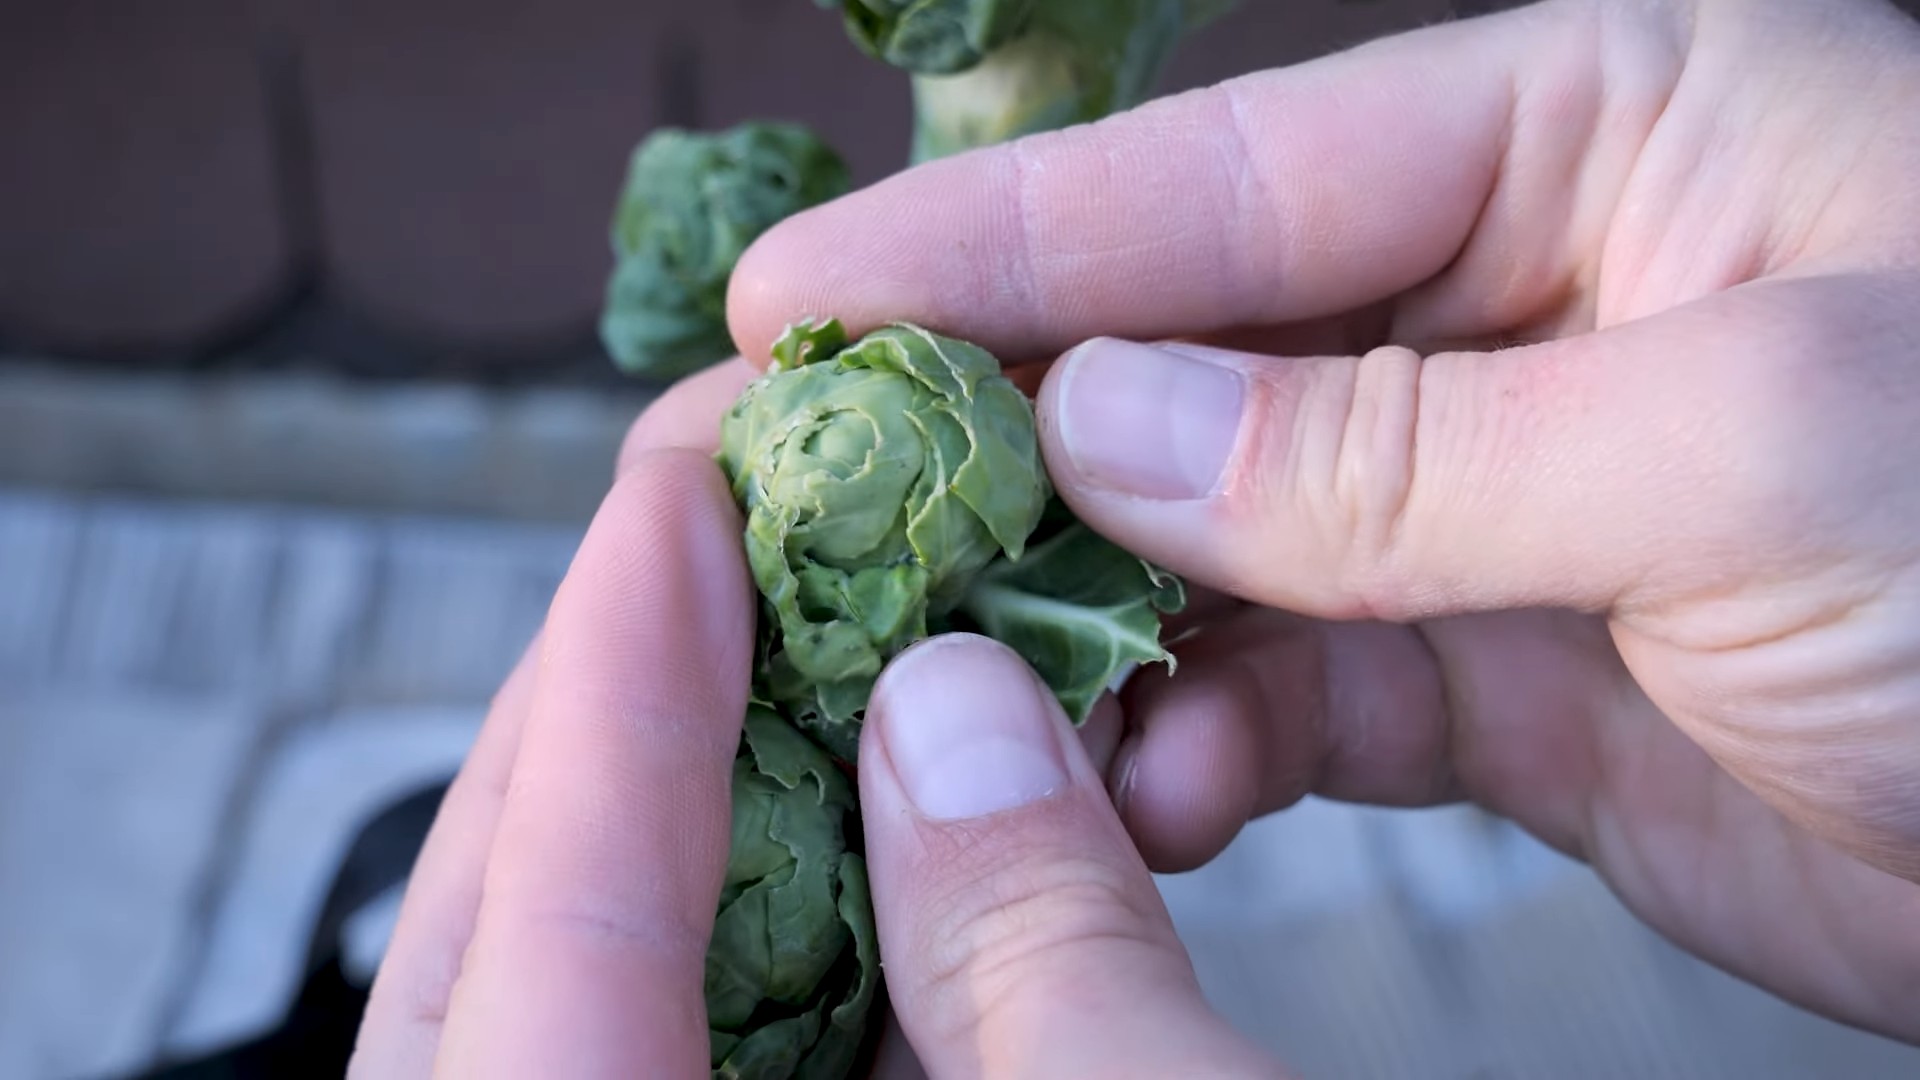
First things first, let’s clear up any confusion. Rutabagas and swedes are often used interchangeably, and while they’re closely related, they’re not exactly the same. Rutabagas (Brassica napobrassica) are thought to be a cross between a cabbage and a turnip. Swedes are essentially the same thing, the name just varies by region. In North America, they’re usually called rutabagas, while in the UK and other parts of the world, they’re known as swedes. For simplicity, I’ll mostly use “rutabaga” throughout this guide, but know that the same instructions apply to swedes.
They’re both cool-season crops, meaning they thrive in cooler temperatures and are best planted in late spring or early summer for a fall harvest. They’re also relatively low-maintenance, making them a great choice for beginner gardeners.
Preparing Your Garden Bed
The key to successful rutabaga growing starts with proper soil preparation. These root vegetables need loose, well-drained soil to develop properly. Here’s what I recommend:
* Choose the right location: Select a spot in your garden that receives at least 6 hours of sunlight per day. Rutabagas need plenty of sunshine to grow to their full potential.
* Test your soil: Before you start amending your soil, it’s a good idea to get it tested. This will tell you the pH level and nutrient content. Rutabagas prefer a slightly acidic soil with a pH between 6.0 and 6.8.
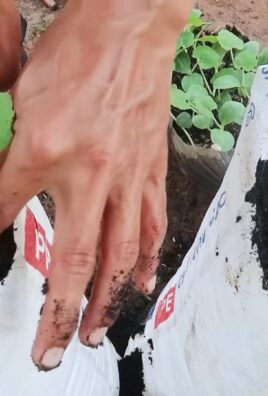
* Amend the soil: Rutabagas need soil that is rich in organic matter. I like to amend my soil with plenty of compost or well-rotted manure. This will improve drainage, aeration, and nutrient content.
* Loosen the soil: Use a garden fork or tiller to loosen the soil to a depth of at least 12 inches. This will allow the rutabaga roots to penetrate the soil easily.
* Remove rocks and debris: Rutabagas need a smooth, obstacle-free growing environment. Remove any rocks, roots, or other debris from the soil.
* Consider raised beds: If your soil is heavy clay or poorly drained, consider growing rutabagas in raised beds. This will improve drainage and prevent root rot.
Planting Rutabaga Seeds
Now that your garden bed is prepared, it’s time to plant your rutabaga seeds. Here’s how I do it:
* Timing is key: Rutabagas need a long growing season, typically 90-100 days. Plant your seeds in late spring or early summer, about 3-4 months before the first expected frost. I usually aim for late May or early June in my area.
* Direct sowing: Rutabagas are best direct-sown into the garden. They don’t transplant well, so starting them indoors is generally not recommended.
* Sowing depth: Sow the seeds about 1/2 inch deep and 1 inch apart.
* Row spacing: Space the rows about 18-24 inches apart.
* Water gently: After sowing, water the soil gently to keep it moist. Avoid overwatering, which can cause the seeds to rot.
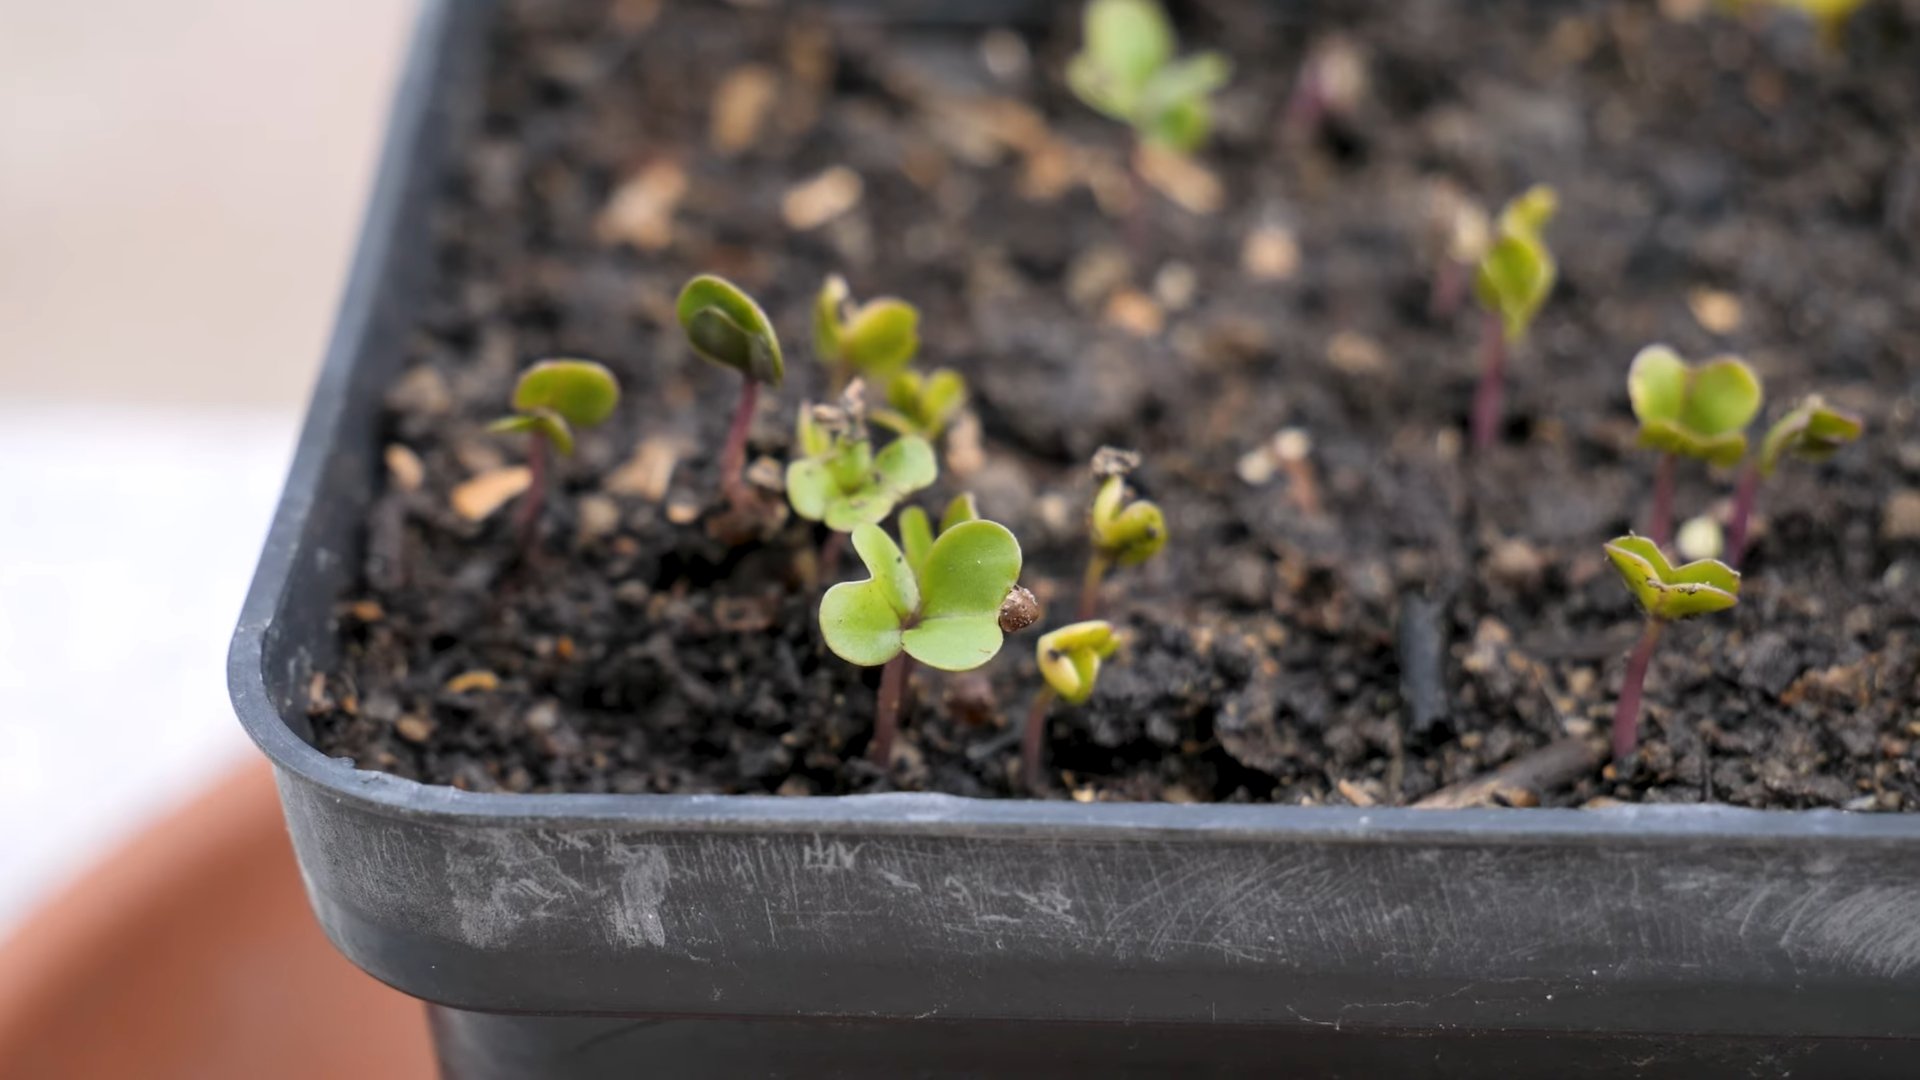
* Thinning seedlings: Once the seedlings emerge (usually in 5-10 days), thin them to about 6-8 inches apart. This will give the plants enough room to grow and develop. Don’t just pull them out! I carefully snip the unwanted seedlings at the soil line to avoid disturbing the roots of the remaining plants.
Caring for Your Rutabaga Plants
Once your rutabaga plants are established, it’s important to provide them with proper care to ensure a bountiful harvest. Here’s what I do:
* Watering: Rutabagas need consistent moisture, especially during dry periods. Water deeply and regularly, aiming for about 1 inch of water per week. Avoid overhead watering, which can promote fungal diseases. Soaker hoses or drip irrigation are ideal.
* Weeding: Keep the garden bed free of weeds, which can compete with the rutabaga plants for nutrients and water. Hand-weeding is the best option, as herbicides can damage the plants.
* Fertilizing: Rutabagas are heavy feeders, so they benefit from regular fertilization. I like to side-dress my plants with compost tea or a balanced organic fertilizer every 2-3 weeks.
* Pest control: Rutabagas can be susceptible to certain pests, such as flea beetles, aphids, and cabbage root maggots. Inspect your plants regularly for signs of infestation.
* Flea beetles: These tiny beetles can chew small holes in the leaves. I control them by covering my plants with row covers or spraying them with insecticidal soap.
* Aphids: These sap-sucking insects can weaken the plants. I control them by spraying them with a strong stream of water or insecticidal soap.
* Cabbage root maggots: These pests can damage the roots of the plants. I prevent them by using row covers or applying beneficial nematodes to the soil.
* Disease prevention: Rutabagas can also be susceptible to certain diseases, such as clubroot and powdery mildew.
* Clubroot: This fungal disease can cause the roots to become swollen and distorted. I prevent it by practicing crop rotation and maintaining a soil pH of 7.0 or higher.
* Powdery mildew: This fungal disease can cause a white, powdery coating on the leaves. I prevent it by providing good air circulation and avoiding overhead watering.
Harvesting Rutabagas
The moment you’ve been waiting for! Harvesting your rutabagas is a rewarding experience. Here’s how I know when it’s time:
* Timing: Rutabagas are typically ready to harvest in the fall, about 90-100 days after planting. The exact timing will depend on the variety and your local climate.
* Size: The rutabagas should be about 4-6 inches in diameter.
* Firmness: The rutabagas should be firm to the touch.
* Harvesting technique: To harvest, loosen the soil around the rutabaga with a garden fork. Then, gently pull the rutabaga out of the ground. Be careful not to damage the roots.
* Trimming: After harvesting, trim off the leaves, leaving about 1-2 inches of stem.
Storing Rutabagas
One of the best things about rutabagas is that they store well, allowing you to enjoy them throughout the winter. Here’s how I store mine:
* Curing: Before storing, cure the rutabagas for about a week in a cool, dry place. This will help to toughen the skin and prevent rot.
* Storage conditions: Store the rutabagas in a cool, dark, and humid place, such as a root cellar or refrigerator. The ideal temperature is between 32°F and 40°F.
* Storage methods:
* In the refrigerator: Wrap the rutabagas in damp paper towels and store them in a plastic bag in the refrigerator. They should last for several weeks.
* In a root cellar: Layer the rutabagas in a box or bin of sand or sawdust. This will help to keep them moist and prevent them from drying out. They should last for several months.
* Regular inspection: Check the rutabagas regularly for signs of rot. Remove any that are starting to spoil to prevent the rot from spreading.
Troubleshooting Common Problems
Even with the best care, you may encounter some problems while growing rutabagas. Here are some common issues and how I address them:
* Poor germination: If your rutabaga seeds are not germinating, it could be due to several factors, such as cold soil, poor soil drainage, or old seeds. Make sure the soil is warm and well-drained before planting. Use fresh seeds and sow them at the correct depth.
* Slow growth: If your rutabaga plants are growing slowly, it could be due to lack of nutrients, water, or sunlight. Fertilize the plants regularly, water them deeply, and make sure they are getting enough sunlight.
* Splitting roots: If your rutabaga roots are splitting, it could be due to inconsistent watering. Water the plants regularly and deeply, especially during dry periods.
* Pest infestations: As mentioned earlier, rutabagas can be susceptible to certain pests
Conclusion
So, there you have it! Mastering the art of growing rutabagas and swedes isn’t just about planting seeds and hoping for the best; it’s about understanding their unique needs and providing the right environment for them to thrive. This DIY approach, focusing on soil preparation, consistent watering, and vigilant pest control, is a game-changer for anyone serious about harvesting plump, delicious root vegetables.
Why is this DIY trick a must-try? Because it empowers you to take control of the entire growing process. Instead of relying on potentially expensive and sometimes ineffective commercial methods, you’re building a foundation for success from the ground up. You’re tailoring the environment to perfectly suit the specific requirements of rutabagas and swedes, leading to healthier plants, bigger yields, and ultimately, a more satisfying gardening experience. Think of it as unlocking the secret code to root vegetable abundance!
But don’t stop there! Experimentation is key to becoming a truly skilled gardener. Consider these variations to further personalize your approach:
* Companion Planting: Explore the benefits of planting rutabagas and swedes alongside other vegetables like beans or marigolds. These companions can help deter pests and improve soil health, creating a synergistic growing environment.
* Different Varieties: There are numerous varieties of rutabagas and swedes available, each with its own unique flavor profile and growth characteristics. Try planting a few different varieties side-by-side to discover your personal favorites.
* Soil Amendments: While we’ve emphasized the importance of well-draining soil, consider experimenting with different soil amendments like compost tea or bone meal to further enrich the soil and provide essential nutrients.
* Succession Planting: Extend your harvest season by planting rutabagas and swedes in succession, staggering your plantings by a few weeks. This will ensure a continuous supply of fresh vegetables throughout the fall and winter.
Ultimately, the best way to learn is by doing. Embrace the challenge, get your hands dirty, and don’t be afraid to make mistakes. Every failure is a learning opportunity, bringing you one step closer to mastering the art of growing rutabagas and swedes.
We’re confident that by implementing these DIY techniques, you’ll be amazed at the results. Imagine the satisfaction of harvesting your own homegrown rutabagas and swedes, knowing that you nurtured them from seed to table. It’s a truly rewarding experience that connects you to the earth and provides you with fresh, healthy food for your family.
So, what are you waiting for? Grab your gardening gloves, prepare your soil, and get ready to embark on a journey of root vegetable cultivation. We encourage you to try this DIY trick and share your experiences with us! Let us know what worked well for you, what challenges you encountered, and any tips or tricks you discovered along the way. Together, we can build a community of passionate gardeners, sharing our knowledge and helping each other achieve gardening success. Happy growing!
Frequently Asked Questions (FAQ)
What is the ideal soil pH for growing rutabagas and swedes?
Rutabagas and swedes thrive in slightly acidic to neutral soil, with a pH range of 6.0 to 7.0. Before planting, it’s a good idea to test your soil’s pH using a soil testing kit. If your soil is too acidic, you can amend it with lime to raise the pH. If it’s too alkaline, you can add sulfur or organic matter to lower the pH. Maintaining the correct pH level is crucial for nutrient availability and overall plant health.
How often should I water my rutabagas and swedes?
Consistent watering is essential, especially during dry periods. Aim to keep the soil consistently moist, but not waterlogged. Water deeply at least once a week, or more frequently during hot weather. A good rule of thumb is to provide about 1 inch of water per week. Mulching around the plants can help retain moisture in the soil and reduce the need for frequent watering. Use a soaker hose or drip irrigation to deliver water directly to the roots, minimizing water loss through evaporation.
What are some common pests and diseases that affect rutabagas and swedes, and how can I control them?
Common pests include flea beetles, aphids, cabbage root flies, and slugs. Diseases can include clubroot, powdery mildew, and downy mildew.
* Flea Beetles: These tiny beetles can create small holes in the leaves. Use row covers to protect young plants, or apply insecticidal soap or neem oil.
* Aphids: These sap-sucking insects can weaken plants. Spray them off with a strong stream of water, or use insecticidal soap or neem oil.
* Cabbage Root Flies: These flies lay their eggs at the base of the plants, and the larvae can damage the roots. Use row covers to prevent the flies from laying eggs, or apply nematodes to the soil.
* Slugs: These slimy pests can devour leaves and roots. Use slug bait, beer traps, or handpick them off the plants at night.
* Clubroot: This soilborne disease causes swollen and distorted roots. Prevent it by practicing crop rotation, maintaining a soil pH above 7.0, and using disease-resistant varieties.
* Powdery Mildew and Downy Mildew: These fungal diseases can cause white or gray powdery patches on the leaves. Improve air circulation around the plants, avoid overhead watering, and apply a fungicide if necessary.
Regularly inspect your plants for signs of pests and diseases, and take action promptly to prevent them from spreading.
When is the best time to harvest rutabagas and swedes?
Rutabagas and swedes are typically harvested in the fall, after the first frost. The frost helps to sweeten the flavor of the vegetables. They are ready to harvest when the roots are about 4-6 inches in diameter. To harvest, loosen the soil around the roots with a garden fork, and then gently pull them out of the ground. Cut off the tops, leaving about 1-2 inches of stem.
How should I store rutabagas and swedes after harvesting?
Store rutabagas and swedes in a cool, dark, and humid place, such as a root cellar or refrigerator. They can be stored for several months under the right conditions. Before storing, brush off any excess soil, but do not wash them. Place them in perforated plastic bags or containers to prevent them from drying out. Check them periodically for signs of spoilage, and remove any that are starting to rot.
Can I grow rutabagas and swedes in containers?
Yes, you can grow rutabagas and swedes in containers, but you’ll need to choose a large container that is at least 12 inches deep and wide. Use a well-draining potting mix, and water regularly. Container-grown plants may need to be fertilized more frequently than those grown in the ground. Choose a sunny location for your containers, and protect them from strong winds.
Are rutabaga and swede leaves edible?
Yes, both rutabaga and swede leaves are edible and nutritious. They can be cooked like spinach or kale. Young, tender leaves are best for salads.
What are some good companion plants for rutabagas and swedes?
Good companion plants include beans, peas, rosemary, thyme, and marigolds. Beans and peas help to fix nitrogen in the soil, which benefits rutabagas and swedes. Rosemary and thyme deter pests, while marigolds attract beneficial insects. Avoid planting rutabagas and swedes near other members of the brassica family, such as cabbage, broccoli, and cauliflower, as they can attract the same pests and diseases.
How can I improve the flavor of my rutabagas and swedes?
The flavor of rutabagas and swedes can be improved by harvesting them after a frost, as the cold temperatures help to convert starches into sugars. You can also add a touch of sweetness to the soil by incorporating compost or molasses. Roasting or caramelizing rutabagas and swedes can also enhance their flavor.
What are the nutritional benefits of eating rutabagas and swedes?
Rutabagas and swedes are low in calories and high in fiber, vitamins, and minerals. They are a good source of vitamin C, potassium, and manganese. They also contain antioxidants, which can help protect against cell damage. Including rutabagas and swedes in your diet can contribute to overall health and well-being.
Leave a Comment