
Growing tomatoes at home can feel like a daunting task, conjuring images of sprawling farms and expert gardeners. But what if I told you that juicy, sun-ripened tomatoes are within your reach, even if you only have a small balcony or a sunny windowsill? Forget those bland, store-bought imposters – imagine biting into a tomato bursting with flavor, grown with your own two hands!
For centuries, tomatoes have held a special place in cultures around the world. Originating in South America, they were initially feared in Europe, believed to be poisonous! Thankfully, that myth was quickly debunked, and tomatoes became a culinary staple, celebrated in everything from Italian sauces to Spanish gazpacho. Now, you can participate in this rich history by growing tomatoes at home.
In today’s world, where we’re increasingly conscious of where our food comes from, and the rising cost of groceries, knowing how to grow your own food is more important than ever. That’s why I’m so excited to share these simple, yet effective, DIY tricks and hacks that will transform you into a tomato-growing pro, no matter your experience level. Get ready to unlock the secrets to a bountiful harvest and enjoy the unmatched taste of homegrown goodness!
Growing Tomatoes in Your Own Garden: Your Comprehensive DIY Guide
Hello garden friends! I am thrilled to introduce you to the world of growing tomatoes today. There is hardly anything more satisfying than harvesting a juicy, sun-ripened tomato from your own garden. And believe me, it’s easier than you might think! This guide is packed with everything you need to know to successfully grow your own tomatoes – from sowing to harvesting. Let’s get started!
The Basics: What Tomatoes Need to Grow
Before we dive into the details, it’s important to understand the basic needs of your future tomato plants. Tomatoes can be little divas, but if you know their preferences, they are really easy to care for.
- Sun: Tomatoes love the sun! They need at least 6-8 hours of direct sunlight per day. So, choose a sunny spot in your garden or on your balcony.
- Soil: Well-draining, nutrient-rich soil is crucial. Tomatoes prefer a slightly acidic pH (between 6.0 and 6.8).
- Water: Regular watering is important, especially during fruit formation. Make sure the soil is moist, but not soggy.
- Nutrients: Tomatoes are heavy feeders and require sufficient nutrients, especially nitrogen, phosphorus, and potassium. Fertilize regularly with a tomato fertilizer.
- Support: Tomato plants can get quite large and heavy. Give them a support from the beginning, such as a tomato stake or a trellis.
Phase 1: Sowing – The Start of a Tomato-Rich Life
Sowing is the first step on the path to your own tomatoes. You can either buy tomato seeds or use seeds from existing tomatoes (but note that these may not be true to type). I prefer to start with seeds indoors to give the plants a head start.
Required Materials:
- Tomato seeds
- Seed starting mix
- Seed starter pots or trays
- Spray bottle
- Mini-greenhouse or clear plastic wrap
- Heat mat (optional, but recommended)
- Grow light (optional, but helpful with low daylight)
Step-by-Step Instructions:
- Prepare the seed pots: Fill your seed starter pots or trays with seed starting mix. Lightly press the soil.
- Sow the seeds: Place 2-3 seeds per pot on the soil. Cover the seeds with a thin layer of soil (approx. 0.5 cm / 0.2 inches).
- Watering: Gently moisten the soil with a spray bottle. Avoid watering too heavily, as this can wash the seeds away.
- Create a greenhouse climate: Place the pots in a mini-greenhouse or cover them with clear plastic wrap. This helps to retain moisture and speed up germination.
- Warmth and light: Place the greenhouse in a warm spot (ideally 20-25°C / 68-77°F). A heat mat can help to keep the temperature constant. If you have low daylight, use a grow light.
- Observation: Check the soil regularly and moisten it if necessary. The seeds should germinate within 7-14 days.
- Thinning out: Once the seedlings have developed their first true leaves (besides the seed leaves), you can thin them out. This means you keep only the strongest seedling per pot and carefully remove the others.
Phase 2: Rearing – Strong Plants for a Bountiful Harvest
After germination, the rearing phase begins. Now it’s about strengthening the small seedlings and preparing them for planting out.
Required Materials:
- Larger pots (approx. 10-12 cm / 4-5 inches in diameter)
- Potting soil
- Liquid fertilizer for young plants
- A bright window or grow light
Step-by-Step Instructions:
- Transplanting: Once the seedlings are large enough (approx. 5-7 cm / 2-3 inches), transplant them into larger pots. Fill the pots with potting soil and carefully place the seedlings inside. Be careful not to damage the roots.
- Light and warmth: Place the pots by a bright window or under a grow light. Tomatoes need a lot of light to grow well.
- Watering: Water the plants regularly, but avoid waterlogging. The soil should always be slightly moist.
- Fertilizing: Start fertilizing about 2 weeks after transplanting. Use a liquid fertilizer for young plants and follow the dosage instructions.
- Hardening off: Before you plant the tomato plants outdoors, you must harden them off. This means you slowly acclimate them to the outdoor conditions. Start by placing the plants outside for a few hours during the day and then bringing them back in. Extend the time outdoors each day until the plants can finally stay outside all day.
Phase 3: Planting Out – Finally, Freedom!
Planting out is an important step because now the plants have to cope in their final home. Choose the right time and prepare the soil well to give the tomatoes the best possible start.
Required Materials:
- Tomato plants
- Garden hoe or spade
- Compost or organic fertilizer
- Tomato stakes or other supports
- Mulch (e.g., straw or wood chips)
Step-by-Step Instructions:
- Choose the right time: Wait to plant out until there is no more danger of frost. This is usually the case in mid-May.
- Soil preparation: Loosen the soil thoroughly and remove weeds. Mix in compost or organic fertilizer to enrich it with nutrients.
- Plant spacing: Maintain a plant spacing of approx. 50-60 cm (20-24 inches) between the plants.
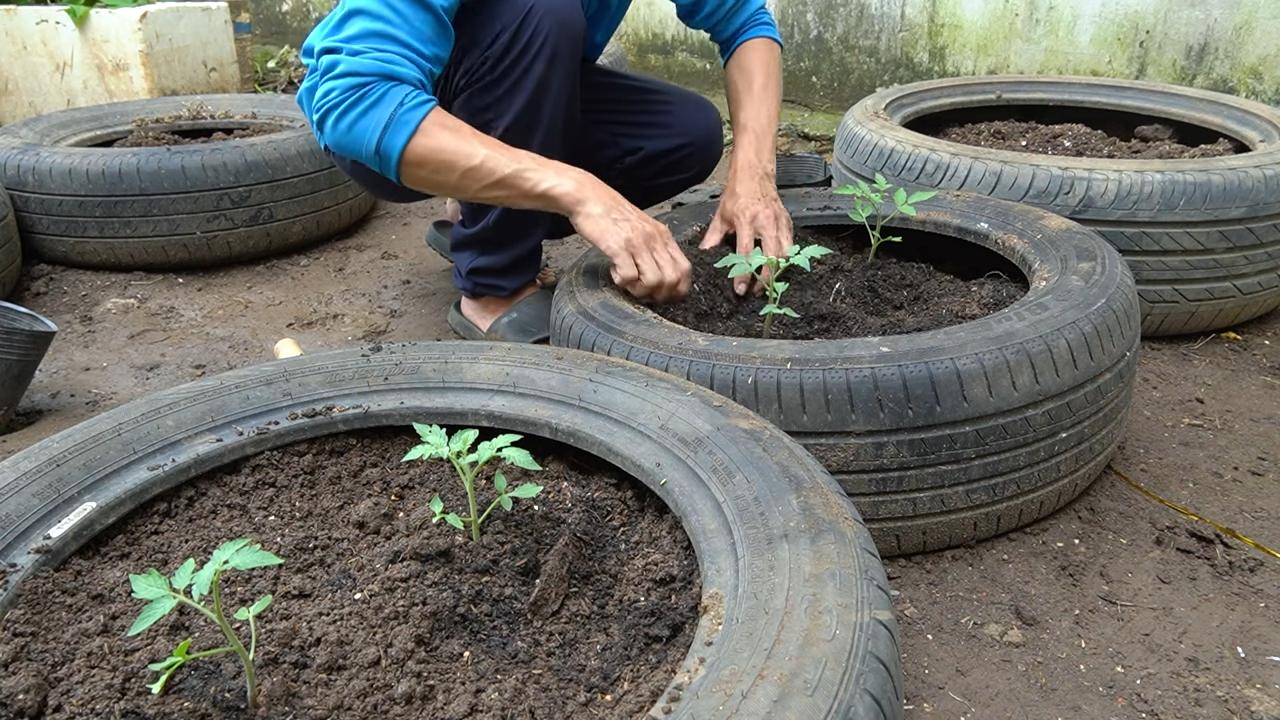
- Planting: Dig a hole large enough to accommodate the root ball of the tomato plant. Carefully place the plant in and fill the hole with soil. Press the soil lightly.
- Support: Immediately after planting, place a tomato stake or other support next to the plant. Loosely tie the plant to the support so it can find its hold.
- Watering: Water the plants thoroughly after planting out.
- Mulching: Spread a layer of mulch around the plants. Mulch helps to retain moisture in the soil, suppress weeds, and protect the soil.
Phase 4: The Care – Love and Attention for a Bountiful Harvest
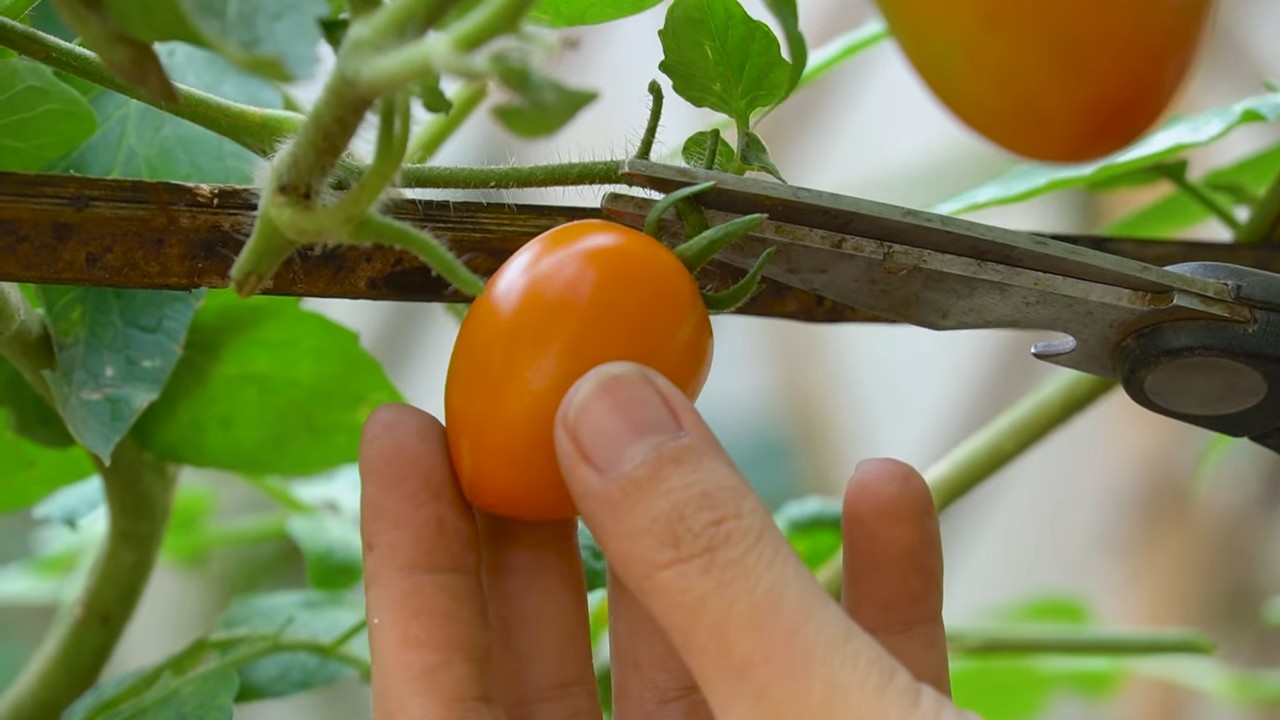
After planting out, the real care begins. Regular watering, fertilizing, and pinching out the side shoots are important to achieve a bountiful harvest.
Conclusion
So, there you have it! Growing tomatoes at home doesn’t have to be an expensive or daunting endeavor. By utilizing this simple yet effective DIY trick, you can unlock a bountiful harvest of juicy, flavorful tomatoes right in your own backyard, balcony, or even windowsill. Forget relying solely on expensive fertilizers or complicated gardening techniques. This method focuses on harnessing the natural power of readily available resources to give your tomato plants the boost they need to thrive.
Why is this DIY trick a must-try? Because it’s economical, environmentally friendly, and incredibly rewarding. You’re not just saving money on store-bought tomatoes; you’re also reducing your carbon footprint by minimizing transportation and packaging waste. Plus, there’s nothing quite like the satisfaction of nurturing a plant from seedling to fruit and then savoring the delicious results of your labor. The taste of a homegrown tomato, ripened to perfection under the sun, is simply unmatched.
But the beauty of this DIY approach lies in its adaptability. Feel free to experiment with variations to suit your specific needs and preferences. For example, if you’re growing tomatoes in containers, you might consider adding a slow-release fertilizer alongside the DIY amendment for an extra boost. Or, if you’re dealing with acidic soil, you could incorporate some lime or wood ash to balance the pH. The possibilities are endless!
Don’t be afraid to get your hands dirty and embrace the learning process. Gardening is all about trial and error, and every experience, whether successful or not, offers valuable insights. We encourage you to try this DIY trick for growing tomatoes at home and witness the difference it can make. You might be surprised at how much your tomato plants flourish with this simple addition.
And most importantly, we want to hear about your experiences! Share your results, tips, and variations in the comments section below. Let’s create a community of tomato-growing enthusiasts who are passionate about sustainable and rewarding gardening practices. Together, we can unlock the secrets to a truly abundant tomato harvest. So, grab your gardening gloves, gather your supplies, and get ready to enjoy the taste of homegrown goodness! Happy growing!
Frequently Asked Questions (FAQ)
What exactly is this DIY trick for growing tomatoes at home?
This DIY trick involves using readily available household materials, often food scraps or compost, to create a nutrient-rich amendment for your tomato plants. The specific ingredients and methods can vary, but the core principle remains the same: to provide your plants with the essential nutrients they need to thrive without relying solely on commercial fertilizers. The exact method will depend on the main article, but it focuses on using natural resources.
Is this DIY trick suitable for all types of tomatoes?
Yes, this DIY trick is generally suitable for all types of tomatoes, from cherry tomatoes to beefsteak tomatoes. However, keep in mind that different tomato varieties may have slightly different nutrient requirements. Observe your plants closely and adjust the amendment accordingly. For example, determinate tomatoes, which tend to produce all their fruit at once, might benefit from a slightly richer amendment than indeterminate tomatoes, which produce fruit continuously throughout the season.
How often should I apply this DIY amendment to my tomato plants?
The frequency of application will depend on several factors, including the size of your plants, the type of soil you’re using, and the specific ingredients in your amendment. As a general guideline, you can apply the amendment every 2-4 weeks during the growing season. However, it’s always best to monitor your plants closely and adjust the frequency based on their needs. Look for signs of nutrient deficiency, such as yellowing leaves or stunted growth, and increase the frequency of application if necessary.
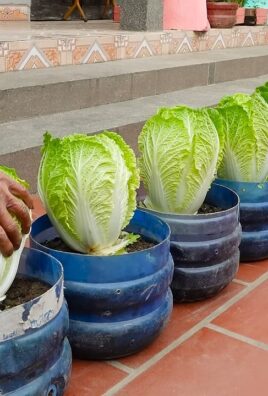
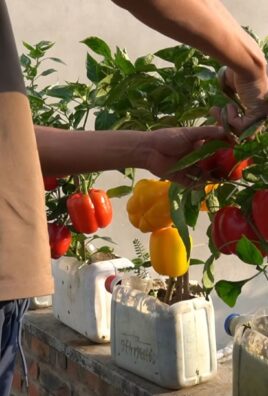
Can I use this DIY trick for tomatoes grown in containers?
Absolutely! This DIY trick is perfectly suitable for tomatoes grown in containers. In fact, it can be especially beneficial for container-grown tomatoes, as they tend to deplete the nutrients in the soil more quickly than tomatoes grown in the ground. When using this trick for container tomatoes, be sure to use a well-draining potting mix and adjust the amount of amendment accordingly. Smaller containers will require less amendment than larger containers.
What if I don’t have all the ingredients for the DIY amendment?
Don’t worry! The beauty of this DIY approach is that it’s flexible and adaptable. If you don’t have all the ingredients listed in the recipe, you can substitute them with other similar materials. For example, if you don’t have coffee grounds, you can use tea leaves instead. Or, if you don’t have eggshells, you can use bone meal as a source of calcium. The key is to understand the nutritional benefits of each ingredient and find suitable alternatives that provide similar nutrients.
Will this DIY trick attract pests or diseases to my tomato plants?
When used properly, this DIY trick should not attract pests or diseases to your tomato plants. However, it’s important to follow a few precautions to minimize the risk. First, make sure to bury the amendment properly in the soil to prevent it from attracting flies or other insects. Second, avoid using any ingredients that are moldy or rotten, as these can harbor harmful pathogens. Third, practice good garden hygiene by removing any dead or decaying leaves from your tomato plants.
How will I know if this DIY trick is working?
You’ll know this DIY trick is working when you see healthy, vigorous growth in your tomato plants. Look for signs such as lush green leaves, strong stems, and abundant flowers. You should also notice an increase in the size and number of tomatoes produced by your plants. If you’re not seeing these results, it’s possible that your plants need more nutrients or that there are other factors affecting their growth, such as pests, diseases, or poor soil drainage.
Can I use this DIY trick in conjunction with other gardening techniques?
Yes, absolutely! This DIY trick is designed to complement other gardening techniques, not replace them. You can still use other methods such as pruning, staking, and watering to help your tomato plants thrive. In fact, combining this DIY trick with other good gardening practices will likely result in even better results.
Is this DIY trick safe for organic gardening?
Yes, this DIY trick is generally safe for organic gardening, as it relies on natural and readily available materials. However, it’s important to ensure that the ingredients you’re using are sourced from organic sources. For example, if you’re using coffee grounds, make sure they’re from organically grown coffee beans. Or, if you’re using compost, make sure it’s made from organic materials.
What if I have more questions about growing tomatoes at home?
We’re here to help! Feel free to leave your questions in the comments section below, and we’ll do our best to answer them. You can also consult other resources, such as gardening books, websites, and local gardening experts, for more information. Remember, growing tomatoes at home is a learning process, so don’t be afraid to experiment and ask questions along the way.

Leave a Comment