
Growing water spinach easily is simpler than you might think, and I’m here to show you how! Have you ever dreamt of harvesting fresh, vibrant greens right from your own backyard, ready to add a delicious and nutritious boost to your meals? Well, dream no more! This DIY guide will unlock the secrets to cultivating this amazing vegetable with minimal effort.
Water spinach, also known as Ong Choy or Kang Kong, has a rich history, deeply rooted in Asian cuisine. For centuries, it’s been a staple in dishes across Southeast Asia and China, prized for its mild flavor and impressive nutritional benefits. Beyond its culinary appeal, growing your own water spinach connects you to a tradition of sustainable food practices.
In today’s fast-paced world, knowing how to growing water spinach easily is more important than ever. Not only does it provide you with fresh, healthy produce, but it also offers a sense of accomplishment and connection to nature. Plus, store-bought vegetables can sometimes be expensive or lack the freshness you desire. With this DIY trick, you can bypass the grocery store and enjoy the satisfaction of harvesting your own homegrown goodness. So, let’s dive in and discover the simple steps to cultivating this incredible vegetable in your own home garden!
Growing Water Spinach (Ong Choy) Easily Yourself: A DIY Guide
Hello dear garden friends! I love water spinach, also known as Ong Choy or Morning Glory, and I’ve found that it’s surprisingly easy to grow yourself. It grows quickly, is super delicious, and a great addition to any dish. Here, I’ll show you how you can easily do it too!
What you need:
- Seeds or cuttings: Water spinach can be grown from seeds or cuttings. Seeds are easier to come by, but cuttings often establish more quickly.
- Container: A bucket, a tub, a large pot, or even a repurposed container. The main thing is that it is waterproof and large enough.
- Soil: Normal potting soil or garden soil is completely sufficient.
- Water: Tap water is fine, but rainwater is even better!
- Fertilizer (optional): A water-soluble fertilizer for vegetables can speed up growth.
- Sunlight: Water spinach loves the sun!
- Scissors or knife: For harvesting.
Preparation:
- Choosing a location: Choose a sunny location for your water spinach. It needs at least 6 hours of direct sunlight per day.
- Preparing the container: Make sure your container is clean. If you are using a container without drainage holes (which is ideal for water spinach), make sure it is watertight. If your container has drainage holes, you can seal them with tape or a waterproof liner.
- Preparing the soil: Fill the container about two-thirds full with soil.
Sowing (with seeds):
- Soak the seeds: Place the seeds in warm water for 12-24 hours. This helps to speed up germination.
- Sowing: Distribute the soaked seeds evenly on the soil. Press them down lightly, but do not cover them completely with soil. Water spinach is a light germinator.
- Watering: Water the soil gently so that it is moist, but not soaked.
- Maintaining moisture: Cover the container with a plastic wrap or a lid to increase humidity. Place the container in a warm place.
- Waiting: The seeds should germinate after about 5-10 days. Once the seedlings appear, remove the cover.
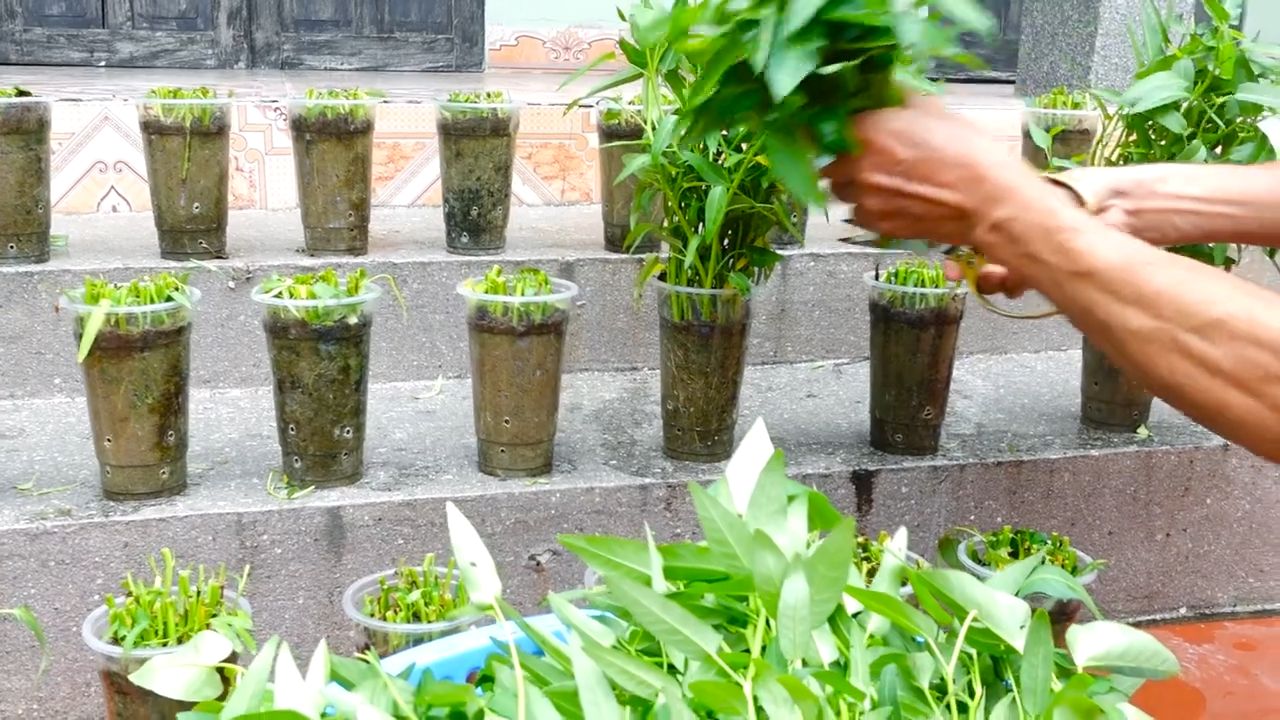
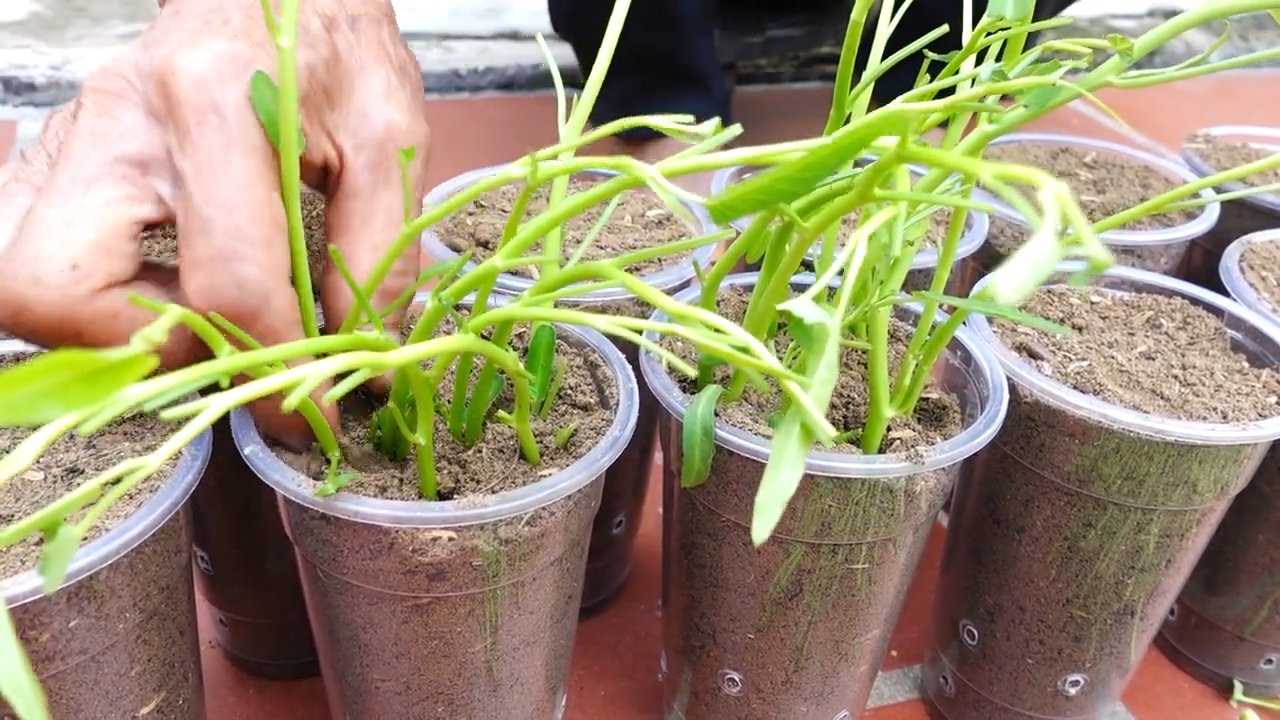
Planting (with cuttings):
- Cut the cuttings: Cut healthy cuttings, about 15-20 cm (6-8 inches) long, from an existing water spinach plant. Remove the lower leaves, leaving only the top leaves.
- Root the cuttings: Place the cuttings in a glass of water. Change the water every few days. Roots should form after about a week.
- Planting: Once the roots are about 2-3 cm (about 1 inch) long, you can plant the cuttings in the prepared soil. Make sure the roots are well covered.
- Watering: Water the soil gently so that it is moist, but not soaked.
Care:
- Watering: Water spinach loves water! Keep the soil always moist. You can even fill the container so that the soil is always slightly submerged. This simulates the natural conditions in which water spinach grows.
- Fertilizing (optional): If you wish, you can fertilize your water spinach every few weeks with a water-soluble vegetable fertilizer. Follow the instructions on the packaging.
- Sunlight: Make sure your water spinach gets enough sunlight.
- Pests: Water spinach is relatively resistant to pests. Occasionally, aphids may appear. You can simply rinse them off with a jet of water or treat them with a biological insecticide.
Harvest:
- When to harvest: You can harvest your water spinach as soon as it is about 20-30 cm (8-12 inches) long. This usually takes about 4-6 weeks after sowing or planting.
- How to harvest: Cut the stems with scissors or a knife about 5-10 cm (2-4 inches) above the ground. The plant will then regrow, and you can harvest it again and again.
- Regular harvesting: Regular harvesting promotes growth and prevents the plant from becoming too woody.
Tips & Tricks:
- Water spinach in winter: In colder climates, you can also grow water spinach indoors. Place it in a sunny window or use a grow light.
- Saving seeds: If you wish, you can also save your own seeds. Let some plants flower and wait until the seeds are ripe.
- Different varieties: There are different varieties of water spinach. Find out which variety grows best in your region.
- Hydroponic cultivation: Water spinach is also excellently suited for hydroponic cultivation.
Common Problems and Solutions:
- Yellow leaves: Yellow leaves can be a sign of a nutrient deficiency. Fertilize your water spinach with a water-soluble fertilizer.
- Slow growth: Slow growth can be caused by too little sunlight or too little water. Make sure your water spinach gets enough sunlight and the soil is always moist.
- Pests: Check your plants regularly for pests. If you find an infestation, you can use biological insecticides.
Use in the Kitchen:
Water spinach is incredibly versatile in the kitchen. You can use it raw in salads, steamed, stir-fried, or in soups and curries. It has a mild, slightly sweet taste and a crisp texture. Here are a few ideas:
- Stir-fried water spinach with garlic: A classic! Simply stir-fry water spinach with garlic, chili, and soy sauce.
- Water spinach in soups: Add water spinach to your favorite soup just before serving.
- Water spinach in curries: Water spinach goes wonderfully with curries with coconut milk and various vegetables.
- Water spinach salad: Mix raw water spinach with other salad ingredients and a delicious dressing.
Summary:
Growing your own water spinach is really easy and rewarding. With a little patience and care, you can soon enjoy your own harvest. I hope this guide has helped and inspired you to try it yourself. Happy gardening!
Conclusion
So, there you have it! Growing water spinach easily at home is not only achievable, but it’s also incredibly rewarding. Forget those wilted, overpriced bunches at the grocery store. Imagine stepping out into your own backyard or balcony and harvesting fresh, crisp water spinach whenever you need it. This DIY trick is a game-changer for anyone who loves this versatile vegetable and wants a sustainable, cost-effective supply.
Why is this a must-try? Because it puts you in control. You control the quality, the freshness, and the growing conditions, ensuring you’re getting the best possible product. Plus, it’s a fantastic way to connect with nature and learn about the growing process. It’s therapeutic, educational, and delicious all rolled into one!
But the fun doesn’t stop there. Feel free to experiment with different growing mediums. While we’ve focused on a simple water-based system, you can also try growing water spinach in soil, using a rich compost mix for even more robust growth. Consider adding a slow-release fertilizer to the water or soil to provide extra nutrients.
Another exciting variation is to try growing different varieties of water spinach. Some varieties are leafier, while others have thicker stems. Experimenting with different types will allow you to discover your personal favorite. You can also adjust the growing conditions to influence the flavor and texture of your water spinach. For example, providing more sunlight can result in a slightly sweeter taste.
Don’t be afraid to get creative with your setup. Use recycled containers, build a vertical growing system, or even create a small aquaponic setup with fish. The possibilities are endless!
Ultimately, the key to success is to start small, be patient, and observe your plants closely. Pay attention to their needs and adjust your growing conditions accordingly. With a little bit of care and attention, you’ll be harvesting delicious water spinach in no time.
We are confident that this guide provides you with all the information you need to embark on your water spinach growing adventure. We encourage you to give this DIY trick a try and experience the joy of growing your own food.
And most importantly, we want to hear about your experiences! Share your photos, tips, and challenges in the comments below. Let’s create a community of water spinach enthusiasts and learn from each other. What growing medium did you use? What challenges did you face? What tips do you have for other beginners? Your insights will be invaluable to others who are just starting out.
So, what are you waiting for? Grab some water spinach seeds or cuttings, gather your supplies, and get growing! You’ll be amazed at how easy and rewarding it is to grow your own fresh, delicious water spinach. Happy growing!
Frequently Asked Questions (FAQ)
What exactly is water spinach, and why should I grow it?
Water spinach, also known as ong choy or kangkong, is a leafy green vegetable popular in Asian cuisine. It’s known for its mild, slightly sweet flavor and its crisp, hollow stems. Growing it yourself ensures you have access to fresh, pesticide-free produce, saves money, and is a fun and rewarding gardening experience. Plus, it grows incredibly fast!
How long does it take to grow water spinach from seed?
From seed to harvest, you can expect water spinach to be ready in about 4-6 weeks. Cuttings will mature even faster, often within 2-3 weeks. The speed of growth depends on factors like temperature, sunlight, and nutrient availability.
What kind of container should I use for growing water spinach?
Almost any container that can hold water will work. Plastic tubs, buckets, large pots, or even repurposed containers like old bathtubs are suitable. The container should be at least 6 inches deep to allow for root development. Make sure the container is food-grade if you plan to consume the water spinach.
How much sunlight does water spinach need?
Water spinach thrives in full sun, requiring at least 6 hours of direct sunlight per day. However, it can also tolerate partial shade, especially in hotter climates. If you’re growing indoors, consider using grow lights to supplement natural sunlight.
What kind of water should I use for growing water spinach?
Tap water is generally fine, but it’s best to let it sit for 24 hours to allow chlorine to dissipate. You can also use rainwater or well water. Avoid using water that is heavily chlorinated or contains high levels of minerals, as this can harm the plants. Change the water every few days to prevent algae growth and maintain freshness.
Do I need to add fertilizer to the water?
While water spinach can grow without fertilizer, adding a nutrient solution will significantly boost growth and yield. Use a balanced liquid fertilizer diluted to half strength, and add it to the water every 1-2 weeks. Alternatively, you can use a slow-release fertilizer in the growing medium.
How often should I harvest water spinach?
You can start harvesting water spinach when the stems are about 6-8 inches long. Simply cut the stems a few inches above the water line, and the plant will continue to produce new shoots. Harvest regularly to encourage continued growth.
What are some common problems when growing water spinach, and how can I solve them?
Common problems include algae growth, nutrient deficiencies, and pest infestations. To prevent algae growth, change the water regularly and keep the container in a shaded area. Nutrient deficiencies can be addressed by adding fertilizer. Pests like aphids can be controlled with insecticidal soap or by handpicking them off the plants.
Can I grow water spinach indoors?
Yes, you can grow water spinach indoors, especially if you have a sunny windowsill or grow lights. Ensure adequate ventilation and humidity to prevent fungal diseases.
Is water spinach safe to eat?
Yes, water spinach is safe to eat when grown properly. However, it’s important to wash it thoroughly before consumption to remove any dirt or debris. Avoid eating water spinach that has been grown in contaminated water, as it can accumulate heavy metals and other toxins.
Can I grow water spinach in soil instead of water?
Yes, water spinach can be grown in soil. Use a well-draining soil mix rich in organic matter. Keep the soil consistently moist, but not waterlogged. Water spinach grown in soil may require more frequent fertilization than water-grown plants.
How do I propagate water spinach from cuttings?
To propagate from cuttings, simply cut a stem of water spinach about 4-6 inches long. Remove the lower leaves and place the cutting in a glass of water. Roots will typically develop within a few days. Once the roots are about an inch long, you can transplant the cutting into a container of water or soil.
What are some delicious ways to cook water spinach?
Water spinach is incredibly versatile and can be used in a variety of dishes. It’s commonly stir-fried with garlic and chili, added to soups and stews, or used in salads. It pairs well with Asian flavors like soy sauce, oyster sauce, and sesame oil.
Where can I buy water spinach seeds or cuttings?
Water spinach seeds can be found at many online seed retailers and some local garden centers. Cuttings can sometimes be obtained from friends or neighbors who are already growing water spinach.
What if my water spinach leaves are turning yellow?
Yellowing leaves can indicate several issues. It could be a sign of nutrient deficiency, overwatering, or underwatering. Check the moisture level of your growing medium and adjust accordingly. Also, ensure you are providing adequate nutrients with a balanced fertilizer. If the problem persists, consider testing the pH of your water or soil.


Leave a Comment