
Harvest More Chili Peppers – who wouldn’t want that? Imagine a vibrant, overflowing basket of fiery chilies, ready to spice up your culinary creations! For centuries, chili peppers have been more than just a food source; they’ve been symbols of passion, prosperity, and even protection in various cultures around the world. From the ancient Aztecs using them in rituals to the vibrant street food of Southeast Asia, chilies have a rich and fascinating history.
But let’s be honest, sometimes our chili pepper plants just don’t seem to cooperate. We nurture them, water them, and give them plenty of sunshine, yet the harvest is… underwhelming. That’s where these DIY tricks and hacks come in! I’m going to share some simple, yet incredibly effective, methods to help you harvest more chili peppers than you ever thought possible.
Why do you need these tricks? Because a bountiful chili harvest means less reliance on store-bought peppers (which can be surprisingly expensive!), more control over the quality and spiciness of your chilies, and the immense satisfaction of enjoying the fruits (or should I say, peppers!) of your labor. Plus, imagine the bragging rights when you share your homegrown chili creations with friends and family! So, get ready to unlock the secrets to a chili pepper paradise – let’s dive in!
Harvest More Chili Peppers: Your DIY Guide for a Bountiful Harvest
I love chili peppers! And I love it even more when my plants are practically collapsing under the weight of all the fruit. That’s why, over the years, I’ve learned a few tips and tricks on how to maximize the chili harvest. Don’t worry, you don’t need expensive equipment or a top-class green thumb. With a few simple steps and a bit of patience, you too can bring in a bountiful chili harvest. Let’s get started!
The Basics: What Chili Plants Really Want
Before we dive into the practical tips, it’s important to understand the basic needs of your chili plants. Because only a healthy plant can bear a lot of fruit.
- Sun: Chili plants are sun-worshippers. They need at least 6-8 hours of direct sunlight per day. The more sun, the better!
- Soil: The soil should be well-draining and rich in nutrients. Waterlogging is the enemy! I like to use a mixture of garden soil, compost, and perlite.
- Water: Chili plants like to be watered regularly, but not too much. The soil should be moist, but not wet. Make sure the water can drain well.
- Nutrients: Chili plants are hungry! During the growing and flowering season, they need regular fertilizer. I like to use a special chili fertilizer or a tomato fertilizer.
- Warmth: Chili plants love warmth. Temperatures between 20°C and 30°C (68°F and 86°F) are ideal.
DIY Tricks for a Bigger Chili Harvest
Now we get to the exciting stuff: the tricks you can use to really boost your chili harvest!
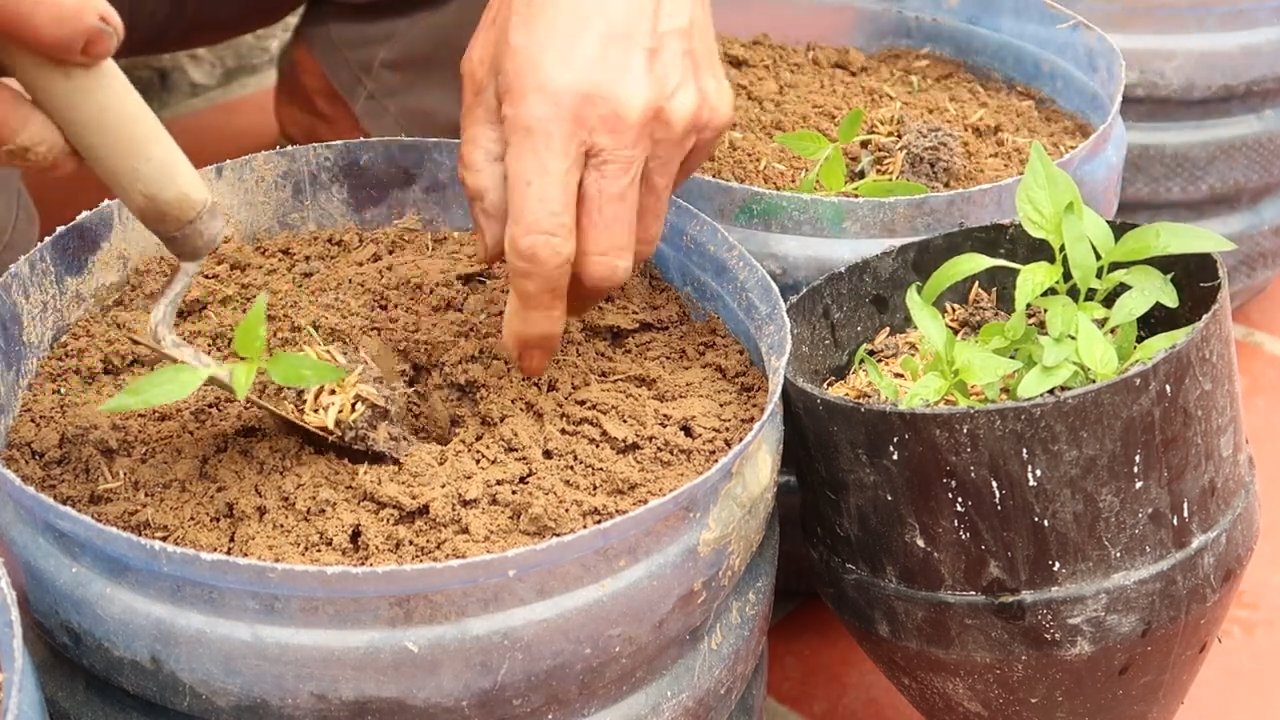
- Early Sowing: Start your chili plants indoors early. This gives them a head start on growth when they move outdoors.
- Topping: Cut off the top of the plant to encourage the growth of side shoots. This leads to a bushier plant with more flowers and fruits.
- Pruning: Regularly remove dead leaves and shoots to improve air circulation and prevent diseases.
- Pollination: Help with pollination by gently shaking the flowers or pollinating them with a paintbrush.
- Mulching: Cover the soil around the plants with mulch to retain moisture and suppress weeds.
- Regular Fertilizing: Fertilize your chili plants regularly with a special chili fertilizer or a tomato fertilizer.
- Pest Protection: Regularly check your plants for pests and combat them with natural methods if necessary.
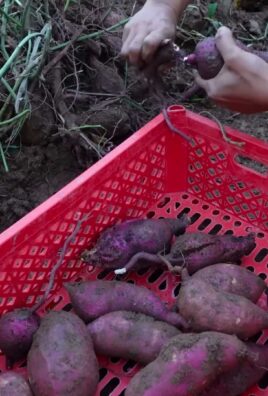
- Harvest at the Right Time: Harvest the chili peppers when they are ripe to encourage the plant to produce new fruits.
Step-by-Step Guide: Topping for More Chili Peppers
Topping is a simple but effective method to encourage the growth of side shoots and thus increase the number of flowers and fruits.
- Choose the right time: Top your chili plant when it is about 15-20 cm (6-8 inches) tall and has at least 4-6 pairs of leaves.
- Identify the top: Find the top of the plant where the main shoot is located.
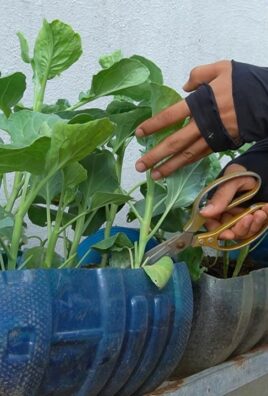
- Cut off the top: Use clean and sharp scissors or a knife to cut the top of the plant just above a pair of leaves.
- Observe the growth: After topping, side shoots will develop from the leaf axils. These side shoots will later bear flowers and fruits.
Step-by-Step Guide: Pollination Assistance for a Sure Harvest
Sometimes chili plants need a little help with pollination, especially if they are indoors or in a greenhouse.
- Choose the right time: The best time for pollination is in the morning when the flowers are open and the pollen is dry.
- Shake the plant: Gently shake the plant to release the pollen and transfer it to the stigma of the flower.
- Use a paintbrush: Alternatively, you can use a small, soft paintbrush to transfer pollen from one flower to the stigma of another.
- Repeat the process: Repeat the process regularly, especially if you have many flowers.
Step-by-Step Guide: The Right Fertilizer for Your Chili Plants
Proper fertilization is crucial for a bountiful chili harvest.
- Choose the right fertilizer: Use a special chili fertilizer or a tomato fertilizer. These fertilizers contain the right nutrients for chili plants. Look for a high phosphorus and potassium content.
- Follow the instructions: Read the instructions on the fertilizer package carefully and follow them exactly. Over-fertilizing can be harmful.
- Fertilize regularly: Fertilize your chili plants regularly during the growing and flowering season. I fertilize my plants every 2-3 weeks.
- Water after fertilizing: Water your plants after fertilizing to wash the nutrients into the soil and protect the roots.
Step-by-Step Guide: Pest Control the Natural Way
Pests can ruin your chili harvest. But don’t worry, there are many natural ways to combat them.
- Check regularly: Regularly check your plants for pests like aphids, spider mites, or whiteflies.
- Remove pests manually: Manually remove any pests you find by hand or with a jet of water.
- Use natural insecticides: Use natural insecticides like neem oil, garlic spray, or nettle tea.
- Encourage beneficial insects: Encourage beneficial insects like ladybugs or lacewings, which eat pests.
- Isolate infested plants: Isolate infested plants to prevent the spread of pests.
Step-by-Step Guide: The Right Harvest Time for Your Chili Peppers
The right time to harvest is crucial for the taste and spiciness of your chili peppers.
- Look at the color: Most chili peppers change color when they are ripe. Green chili peppers will turn red, yellow, or orange.
- Feel the pod: Ripe chili peppers feel firm and plump.
- Try a pod: If you are unsure, try a pod. It should have the desired level of heat.
- Harvest carefully: Harvest the chili peppers carefully with scissors or a knife to avoid damaging the plant.
- Harvest regularly: Harvest the chili peppers regularly to encourage the plant to produce new fruits.
Additional Tips for a Super Harvest
Here are a few more tips that can help you increase your chili harvest even further:
Rotate the pots regularly: Rotate the pots regularly so that all sides of the plant get even sunlight
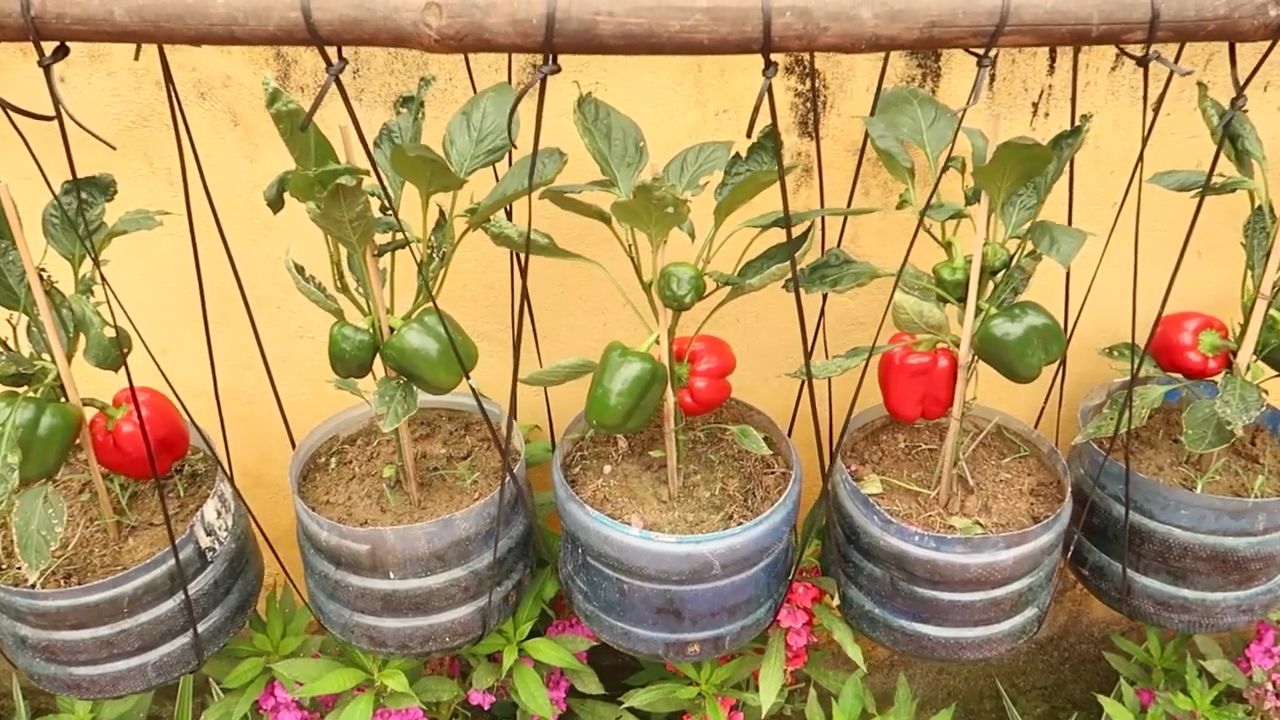
Use large pots: Chili plants need space for their roots. Use large pots with at least a 10-liter (about 2.5 gallons) capacity.
Conclusion
So, there you have it! This simple, yet incredibly effective DIY trick to harvest more chili peppers is a game-changer for any chili enthusiast, from the casual gardener to the seasoned pepper aficionado. We’ve walked you through the process, highlighting the ease and affordability of this method. It’s not about complicated techniques or expensive equipment; it’s about understanding the plant’s natural growth cycle and giving it a little nudge in the right direction.
Think about it: more peppers from the same plant, without the need for extra space or resources. That’s a win-win in anyone’s book. Imagine the possibilities! You could create your own signature hot sauce, experiment with different flavor combinations, or even gift your bountiful harvest to friends and family. The satisfaction of growing your own food, especially something as vibrant and flavorful as chili peppers, is truly unparalleled.
But the benefits extend beyond just quantity. By employing this method, you’re also encouraging healthier plant growth. The increased airflow and sunlight exposure can help prevent common pepper plant diseases, leading to stronger, more resilient plants that will continue to produce throughout the season. It’s a holistic approach to gardening that benefits both you and your plants.
Don’t be afraid to experiment with variations, too. While we’ve outlined a general approach, feel free to adapt it to your specific pepper variety and growing conditions. For instance, if you’re growing smaller, more delicate peppers, you might want to use a gentler touch when pruning. Or, if you’re in a particularly humid climate, you might want to increase the airflow around your plants even further. Consider using organic fertilizers to boost the plant’s health and pepper production even more.
Consider companion planting to further enhance your chili pepper harvest. Basil, for example, is known to repel pests and improve the flavor of peppers. Marigolds are another excellent choice, as they attract beneficial insects that can help control aphids and other common pepper plant pests.
The key is to observe your plants closely and adjust your approach accordingly. Gardening is a learning process, and every season brings new challenges and opportunities. Embrace the journey, and don’t be discouraged if you don’t see results immediately. With patience and persistence, you’ll be rewarded with a bumper crop of delicious chili peppers.
We are confident that this DIY trick will significantly improve your chili pepper harvest. It’s a simple, effective, and rewarding way to get the most out of your plants. So, what are you waiting for? Grab your gardening shears, head out to your garden, and give it a try!
We’re eager to hear about your experiences. Did this method work for you? Did you try any variations? What kind of chili peppers are you growing? Share your stories, tips, and photos in the comments below. Let’s create a community of chili pepper enthusiasts who are passionate about growing their own food and sharing their knowledge with others. Your feedback will not only help us improve this guide but also inspire other gardeners to try this amazing DIY trick. Happy growing!
Frequently Asked Questions (FAQ)
What exactly does this DIY trick entail to harvest more chili peppers?
This DIY trick primarily focuses on strategic pruning and providing optimal growing conditions to encourage increased chili pepper production. It involves removing specific leaves and branches to improve airflow, sunlight penetration, and nutrient distribution within the plant. By carefully pruning, you redirect the plant’s energy towards producing more flowers and, consequently, more chili peppers. The method also emphasizes the importance of proper watering, fertilization, and pest control to ensure the plant’s overall health and productivity.
How often should I prune my chili pepper plants using this method?
The frequency of pruning depends on the variety of chili pepper, its growth rate, and the overall health of the plant. As a general guideline, you can start pruning when the plant is about 12-18 inches tall. After the initial pruning, you can prune every 2-3 weeks to maintain the desired shape and encourage new growth. However, avoid excessive pruning, as it can stress the plant and reduce its yield. Always observe your plants closely and adjust your pruning schedule accordingly.
Will this DIY trick work for all types of chili peppers?
While this DIY trick is generally effective for most types of chili peppers, some varieties may respond better than others. For example, larger, bushier varieties may benefit more from aggressive pruning, while smaller, more delicate varieties may require a gentler approach. It’s essential to research the specific needs of your chili pepper variety and adjust the pruning technique accordingly. Experimentation is key to finding what works best for your plants.
What kind of fertilizer should I use to maximize my chili pepper harvest?
To maximize your chili pepper harvest, use a balanced fertilizer with a slightly higher phosphorus content. Phosphorus is essential for flower and fruit development. Look for a fertilizer with an NPK ratio (Nitrogen, Phosphorus, Potassium) of around 5-10-5 or 10-15-10. You can also supplement with organic fertilizers such as compost tea or bone meal. Avoid over-fertilizing, as it can lead to excessive foliage growth at the expense of pepper production.
How do I protect my chili pepper plants from pests and diseases?
Protecting your chili pepper plants from pests and diseases is crucial for a successful harvest. Regularly inspect your plants for signs of infestation or disease, such as aphids, spider mites, or fungal infections. Use organic pest control methods such as insecticidal soap, neem oil, or diatomaceous earth to control pests. Ensure good airflow around your plants to prevent fungal diseases. You can also use copper-based fungicides as a preventative measure.
What are some common mistakes to avoid when trying to harvest more chili peppers?
Some common mistakes to avoid include over-pruning, under-watering, over-fertilizing, and neglecting pest control. Over-pruning can stress the plant and reduce its yield. Under-watering can stunt growth and prevent pepper development. Over-fertilizing can lead to excessive foliage growth at the expense of pepper production. Neglecting pest control can allow pests to damage your plants and reduce your harvest.
How long does it take to see results from this DIY trick?
The time it takes to see results from this DIY trick can vary depending on the variety of chili pepper, the growing conditions, and the overall health of the plant. In general, you should start to see an increase in flower production within a few weeks of implementing the pruning technique. It may take a few months to see a significant increase in pepper yield. Be patient and consistent with your pruning and care, and you will eventually be rewarded with a bountiful harvest.
Can I use this method for indoor chili pepper plants?
Yes, this method can be used for indoor chili pepper plants, but you may need to make some adjustments. Indoor plants typically receive less sunlight and airflow than outdoor plants, so it’s essential to provide adequate lighting and ventilation. Use grow lights to supplement natural sunlight and ensure good airflow by using a fan or opening windows. Adjust your watering and fertilization schedule accordingly, as indoor plants may require less water and fertilizer than outdoor plants.
Leave a Comment