
Harvesting backyard celery can feel like unlocking a secret garden treasure! Imagine the satisfaction of snipping crisp, flavorful stalks straight from your own backyard, ready to elevate your soups, salads, and snacks. But knowing *when* and *how* to harvest is key to enjoying the fruits (or rather, vegetables!) of your labor.
Celery, with its origins tracing back to the Mediterranean, has been enjoyed for centuries, initially valued for its medicinal properties before becoming a culinary staple. From ancient remedies to modern-day crudités platters, celery has certainly made its mark. But let’s be honest, store-bought celery often lacks the vibrant taste and satisfying crunch of homegrown varieties. That’s where this DIY guide comes in!
I’m here to share some simple yet effective tricks and hacks to ensure you’re harvesting backyard celery at its peak of freshness and flavor. Whether you’re a seasoned gardener or just starting out, these tips will help you avoid common mistakes and maximize your celery harvest. No more limp, bitter stalks! I’ll walk you through the entire process, from identifying the right time to harvest to the best methods for cutting and storing your homegrown celery. Get ready to enjoy the freshest, most flavorful celery you’ve ever tasted!
Harvesting Backyard Celery: A Complete DIY Guide
Okay, so you’ve nurtured your celery plants, watched them grow, and now you’re itching to harvest that crisp, refreshing goodness. Harvesting celery from your backyard isn’t rocket science, but knowing the right techniques will ensure you get the best flavor and keep your plants producing for longer. Let’s dive in!
When to Harvest Your Celery
Knowing when your celery is ready is crucial. You don’t want to harvest too early and end up with thin, bitter stalks, or wait too long and have them become tough and stringy.
* Maturity: Celery typically takes around 100-130 days from transplanting to reach maturity. Check your seed packet or plant tag for the specific variety’s expected maturity date.
* Size: Look for stalks that are at least 6-8 inches long. The overall size of the plant should be substantial, but don’t wait for it to get enormous.
* Color: The stalks should be a vibrant green color. Avoid harvesting if the stalks are yellowing or browning, as this could indicate disease or over-maturity.
* Firmness: Gently squeeze the stalks. They should feel firm and crisp, not soft or spongy.
* Taste Test (Optional): If you’re unsure, you can always harvest a single stalk and give it a taste. This is the most reliable way to determine if it’s ready for your palate.
Tools You’ll Need
Before you head out to the garden, gather these essential tools:
* Sharp Knife: A sharp knife is essential for a clean cut. A kitchen knife or a gardening knife will work perfectly.
* Gloves (Optional): While not strictly necessary, gloves can protect your hands from dirt and potential irritants.
* Basket or Bag: You’ll need something to carry your harvested celery back to the kitchen.
* Water Source (Optional): A hose or watering can nearby can be helpful for rinsing off any dirt clinging to the stalks.
Harvesting Methods: Two Approaches
There are two main ways to harvest celery: harvesting the entire plant or harvesting individual stalks. I’ll walk you through both.
Harvesting the Entire Plant
This method is best if you want to harvest all of your celery at once, perhaps before a frost or if you need the space in your garden.
1. Prepare Your Knife: Make sure your knife is clean and sharp. A dull knife can crush the stalks and make them more susceptible to disease.
2. Locate the Base: Find the base of the celery plant where all the stalks come together.
3. Cut at the Base: Using your sharp knife, cut the entire plant off at the base, just below the soil line. Make a clean, even cut.
4. Clean and Store: Remove any outer, damaged, or yellowing stalks. Rinse the celery thoroughly with water to remove any dirt. You can then store it in the refrigerator (more on that later).
Harvesting Individual Stalks
This method allows you to harvest celery gradually as you need it, extending your harvest period.
1. Identify Mature Stalks: Look for the outer stalks that are at least 6-8 inches long and have a good color and firmness.
2. Cut the Stalk: Using your sharp knife, carefully cut the stalk off at the base, close to the main plant. Avoid damaging the other stalks.
3. Clean and Store: Rinse the harvested stalk with water to remove any dirt. Store it in the refrigerator.
4. Repeat: Continue harvesting individual stalks as needed, always selecting the most mature ones first. This encourages the plant to continue producing new stalks.
Cleaning and Preparing Your Harvested Celery
Once you’ve harvested your celery, it’s time to clean and prepare it for use.
1. Rinse Thoroughly: Rinse the celery stalks under cold running water to remove any dirt, debris, or insects. Pay particular attention to the base of the stalks, where dirt tends to accumulate.
2. Remove Outer Stalks (Optional): The outer stalks can sometimes be a bit tougher or stringier than the inner stalks. You can remove them if you prefer, but they are still perfectly edible.
3. Trim the Base: Trim off the very bottom of the base, where you made the cut. This will remove any remaining dirt or damaged tissue.
4. Separate the Stalks: If you harvested the entire plant, separate the individual stalks.
5. Prepare for Use: Now your celery is ready to be used in your favorite recipes! You can chop it for salads, soups, or stews, or use it whole for dipping.
Storing Your Harvested Celery
Proper storage is key to keeping your celery fresh and crisp for as long as possible.
* Refrigeration: The best way to store celery is in the refrigerator.
* Whole Plant: If you harvested the entire plant, wrap it loosely in a damp paper towel and place it in a plastic bag or container. This will help to keep it hydrated.
* Individual Stalks: If you harvested individual stalks, wrap them in a damp paper towel and place them in a plastic bag or container.
* Water Bath: Another method is to stand the celery stalks upright in a container of water, like you would with cut flowers. Cover the top loosely with a plastic bag. Change the water every day or two.
* Freezing (Not Recommended): Freezing celery is generally not recommended, as it will lose its crispness and become mushy. However, if you plan to use it in cooked dishes like soups or stews, you can freeze it after chopping it. Blanching it briefly before freezing can help to preserve its flavor and texture.
* How Long Will It Last?: Properly stored celery can last for 1-2 weeks in the refrigerator. Check it regularly and discard any stalks that are starting to wilt or rot.
Troubleshooting Common Celery Harvesting Issues
Sometimes, things don’t go exactly as planned. Here are some common issues you might encounter and how to address them:
* Bitter Celery: Bitter celery can be caused by several factors, including:
* Lack of Water: Celery needs consistent moisture to grow properly. Make sure you’re watering your plants regularly, especially during hot, dry weather.
* Hot Weather: High temperatures can also contribute to bitterness. Providing shade during the hottest part of the day can help.
* Over-Maturity: Harvesting celery too late can also make it bitter. Harvest when the stalks are the right size and firmness.
* Stringy Celery: Stringy celery is usually caused by:
* Lack of Water: Again, consistent moisture is key.
* Over-Maturity: Harvesting too late can also make the stalks stringy.
* Yellowing Celery: Yellowing celery can indicate:
* Nutrient Deficiency: Celery needs adequate nutrients to thrive. Make sure you’re fertilizing your plants regularly with a balanced fertilizer.
* Disease: Yellowing can also be a sign of disease. Inspect your plants carefully for other symptoms, such as spots or lesions.
* Pest Damage: Pests like aphids and celery leaf miners can damage your celery plants. Inspect your plants regularly and take appropriate measures to control pests.
Tips for a Bountiful Celery Harvest
Here are a few extra tips to help you get the most out of your celery harvest:
* Succession Planting: Plant celery seeds or transplants every few weeks to ensure a continuous harvest throughout the growing season.
* Blanching: Blanching celery (excluding light from the stalks) can make them milder and more tender. You can blanch celery by mounding soil around the stalks or wrapping them in paper or cardboard a few weeks before harvest. However, many modern varieties are self-blanching and don’t require this step.
* Don’t Waste the Leaves: Celery leaves are packed with flavor and nutrients. Don’t throw them away! You can use them in soups, stews, salads, or as a garnish. You can also dry them and use them as a seasoning.
* Compost the Scraps: Compost any celery scraps, such as the base and outer stalks, to enrich your garden soil.
Harvesting your own celery is a rewarding experience. With a little knowledge and effort, you can enjoy fresh, crisp celery straight from your backyard! Happy gardening!
Conclusion
So, you’ve learned the secrets to harvesting backyard celery like a pro! But why is this DIY trick a must-try? It’s simple: freshness, flavor, and sustainability. Store-bought celery, even when seemingly fresh, can’t compare to the vibrant, crisp taste of celery harvested directly from your own garden. You’re cutting out the middleman, reducing transportation time, and ensuring you’re getting the peak of flavor and nutritional value. Plus, you’re contributing to a more sustainable lifestyle by reducing your reliance on commercially grown produce and minimizing food waste.
Beyond the basic harvest, there’s a world of possibilities to explore. Consider these variations to elevate your celery game:
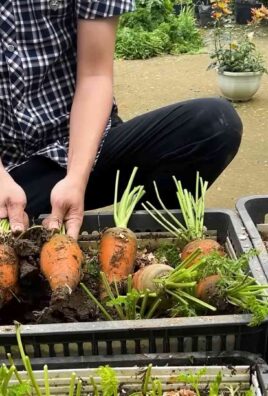
* **Celery Root (Celeriac):** Don’t forget about the root! Celeriac, the bulbous root of some celery varieties, is a culinary treasure. Harvest it in the fall after a frost for a sweet, earthy flavor. It’s delicious roasted, mashed, or used in soups and stews.
* **Celery Leaves:** Treat celery leaves like an herb! They add a peppery bite to salads, soups, and stir-fries. Chop them finely and use them as a garnish for a burst of fresh flavor.
* **Blanching for Tenderness:** For even more tender stalks, try blanching your celery a week or two before harvest. Simply mound soil around the base of the stalks to exclude sunlight. This will result in paler, more delicate celery.
* **Succession Planting:** To ensure a continuous supply of fresh celery throughout the growing season, consider succession planting. Plant new seedlings every few weeks to stagger your harvests.
* **Saving Seeds:** If you’re feeling ambitious, you can even save celery seeds for future planting. Allow a few plants to bolt (flower) and collect the seeds once they’ve dried.
Harvesting backyard celery is more than just a gardening task; it’s an experience. It’s about connecting with nature, enjoying the fruits (or vegetables!) of your labor, and savoring the unparalleled taste of homegrown produce. It’s about knowing exactly where your food comes from and reducing your environmental impact.
We wholeheartedly encourage you to try this DIY trick for yourself. Whether you’re a seasoned gardener or a complete beginner, growing and harvesting your own celery is a rewarding and surprisingly easy endeavor. The satisfaction of snipping those crisp stalks and bringing them straight to your kitchen is unmatched.
Don’t be afraid to experiment with different varieties, try new recipes, and discover your own unique ways to enjoy your homegrown celery. And most importantly, share your experience with us! We’d love to hear your tips, tricks, and favorite celery recipes in the comments below. Let’s build a community of celery enthusiasts and celebrate the joys of homegrown goodness. So, grab your gardening gloves, plant some celery, and get ready to taste the difference!
Frequently Asked Questions (FAQ)
What is the best time of day to harvest celery?
The best time to harvest celery is in the morning, after the dew has dried but before the heat of the day sets in. This is when the celery stalks are at their most crisp and hydrated. Harvesting in the heat can cause the celery to wilt more quickly.
How do I know when my celery is ready to harvest?
Celery is typically ready to harvest when the stalks are at least 6-8 inches long and have a good, firm texture. The exact time will depend on the variety and growing conditions, but generally, celery matures in about 75-85 days from transplanting. Look for stalks that are thick and well-developed, and avoid harvesting if they are thin or spindly.
Can I harvest just a few stalks at a time, or do I need to harvest the whole plant?
You can absolutely harvest just a few stalks at a time! This is one of the great advantages of growing your own celery. Simply cut the outer stalks near the base of the plant, leaving the inner stalks to continue growing. This allows you to enjoy fresh celery over an extended period.
How should I store freshly harvested celery?
To keep your harvested celery fresh and crisp, wrap it loosely in a damp paper towel and store it in a plastic bag in the refrigerator. You can also stand the celery stalks upright in a container of water in the refrigerator, changing the water every few days. Properly stored celery can last for up to two weeks.
What if my celery stalks are bitter?
Celery can sometimes develop a bitter taste, especially during hot weather or if it’s not watered adequately. To reduce bitterness, ensure your celery receives consistent watering and consider providing some shade during the hottest part of the day. Blanching the stalks before harvest can also help to sweeten the flavor.
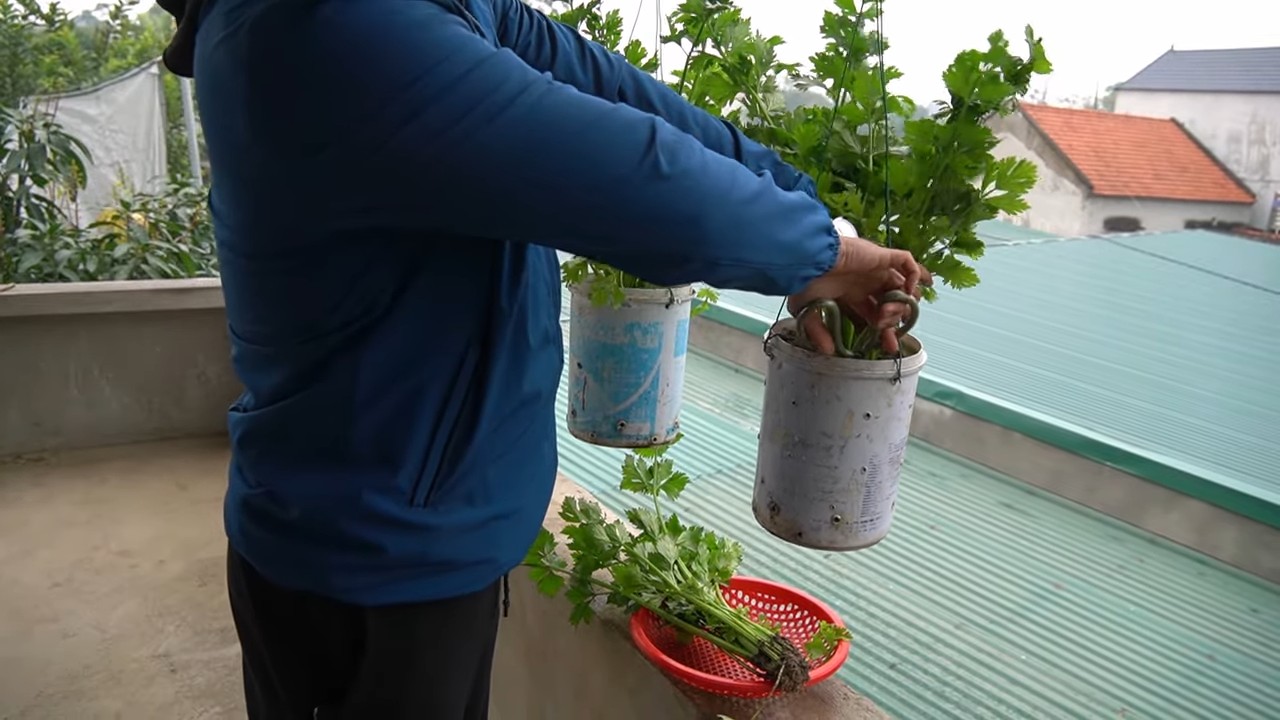
Can I grow celery from the base of store-bought celery?
Yes, you can! This is a fun and easy way to propagate celery. Cut off the base of a bunch of store-bought celery, leaving about 2 inches of the stalks attached. Place the base in a shallow dish of water, and keep it in a sunny location. Change the water every day. After a few days, you should see new roots sprouting. Once the roots are well-developed, you can transplant the celery base into a pot or directly into your garden.
What are some common pests and diseases that affect celery?
Celery can be susceptible to several pests and diseases, including celery leaf tier, aphids, and fungal diseases like early blight and late blight. To prevent problems, choose disease-resistant varieties, practice good garden hygiene, and monitor your plants regularly for signs of infestation or disease. Organic pest control methods, such as insecticidal soap or neem oil, can be effective for managing pests.
Is celery a difficult vegetable to grow?
Celery can be a bit more challenging to grow than some other vegetables, but it’s certainly not impossible. It requires consistent moisture, fertile soil, and protection from extreme temperatures. However, with a little care and attention, you can successfully grow your own delicious celery.
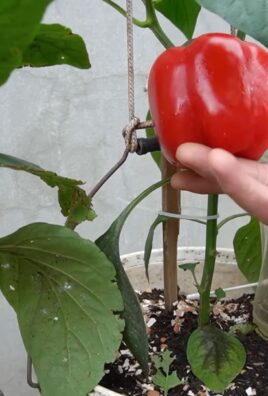
What are some good companion plants for celery?
Celery benefits from being planted near certain companion plants. Onions, garlic, and marigolds can help to deter pests, while tomatoes and beans can provide shade and support. Avoid planting celery near parsley, as they can compete for nutrients.
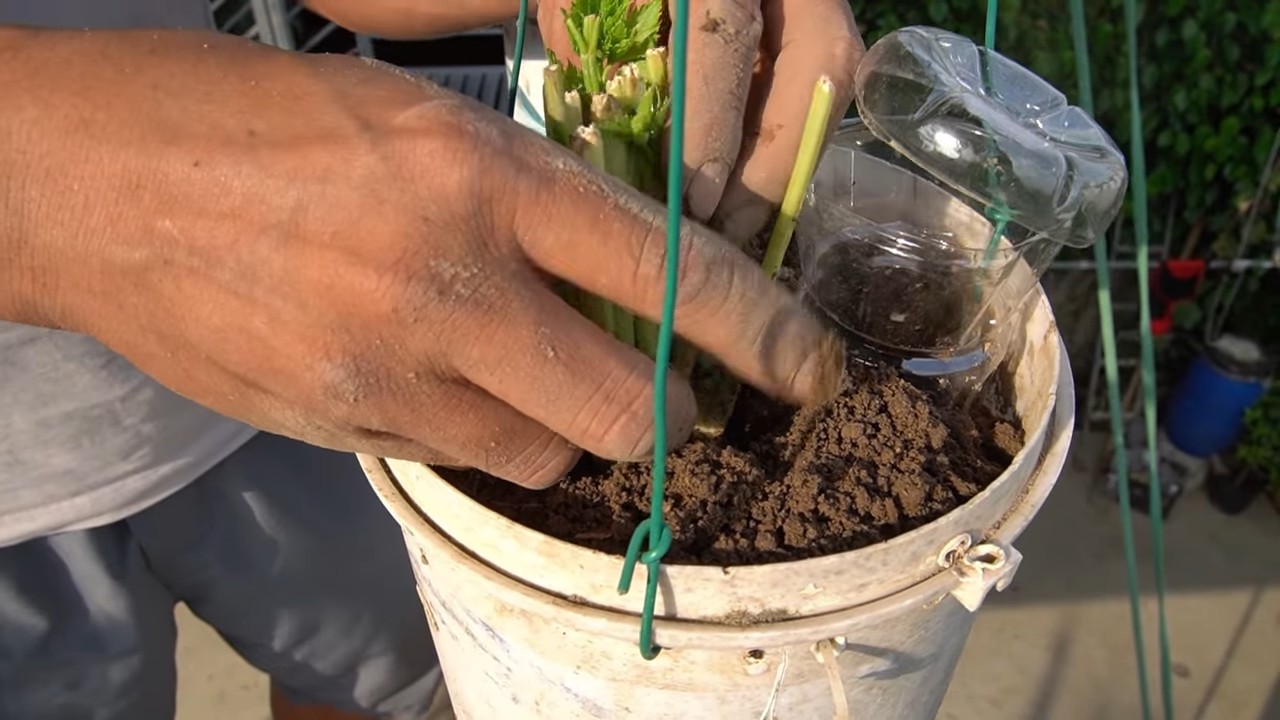
Can I grow celery in containers?
Yes, you can grow celery in containers! Choose a large container (at least 12 inches in diameter) and fill it with a well-draining potting mix. Be sure to water regularly and fertilize every few weeks. Container-grown celery may require more frequent watering than celery grown in the ground.
Leave a Comment