
Harvesting Carrots DIY: A Guide to a Bountiful Harvest
Harvesting carrots DIY might sound intimidating, but I promise you, it’s easier than you think! This isn’t just about pulling a few orange roots from the ground; it’s about connecting with your food, understanding the growth cycle of your vegetables, and enjoying the incredible satisfaction of harvesting your own homegrown carrots. For generations, families have passed down the knowledge of how to cultivate and harvest their own produce, a tradition that fosters a deeper appreciation for the food we eat and the land that nourishes us. Think of the joy of presenting a plate of perfectly grown carrots, knowing you nurtured them from seed to table – that’s the magic of home gardening!
Why bother with Harvesting Carrots DIY when you can just buy them at the store? Well, there’s a world of difference between a store-bought carrot and one you’ve grown yourself. Homegrown carrots are often sweeter, more flavorful, and free from pesticides and preservatives. Plus, there’s something incredibly rewarding about knowing exactly where your food comes from and how it was grown. This DIY guide will walk you through the entire process, from identifying the perfect time to harvest to the best techniques for gently extracting those delicious roots without damaging them. We’ll cover everything you need to know to ensure a successful and bountiful harvest.
Ready to get your hands dirty? Let’s dive into the world of Harvesting Carrots DIY!
This Harvesting Carrots DIY guide is your key to unlocking the secrets of a successful carrot harvest. Get ready to experience the joy of homegrown goodness!
Harvesting Your Homegrown Carrots: A Step-by-Step Guide
Growing your own carrots is incredibly rewarding, but knowing when and how to harvest them is key to getting that perfect, sweet crunch. This guide will walk you through the process, from assessing ripeness to proper storage, ensuring you enjoy the fruits (or rather, roots!) of your labor.
Assessing Carrot Ripeness
- Check the time: Most carrot varieties take around 70-80 days to mature, but always check the seed packet for specific information on your chosen variety. This is just a guideline; some varieties mature faster or slower.
- Observe the tops: As your carrots mature, the tops will start to turn a yellowish-brown color. This is a good indicator that they’re nearing readiness, but it’s not the only sign.
- Feel the size: Gently pull up a few test carrots. If they feel firm and are the desired size for your variety (again, check the seed packet!), they’re likely ready for harvest. Don’t worry about a few smaller ones; you can leave those to grow a bit longer.
- Consider the season: If you’re harvesting in the fall, you might want to harvest slightly earlier to avoid frost damage. Frost can make carrots bitter and mushy.
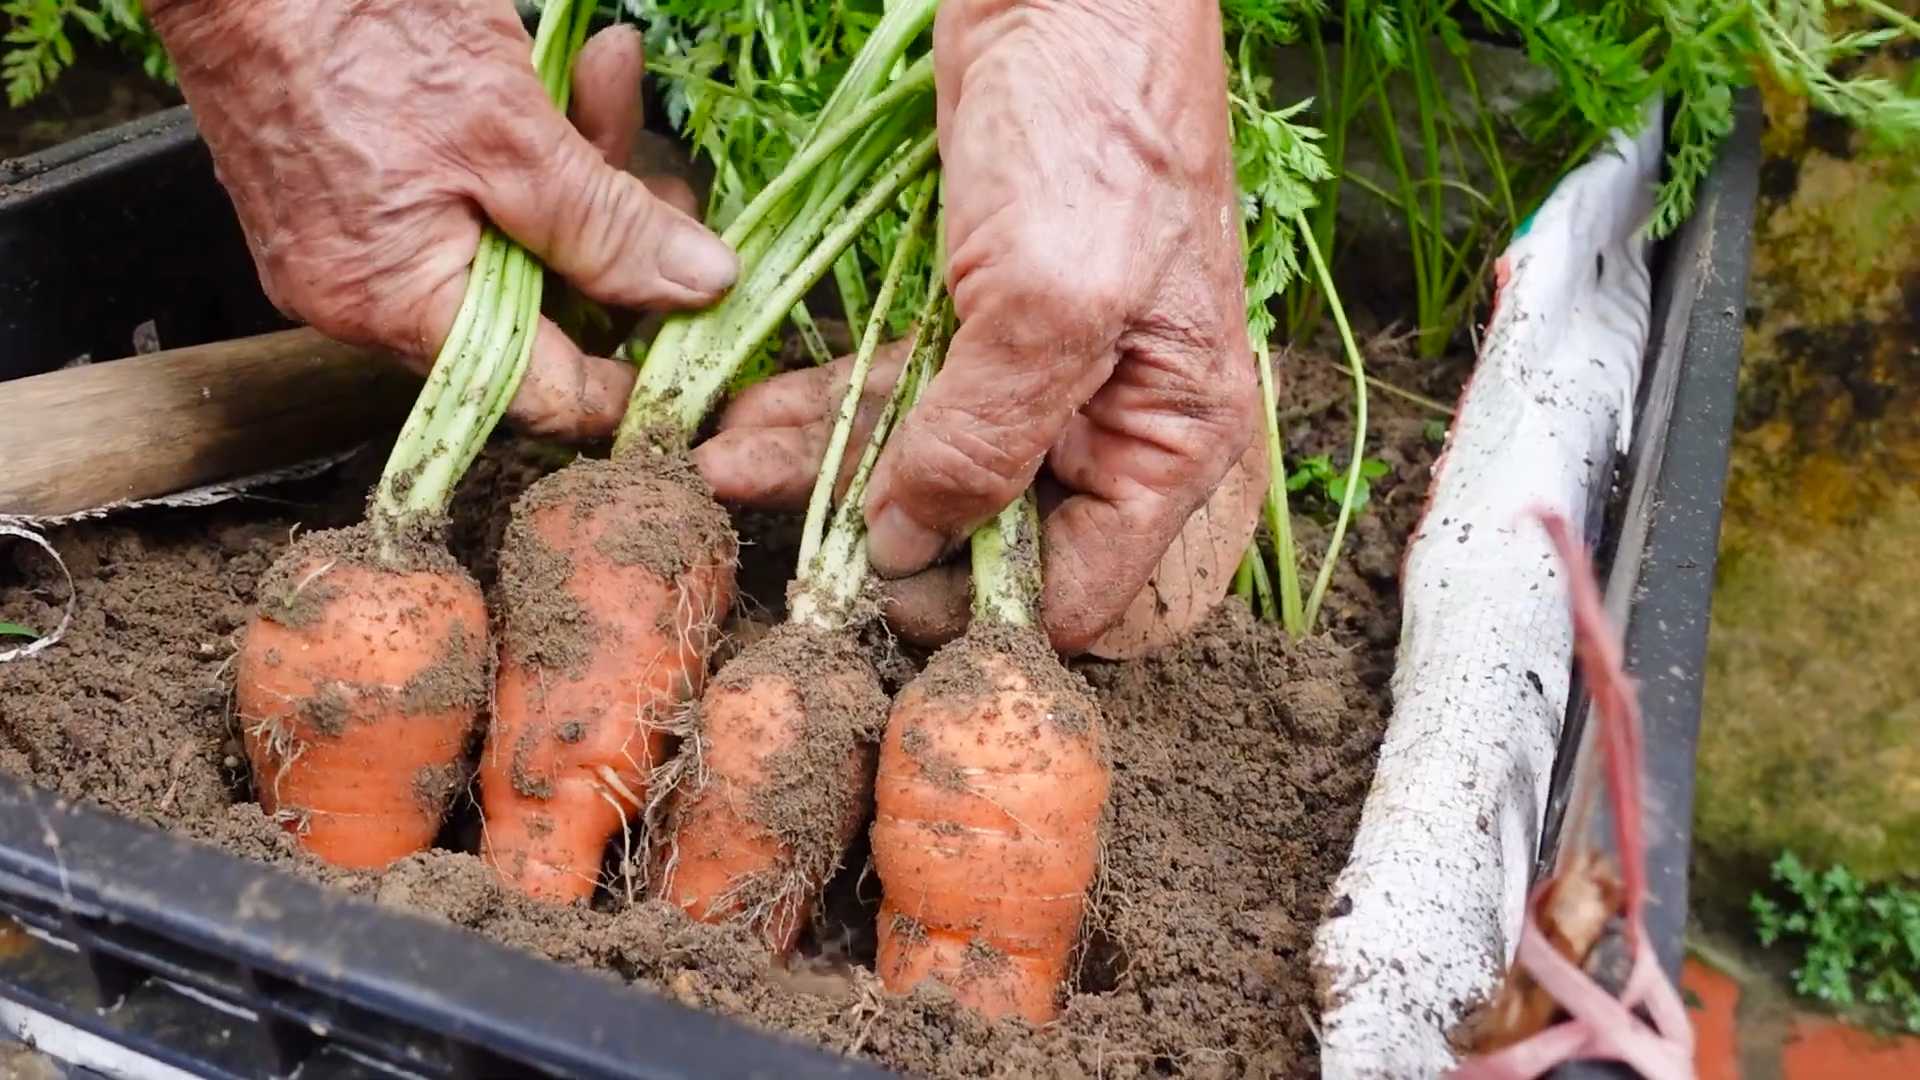
Harvesting Your Carrots
- Gather your tools: You’ll need a garden fork or trowel, a bucket or container to collect your carrots, and optionally, gardening gloves (to protect your hands from dirt and potential small stones).
- Loosen the soil: Carefully insert your garden fork or trowel into the ground around the carrot tops, about 6-8 inches away from the plants. Gently loosen the soil around the carrots to avoid damaging them. Work your way around the area, loosening the soil in a circle. Avoid stabbing directly at the carrots themselves; this can easily break them.
- Gently lift the carrots: Once the soil is loosened, gently grab a handful of carrot tops and carefully pull upwards. The carrots should come out relatively easily. If they’re stubborn, use your fork or trowel to gently pry them loose. Try to lift them straight up to minimize breakage.
- Remove excess soil: Once you’ve pulled the carrots from the ground, gently brush off any excess soil. You can use your hands or a small brush for this. Don’t scrub too hard, as this can damage the delicate skin of the carrots.
- Inspect for damage: Check each carrot for any damage or imperfections. Discard any that are damaged or show signs of disease. Remember, even slightly damaged carrots can spoil quickly.
- Repeat the process: Continue steps 2-5 until you’ve harvested all the carrots from your garden bed. Take your time and be patient; it’s better to harvest slowly and carefully than to rush and damage your crop.
Dealing with Stubborn Carrots
Sometimes, carrots can be surprisingly stubborn and refuse to come out of the ground easily. Here’s what you can do:
- Water the area: If the soil is very dry and hard, watering the area beforehand can make it easier to loosen the soil and remove the carrots. Let the water soak in for about 30 minutes before attempting to harvest again.
- Use a wider tool: If your trowel or fork isn’t quite wide enough to loosen the soil effectively, try using a wider garden tool, such as a broadfork. This will allow you to loosen a larger area of soil around the carrots.
- Cut the taproot: As a last resort, if a carrot is truly stuck, you can use a sharp knife or trowel to carefully cut the taproot (the bottom of the carrot). This will allow you to remove the carrot without damaging the surrounding ones.
Cleaning and Storing Your Harvest
- Remove the greens: Cut off the carrot greens about an inch above the carrot itself. Leaving the greens on will cause the carrots to lose moisture and spoil faster.
- Wash thoroughly: Wash your carrots gently under cool running water to remove any remaining soil. A soft vegetable brush can be helpful for removing stubborn dirt. Avoid using harsh detergents or abrasive cleaners.
- Dry completely: Before storing, make sure your carrots are completely dry. You can pat them dry with a clean kitchen towel or allow them to air dry on a clean surface.
- Proper storage: Store your carrots in a cool, dark, and well-ventilated place. A refrigerator’s crisper drawer is ideal. You can also store them in a plastic bag with some paper towels to absorb excess moisture. Avoid storing carrots in direct sunlight or warm temperatures, as this will cause them to spoil quickly.
- Freezing option: For longer storage, you can blanch and freeze your carrots. Blanching involves briefly boiling the carrots in hot water, then immediately plunging them into ice water to stop the cooking process. This helps to preserve their color, texture, and nutrients.
Troubleshooting Common Issues
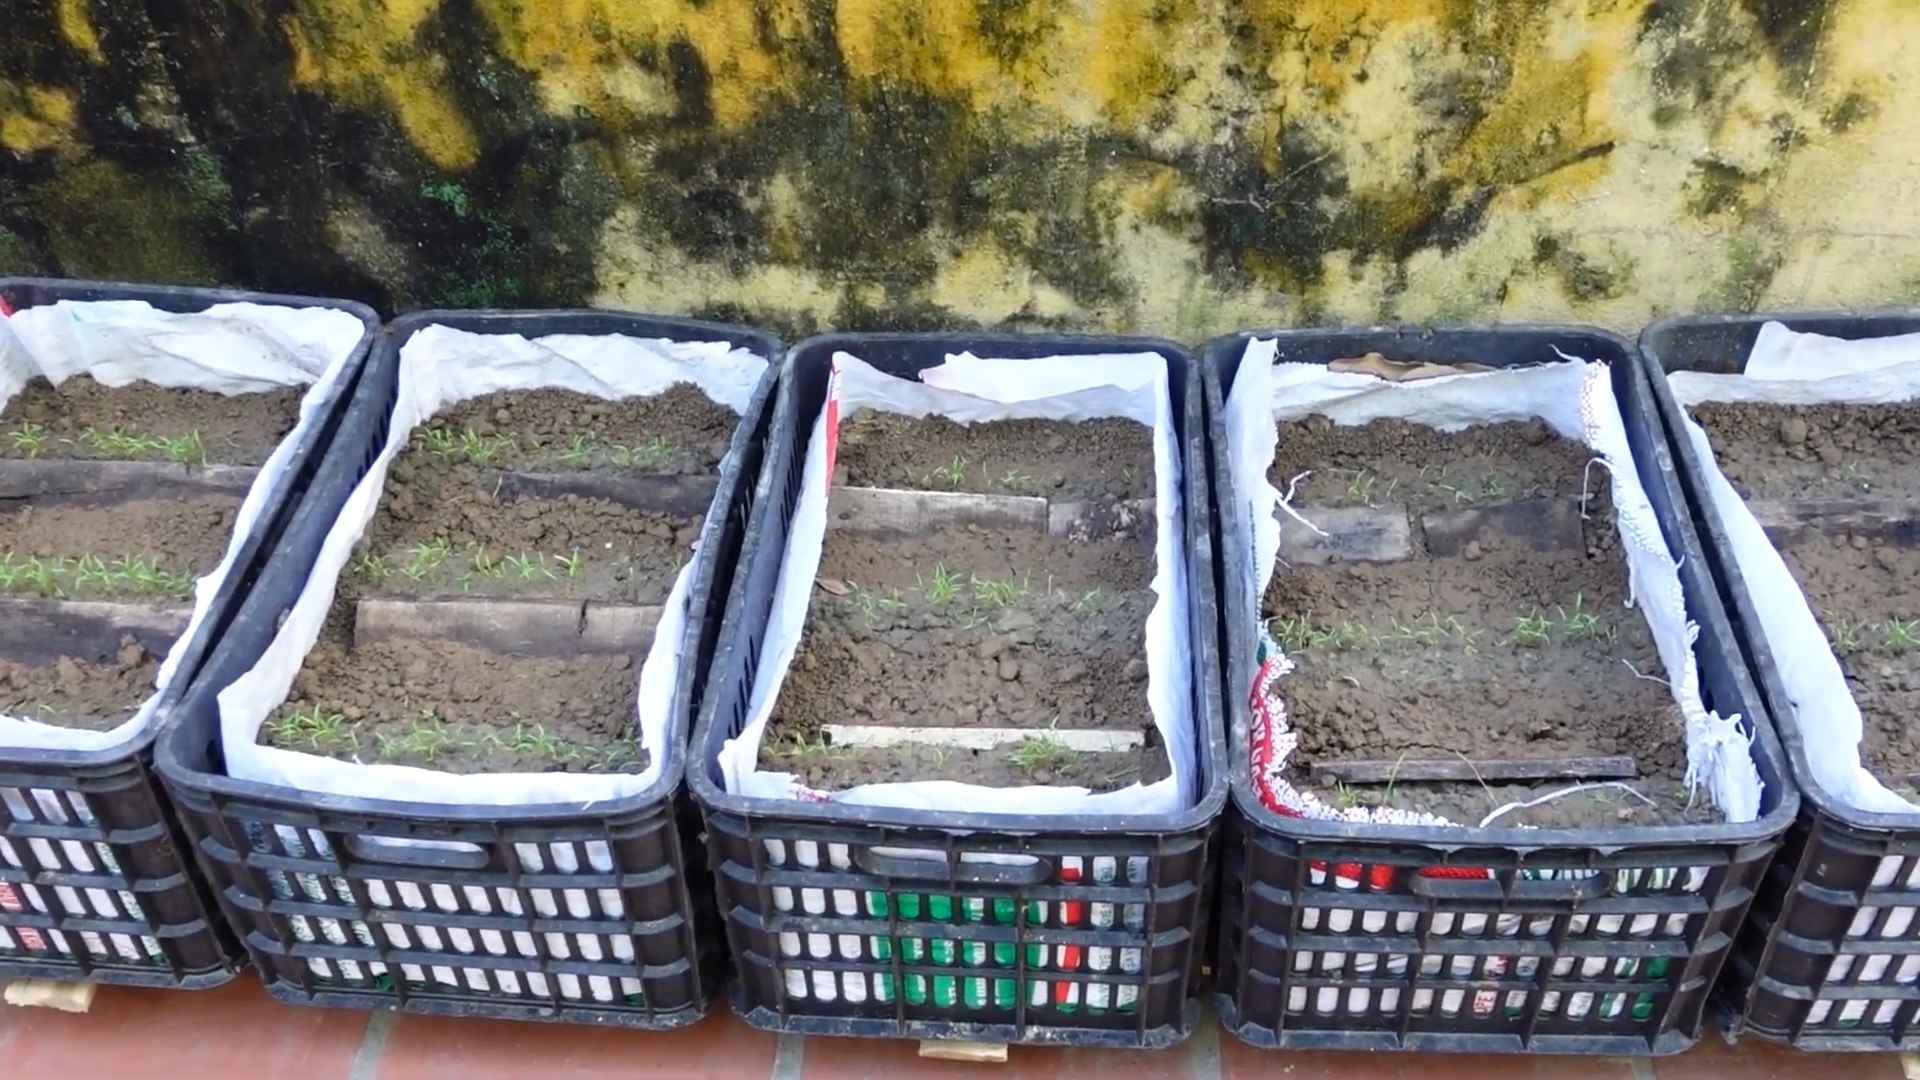
- Forked carrots: If your carrots are forked or oddly shaped, it’s likely due to rocky or compacted soil. Make sure to amend your soil with compost or other organic matter to improve drainage and soil structure before planting next season.
- Small carrots: Small carrots can be caused by overcrowding, insufficient water, or nutrient deficiencies. Ensure proper spacing when planting and provide adequate water and fertilizer throughout the growing season.
- Damaged carrots: Damage during harvest can be minimized by carefully loosening the soil and gently lifting the carrots. Avoid using sharp tools directly on the carrots.
Conclusion
So there you have it – a simple, effective, and rewarding guide to harvesting your own carrots! This DIY approach to harvesting carrots isn’t just about saving money; it’s about connecting with your food on a deeper level. You get to experience the satisfaction of nurturing a plant from seed to harvest, resulting in the freshest, most flavorful carrots you’ll ever taste. The entire process, from carefully preparing the soil to the gentle lifting of these vibrant orange roots, is incredibly fulfilling. This DIY harvesting method ensures you get perfectly formed carrots, avoiding the bruising and damage that can occur during commercial harvesting. You’ll be amazed by the difference in taste and texture compared to store-bought carrots.
Beyond the immediate gratification of enjoying homegrown carrots, this DIY trick opens up a world of possibilities. Experiment with different carrot varieties – from the classic Nantes to the longer Imperator – to discover your favorites. Try growing carrots in different containers or raised beds to see what works best in your garden. Consider companion planting, such as onions or rosemary, to deter pests and improve soil health. The possibilities are endless, and the learning experience is invaluable.
Don’t be intimidated by the seemingly simple task of harvesting carrots. With a little patience and the right technique, you can easily master this skill and enjoy the bounty of your own garden. This DIY harvesting method is a fantastic way to introduce children to gardening and the wonders of nature. It’s a fun and educational activity for the whole family. The sense of accomplishment you’ll feel is unparalleled, and the taste of your homegrown carrots will be a testament to your hard work.
We strongly encourage you to try this DIY harvesting method and share your experience with us! Post pictures of your beautiful carrot harvest on social media using the hashtag #DIYCarrotHarvest. We’d love to see your success stories and learn from your experiences. Let’s build a community of home gardeners who are passionate about growing their own food and sharing their knowledge. Remember, even small gardens can yield amazing results, and the journey of growing your own food is as rewarding as the harvest itself. So grab your garden tools, get your hands dirty, and experience the joy of harvesting your own delicious, homegrown carrots. You won’t regret it!
Frequently Asked Questions
We understand you might have some questions about harvesting your carrots. Here are some answers to frequently asked questions:
Q: When is the best time to harvest carrots?
A: The optimal time to harvest carrots is typically 70-80 days after sowing, depending on the variety. However, you can start checking for readiness around 60 days. Gently tug on a few carrots; if they pull out easily, they’re ready. If they resist, give them a little more time.
Q: How do I know if my carrots are ready for harvesting?
A: Besides the tug test, look for carrots that have reached their mature size and color for the specific variety you’ve planted. They should be firm and free from blemishes. Avoid harvesting carrots that are too small or too large, as they may not be at their peak flavor.
Q: What if I accidentally damage my carrots during harvesting?
A: Try to be as gentle as possible during the harvesting process. If you do accidentally damage a carrot, don’t worry! You can still use it; just cut off the damaged portion. Damaged carrots are best used immediately.
Q: Can I store my harvested carrots?
A: Yes! Proper storage is key to extending the shelf life of your harvested carrots. Trim the tops, leaving about an inch of green attached. Store them in a plastic bag in the refrigerator for up to 2 weeks. For longer storage, consider freezing them. Blanch the carrots before freezing to maintain their quality.
Q: What should I do if my carrots are too small?
A: Small carrots can be a result of several factors, including poor soil conditions, overcrowding, or insufficient watering. Ensure your soil is loose and well-drained, provide adequate spacing between seeds, and water regularly. Consider using a soil amendment to improve soil structure if needed. Next time, pay close attention to planting depth and spacing.
Q: What should I do with the carrot tops?
A: Don’t throw away the carrot tops! They are edible and can be used in various dishes. They can be added to soups, stews, or even pesto. They also make a great addition to smoothies for an extra boost of nutrients.
Q: My carrots are cracked or forked. What went wrong?
A: Cracked or forked carrots are often caused by inconsistent soil moisture. Ensure your soil remains consistently moist but not waterlogged. Rocks or other hard objects in the soil can also cause this issue. Prepare your soil well before planting to remove any obstructions.
Q: Can I use this DIY harvesting method for other root vegetables?
A: While this method is particularly effective for carrots, you can adapt it for other root vegetables like parsnips, beets, and turnips. However, remember that each vegetable has its own unique harvesting requirements, so research the specific needs of the vegetables you’re growing.
Q: Is this DIY harvesting method suitable for all types of soil?
A: While this method works well in most soil types, it’s crucial to have well-drained soil. Heavy clay soils can make harvesting more difficult. If you have heavy clay soil, consider amending it with compost or other organic matter to improve drainage and ease of harvesting.
Leave a Comment